
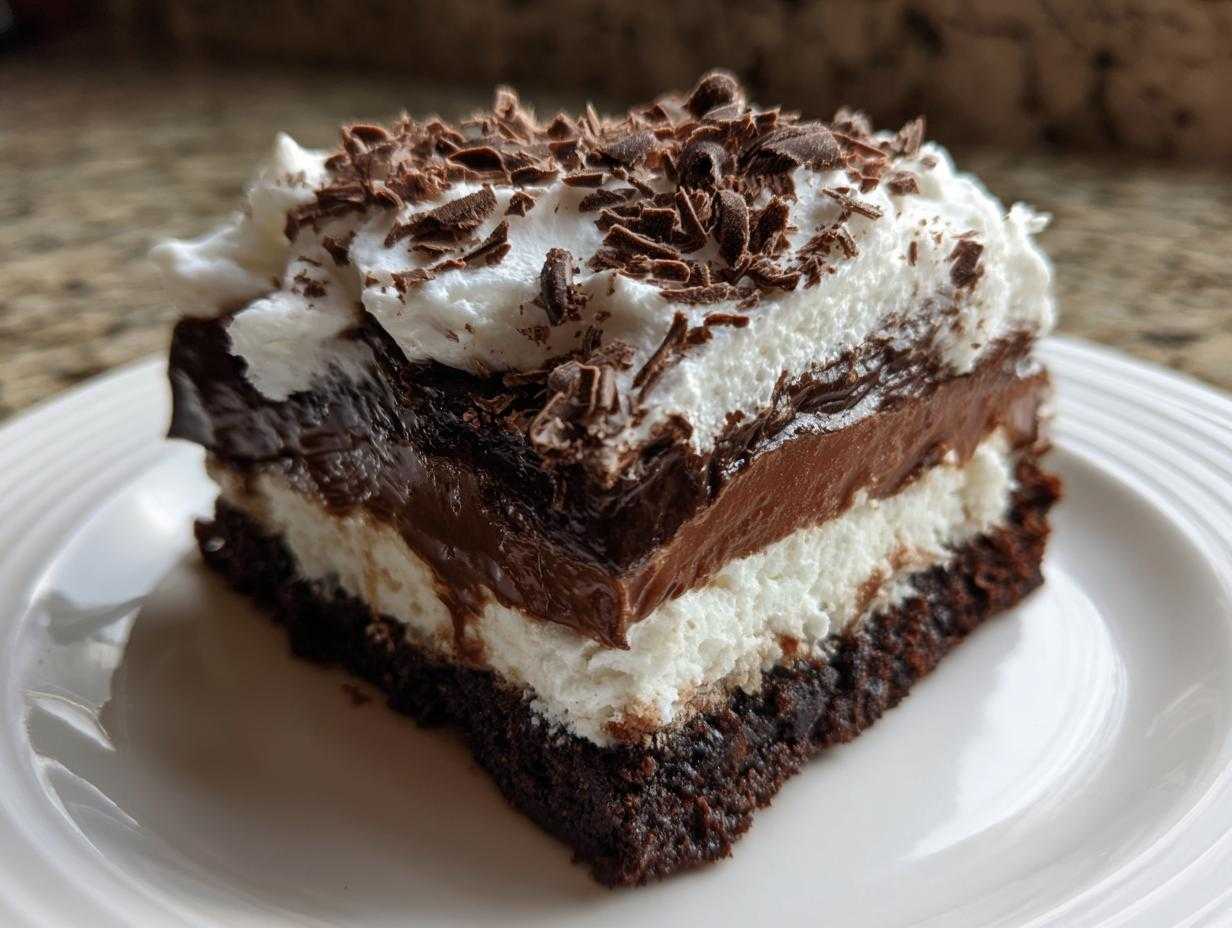
Oh my goodness, if you are looking for that deep, dark, fudgy chocolate hit but the thought of turning on the oven feels like too much work, then I have absolutely found your soulmate dessert! This isn’t just another **brownie refrigerator cake**; this is *the* version. I developed this layered masterpiece years ago when my ancient oven decided to take an unscheduled vacation right before a huge game-day party.
I needed something fast, something seriously rich, and something that looked like I spent hours fussing over it. Trust me, the layers you’re about to build—fudgy brownie, tangy cream cheese, and smooth chocolate pudding—are so decadent. It sets up perfectly in the cold, delivering that satisfying density you crave in a chilled chocolate dessert. It’s the ultimate no-bake solution when you need that chocolate fix immediately!
Why This Brownie Refrigerator Cake is Your New Go-To Dessert
Honestly, this recipe is a lifesaver when life gets busy, or frankly, when it’s way too hot to cook. It nails all the requirements for an amazing **easy refrigerator cake recipe** without ever needing a preheating chime. You just assemble, chill, and go!
- Zero Oven Time: That’s right, it’s 100% assembled cold. Perfect for summer potlucks!
- Incredible Make-Ahead Convenience: It honestly tastes even better the next day, making it the perfect **potluck friendly cake**.
- Decadent Layers: You get that fudgy chew from the base combined with intensely creamy fillings. It’s pure bliss.
- Quick Assembly: You can have the thing built in under 30 minutes before it heads to the fridge to firm up. Come check out how easy my creamy peanut butter pie is while you wait for this one to set!
Gathering Ingredients for Your Brownie Refrigerator Cake
Okay, gather your crew of ingredients! The beauty of this **brownie refrigerator cake** is how accessible everything is. We are keeping things super simple here because we want this to be a ‘quick assembly dessert,’ so I almost always lean on a store-bought fudge brownie mix. Don’t feel guilty about it; it saves a whole hour of baking and cooling time!
Here is what you’ll need to pull together those three glorious layers:
- One 18.3 ounce package of fudge brownie mix, plus whatever it calls for on the box (eggs, oil—the usual suspects!).
- 8 ounces of cream cheese—and listen, it has to be fully softened so it whips nicely, no lumps allowed!
- 1 cup of powdered sugar (this goes into the cream cheese layer).
- 1 teaspoon of pure vanilla extract—don’t skimp on the good stuff here.
- 1 cup of milk that must be cold! Seriously cold for the pudding to set right.
- One 3.9 ounce package of instant chocolate pudding mix.
- 2 cups of frozen whipped topping, thawed only slightly, please. We don’t want soup!
- And finally, about 1/2 cup of chocolate shavings or those tiny mini chocolate chips for the grand finale on top.
If you are looking for amazing cream cheese guidance for other recipes, you absolutely must check out my guide on making the best cream cheese frosting—it uses the same softening rules!
Step-by-Step Assembly of the Brownie Refrigerator Cake
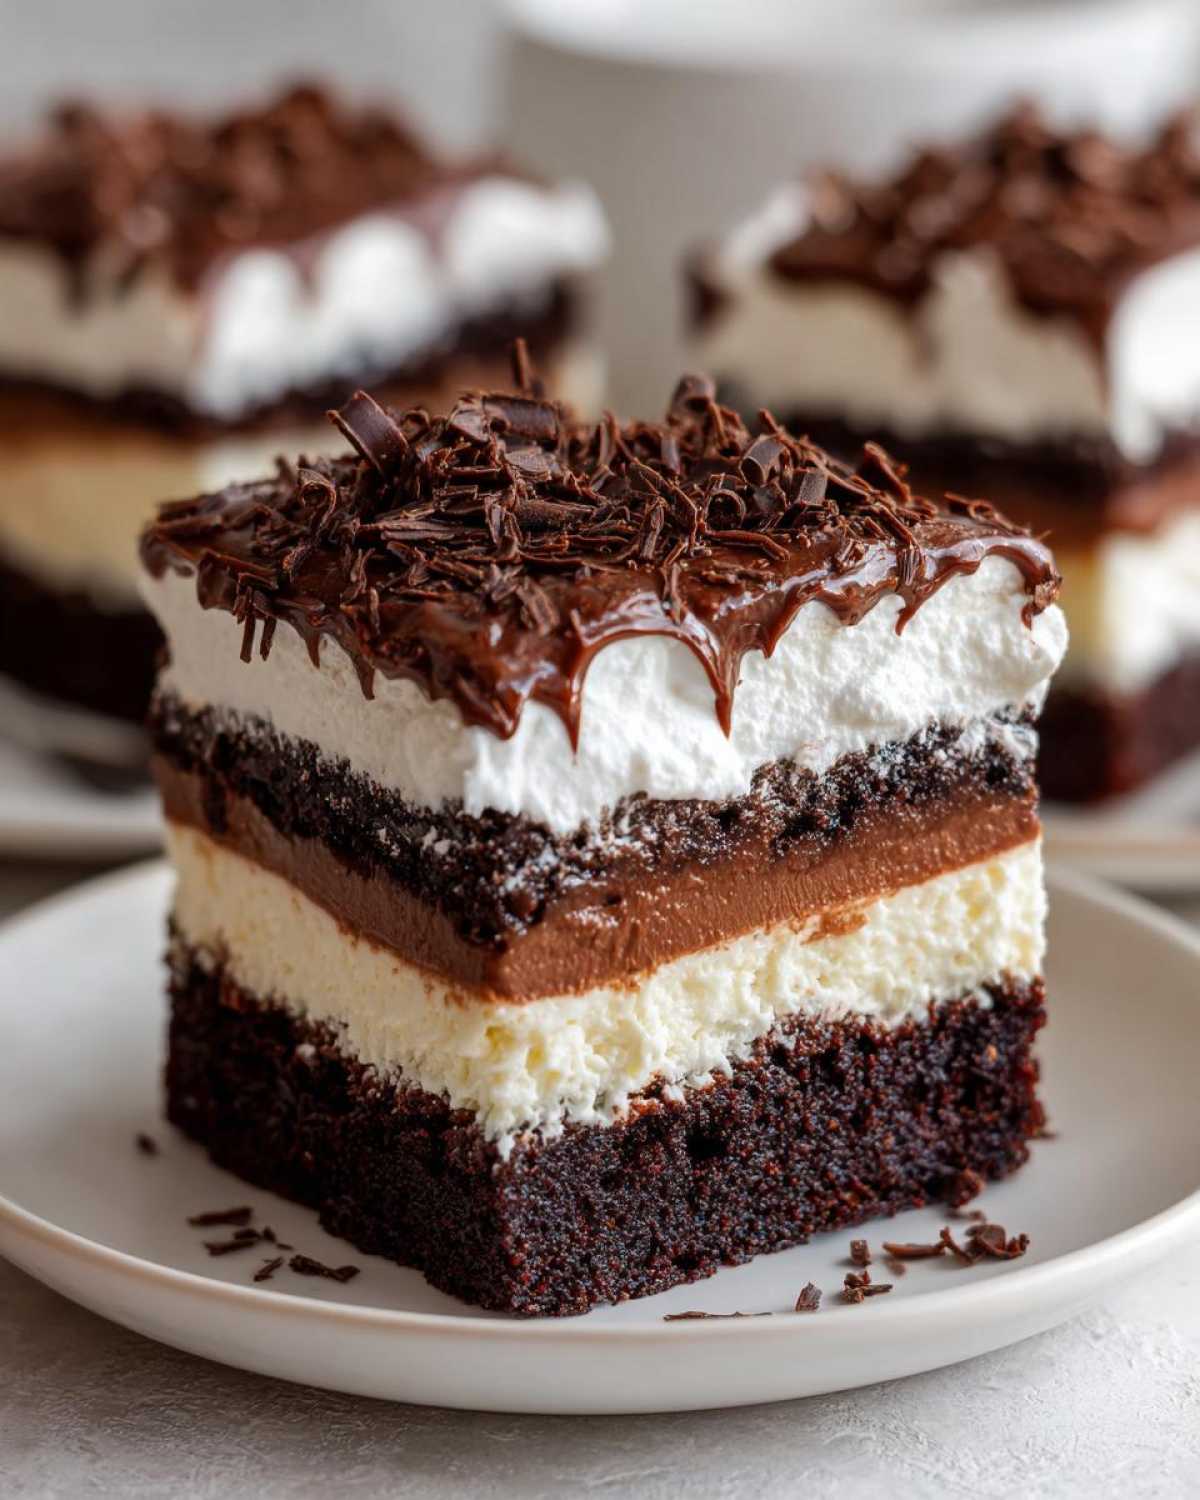
This is where the magic happens! Even though we aren’t baking during this stage, you still need to follow the layering sequence precisely. Getting this **simple dessert layering technique** right ensures you get that gorgeous cross-section when you slice into it later. We’re turning simple ingredients into a show-stopping **creamy brownie pudding cake**!
Preparing the Fudgy Brownie Base for the Brownie Refrigerator Cake
First things first, you have to bake those brownies from your mix according to the box directions. Don’t skip cooling them completely! If they are even slightly warm, they will melt the beautiful cream cheese layer we are about to make. Once they are poker-cool, trim the edges if needed and cut them into neat squares that will line the bottom of a standard 8×8 inch dish evenly. This forms the fudgy foundation of your **brownie refrigerator cake**.
Creating the Cream Cheese and Pudding Layers for the Brownie Refrigerator Cake
Now we build the creamy stuff! Take that softened cream cheese and beat it until it’s completely smooth—we want velvet, not pebbles! Slowly mix in the powdered sugar and vanilla until it’s light and dreamy. Set that aside. Next, whisk the cold milk and the instant pudding mix together rigorously for about two minutes until it starts to thicken up, giving it five minutes more to chill slightly. Remember, we want volume, so gently fold in about half of your thawed whipped topping into the pudding mixture. Be delicate here; we need that air!
Layering and Chilling Your Brownie Refrigerator Cake
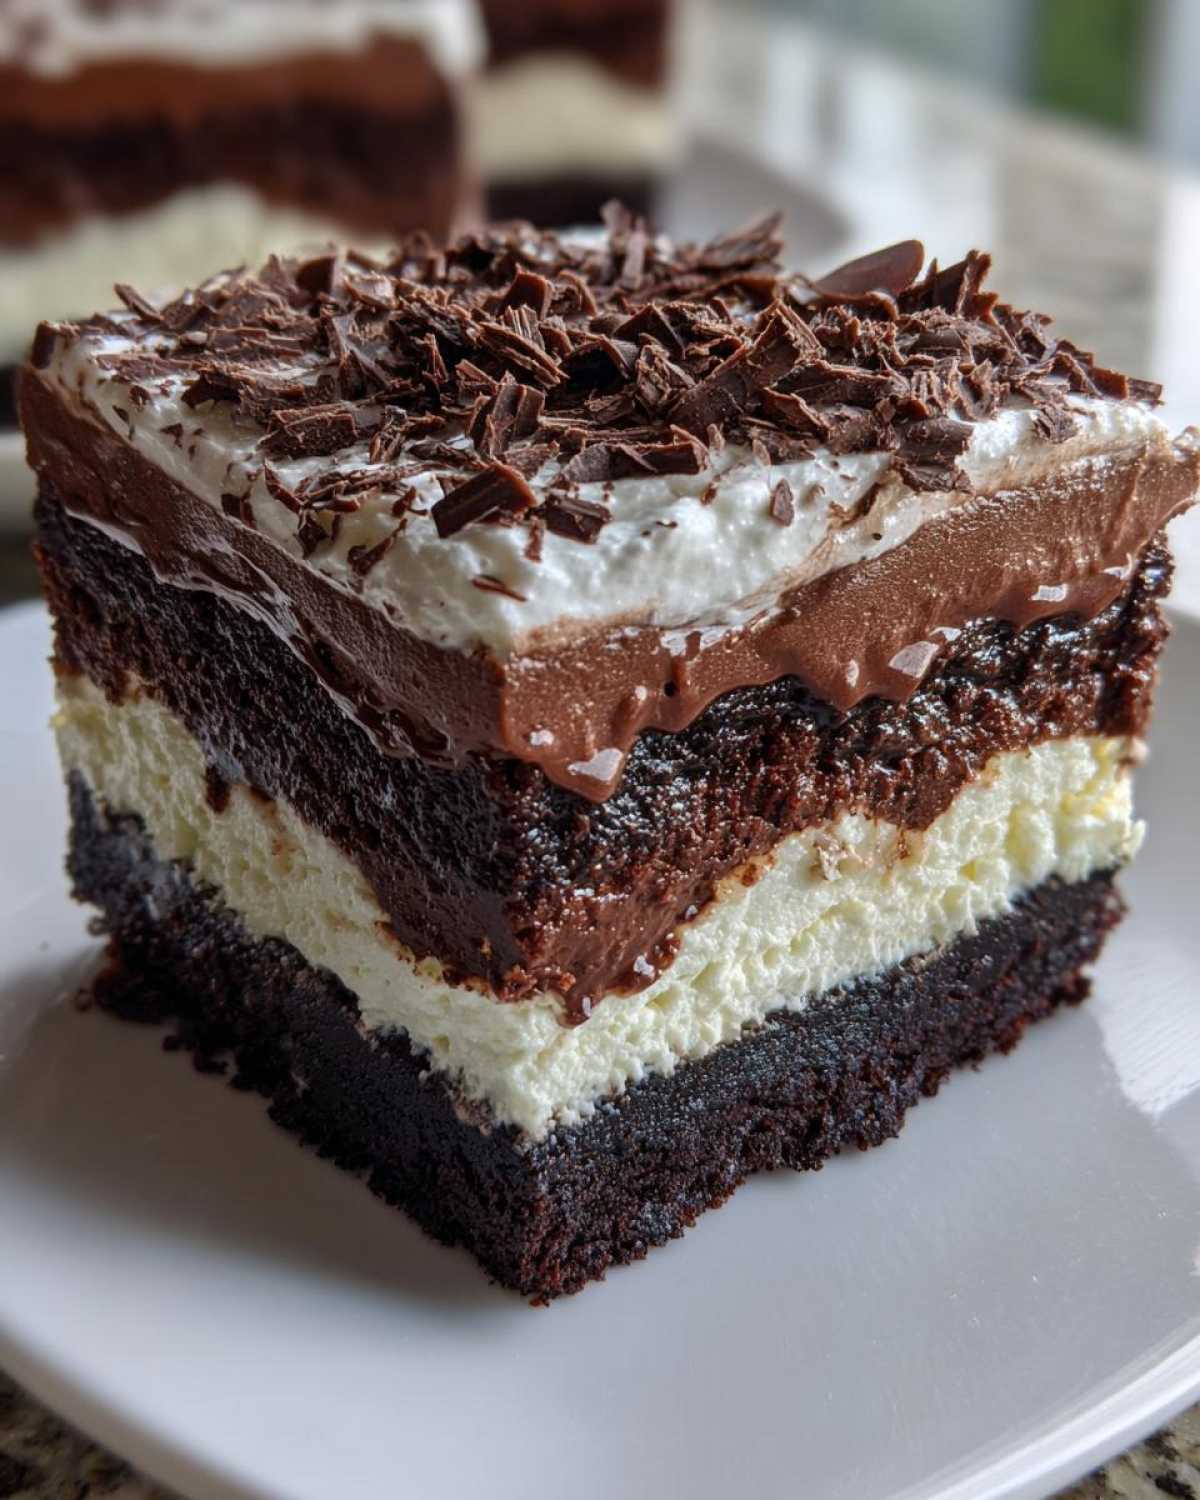
Time to stack! The order is critical for success. First, lay down your cooled brownie squares firmly on the bottom of your pan. Next, gently spread that lovely cream cheese mixture evenly over the brownies. Then, carefully spoon the airy chocolate pudding mixture on top of the cheese layer, smoothing it out. Finish the top with the rest of your thawed whipped topping. Sprinkle those chocolate shavings everywhere! Now, listen closely: cover this beauty tightly and send it to the fridge for a minimum of six hours, but honestly, overnight is best for this **brownie refrigerator cake** to truly set up. Don’t rush the chill!
If you’re looking for another great chilled chocolate treat, you have to look into my recipe for chocolate dipped coconut bars!
Tips for the Perfect Brownie Refrigerator Cake Texture
Achieving that perfect, decadent texture—the contrast between the chewy brownie and the melt-in-your-mouth top layers—is all about a couple of tiny tricks. Like I mentioned before, using a store-bought box mix for the base is my secret weapon for speed, especially when I’m aiming for a quick **fudgy brownie dessert**. It bakes up reliably every time!
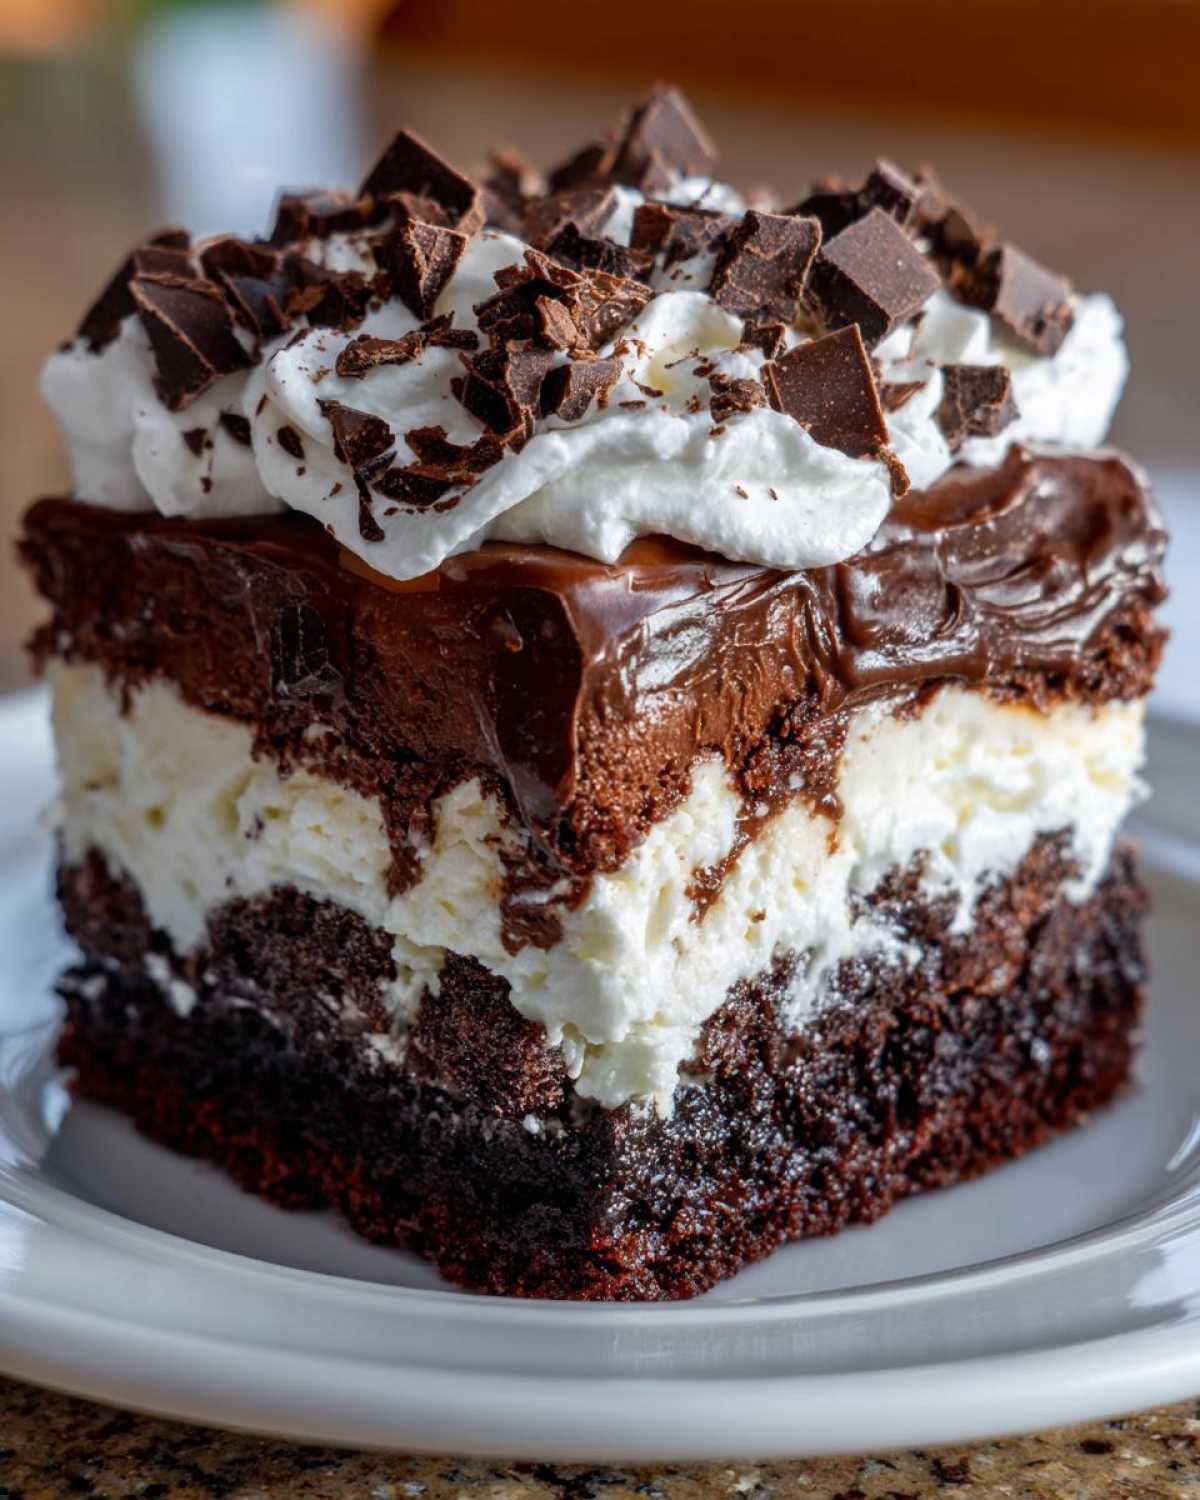
But the real game-changer for presentation, after all that chilling time, is slicing it cleanly. Don’t just hack at it, or you’ll smear all those beautiful layers together! Here’s what you do: Get a long, sharp knife and dip it into a jar of very hot water. Wipe the blade completely dry with a clean towel, and then make your cut. Dip, wipe, cut! Repeat that process for every single slice. It keeps the knife warm enough to glide right through the chilled layers without dragging the cream cheese or pudding around.
If you’re interested in another quick, no-bake chocolate fix that’s great for dipping, you won’t believe how easy my brownie batter dip is!
Storage and Serving Suggestions for Your Brownie Refrigerator Cake
So, you’ve let your gorgeous **brownie refrigerator cake** chill overnight, and now it’s set up like a dream! The best part about this **make ahead chocolate cake** is how sturdy it becomes. Because it’s mostly chilled dairy and thick pudding, it holds up really well, which is why it’s just perfect for those big gatherings.
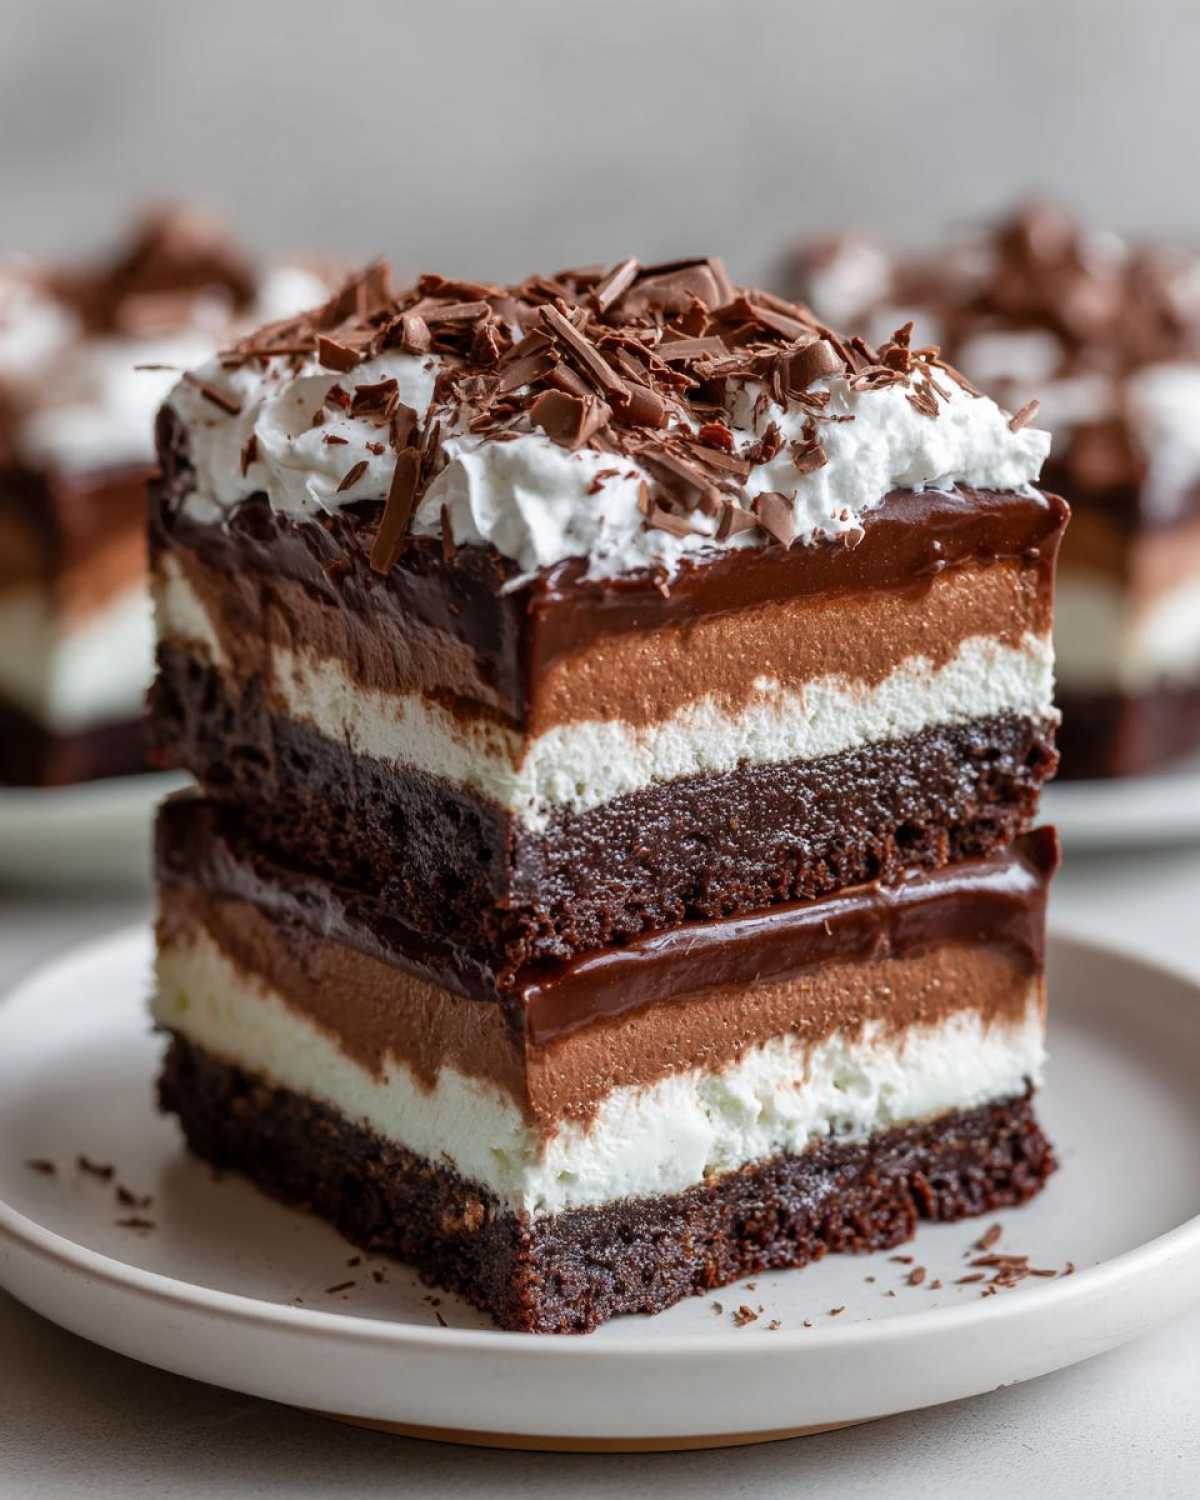
You can absolutely keep this masterpiece in the refrigerator, covered tightly, for up to four days. I’ve tested this out—trust me, the leftovers are heavenly for a midnight snack! Because it’s such a rich, **chilled chocolate dessert**, I find that serving it straight from the fridge is ideal. If you let it sit out for 15 minutes, the layers get a tiny bit softer, which some people prefer, but I love that firm, almost fudge-like texture right away.
When it comes to serving, simplicity reigns supreme here. The cake is so rich on its own that it doesn’t need much help. A small side of fresh raspberries or a light dusting of finely sifted cocoa powder is usually all I do. If you’re having it with coffee, it’s just divine. It’s such a satisfying end to any meal, and you didn’t even break a sweat making it! If you’re tired of cold desserts, maybe try something warm next time, like my recipe for easy crockpot steak bites, just for a savory change!
Frequently Asked Questions About Making a Brownie Refrigerator Cake
I get so many wonderful questions about this **brownie refrigerator cake**, and honestly, I love hearing how everyone puts their own little spin on it! People want to know if they can cheat on the brownie base or how long they *absolutely* need to wait before diving in. Here are some of the top ones I hear all the time about making this **simple no bake dessert**.
Can I use homemade brownies instead of a mix in this brownie refrigerator cake?
Absolutely, yes you can! If you have a favorite scratch recipe for fudgy brownies, go right ahead and use it. The box mix is just for streamlining the process because that’s what half the magic is—the speed! Just make sure whatever homemade batch you bake is completely, totally cool before you start cutting them up and layering them in the pan. Warmer brownies mean melty cream cheese, and we don’t want that mess!
How long does the no bake brownie dessert need to chill?
This is the hardest part, having patience! The minimum time I list is six hours to ensure everything has firmed up enough to slice without collapsing. However, if you want the absolute best texture for this **layered chocolate icebox cake**, where the layers are distinct and the whole thing is perfectly sliceable, you really need to let it sit overnight. It gives those creamy layers time to really meld into the brownie base. When you wait, you get that perfect, satisfying slice every time.
What can I substitute for instant pudding in this easy refrigerator cake recipe?
Instant pudding is great because it sets up so fast and thick, but if you don’t have it, you have options! You could potentially use a high-quality, pre-made chocolate mousse, but you’ll need to fold that in even more gently to keep the air in it. Or, if you’re feeling extra fancy, you could stabilize a rich chocolate ganache until it’s thick enough to fold with the whipped topping. That’s moving away from the ‘easy’ focus, but it definitely makes for an ultra-rich **decadent layered dessert**!
If you’re looking for a quick chocolate treat that doesn’t require any chilling at all, you should definitely check out my recipe for a quick chocolate mug cake!
Estimated Nutritional Profile for the Brownie Refrigerator Cake
Just a quick note here: because we’re using a brownie mix and combining a few different wonderful things, the nutrition facts are always just estimates based on standard package sizes and ingredient use. These numbers are for one square of the 8×8 pan, assuming 9 servings total.
- Serving Size: 1 square
- Calories: 380
- Sugar: 45g
- Sodium: 210mg
- Fat: 20g
- Saturated Fat: 10g
- Carbohydrates: 50g
- Protein: 5g
Share Your Ultimate Brownie Refrigerator Cake Creations
I absolutely love seeing your versions of this **brownie refrigerator cake** pop up! Once you’ve let yours chill and set, take a picture and tag me! Let me know in the comments what you thought—did you stick strictly to the three layers, or did you maybe add some salted caramel drizzle on top? I always appreciate the feedback because it helps me keep improving these recipes for all of you wonderful home cooks out there. Don’t forget to rate the recipe five stars if this has become your new favorite brownie refrigerator cake!
Estimated Nutritional Profile for the Brownie Refrigerator Cake
Just a quick note here: because we’re using a brownie mix and combining a few different wonderful things, the nutrition facts are always just estimates based on standard package sizes and ingredient use. These numbers are for one square of the 8×8 pan, assuming 9 servings total. They can shift around depending on which brownie mix you grab, so keep that in mind!
- Serving Size: 1 square
- Calories: 380
- Sugar: 45g
- Sodium: 210mg
- Fat: 20g
- Saturated Fat: 10g
- Carbohydrates: 50g
- Protein: 5g
Share Your Ultimate Brownie Refrigerator Cake Creations
I absolutely love seeing your versions of this **brownie refrigerator cake** pop up! Once you’ve let yours chill and set, take a picture and tag me! Let me know in the comments what you thought—did you stick strictly to the three layers, or did you maybe add some salted caramel drizzle on top? I always appreciate the feedback because it helps me keep improving these recipes for all of you wonderful home cooks out there. Don’t forget to rate the recipe five stars if this has become your new favorite brownie refrigerator cake!
Print
The Ultimate No-Bake Brownie Refrigerator Cake: Rich Layers of Fudge, Cream Cheese, and Chocolate Pudding
- Total Time: 355 min
- Yield: 9 servings
- Diet: Vegetarian
Description
Assemble this rich, layered chocolate dessert without turning on your oven. This cake features fudgy brownies, a creamy cheese layer, and a smooth chocolate pudding topping, perfect for making ahead.
Ingredients
- 1 (18.3 ounce) package fudge brownie mix (plus ingredients listed on box for baking)
- 8 ounces cream cheese, softened
- 1 cup powdered sugar
- 1 teaspoon vanilla extract
- 1 cup cold milk
- 1 (3.9 ounce) package instant chocolate pudding mix
- 2 cups frozen whipped topping, thawed
- 1/2 cup chocolate shavings or mini chocolate chips for garnish
Instructions
- Prepare and bake the brownies according to the package directions. Let the brownies cool completely, then cut them into uniform squares suitable for lining the bottom of an 8×8 inch pan.
- Arrange the cooled brownie pieces in a single layer on the bottom of an 8×8 inch baking dish.
- In a medium bowl, beat the softened cream cheese until smooth. Gradually beat in the powdered sugar and vanilla extract until the mixture is light and creamy. Set aside.
- In a separate bowl, whisk together the cold milk and instant chocolate pudding mix for two minutes until it begins to thicken. Let it stand for five minutes.
- Gently fold half of the thawed whipped topping into the thickened chocolate pudding mixture until just combined.
- Spread the cream cheese mixture evenly over the layer of brownies.
- Carefully spread the chocolate pudding mixture over the cream cheese layer.
- Top the cake with the remaining half of the whipped topping.
- Sprinkle the top evenly with chocolate shavings or mini chocolate chips.
- Cover the dish tightly with plastic wrap and refrigerate for at least 6 hours, or preferably overnight, to allow the layers to set firmly.
- Slice and serve cold directly from the refrigerator.
Notes
- Use store-bought fudge brownies for the quickest assembly time.
- Ensure the cream cheese is fully softened to avoid lumps in the middle layer.
- For easier slicing, run a sharp knife under hot water and wipe it dry between cuts.
- Prep Time: 25 min
- Cook Time: 30 min
- Category: Dessert
- Method: No-Bake/Chilling
- Cuisine: American
Nutrition
- Serving Size: 1 square
- Calories: 380
- Sugar: 45
- Sodium: 210
- Fat: 20
- Saturated Fat: 10
- Unsaturated Fat: 10
- Trans Fat: 0
- Carbohydrates: 50
- Fiber: 2
- Protein: 5
- Cholesterol: 35



Comments are closed.