
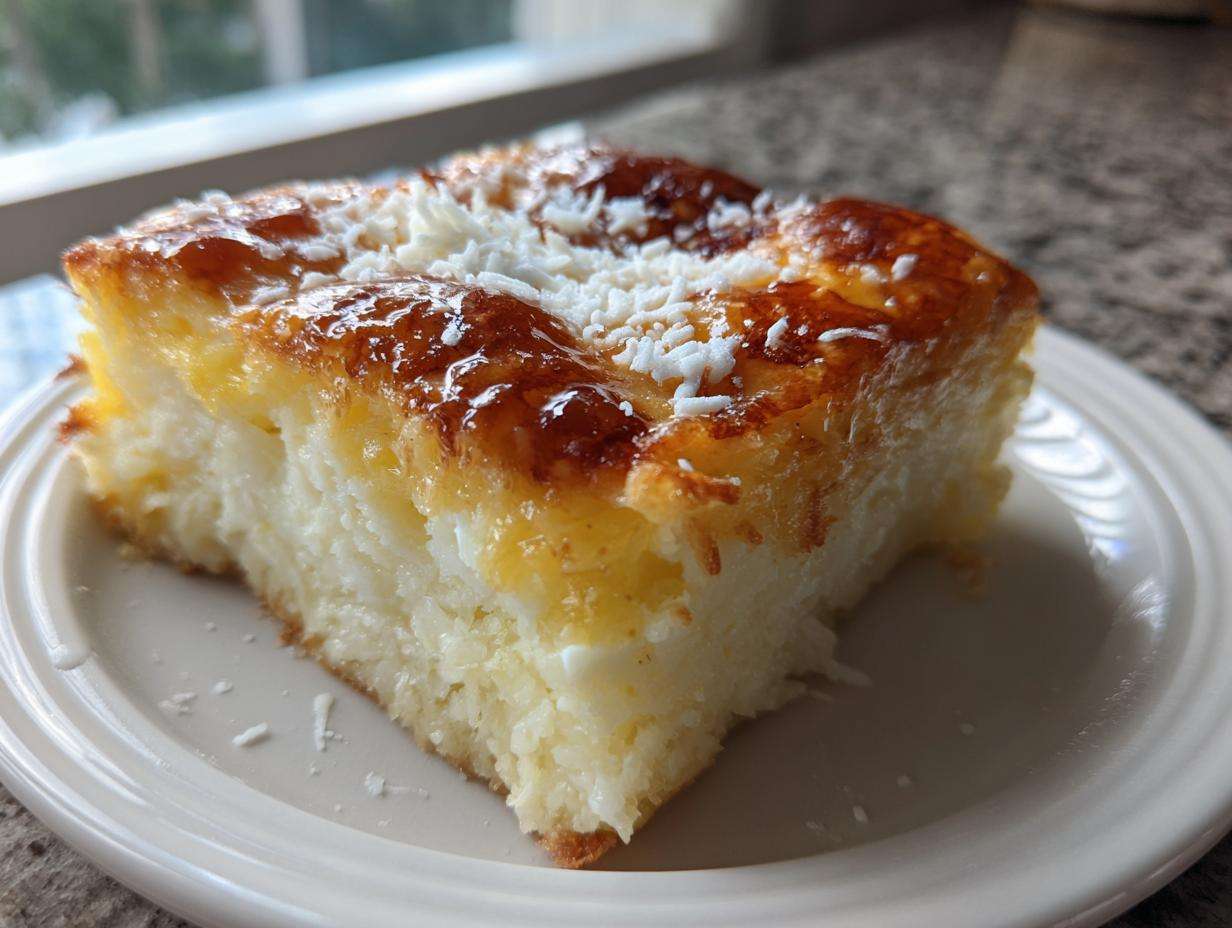
Oh, if you haven’t had true Filipino kakanin, you are missing out! There is nothing quite like those rich, chewy, coconut-infused rice cakes and desserts. But let me tell you, my absolute favorite—the one everyone asks me for—is our family’s recipe for cassava cake. Forget those dry, crumbly versions you might have tried elsewhere!
This recipe, refined over years of kitchen trial and error (and maybe a few failed attempts at getting that topping just right!), yields the most unbelievably moist and chewy base, crowned with that iconic, slightly sweet, creamy custard layer. Seriously, getting that topping to set perfectly without scrambling the beautiful yolks took me weeks to nail down. Trust me, once you try this method for authentic Filipino cassava cake with that golden finish, you’ll never look back. It’s surprisingly easy, too!
Why This is the Best Filipino Cassava Cake Recipe
I know everyone claims they have the best recipe, but hear me out on this one! I spent so long trying to get that perfect texture, and I finally cracked the code. What makes this cassava cake stand out is a few simple things:
- You get that satisfying, incredibly moist and chewy cake base every single time.
- The two-step baking process guarantees the most gorgeous, perfectly set, light gold sheen on your creamy cassava cake topping. No weird soggy spots!
- It’s genuinely simple. Prep is fast, and the oven does the hard work.
If you want that traditional taste but need an easy method that works, this is it. You can even check out how I use a special soak technique in my other coconut desserts; that attention to moisture is what we bring here too!
Essential Ingredients for Authentic Cassava Cake
You absolutely need to get your ingredients right here. It’s the foundation for that incredible, chewy texture we’re aiming for. First up, the star: you’ll need 4 cups of grated cassava. Listen, if you use fresh, make sure you thaw it and—this is crucial—drain off as much liquid as you possibly can! Frozen works great if you do that step right.
For the base mixture, you cannot skimp on the coconut milk; make sure you grab the full-fat can for richness! Then we mix that with condensed milk, a little bit of regular sugar, melted butter (real butter, please!), eggs, vanilla, and salt. If you want that savory touch, you can mix in about a cup of grated cheese right into the base now.
Now for the magic topping! This needs its own dedicated coconut milk, more condensed milk, egg yolks (just the yolks!), a little bit more sugar, and then whatever cheese or delicious macapuno strings you’re using to make it special on top. Keep everything measured out; this recipe is almost foolproof when you follow the proportions!
Equipment Needed for Easy Cassava Cake Baking
You don’t need a ton of fancy gadgets for this delicious dessert, which is part of what makes it such a great beginner recipe. It’s all about simple mixing and thoughtful, measured cooking. First thing, you’ll need a sturdy 9×13 inch baking pan. That’s the classic size that gives you the perfect thickness for both the cake and the topping.
Make sure you have a few good mixing bowls. You’ll want one big one for combining all the base ingredients and a separate, smaller saucepan for gently cooking that gorgeous topping mixture later on. Also, grab a good whisk—we need to mix those yolks slowly without scrambling them! And honestly, having a nice silicone spatula helps immensely when you are scraping every last bit of that rich batter into the pan.
Finally, parchment paper is your best friend here. Just cut a strip to fit the bottom of your pan. It makes releasing the cake later so much cleaner; nobody wants to wrestle their dessert out of the tin!
Step-by-Step Instructions: How to Make Cassava Cake
Okay, let’s get baking! Making this delicious cassava cake is a two-part adventure, but don’t stress about timing. First things first: preheat that oven to 350°F (175°C). While it warms up, get your 9×13 inch pan greased perfectly, and lay down that parchment paper right in the bottom. We want this to slide right out later!
Preparing the Cassava Cake Base
In your biggest bowl, dump in your well-drained grated cassava. Then, add the first can of coconut milk, the sweet condensed milk, your half-cup of sugar, melted butter, eggs, vanilla, and salt. Mix it all together gently but thoroughly until that batter just comes together. If you decided to add cheese to the base, fold it in now. Pour this whole mixture evenly into your prepared pan. Pop it into the preheated oven and let it bake for about 45 minutes while we work on the best part!
Creating the Creamy Cassava Cake Topping
This is where we create that luscious creamy cassava cake topping. In a saucepan—keep the heat low, medium-low at most—whisk together the second can of coconut milk, the remaining condensed milk, those lovely egg yolks, and your remaining quarter-cup of sugar. You need to stir this constantly, just like you’re making a delicate custard pie, which I talk more about achieving silky texture for in another classic egg recipe. If you stop whisking, those yolks will turn into tiny scrambled bits! We only want it heating up enough to thicken slightly, about 5 to 7 minutes. As soon as it coats the back of a spoon a bit, take it right off the heat. You certainly don’t want it boiling!
The Final Bake for a Golden Brown Cassava Cake Top
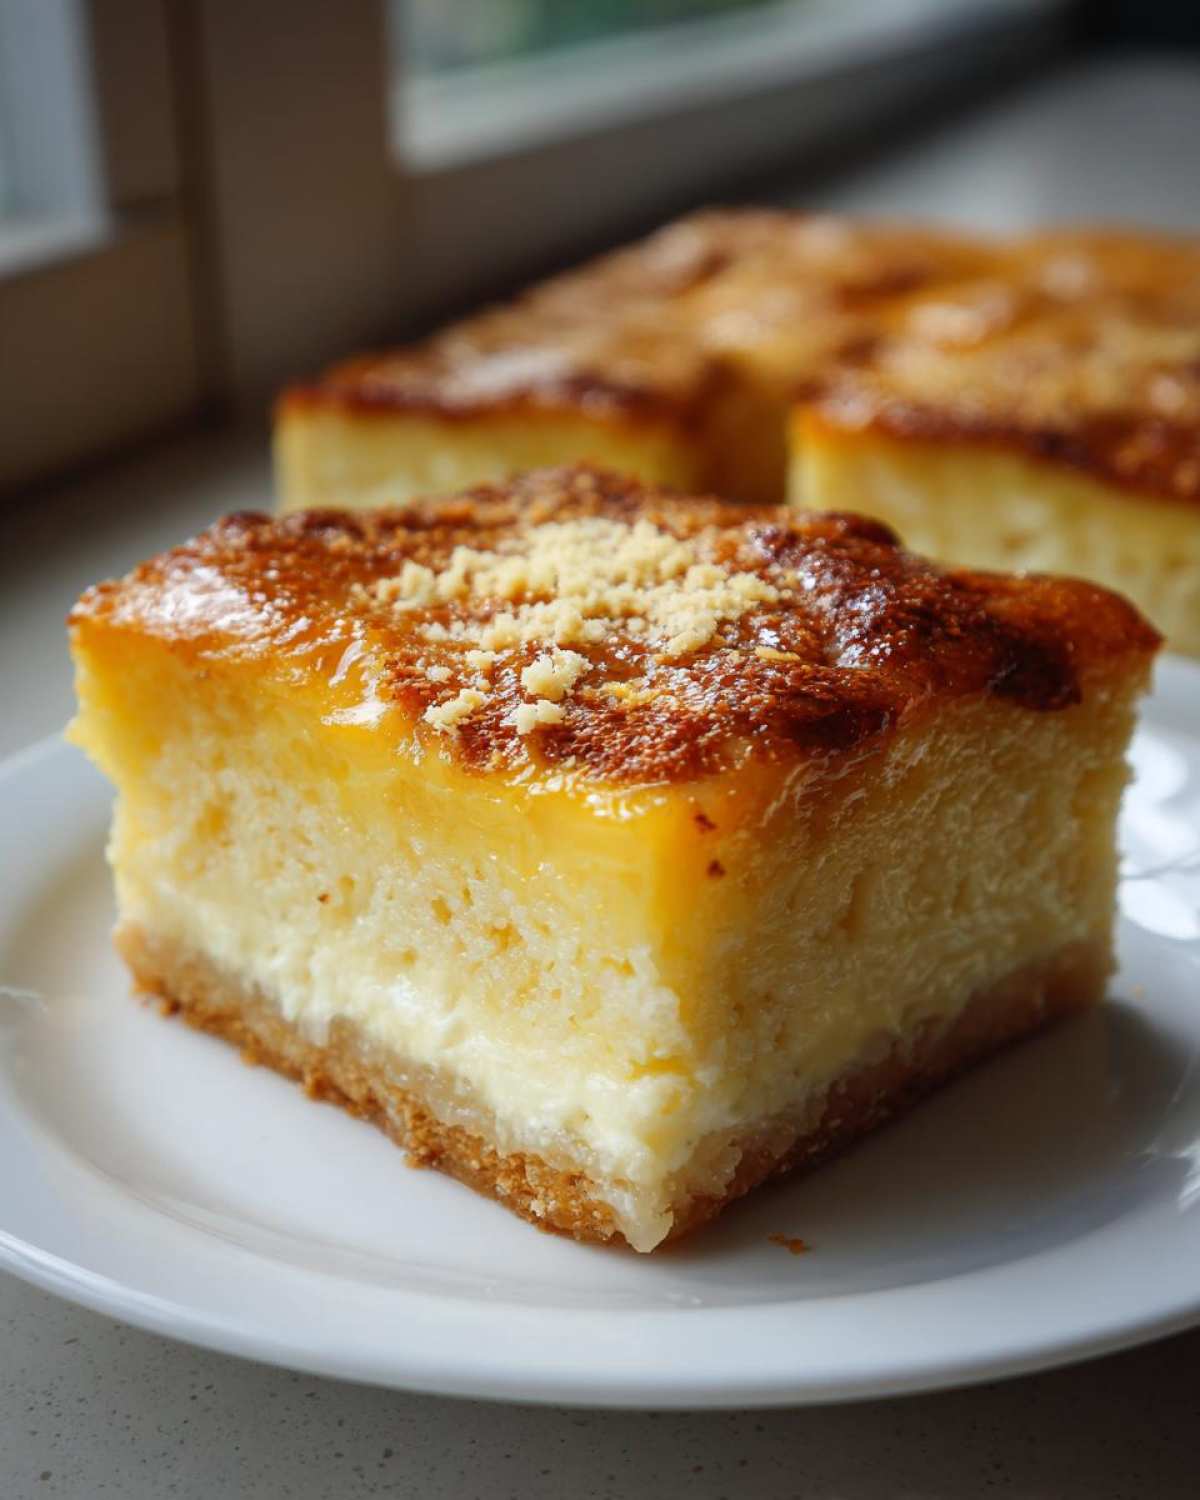
Once your base has baked for 45 minutes and the edges look set, gently pull the pan out. Carefully, slowly drizzle that warm custard topping over the hot cake base—try to keep it even. Then, sprinkle that last bit of grated cheese and those optional macapuno pieces right on top. Send it back into the oven for another 15 to 20 minutes until that topping looks firm and gorgeous. If you want that ultimate golden brown cassava cake top, you can carefully place it under the broiler for just 60 seconds, but seriously, stand there and watch it like a hawk so it doesn’t burn!
Tips for the Perfect Moist Baked Cassava Cake Texture
Oh, the texture! That’s what separates a good cassava cake from a legendary one. If you want that perfect, delightfully chewy quality, you have to treat your cassava right before it even hits the bowl. I cannot stress this enough: you have to drain almost all the liquid out of your grated cassava before mixing. Excess water creates a soup during baking, not a cake!
Remember how I said I focus on moisture in all my baking, like in my bran muffin guide? The same principle applies here. Drain it, squeeze it, let it sit in a fine sieve for a while. Once it’s baked, the other big tip is patience—seriously! You must let this cake cool completely, preferably room temperature, before you even try to slice it. If you cut it hot, it will crumble and stick everywhere, and you’ll lose that beautiful, dense, chewy structure.
Cassava Cake Variations: Macapuno and Cheese Topping Options
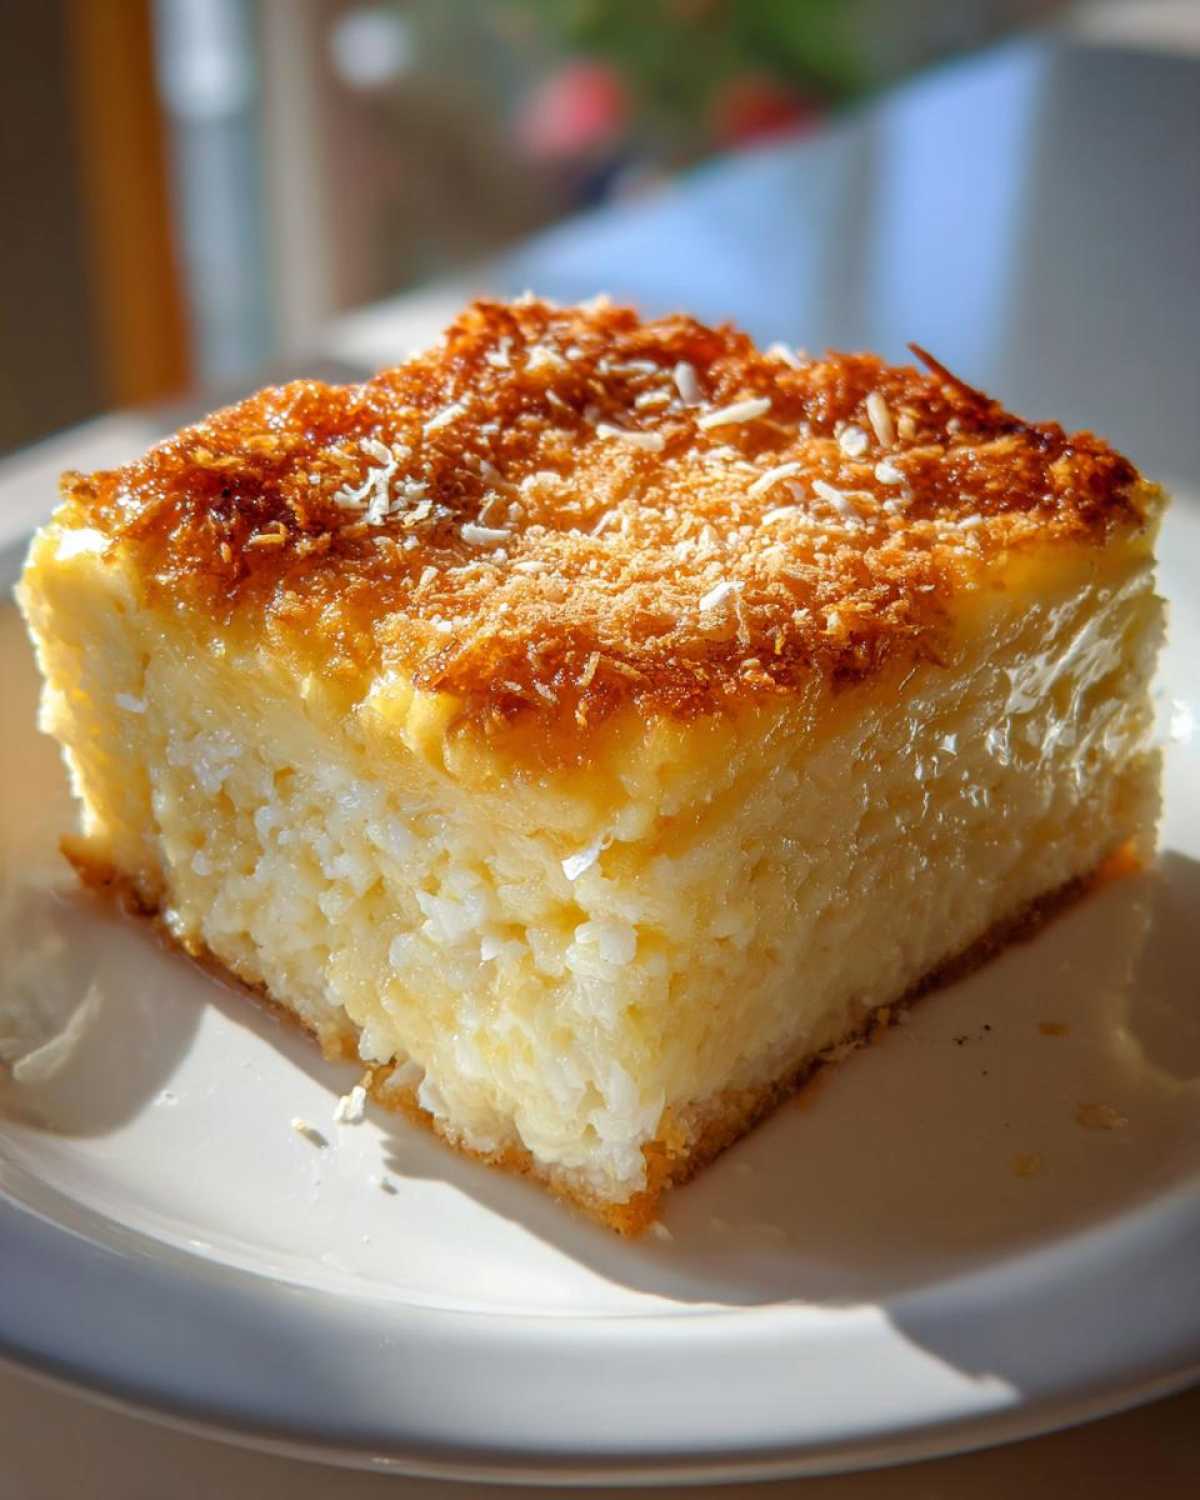
Now that you’ve got the classic, pure Filipino Cassava Cake Recipe down—the one that relies mostly on that rich coconut and sweet milk—it’s time to jazz it up! Part of what makes this such a beloved *traditional cassava cake* is how easily you can customize it. My readers often ask me about macapuno and cheese, and honestly, both additions take this dessert to the next level.
If you’re looking for that tropical, slightly nutty sweetness, you have to try adding macapuno. This is that soft, shredded part of a young coconut sport, and it’s heavenly. For the best flavor integration, I suggest tossing about half a cup of macapuno strings directly into your base batter, right before you pour it into the pan in Step 2. Then, sprinkle the rest over the custard layer before the final bake, just like we did with the cheese topping.
And cheese! Oh my goodness, the sweet and salty combination is just addictive. For the best experience, use sharp cheddar—it holds its flavor better against all that sweetness. You can mix your first measured amount of cheese into the base batter for richness, as I mentioned earlier. Then, use the topping cheese liberally! The heat from the oven melts it just enough that it blends beautifully with the custard. If you’ve never made a cake that plays with sweet and salty so well, you might enjoy my notes on balancing flavors in my carrot cake guide, too! Both the cheese and macapuno make this a truly special treat.
Storage and Serving Suggestions for Your Cassava Cake
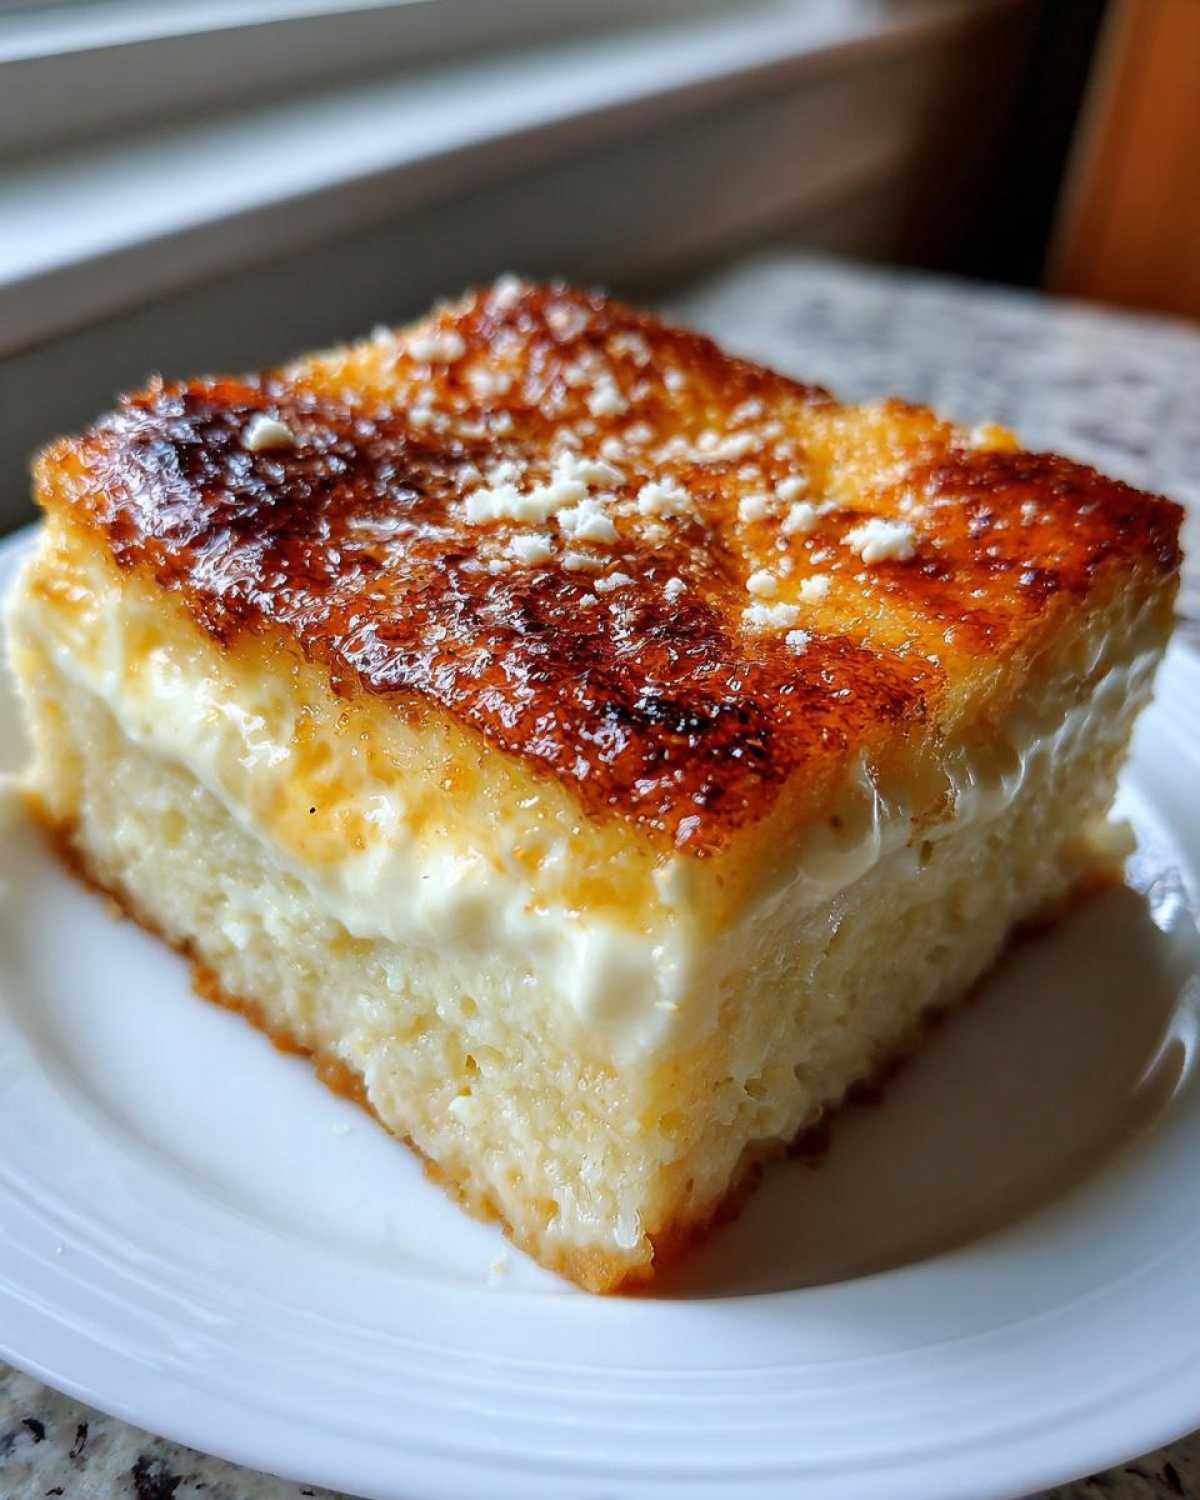
So, you’ve made this masterpiece, and now you have leftovers—lucky you! This cassava cake is great the day it’s baked, but honestly? It gets even better the next day. Since it’s so rich with fats from the coconut milk and butter, it keeps really well.
You don’t need to rush it into the fridge immediately; in fact, I prefer letting it cool completely on the counter first. Once cool, you can store it covered at room temperature for about two days, though I usually pop leftovers into the fridge if I know we won’t finish it quickly. When serving, remember that chilled slices firm up a little more, giving you that ideal, super-chewy experience. But you know me, I love a little warmth with my sweets, so I often let a slice sit out for about 20 minutes before serving alongside a strong cup of black coffee. Perfection!
Frequently Asked Questions About Cassava Cake
I get so many messages about this recipe, and I love talking through the tricky spots! Don’t hesitate to ask if something confuses you; that’s why I’m here. Here are the top things people always ask when they’re diving into making their first *traditional cassava cake*.
Can I skip the baking step for the topping on this Cassava Cake?
Oh, goodness, please don’t try to skip that second bake! If you just pour the topping on and serve it warm, you’ll end up with something that tastes more like a wonderful pudding than a proper cassava cake. That second round in the oven—or even a quick five-minute trip under the broiler—is what’s essential for setting those egg yolks and creating that slight structural integrity in the custard. It turns soupy goo into that beautiful, barely-set layer we’re aiming for. If it starts looking a little pale, a quick broil will give you that gorgeous *golden brown cassava cake top* you’re dreaming of in seconds, but you have to watch it!
What is the best way to achieve a chewy texture in my Cassava Dessert?
If you want that perfect *moist baked cassava cake* texture that sticks to your fork just right—that satisfying chewiness—it all comes down to draining the starchy water out of the cassava. Whether you use fresh or frozen tubers, you have to press out as much moisture as you physically can after thawing. I usually put the grated cassava in a clean kitchen towel or a few layers of cheesecloth and just squeeze over the sink until no more water drips out. Think of it like wringing out a sponge! This removes excess starchiness that can make the cake either watery or too gummy. Seriously, squeezing that liquid out is the secret handshake for a truly great *chewy cassava dessert*.
Also, remember what I mentioned in the main steps guide, like how I tweak my muffin recipes? Letting the cake cool completely is non-negotiable! It firms up as it cools, locking in the chewiness. Don’t slice it hot!
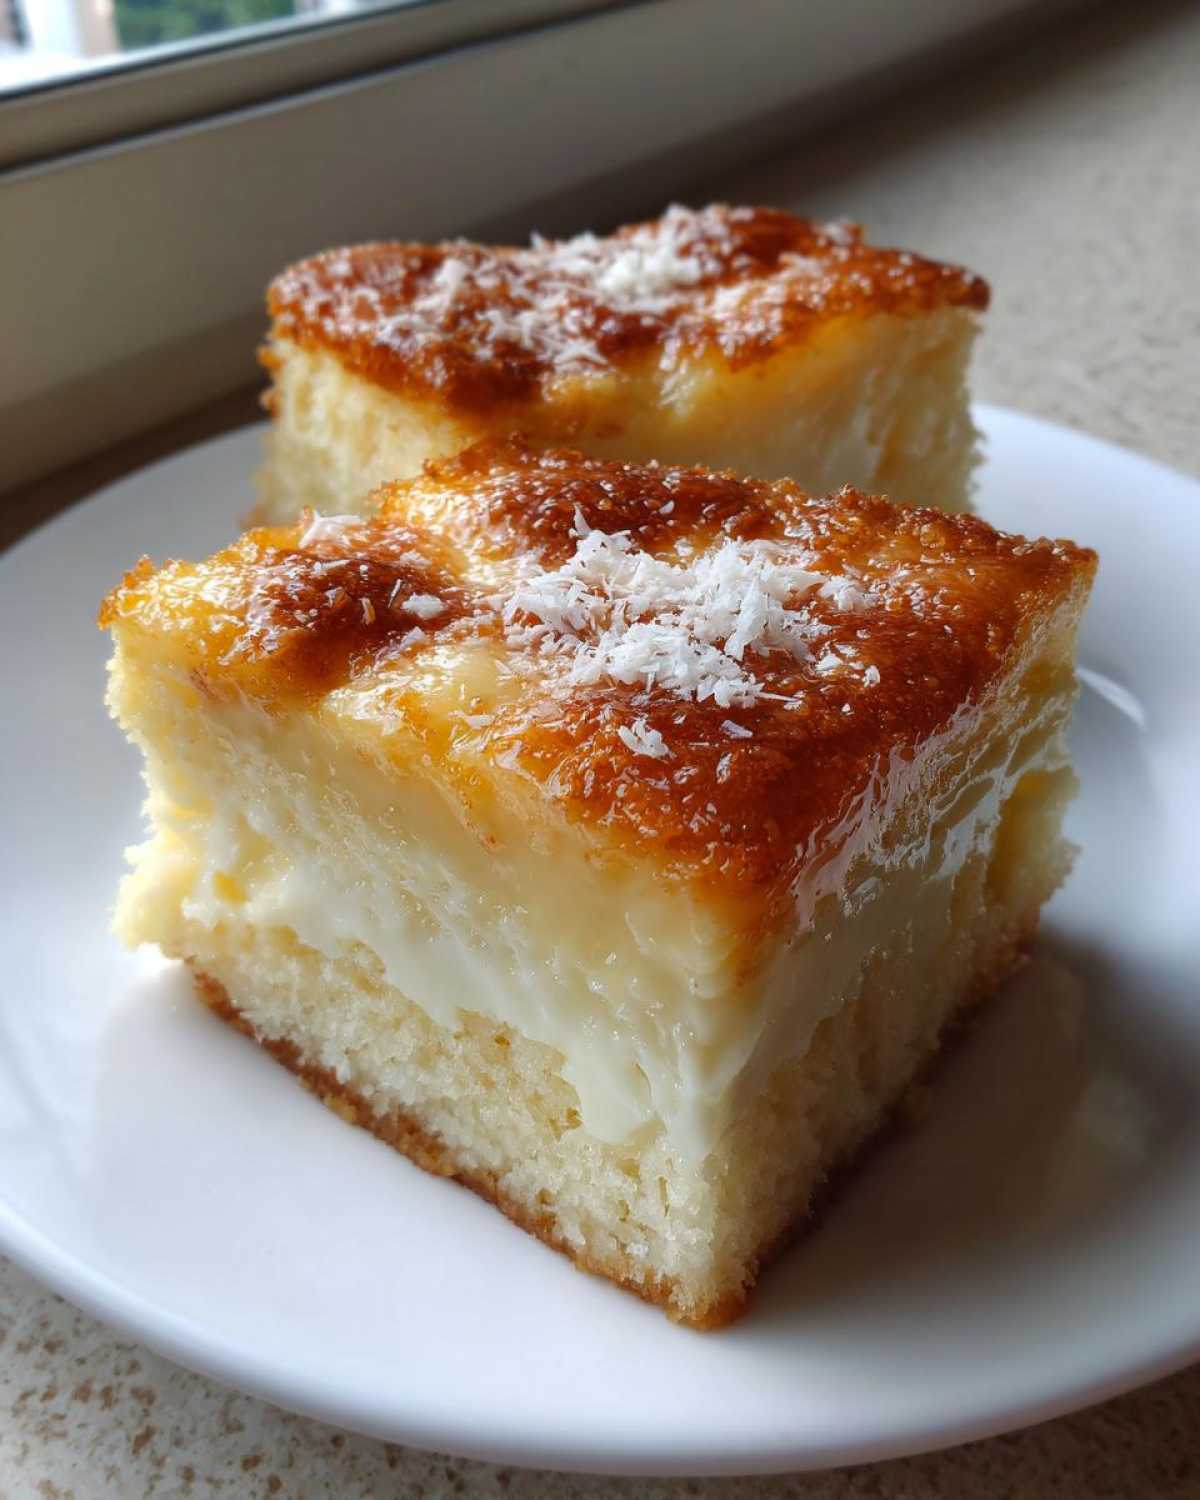
Share Your Authentic Philippine Dessert Experience
I’ve shared all my best secrets for making this beautiful, traditional cassava cake, and now it’s your turn to get sweet and sticky in the kitchen! I truly believe that sharing these recipes helps keep the joy and flavor of Filipino cooking alive, and I want to see what you come up with.
Go ahead and give this recipe a try this weekend. Don’t forget to save those drippings for your next bake! Once you’ve let it cool and sliced into that perfectly golden top, snap a picture and tag me over on social media. I absolutely love seeing your results! When you share, please let me know if you went classic or if you jumped straight to the fun stuff—did you try the cassava cake with macapuno topping? Tell me all about how your *sweet cassava dessert* turned out!
Print
Authentic Filipino Cassava Cake with Creamy Topping
- Total Time: 85 min
- Yield: 12 servings
- Diet: Vegetarian
Description
Make a moist, chewy Filipino Cassava Cake featuring a rich, creamy custard topping, perfect for a traditional dessert.
Ingredients
- 4 cups grated fresh or frozen cassava, thawed and drained
- 1 (13.5 oz) can full-fat coconut milk
- 1 (14 oz) can sweetened condensed milk
- 1/2 cup granulated sugar
- 1/2 cup melted unsalted butter, plus more for greasing
- 2 large eggs
- 1 teaspoon vanilla extract
- 1/4 teaspoon salt
- 1 cup grated cheese (optional, for mixing in)
- For the Topping: 1 (13.5 oz) can full-fat coconut milk
- 1/2 cup sweetened condensed milk
- 2 large egg yolks
- 1/4 cup granulated sugar
- 1/2 cup grated cheese (for topping)
- 1/4 cup macapuno strings or strips (optional)
Instructions
- Preheat your oven to 350°F (175°C). Grease and line a 9×13 inch baking pan with parchment paper.
- In a large bowl, combine the grated cassava, 1 can of coconut milk, condensed milk, 1/2 cup sugar, 1/2 cup melted butter, eggs, vanilla, and salt. Mix well until just combined. If using cheese in the base, mix it in now.
- Pour the batter into the prepared baking pan and spread evenly.
- Bake the base for 45 minutes, or until the edges are set.
- While the base bakes, prepare the topping. In a small saucepan, whisk together the topping coconut milk, condensed milk, egg yolks, and 1/4 cup sugar.
- Cook the topping mixture over medium-low heat, stirring constantly, until it thickens slightly, about 5 to 7 minutes. Do not let it boil. Remove from heat.
- Remove the partially baked cake from the oven. Gently spread the topping mixture evenly over the hot cassava base. Sprinkle the remaining grated cheese and macapuno (if using) over the topping.
- Return the cake to the oven and bake for another 15 to 20 minutes, or until the topping is set and lightly golden brown.
- Let the cake cool completely in the pan before slicing and serving. Cooling allows the cake to firm up.
Notes
- If you use frozen cassava, press out as much excess liquid as possible after thawing for a better texture.
- For a richer topping color, you can briefly place the cake under the broiler for the last 1-2 minutes, watching carefully to prevent burning.
- This cake tastes best when served at room temperature or slightly chilled.
- Prep Time: 20 min
- Cook Time: 65 min
- Category: Dessert
- Method: Baking
- Cuisine: Filipino
Nutrition
- Serving Size: 1 slice
- Calories: 350
- Sugar: 35
- Sodium: 150
- Fat: 18
- Saturated Fat: 14
- Unsaturated Fat: 4
- Trans Fat: 0
- Carbohydrates: 45
- Fiber: 3
- Protein: 6
- Cholesterol: 50



Comments are closed.