
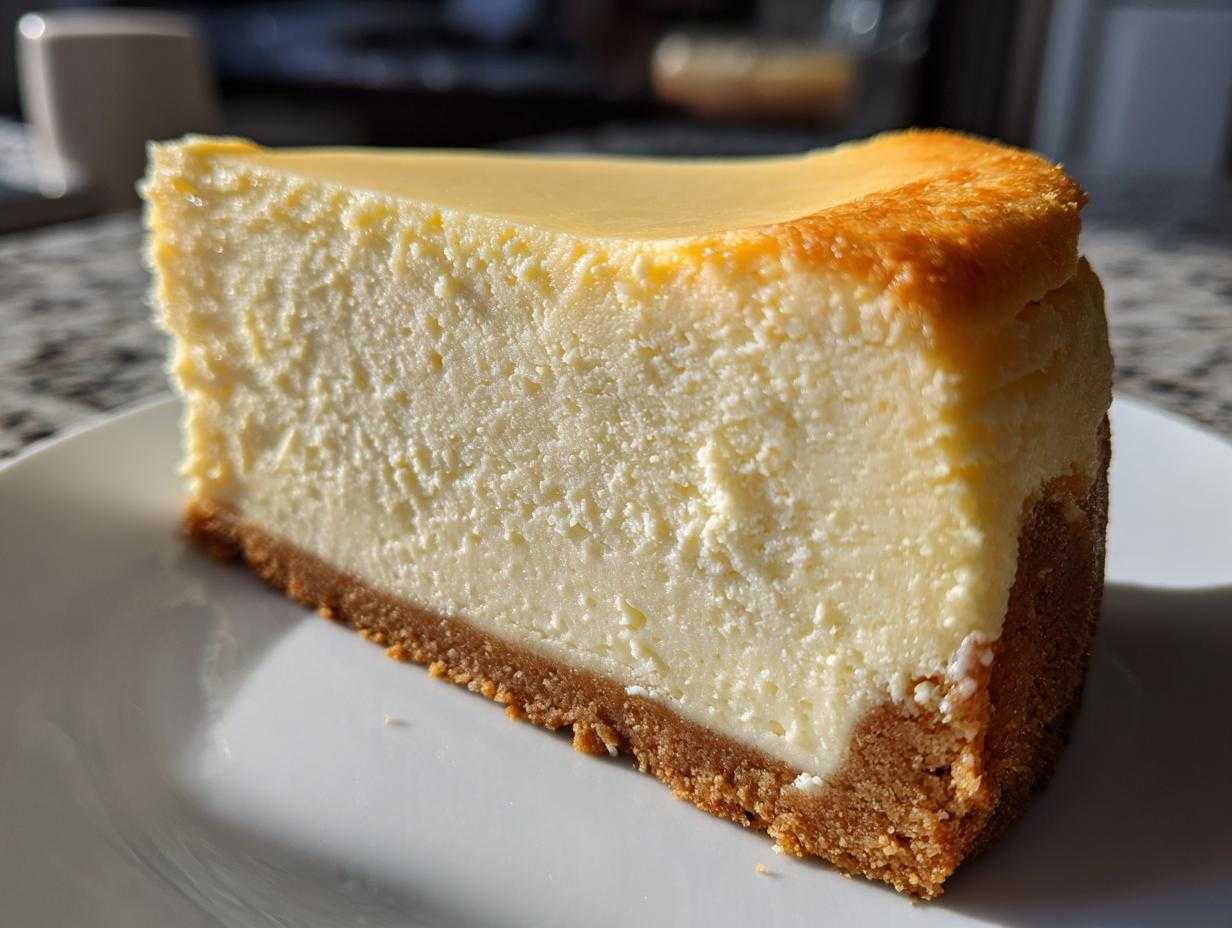
Oh, friend, let me tell you a secret: achieving that rich, velvety, can’t-stop-eating-it texture in a New York Style cheesecake feels like winning the lottery, right? For years, I was terrified of the water bath—always worried my heavy springform pan would somehow leak, turning my glorious dessert into a soggy mess that cracked the second it hit room temperature. Not anymore! I finally figured out the trick to making the absolute best, crack-free cheesecake recipe without ever dealing with that messy water bath. This is the definitive guide to a truly great, creamy cheesecake that bakes up perfectly every single time. Trust me, once you see how simple this homemade cheesecake comes together, you’ll never hesitate again!
Why This Classic New York Style Cheesecake Recipe Works (No Crack Cheesecake Guide)
This is more than just another cheesecake recipe; it’s freedom from intimidation! I used to think cheesecake was reserved for professional bakers because of that fussy water bath, but this method proves you don’t need one for success. The core of why this works is twofold: gentle mixing and even cooling.
If you’re looking for the ultimate No Crack Cheesecake Guide, stick to these steps. You’ll get that signature rich, dense result that screams New York, but without the drama. We’re talking about achieving that truly crack-free cheesecake experience!
Achieving the Best Creamy Cheesecake Texture
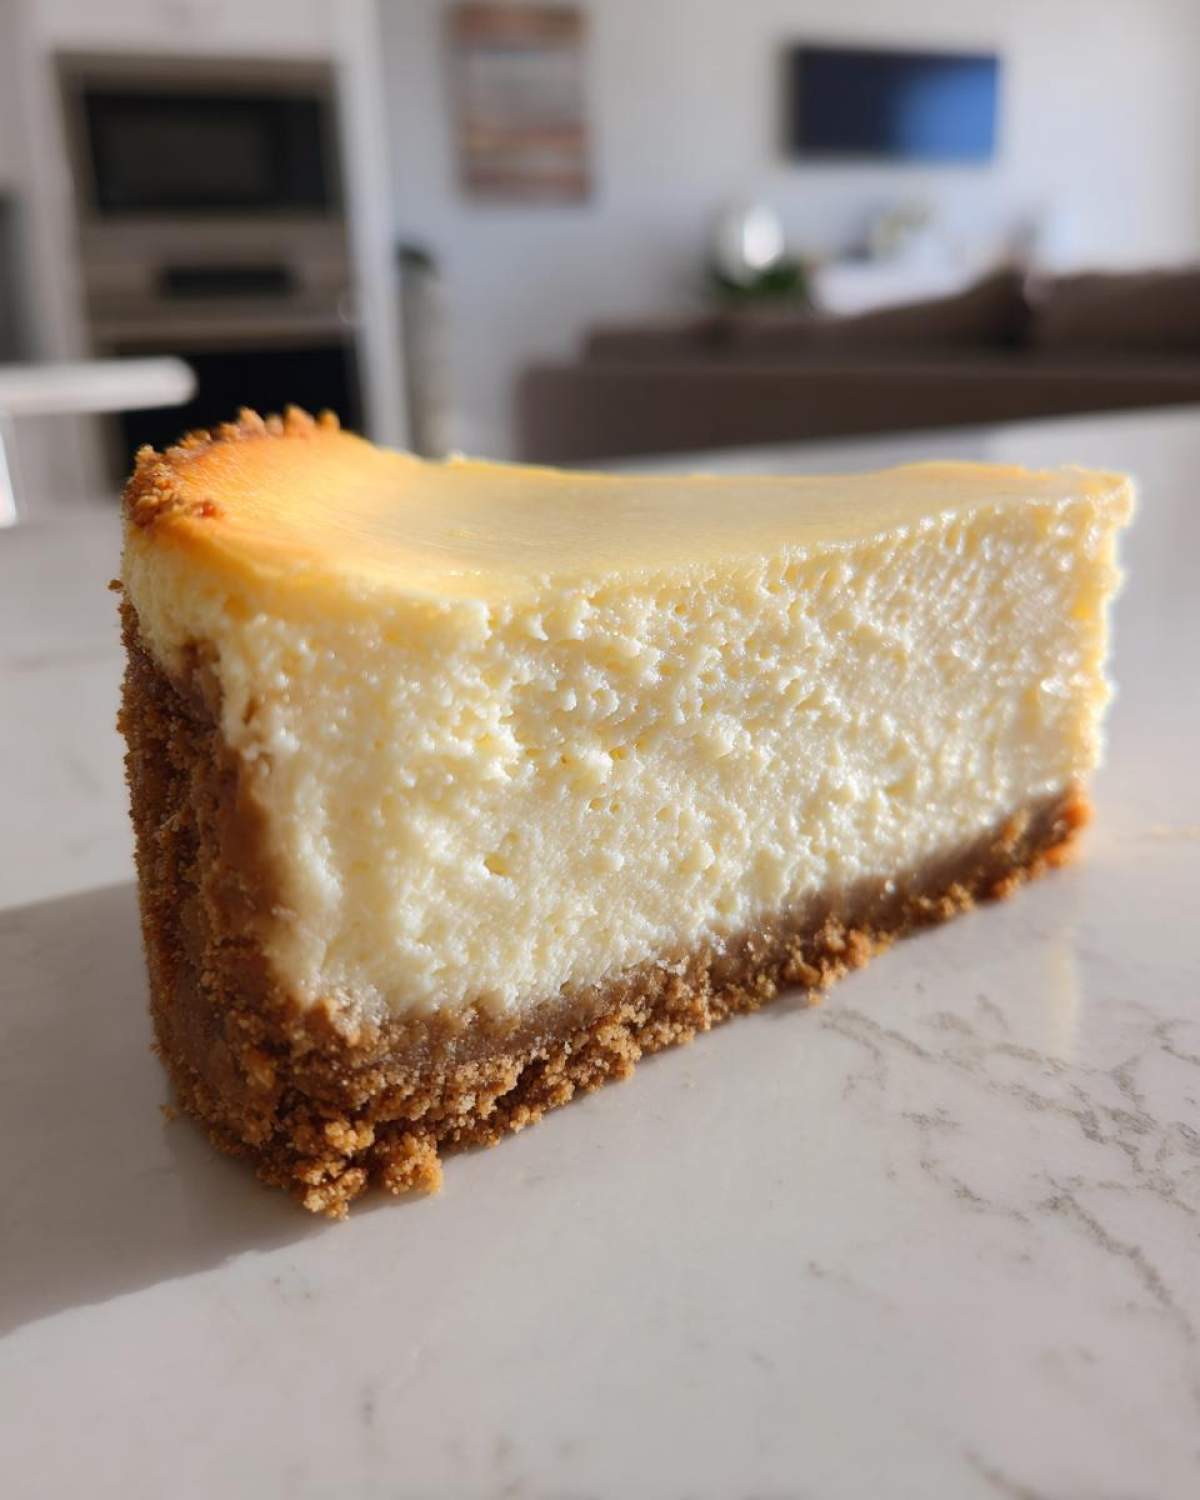
The major hurdle for that perfect cheesecake texture is overmixing. When you beat the cream cheese mixture too hard after adding the eggs, you whip in too much air. That trapped air expands in the oven and causes inevitable cracking as it cools down. Keeping your ingredients nice and soft, and then mixing gently until *just* combined, keeps that batter velvety and smooth, not foamy.
The Secret to Simple Cheesecake Baking: Skipping the Water Bath
Honestly, who has the time for all that foil wrapping? While water baths add humidity, we achieve a similar effect using a much easier method. After the baking time is up, we turn the oven OFF, prop the door open an inch or two, and let the cheesecake sit inside for a full hour. This gradual temperature drop is the magic key! It eases the cheesecake into cooling, eliminating the rapid shrinking that causes those dreaded surface cracks. See? Simple Cheesecake Baking wins!
Essential Ingredients for Your Homemade Cheesecake Recipe
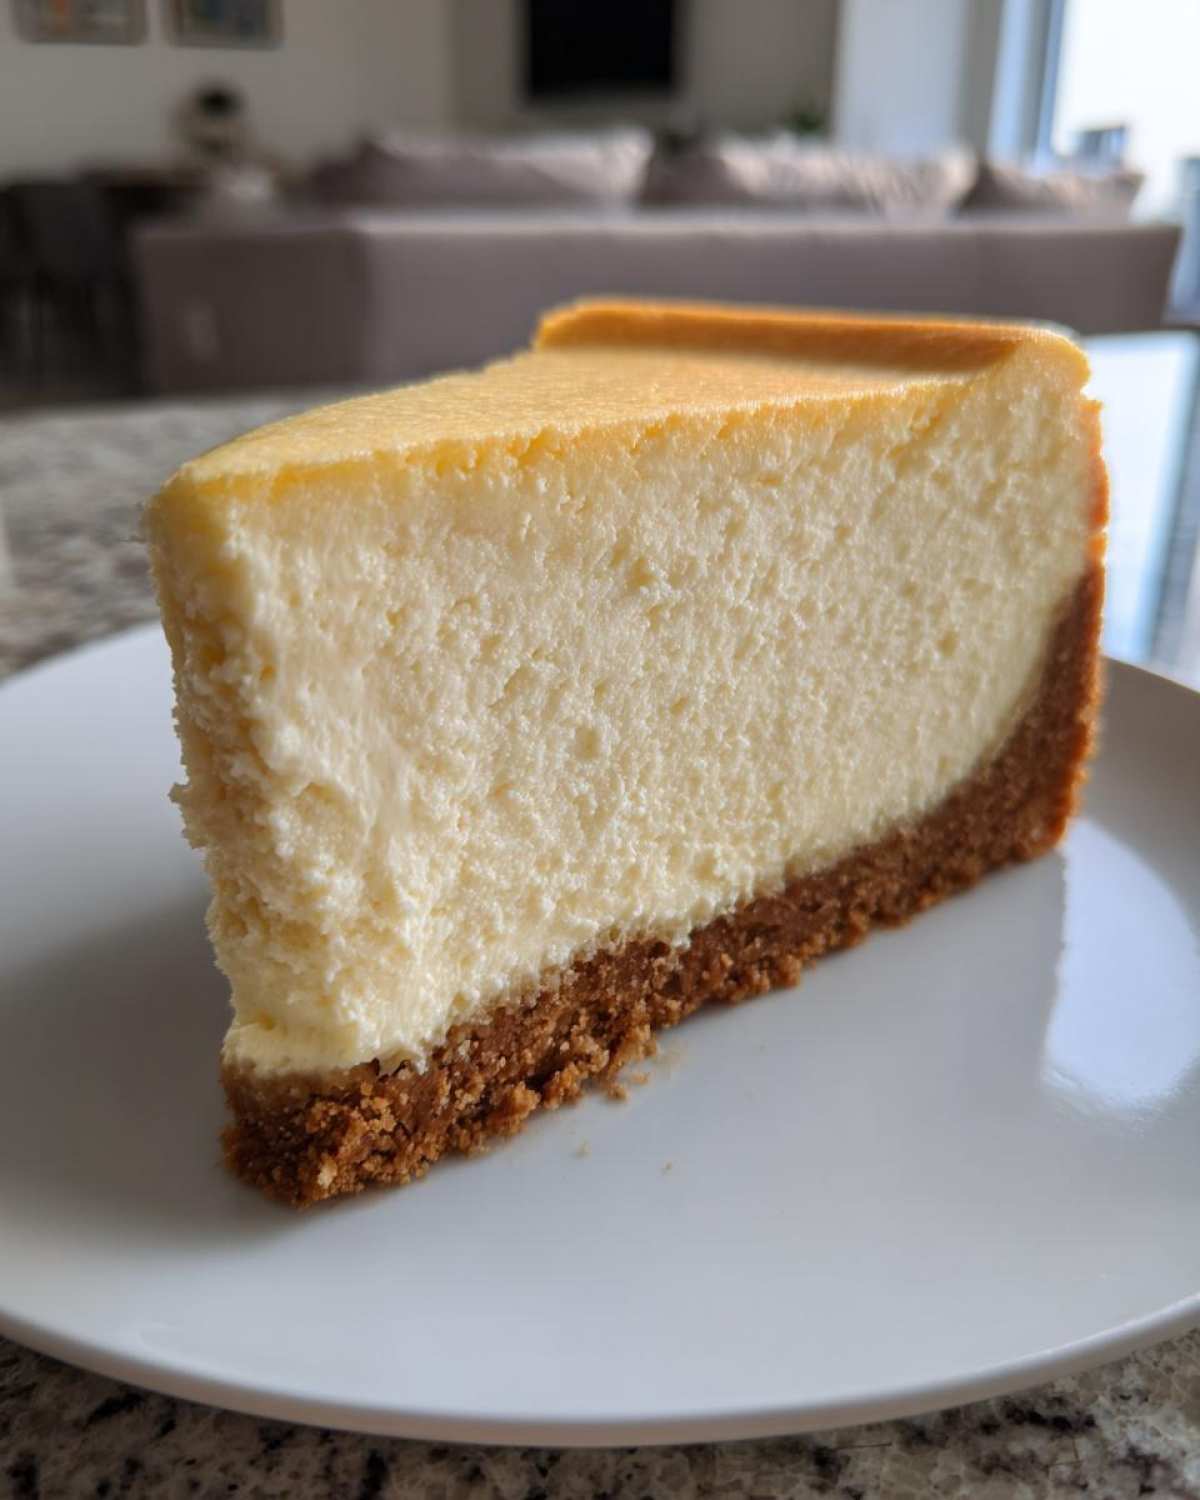
For this Homemade Cheesecake Recipe to shine, you absolutely have to use the right ingredients, and they all need to be at room temperature—that’s non-negotiable for getting that smooth batter! Seriously, cold cream cheese equals lumpy filling, and we just cannot have that when aiming for the Best Creamy Cheesecake. Gather everything up before you even think about turning on the mixer. This isn’t a recipe you rush!
For the Graham Cracker Crust Recipe
We keep the crust super classic so the filling can truly be the star. You’ll need:
- 1 1/2 cups graham cracker crumbs
- 1/4 cup granulated sugar
- 6 tablespoons unsalted butter, melted
For the Rich and Velvety Cheesecake Filling
This is where the magic happens. Make sure your dairy is soft, soft, soft!
- 3 (8 ounce) packages cream cheese, softened
- 1 1/2 cups granulated sugar
- 1/4 cup all-purpose flour (yes, flour helps stabilize it!)
- 1 teaspoon vanilla extract
- 1/4 teaspoon salt
- 4 large eggs
- 1/2 cup sour cream
Step-by-Step Easy Cheesecake Instructions
Okay, now the fun part! If you follow these Easy Cheesecake Instructions exactly, you’ll see why this is my go-to cheesecake recipe. Seriously, timing the cool-down is the most important element for avoiding cracks. It’s like putting a sleeping baby down gently—you have to be slow and deliberate! I learned the hard way that rushing the cooling process leads to tears (and crack repairs!), so pay close attention here.
Preparing the Crust and Pan Setup
First things first: Preheat your oven right to 325 degrees Fahrenheit. Before anything else, wrap the outside bottom of your 9-inch springform pan three times tightly with heavy-duty foil. This is our insurance policy! Then, mix up your crust ingredients—crumbs, sugar, and melted butter—and press that mixture firmly into the bottom of the pan. Pop it into the oven for a quick 10 minutes to set, then let it cool just a little while you tackle the filling.
Mixing the Tangy Cream Cheese Dessert Filling
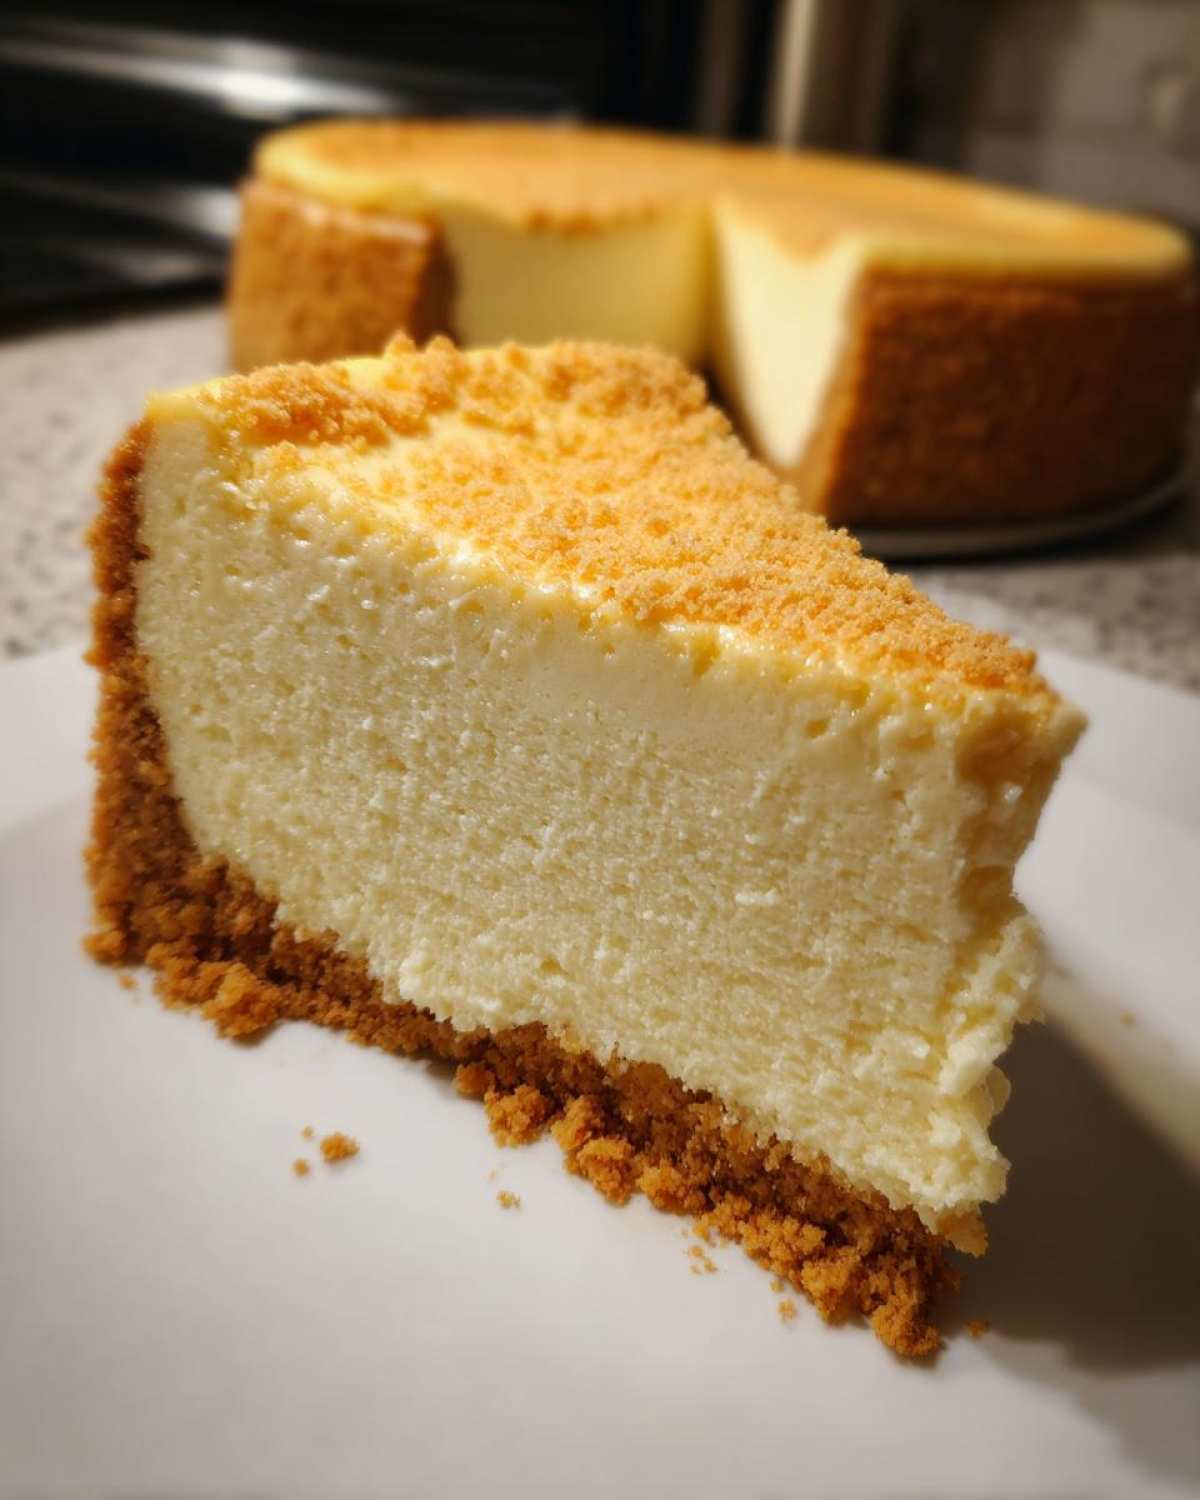
Grab that big bowl and beat your room-temperature cream cheese until it’s totally smooth; tap the sides of the bowl if you need to scrape down any lumps! Next, mix in the flour and the rest of the sugar until they’re just incorporated. Now, here is where we focus on keeping things calm: add your four eggs one at a time, mixing only until you see the last bit of yolk disappear. For the final topping, after you’ve baked it, you might want a gorgeous, smooth frosting! If you ever make a separate cream cheese topping or glaze, try my standby recipe for a perfect cream cheese frosting.
Baking and the Crucial Cooling Process for Perfect Cheesecake Texture
Pour that beautiful filling over your slightly cooled crust. Bake it for about 60 to 70 minutes. You want the edges to look set up, like they aren’t moving, but the very center should still have a tiny, noticeable jiggle. When it hits that point, turn your oven OFF immediately! Prop that door open about two inches—you can use a wooden spoon handle—and leave your cake sitting inside that warm oven for one whole hour. This gentle taper is the best trick for a crack-free finish in this amazing cheesecake recipe.
Tips for Success: Making Cheesecake From Scratch Flawlessly
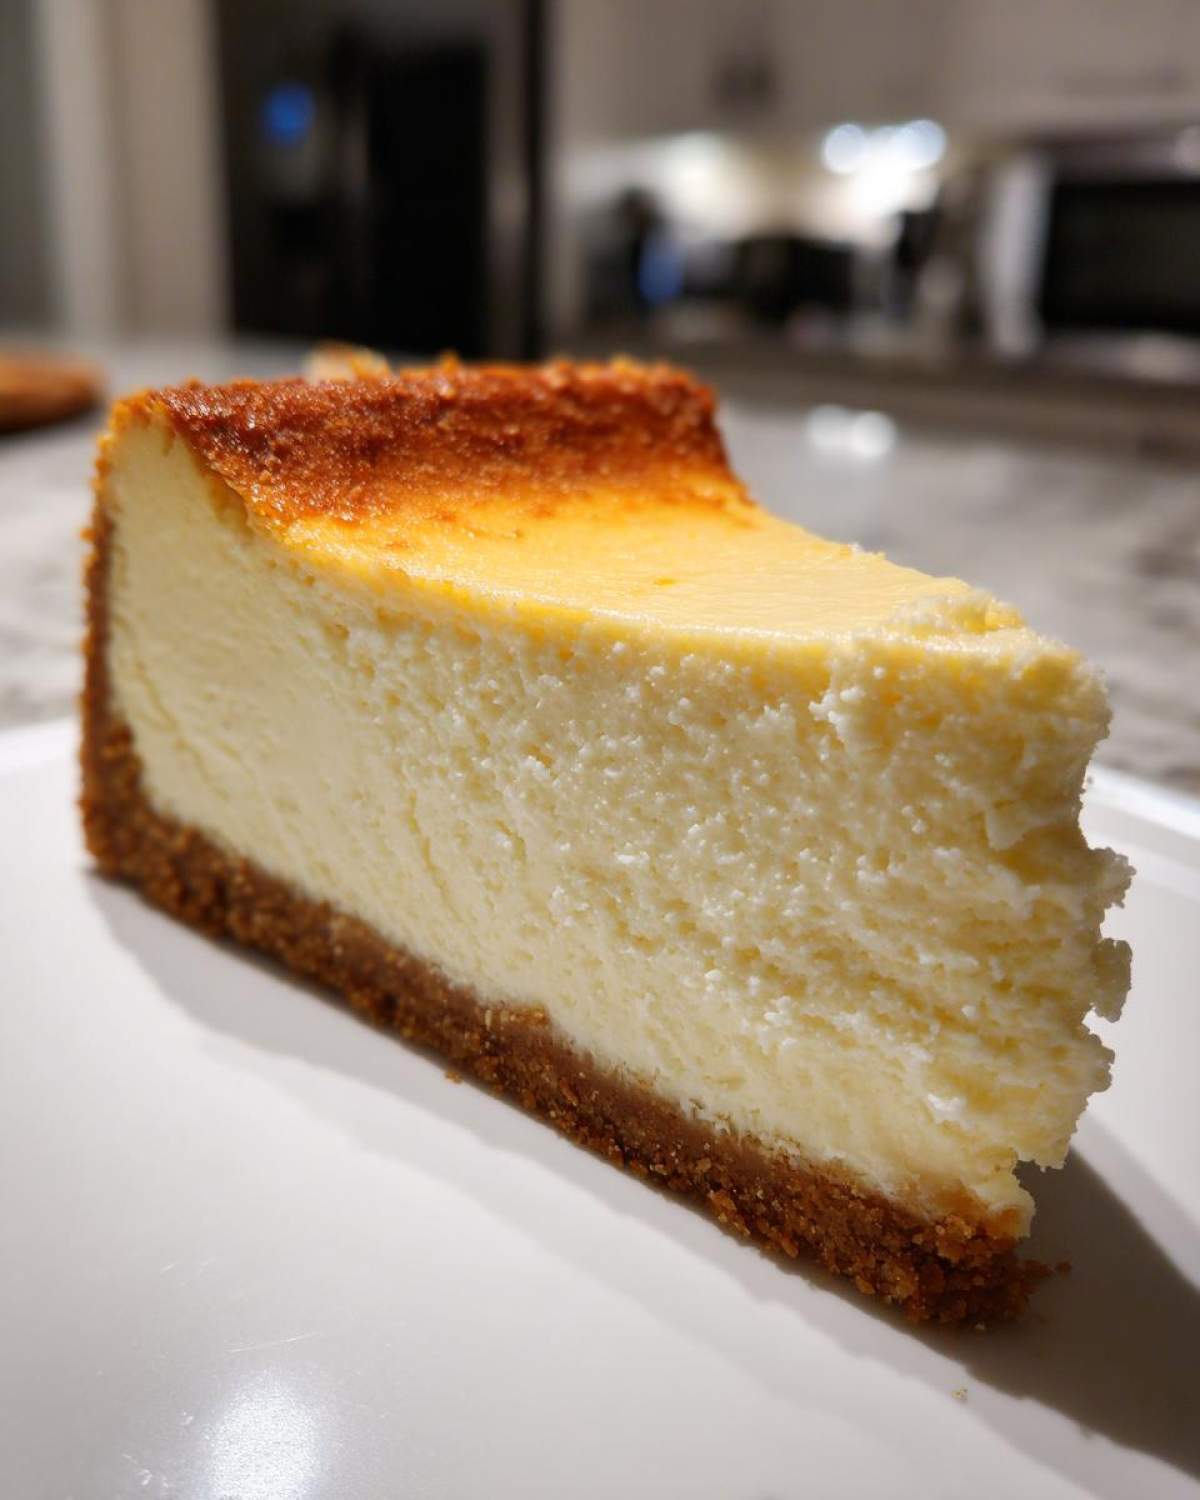
Even with the best *cheesecake recipe*, a few small habits can turn a great bake into a truly show-stopping one. These are the little Cheesecake Baking Secrets I picked up after way too many slightly sunken or sticky desserts. Don’t worry; once you know these little rules, you’ll feel like a professional when you Make Cheesecake From Scratch!
Temperature Matters for Your Homemade Cheesecake Recipe
I cannot stress this enough: your cream cheese and eggs need to be fully at room temperature. I once forgot the eggs on the counter and tried to cheat by microwaving them for ten seconds—big mistake! The batter came out slightly grainy, no matter how long I mixed it. Room temperature ingredients emulsify beautifully, trapping less air while blending perfectly, which fights against cracking before you even get to the oven.
Handling the Finished Cheesecake
After that mandatory chilling time (which feels like forever, I know!), your cheesecake is sturdy, but it’s still delicate. Here’s what I always do before releasing the springform sides: Take a very thin offset spatula or even a filet knife and gently run it all the way around the *inside* edge of the cake where it meets the pan wall. Sometimes the cake pulls in slightly as it sets, and if you try to release the sides without loosening it first, you might tear a perfect slice right off the edge. It’s the final act of care for this beautiful Tangy Cream Cheese Dessert.
Oh, and if you love that slightly tangy element, you might want to try a dollop of sour cream on top before chilling, or try my family’s favorite sour cream coffee cake recipe sometime soon!
Storage & Reheating Instructions for Your Cheesecake Recipe
Okay, you’ve managed the bake, you’ve managed the slow cool-down, but you can’t slice into it yet! Patience is the final secret ingredient for this cheesecake recipe. It needs a serious chill session to fully set up that dreamy, dense texture we worked so hard for. You absolutely must refrigerate this dessert for a minimum of six hours, but honestly, overnight is always best.
When it’s ready, cover it loosely—you don’t want plastic touching the surface—and keep it tucked away in the fridge. It stays wonderfully fresh for about five days in an airtight container. It’s such a reliable Dessert for Parties because it keeps so well!
Serving Suggestions for This Classic Dessert Recipes
This New York style cheesecake is rich enough to stand proudly on its own—it truly is a perfect Classic Dessert Recipe. But if you feel like adding a little something extra, keep it simple so you don’t overpower that gorgeous, tangy center! I love topping mine with a beautiful, vibrant pool of fresh raspberries or whole blueberries right before serving.
Sometimes, I’ll just whip up a quick, thin glaze from sour cream, a spoonful of sugar, and a drop of vanilla, which just enhances that lovely slight tang. If you want something fancier, a simple homemade fruit sauce works wonders. I use a stripped-down version of the sauce topping I make for my blueberry banana bread recipe—just cooked-down berries and a little lemon juice. It makes this cheesecake recipe feel incredibly elegant!
Frequently Asked Questions About This Cheesecake Recipe
I know baking a massive, creamy dessert like this can bring up questions, especially when trying to master that Perfect Cheesecake Texture. Don’t stress! We’ve covered the most common things people ask when they try to figure out the timing for Easy Cheesecake Instructions. I always try to keep things straightforward so you can focus on the joy of baking!
Can I use a regular springform pan for this cheesecake recipe?
Absolutely! A 9-inch springform pan is the standard size for this cheesecake recipe, and it works beautifully since we are skipping the water bath. However, even though we aren’t submerging it, you *must* still wrap the outside bottom securely with heavy-duty foil. Why? Sometimes the batter can be a little bit thin right out of the mixer, and that foil acts as a final layer of defense against any accidental seepage down into your oven. Better safe than sorry with a beautiful crust!
How long does the cheesecake need to chill before serving?
This is where the patience pays off! While you can technically slice it after four hours, you won’t get that true, dense, satisfying slice you are aiming for. For the truly Best Creamy Cheesecake results, you need to chill it for a full six hours. My strong advice? Make it the day before you plan to serve it. Letting it chill overnight truly locks in the flavor and guarantees that amazing, smooth, firm texture.
What if my cheesecake center is still jiggly after 70 minutes?
That’s a super common question when people try to figure out the timing for Easy Cheesecake Instructions! Remember, we want the center soft, but not liquidy. If you nudge the pan and the entire center moves like soup, give it another 5 to 10 minutes, checking every few minutes. If the edges are set but the very middle still has that slight wobble, you’re perfect! That’s exactly what you want before you turn off the oven and start that gentle cooling process to avoid cracks. If you want more advanced tips, check out my guide on baking amazing desserts!
Nutritional Estimates for the Cheesecake Recipe
Now, I’m not a nutritionist, so please take these numbers with a little grain of salt! These are just standard estimates based on the ingredients in this beautiful, rich cheesecake recipe for one slice. Enjoying a slice of this incredible dessert is definitely worth it, but it is wonderfully decadent!
- Serving Size: 1 slice
- Calories: 450
- Sugar: 35g
- Fat: 30g
- Protein: 8g
Share Your Perfect Cheesecake Recipe Results
I truly hope you loved making this ultimate cheesecake recipe as much as I love sharing it with you! Did it come out crack-free? Was that sour cream topping just perfect? I want to hear all about it. Please leave a star rating below so other new bakers get the confidence to try this trick! If you snapped a photo of your beautiful creation, tag me on social media—I’d love to see how you served your cheesecake. For another simple, feel-good bake, you absolutely have to try my easy honey bran muffins recipe next time you need a treat!
Print
Classic New York Style Cheesecake Recipe
- Total Time: 150 min
- Yield: 12 servings
- Diet: Vegetarian
Description
Make a rich, creamy New York style cheesecake with a simple graham cracker crust using a no-water bath method for a perfect, crack-free finish.
Ingredients
- 1 1/2 cups graham cracker crumbs
- 1/4 cup granulated sugar
- 6 tablespoons unsalted butter, melted
- 3 (8 ounce) packages cream cheese, softened
- 1 1/2 cups granulated sugar
- 1/4 cup all-purpose flour
- 1 teaspoon vanilla extract
- 1/4 teaspoon salt
- 4 large eggs
- 1/2 cup sour cream
Instructions
- Preheat your oven to 325 degrees Fahrenheit. Wrap the outside bottom of a 9-inch springform pan tightly with heavy-duty aluminum foil.
- Prepare the crust: Mix graham cracker crumbs, 1/4 cup sugar, and melted butter. Press the mixture firmly into the bottom of the prepared springform pan. Bake for 10 minutes. Let cool slightly.
- Prepare the filling: In a large bowl, beat the softened cream cheese with an electric mixer until smooth. Scrape down the sides.
- Beat in 1 1/2 cups sugar and flour until just combined. Mix in vanilla extract and salt.
- Add eggs one at a time, beating just until each egg is incorporated. Do not overmix. Stir in the sour cream by hand until smooth.
- Pour the filling over the cooled crust.
- Bake for 60 to 70 minutes. The edges should look set, but the center should still have a slight jiggle.
- Turn off the oven, prop the door open slightly (about 2 inches), and let the cheesecake cool inside the oven for 1 hour. This prevents cracking.
- Remove the cheesecake from the oven and let it cool completely on a wire rack.
- Chill the cheesecake in the refrigerator for at least 6 hours, or preferably overnight, before serving.
Notes
- Use room temperature ingredients for the cream cheese and eggs to ensure a smooth batter.
- Do not open the oven door during the initial baking time.
- For easy removal, run a thin knife around the edge of the cooled cheesecake before releasing the springform side.
- Prep Time: 20 min
- Cook Time: 70 min
- Category: Dessert
- Method: Baking
- Cuisine: American
Nutrition
- Serving Size: 1 slice
- Calories: 450
- Sugar: 35g
- Sodium: 300mg
- Fat: 30g
- Saturated Fat: 18g
- Unsaturated Fat: 12g
- Trans Fat: 0.5g
- Carbohydrates: 40g
- Fiber: 1g
- Protein: 8g
- Cholesterol: 120mg


Comments are closed.