
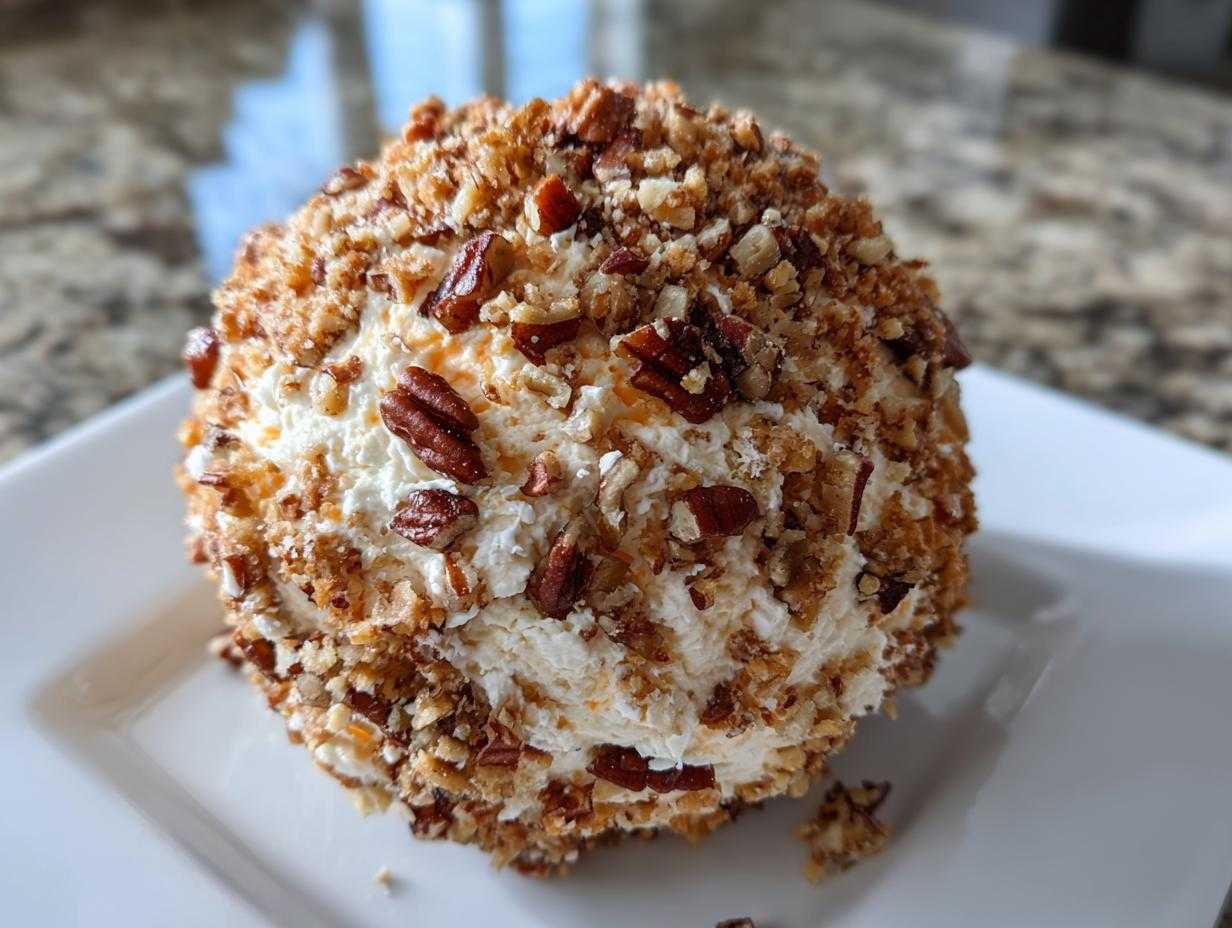
Oh, the sheer panic when you realize you promised appetizers for the game night or the big holiday party next weekend! I totally get it—planning food when you’re hosting can feel impossible. That’s why I guard this simple cheese ball recipe like it holds the secret to eternal happiness. Seriously, this is my go-to; it’s so unbelievably easy, uses just a few ingredients, and I guarantee everyone fights over the last cracker dipped in it. It’s my absolute must-have for Thanksgiving, Christmas, and honestly, any time there’s a football on. Trust me, you need this reliable, creamy, cheesy beauty in your life.
Why This Classic Cheese Ball Recipe is Your New Party Essential
Listen, when it comes to entertaining, I need things to be simple, reliable, and absolutely delicious. This Classic Cheese Ball Recipe checks every single box, and then some. It’s the ultimate Crowd Pleaser Appetizer because who doesn’t love cheese, bacon, and savory seasonings all blended together?
It’s practically guaranteed to be the first thing polished off at any gathering. Plus, it’s an amazing Easy Appetizer Recipe because, well, you don’t even have to turn on the oven!
Quick Prep Time for the Ultimate Cheese Ball Recipe
The hands-on time for this is honestly ridiculous—just about 15 minutes! You mash everything together, shape it, and you’re done. Since there’s no cooking involved in this cheese ball recipe, you save all that oven space for, say, a big turkey or that amazing jalapeno popper mac and cheese that everyone always asks for recipe.
Make Ahead Appetizers: Perfect for Stress-Free Entertaining
This is the real secret weapon here: these are the best Make Ahead Appetizers around. You can mix everything up, form the ball, and tuck it into the fridge two or even three days before the party! All you have to do when your guests arrive is let it warm up slightly, roll it in the nuts, and serve. Hello, relaxed host!
Ingredients for the Best Classic Cheese Ball Recipe
When we talk about the Best Cheese Ball Ever, it all comes down to having the right building blocks, and boy, do these ingredients deliver! I’ve learned that using full-fat, good quality stuff makes a huge difference in texture and flavor—no sad, thin cheese balls around here! For the base of this Cheddar and Cream Cheese Ball, you’ll need to measure carefully, but the actual mixing is the easy part.
Make sure the cream cheese is *truly* room temperature. If it’s cold, you’ll end up with lumps, and nobody wants a chunky appetizer. I once forgot to let mine soften and had to microwave it in *tiny* 5-second bursts—don’t do that! For the best flavor for your Cream Cheese Appetizer, I swear by sharp cheddar; it cuts through the richness perfectly.
Here’s what you need to pull together this amazing Homemade Cheese Ball:
- 8 ounces cream cheese, softened completely
- 8 ounces sharp cheddar cheese, shredded fresh (I use the block, always!)
- 1/2 cup bacon bits, fully cooked and crumbled
- 1/4 cup green onion, finely chopped
- 1 teaspoon Worcestershire sauce (that secret umami bomb!)
- 1/2 teaspoon garlic powder
- 1/4 teaspoon salt
- 1/4 teaspoon black pepper
If you want to see how important ingredients are in other recipes, I have an amazing cream cheese frosting recipe where temperature is just as key!
Coating Options for Your Cheese Ball Recipe
Now, the coating is where you get to make it look fancy for your Holiday Cheese Dip spread! The classic coating for this version is always nuts, and I usually stick with pecans, but walnuts work beautifully too. Just make sure they are chopped up nicely—we want coverage, not huge chunks!
If you’re dealing with a nut allergy at your party, don’t stress! You can check out some other fun ideas in my general notes section, like swapping the nuts for fresh parsley or maybe some savory things like everything bagel seasoning. The beauty of a good cheese ball recipe is that it’s super customizable!

How to Prepare This Easy Appetizer Recipe Step-by-Step
Getting this amazing cheese ball recipe ready for your guests is so painless, you’ll find yourself making it for random weeknight snacks! Since this is a No Bake Party Appetizer, the key is gentle mixing and patience during the chill time. Remember what I said about the cream cheese? If it’s too cold, your mixture will be lumpy, and we want smooth, decadent goodness for this Cream Cheese Appetizer.
We’re laying out the exact steps here so you can nail that perfect texture that makes this the Best Cheese Ball Ever. You won’t even need a mixer for this stuff!
Mixing the Cream Cheese and Cheddar Cheese Ball Recipe Base
First things first, get everything soft and ready. Take your softened cream cheese, sharp cheddar, bacon, onions, and all those little seasonings—Worcestershire, garlic powder, salt, and pepper—and dump them into a sturdy bowl. Use a spatula or a wooden spoon to gently fold everything together. I’m serious here: mix it just until you can’t see any white streaks of cream cheese anymore. Overmixing cheese gets gummy fast, so stop as soon as it looks uniform. We want it combined, not overworked!
Chilling and Coating Your Homemade Cheese Ball
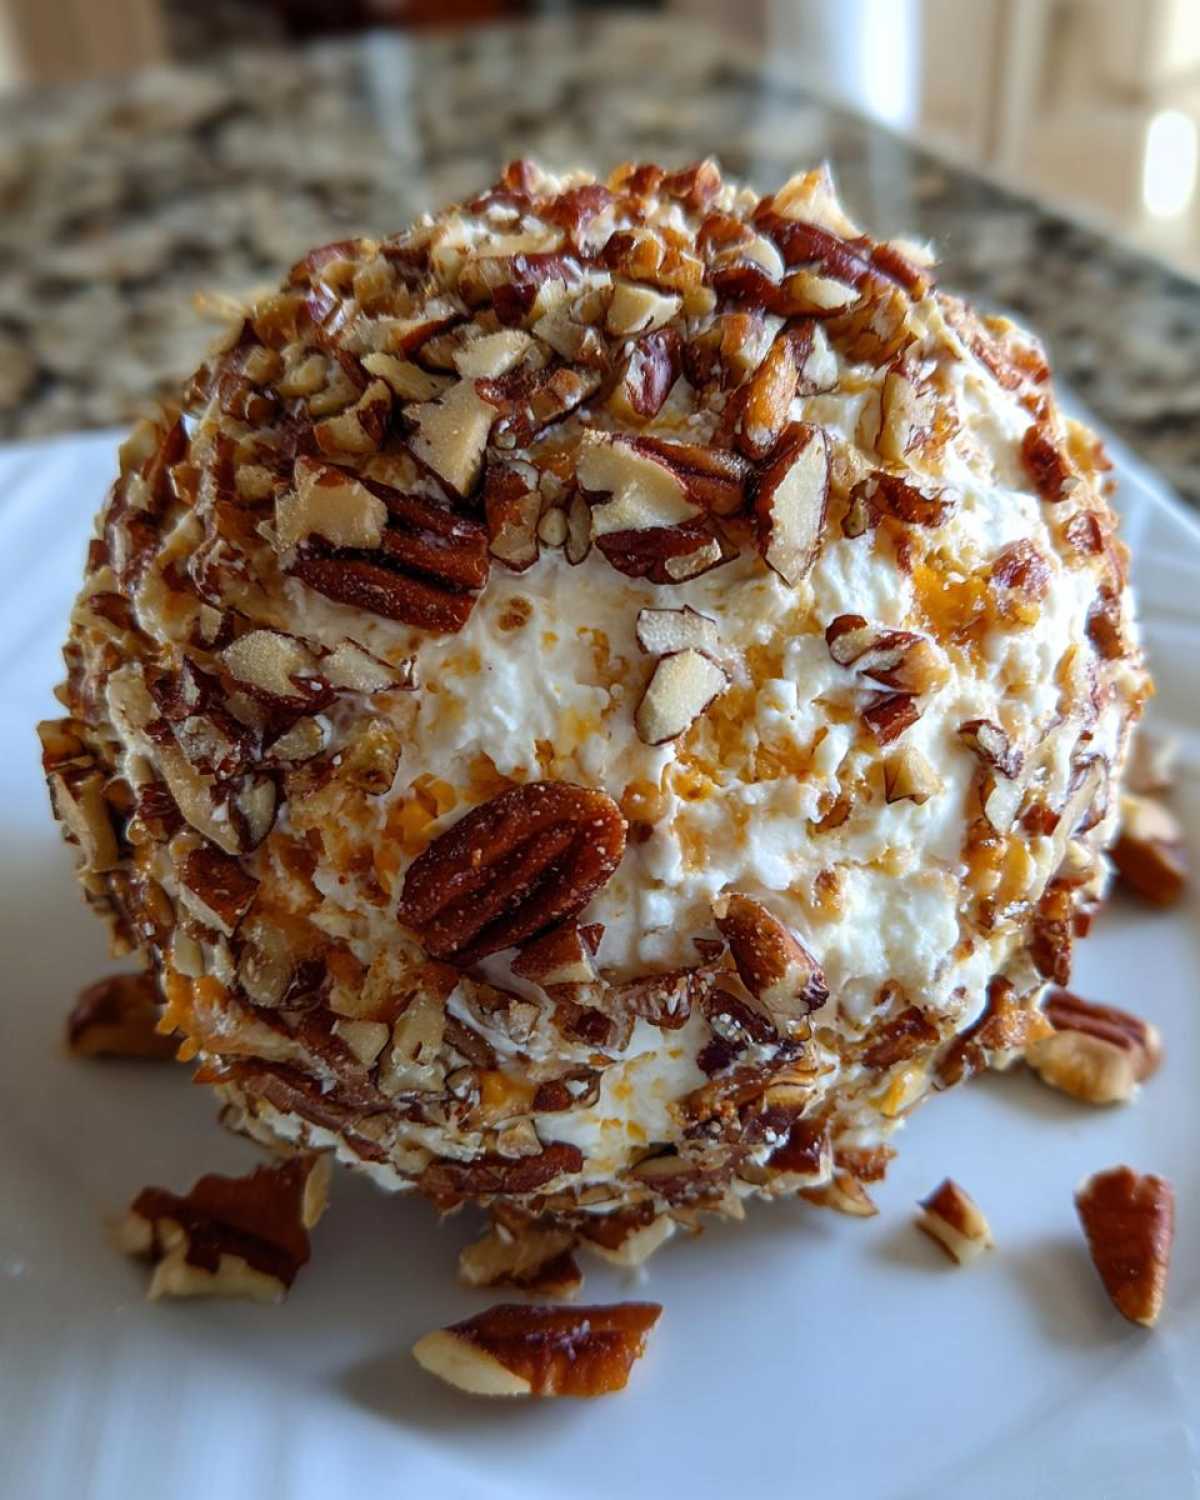
Once it’s mixed, use slightly damp hands to form the mixture into a nice, tight ball right there in the bowl. You’ll want to wrap that tightly in plastic wrap—like you’re swaddling a tasty little baby! Into the fridge it goes for a minimum of two hours, but honestly, overnight is better. That chilling time is crucial so the ball firms up and all those savory flavors have time to mingle. After chilling, unwrap it gently and roll it all around in your chopped pecans until it’s completely covered. Serve it right away with some easy honey bran muffins for a weird but delicious sweet/savory pairing, or stick to crackers!
Expert Tips for the Perfect Cheese Ball Recipe Every Time
You see those little tips that separate a good appetizer from the Best Cheese Ball Ever? I’ve learned a few things over the years while trying to rush this out the door for last-minute parties. The absolute top tip is temperature control. Remember I beat that drum about the cream cheese? It needs to be soft enough to mash easily but not melted or greasy. If your kitchen is warm, mix everything quickly!
Also, don’t press down too hard when you’re shaping it before the chill. You’re just trying to form a loose ball, not compress concrete! We want a manageable structure for coating later. If you find your hands sticking terribly during shaping, just run them under cold water for a second and dry them off; the slight chill helps the cheese release.
And if you’re looking for that extra crispy texture, try roasting your pecans lightly before chopping and rolling! It gives such a deeper flavor. If you want to see how roasting techniques translate to savory sides, check out my tips for crispy breakfast potatoes!
Variations and Substitutions for Your Cheese Ball Recipe
Okay, while I stand by this original Cheddar and Cream Cheese Ball recipe as the G.O.A.T., I know sometimes you run out of something, or maybe you just want to jazz things up! That’s totally fine! This recipe is such a perfect blank canvas for experimentation. You can swap out the bacon for smoked salmon if you’re feeling fancy, or if you’re looking for a different flavor profile.
If you’re trying to avoid pork entirely, you can easily skip the bacon bits and add in some finely chopped sun-dried tomatoes or roasted red peppers for a sweet, smoky brightness. Or, if you’re feeling really bold, switch out half the cheddar for a nice smoked Gouda—wow, talk about delicious depth!
And speaking of swapping things out, if you’re interested in making a totally different type of cheesy casserole, I recently perfected my lasagna with cottage cheese recipe that uses a completely different approach to richness!
Coating Ideas for a New Cheese Ball Recipe Look
The nuts are classic because they give a perfect crunch, but you absolutely have options when rolling your ball before serving. This is where you can really personalize your look, especially if you’re bringing this to a potluck and want it to stand out!
For color, try rolling half the ball in finely chopped fresh parsley for a vibrant green effect, or use dried cranberries—they look so festive, especially around the holidays! My absolute favorite modern twist is rolling the chilled ball in everything bagel seasoning. It adds such a savory, garlicky crunch that people usually can’t even tell what it is until they taste it. Just make sure you roll it right before you put it on the platter so the coating stays crisp!
Serving Suggestions for This Party Finger Foods Cheese Ball Recipe
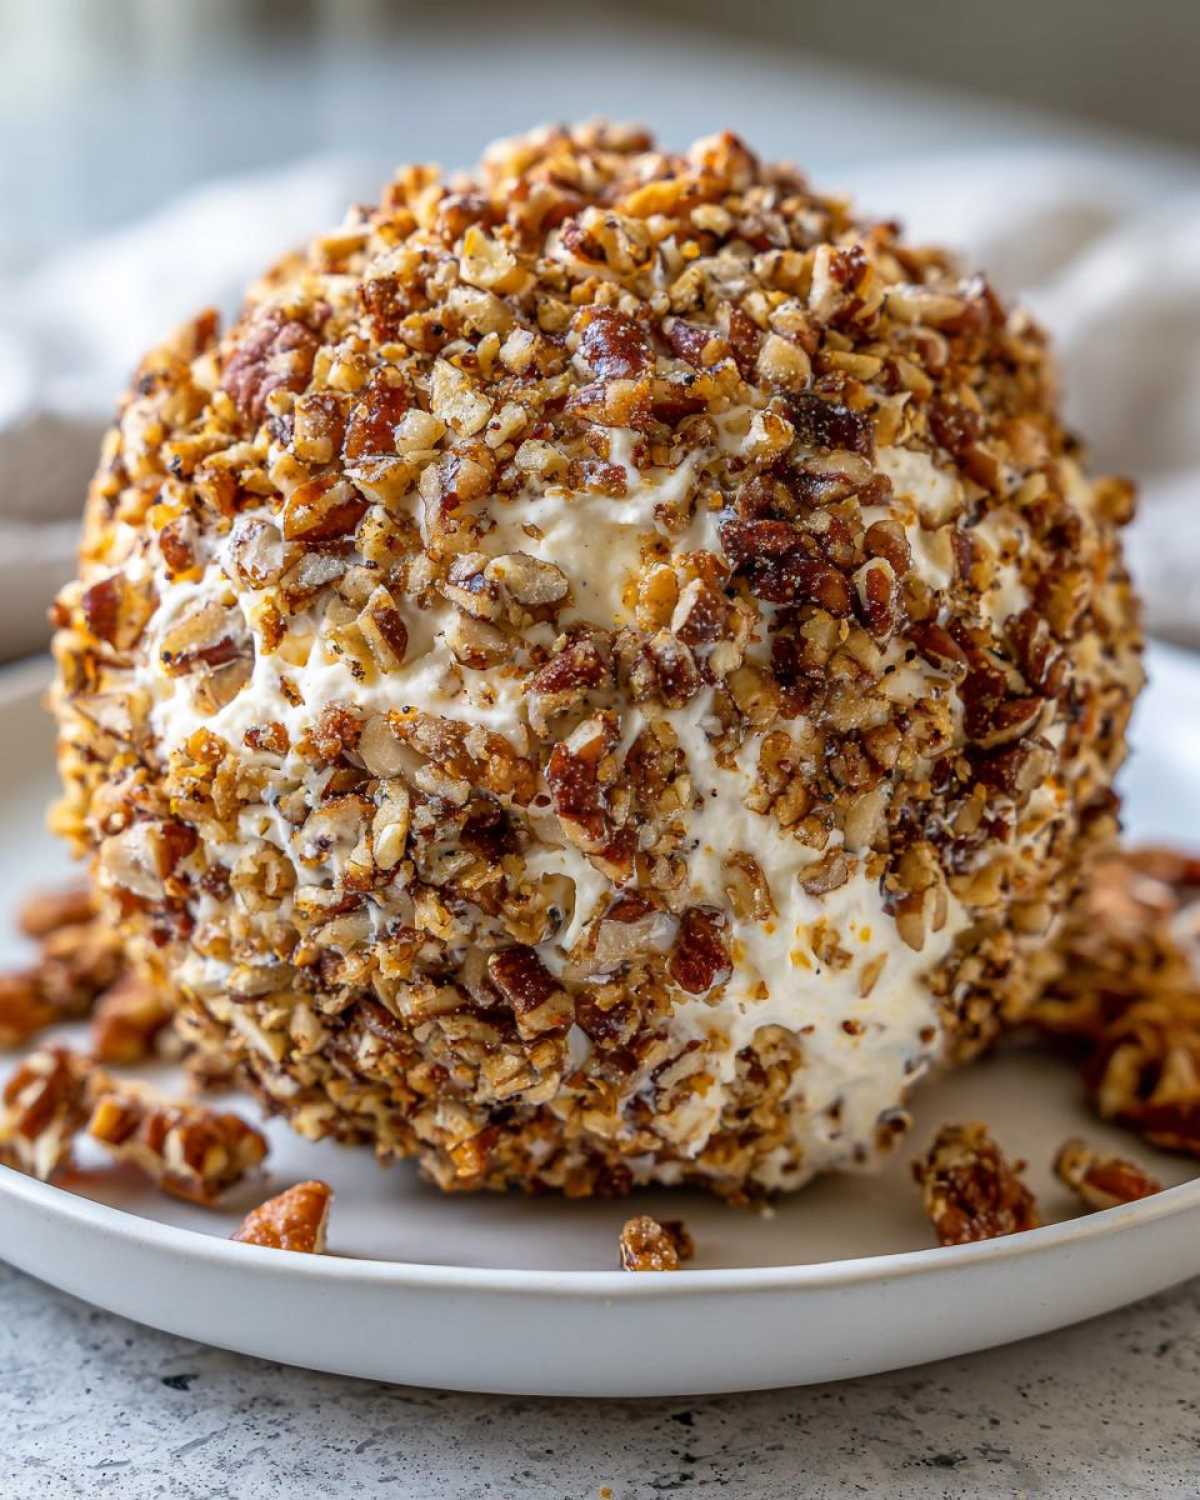
Okay, we have this gorgeous, flavor-packed cheese ball centerpiece, but what are people going to put it on? This is key to making sure this appetizer is a success, especially if you’re laying out a full table of Party Finger Foods. You want crunch, you want variety, and you want things sturdy enough to handle this rich mixture!
My standard go-to is always a mix. You absolutely need sturdy crackers—think water crackers, rye chips, or even those thick, round entertainment crackers. Anything too delicate will just shatter under the weight of the cheese, and that’s messy! I always put out a basket of those for safety.
For a healthier pop of color and crunch—and to balance out all that delicious fat—you have to include fresh veggies. Celery sticks are a must. I also cut up some crisp bell pepper strips (red and yellow look gorgeous!) and sometimes even use thick slices of cucumber if I want something extra refreshing.
If you’re dealing with a crowd that loves dipping, you can never go wrong with bagel chips or pretzel crisps. They offer a great salty contrast to the sharp cheddar in the ball.
One last crucial serving tip: Don’t put the cheese ball out straight from the fridge; it’ll be too firm, and you won’t get that lovely soft texture we worked so hard for! Let it sit on the counter for about 15 to 20 minutes before everyone arrives. I like to serve it on a nice platter surrounded by the dipping options, maybe with a little fruit salad on the side, like my pear and arugula salad, just to break up the savory items!
Storage and Reheating Instructions for Your Cheese Ball Recipe
Look, sometimes parties end early, or maybe I just made the recipe because I couldn’t stop myself—it happens! Storing leftovers from this cheese ball recipe is super easy, but you have to do it right to keep that creamy texture perfect. Since this is a No Bake Party Appetizer, we need to protect it from drying out in the fridge.
If you have any left after everyone’s had their fill, first thing, get it off the serving platter and away from whatever crackers or veggies it touched. Wrap it back up tightly in plastic wrap—and I mean *tightly*. It needs an airtight seal so the sharp cheddar aroma doesn’t permeate everything else in your fridge. It will keep beautifully like this for about 4 to 5 days.
Now, here’s the important part about serving leftovers, whether they are from five hours ago or three days ago: temperature matters! You can’t serve this rock hard. If you try to dip a cracker into a cheese ball straight from the cold fridge, it’s going to feel like a brick, and you won’t get that soft, decadent coating of cheese you love.
Pull it out about 20 to 30 minutes before you plan to eat it. This gives it time to soften up enough so that it spreads nicely again. If you decide you want to serve it with fresh nuts again, just roll it in the fresh coating right before putting it back out! That’s the beauty of the make-ahead design—a little refresh and it’s good as new!
Frequently Asked Questions About the Classic Cheese Ball Recipe
I get so many questions about this recipe, especially when the holidays roll around and everyone is planning their spreads! It’s one of those recipes that seems simple, but people always want confirmation on the best way to handle the cheese texture or storage. These are the things I always hear people asking about when they are planning their Holiday Cheese Dip platters or figuring out their No Bake Party Appetizers menu!
Can I freeze this cheese ball recipe?
That’s a great question, especially if you’re planning really far ahead! Here’s my honest take: I don’t love freezing the cheese ball once it’s rolled in the nuts. The nuts sometimes get a little weird in texture after thawing, and sometimes the coating can lift off messy. However, the *mixture* itself? Absolutely! You can mix everything up, shape it tightly, and freeze it wrapped in plastic wrap and then foil for about a month. When you want to serve it, thaw it slightly in the fridge overnight, roll it in your fresh pecans, and serve! It saves so much time.
What is the best cheese to use in a cheese ball recipe?
The pairing of sharp cheddar and full-fat cream cheese is non-negotiable for me if you want the “best” flavor! You need that full-fat cream cheese because it determines 90% of your texture—low-fat versions just weep moisture and get grainy. As for the cheddar, make sure it’s SHARP. Mild cheddar tastes just sweet and almost nonexistent next to the powerful addition of bacon and seasonings. If you like a little tang, sometimes I’ll even throw in a little bit of Parmesan, but sharp cheddar is the star of this show. If you want to get fancy with pairing flavors, I have an incredible Italian herb and cheese bread recipe that shows how good strong, sharp cheese flavors can be!
How long does the cheese ball need to chill?
Honestly, I tell people they need to chill it for *at least* two hours, but I push for overnight if you can manage it. The short time is just to get it firm enough to roll in the nuts without collapsing into a puddle. But the *long* chill—that’s for flavor melding! The Worcestershire sauce, garlic powder, and cheddar all get happily acquainted when they sit together in the cold. You’ll taste the difference, I promise!
Can I make this without bacon?
You totally can! Bacon adds saltiness and a wonderful smoky texture, but if you have vegetarian guests or just ran out, you can skip it entirely. If you skip it, though, you might want to add a little something back so it doesn’t taste too flat. Try stirring in 2 tablespoons of finely chopped dried cranberries for a festive sweetness, or maybe some crispy fried onions for crunch instead of smoky flavor. It’s still a fantastic Cream Cheese Appetizer without the pork!
Estimated Nutritional Data for This Cheese Ball Recipe
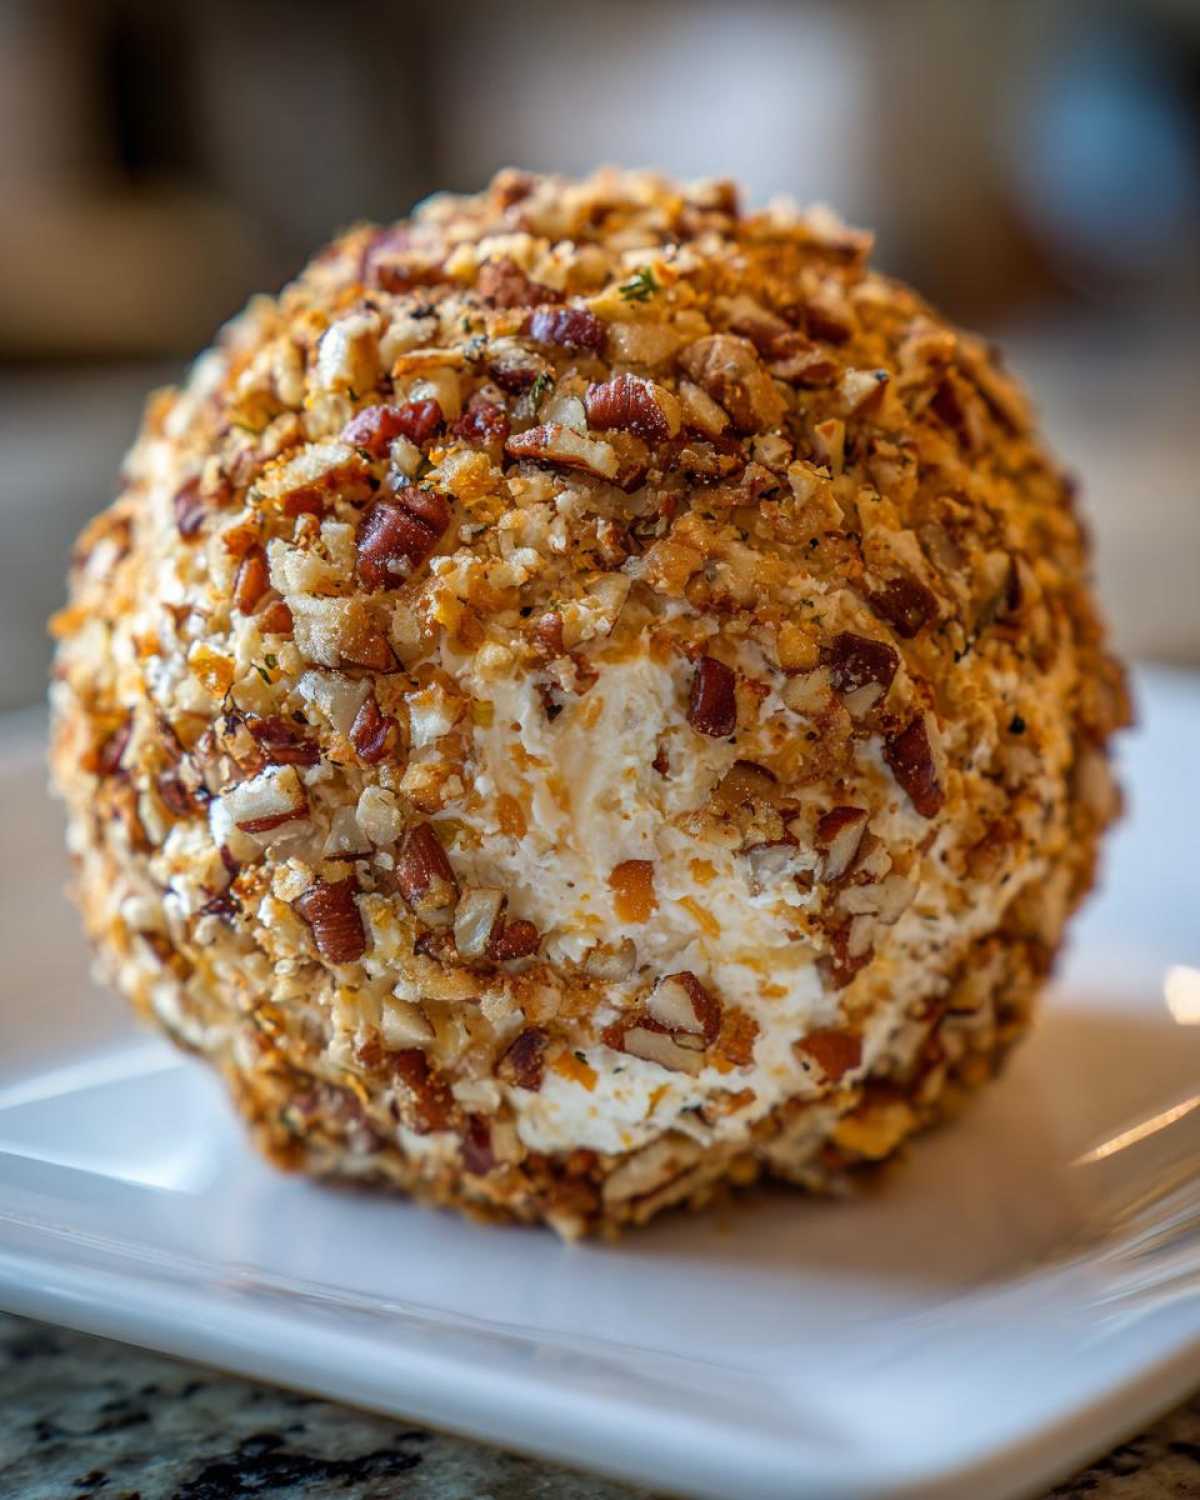
Now, I have to be upfront with you—since this is a homemade recipe and we aren’t using pre-packaged mixes, these numbers are my best guess based on standard ingredient databases. Think of this as a fun idea of what you’re eating when you grab that third cracker! This estimated data is based on dividing the entire cheese ball recipe mixture into 12 equal servings.
I focus more on the fact that this is a glorious, savory, Crowd Pleaser Appetizer, but I know some of you like to keep track. If you’re watching sodium, just remember the bacon bits are what push that number up, so use lower-sodium bacon if you’re worried!
- Serving Size: 1/12 of cheese ball
- Calories: About 150 per serving
- Total Fat: 14g
- Saturated Fat: 7g (Yep, that’s the cream cheese and cheddar talking!)
- Carbohydrates: 2g
- Protein: 6g
- Sodium: About 210mg
It’s dense, it’s cheesy, and it’s definitely not low-fat, but wow, is it worth those calories when you’re enjoying a party! I always say that if you need a lighter snack, maybe stick to the celery sticks instead of the bagel chips when serving this amazing Cream Cheese Appetizer!
Print
The Best Classic Cream Cheese and Cheddar Cheese Ball Recipe
- Total Time: 15 min
- Yield: 1 large cheese ball (about 12 servings)
- Diet: Vegetarian
Description
Make this easy, classic cheese ball recipe ahead of time for your next party, gathering, or holiday event. It uses sharp cheddar and cream cheese for a crowd-pleasing flavor.
Ingredients
- 8 ounces cream cheese, softened
- 8 ounces sharp cheddar cheese, shredded
- 1/2 cup bacon bits (cooked and crumbled)
- 1/4 cup finely chopped green onion
- 1 teaspoon Worcestershire sauce
- 1/2 teaspoon garlic powder
- 1/4 teaspoon salt
- 1/4 teaspoon black pepper
- 1 cup chopped pecans or walnuts (for coating)
Instructions
- In a medium bowl, combine the softened cream cheese, shredded cheddar cheese, bacon bits, green onion, Worcestershire sauce, garlic powder, salt, and pepper.
- Mix all ingredients thoroughly until they are completely combined and uniform.
- Shape the mixture into a ball using your hands or a rubber spatula.
- Place the cheese ball on a sheet of plastic wrap or parchment paper. Wrap it tightly.
- Refrigerate for at least 2 hours, or up to 3 days, to allow the flavors to meld and the ball to firm up.
- Before serving, unwrap the cheese ball and roll it gently in the chopped nuts until fully coated.
- Serve immediately with crackers, celery sticks, or bagel chips.
Notes
- You can prepare the cheese ball mixture up to two days in advance, shape it, wrap it, and keep it refrigerated. Coat it in nuts just before serving.
- For a different flavor, substitute the pecans with dried cranberries or fresh parsley for coating.
- If the cheese ball becomes too soft while serving, return it to the refrigerator for 15 minutes to firm up again.
- Prep Time: 15 min
- Cook Time: 0 min
- Category: Appetizer
- Method: No Bake
- Cuisine: American
Nutrition
- Serving Size: 1/12 of cheese ball
- Calories: 150
- Sugar: 1
- Sodium: 210
- Fat: 14
- Saturated Fat: 7
- Unsaturated Fat: 7
- Trans Fat: 0
- Carbohydrates: 2
- Fiber: 0
- Protein: 6
- Cholesterol: 30



Comments are closed.