
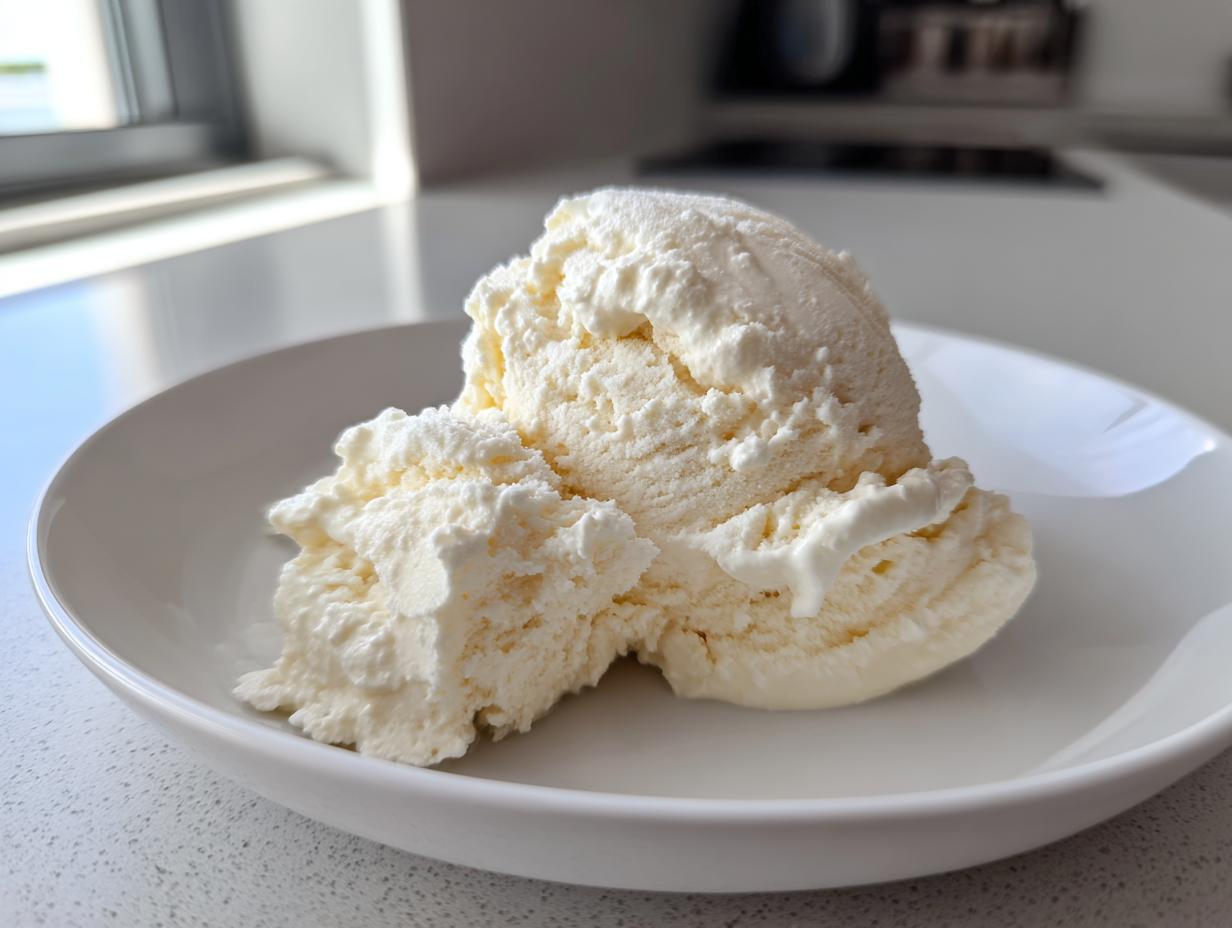
Okay, confession time: I thought I had seen every weird and wonderful viral recipe out there. Sweet potato brownies, cloud bread… you name it. But when the trend for making cottage cheese ice cream started popping up everywhere, promising a high-protein, guilt-free frozen dessert, I was deeply skeptical. I mean, cottage cheese? For ice cream? But trust me on this, after blending batch after batch until my poor blender needed a break, I cracked the code. This healthy frozen dessert is genuinely the real deal. It hits that dreamy, sweet spot without wrecking your daily macros. We’re ditching the churning and getting straight to the creamy, thick stuff!
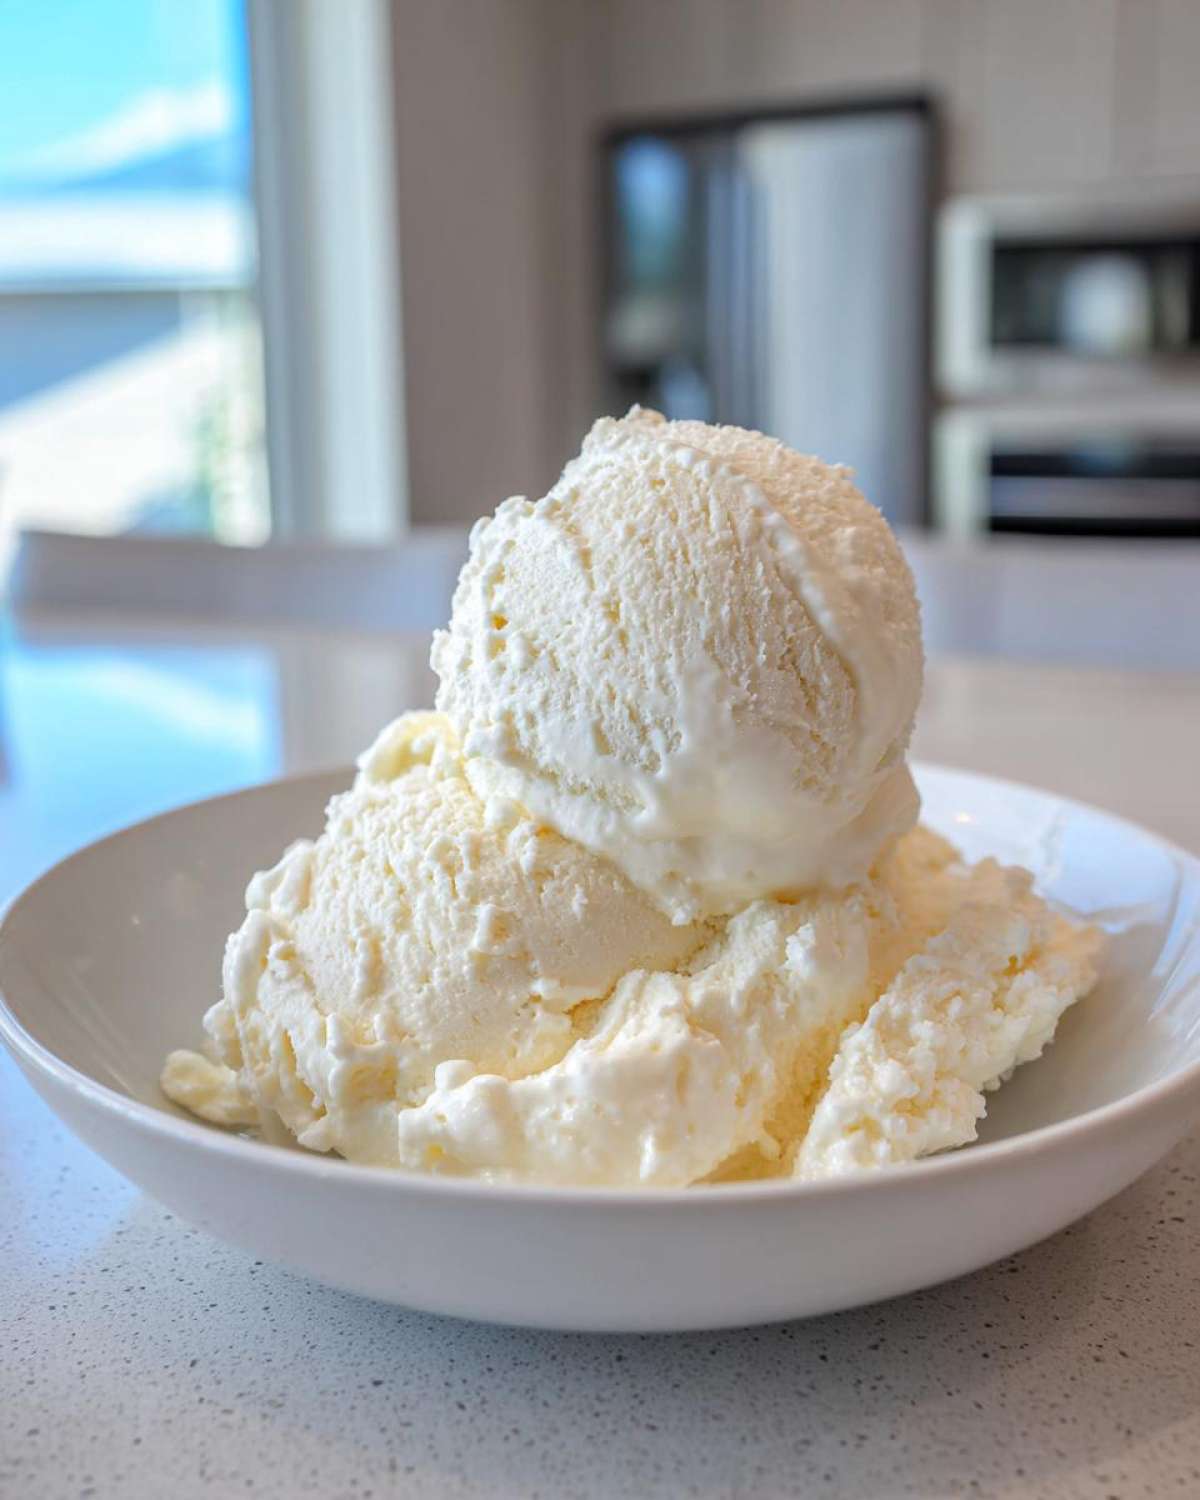
Why This Viral Cottage Cheese Ice Cream Recipe Works (High Protein Ice Cream Recipe)
Listen, the secret behind this trending frozen delight is basic nutrition—we’re loading up on protein while keeping the sugar load way down. It’s the perfect substitution when you’re craving something sweet but still aiming for your fitness goals. Think of it as a genuine protein ice cream recipe that doesn’t taste like cardboard. It’s brilliant for a post-workout treat or a late-night snack.
- Protein Powerhouse: Cottage cheese brings an incredible density of protein to the table, making this a truly filling snack.
- No Churn Required: We use the power of a good blender, not an expensive machine, to smooth out the base.
- Low Sugar Option: By choosing your sweetener wisely, you skip the massive sugar bomb found in store-bought pints.
Achieving Creamy Texture in Your Cottage Cheese Ice Cream
If you’re worried about grainy curds, don’t be! The absolute key to making this work as a healthy frozen dessert is the blend stage. You need to blitz it past “mostly smooth” up until it looks like thick, pourable frosting. Seriously, use the processor until you can’t see any lumps anymore. When you pull that container out of the freezer after a few hours, if you let it sit on the counter for about five minutes, it transforms into almost a perfect, rich soft serve consistency. It’s unbelievable!
Ingredients for the Simple Cottage Cheese Ice Cream Base
Okay, you’re going to look at this list and think, “That’s it? That’s all for an entire batch of frozen dessert?” Yep! That’s the genius of this recipe. It keeps the ingredient list short, which means less messing around and more tasting! Getting the right quality here makes all the difference, especially with the main star.
Here is exactly what you need to grab from the fridge and pantry:
- 1 cup full-fat cottage cheese (I really mean full-fat! It makes it creamier, trust me on this one.)
- 1/4 cup sweetener (You need to choose your adventure here: I love using a monk fruit blend because it keeps the sugars totally low, but use real maple syrup if you aren’t stressing about that sugar count.)
- 1 teaspoon vanilla extract (Don’t skimp on the good stuff; vanilla is the background music for this whole show.)
- Optional: 1-2 tablespoons milk or water (Only grab these if your blender is really struggling to turn everything into smooth perfection.)
If you decide you want to jazz this up later—say, turning it into a chocolate version—just know we’ll be adding cocoa powder later on. But for this base, simplicity is our friend. Seriously, just three core ingredients. It’s practically foolproof!
How to Prepare Your Easy Homemade Ice Cream (No Churn Cottage Cheese Ice Cream)
This is where the magic happens, and frankly, it’s shockingly fast. Because this is a no churn cottage cheese ice cream recipe, you don’t have to wait for fancy paddles to get cold or babysit a machine for 30 minutes. It’s all down to the power of the blitz!
- First things first, toss the cottage cheese, your chosen sweetener, and that lovely vanilla extract right into your high-speed blender or a food processor. Don’t be shy about overloading it; we need that good friction!
- Here’s the most important part, so listen up: You have to blend this until it is *absolutely* flawless. I mean, you should not be able to detect a single grain or lump of cheese. Scrape the sides down maybe twice. If you stop too early, you’ll end up with a texture closer to lumpy yogurt than frozen dessert. This step is everything for achieving that creamy blended dessert ideas consistency we’re after.
- If your mixture seems too thick for the blades to move freely—like a stiff paste—add milk or water, just one tablespoon at a time. We want it thick, just not stubborn!
- Pour that gorgeous, smooth paste into a freezer-safe container. A small loaf pan works perfectly for single batches, or use an airtight tub.
- Now, the trick to beating ice crystals: Take a sheet of plastic wrap and gently press it directly onto the surface of the mixture. This blocks air from getting in and making it icy later.
- Tuck it into the deepest part of your freezer for at least four to six hours, or until it’s completely firm.
- When you’re ready to eat, pull it out and let it hang out on the counter for five whole minutes. That little wait time transforms it into that irresistible, slightly soft-serve texture. Trust me, waiting those five minutes is worth it!
Freezing Tips for Perfect Cottage Cheese Ice Cream
If you want that flawless, scoopable final product, you have to protect it from freezer burn and ice crystals. That little step of pressing the plastic wrap right onto the surface is my best tip for any homemade frozen treat. If you skip that, you risk pulling out a block of faintly flavored ice later on. Also, if you’re using low-fat cottage cheese—which I don’t recommend, but hey, I’m not judging—you might need to add an extra splash of milk during blending because the low-fat version just doesn’t break down quite as smoothly.
Flavor Variations for Your Protein Packed Sweet Snack
Once you’ve nailed that initial three-ingredient base, the world of healthy frozen desserts opens up! Honestly, once you have that perfectly smooth, high-protein foundation from your first batch of cottage cheese ice cream, changing the flavor profile takes literally ten seconds. You can easily customize this for whatever craving hits you that day. It’s so much more versatile than those sad tubs of “healthy” ice cream you find staring at you from the grocery freezer aisle.
Making the Vanilla Cottage Cheese Base
If you are new to this whole game, I insist you start here! The pure vanilla base showcases the amazing clean texture you’ve managed to achieve through blending. To make this, you literally just use the base recipe exactly as written: cottage cheese, sweetener, vanilla. That’s it! Taste it before freezing, though. If you used a sugar substitute, sometimes it needs an extra dash of vanilla to really make the flavor pop after it gets nice and frosty.
Creating a Chocolate Protein Ice Cream Version
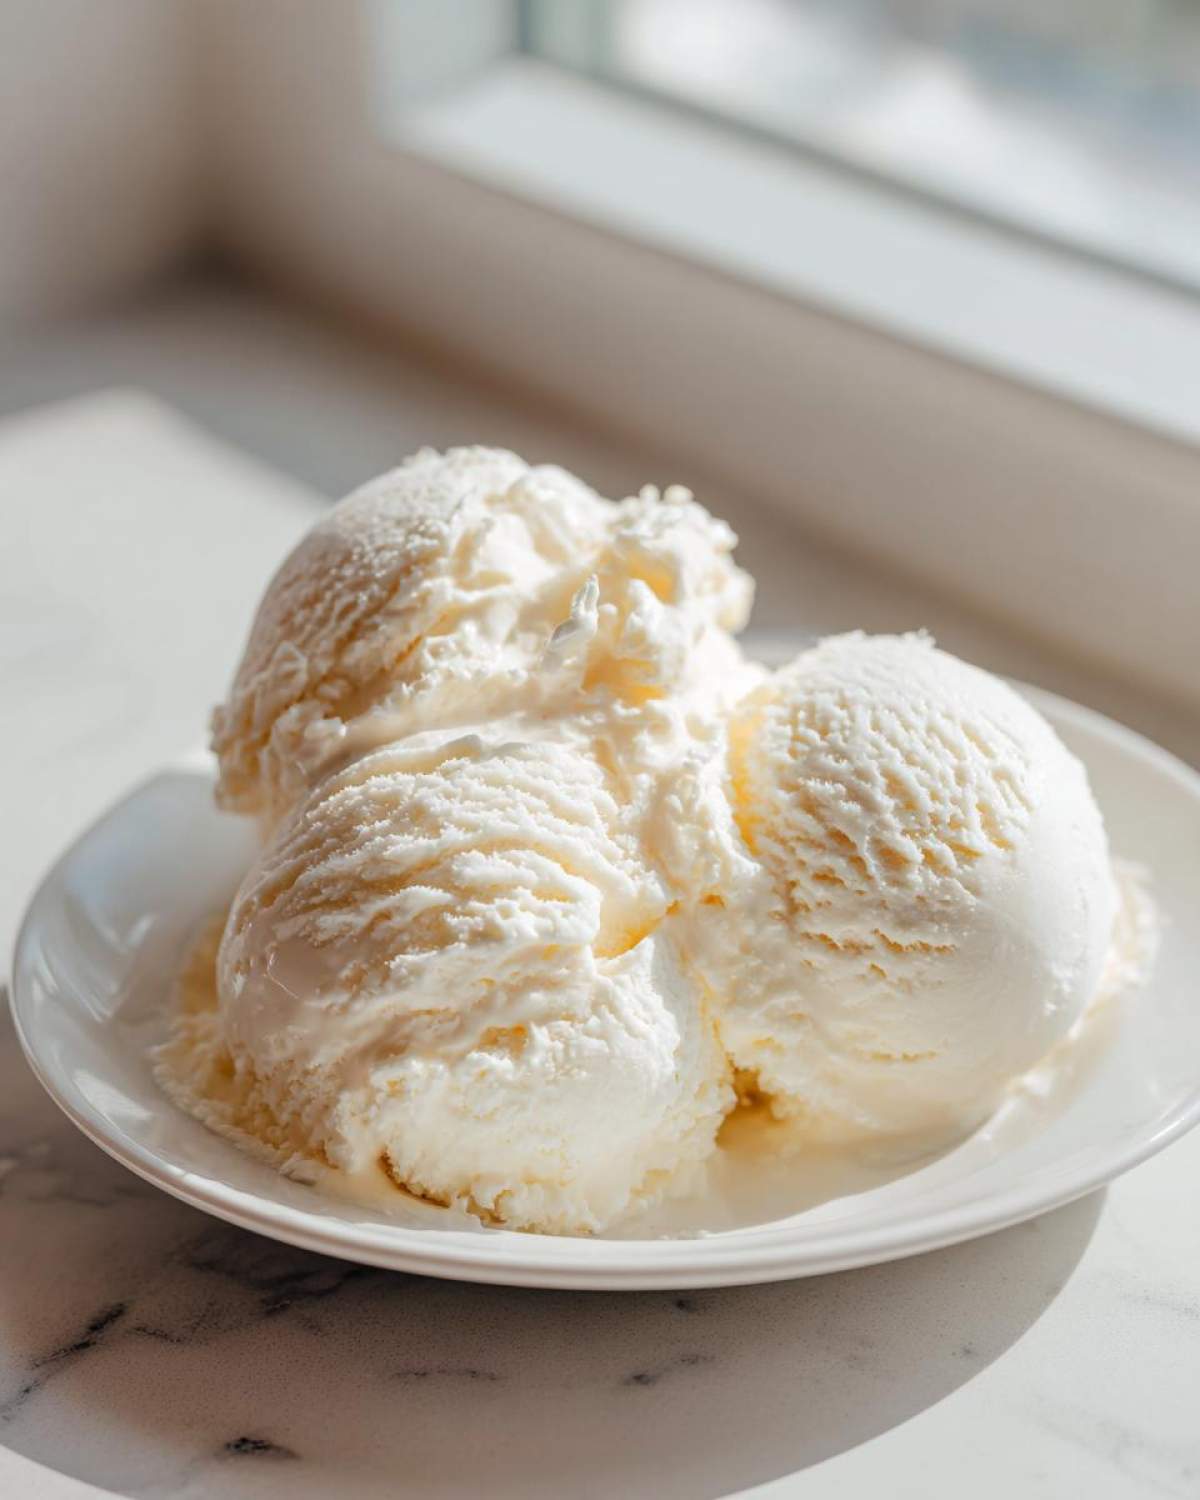
Ah, chocolate. My favorite afternoon pick-me-up! Turning this base into a rich chocolate flavor is so easy, and I love pairing it with some chocolate overnight oats—though that’s a recipe for another day! When you are doing your initial blending step (that crucial stage where you eliminate all the lumps), you just need to add about two generous tablespoons of unsweetened cocoa powder right in with the cheese and sweetener. Blend it until that gorgeous brown color is totally uniform. If it seems a little too tacky after adding the powder, throw in that tablespoon of milk we talked about to keep things running smoothly.
Equipment Needed for This Creamy Blended Dessert Ideas
So, what fancy gadgets do you need to churn out this amazing frozen treat? Honestly, not much! This is such an easy homemade ice cream recipe because we aren’t relying on specialized machinery that takes up half your counter space. We are keeping it wonderfully simple, which is what I love most about kitchen gadgets these days—they actually work hard for you!
Here are the absolute must-haves for getting this dessert whipped up:
- A Powerful Blender or Food Processor: This is your MVP, folks. You absolutely must have something high-speed here. If you use a cheap little personal blender, you’ll end up with grainy cottage cheese, and we already talked about how that’s a texture disaster! You need to pulverize those curds until it’s baby-food smooth.
- A Freezer-Safe Container: A standard loaf pan works perfectly for this small batch size, but any airtight container works fine. Just make sure it has a lid, or if it doesn’t, have some plastic wrap ready for the freezing step!
Now, for those of you who have jumped on the latest gadget trend, you might be wondering if you can use your machine. Yes, you totally can! If you happen to own one of those dazzling meal preparation tools like the Ninja CREAMi, this base translates beautifully.
If you go the CREAMi route, you simply follow the blending steps as written here, pour the smooth mix into the CREAMi pint container, freeze it solid (overnight is best!), and then run it through the standard base cycle. The machine does the churning work for you, resulting in an even more decadent texture, though mine always comes out a bit firmer than the no-churn version.
Tips for Success When Making Cottage Cheese Ice Cream
Even with a recipe this simple, there are a few little quirks you need to watch out for, especially when you’re trying to get that perfect, dreamy scoop of cottage cheese ice cream. I learned these the hard way, mostly through blending too little or adding way too much milk on my first try! That first batch was… well, let’s just say it was more of a thick, sweet soup than a frozen treat. Oops!
Here are the absolute must-knows to guarantee your success when making this high-protein dessert:
- Don’t Be Frugal with Fat: I know we are looking for healthy options, but if you swap the full-fat cottage cheese for skim milk versions, you are sacrificing creaminess. Fat equals luxurious texture in frozen desserts, period. The low-fat version works, but you might notice you need an extra splash of milk to get it moving in the blender, and the final product will be slightly icier. Stick with full-fat for the ultimate scoop!
- Blend Until You’re Bored: Seriously, keep going. If you think it looks smooth enough, blend it for another 30 seconds. That lengthy blending process is what breaks down the curds, melting them into the “fat” so you get that uniform, creamy result rather than a slightly grainy bite.
- The Sweetener Balance: If you use a granulated sweetener like monk fruit or erythritol, remember that they don’t dissolve exactly like sugar or maple syrup. You must blend them completely, or you might end up with a slightly gritty sweetness. If you’re worried about dissolution, consider trying a liquid sweetener first, like this simple syrup alternative variation we use sometimes!
The final freezing step is also crucial. If you don’t press the plastic wrap onto the surface, the humidity in your freezer will ruin the top layer. It’ll be fine underneath, but that dry, icy cap is such a letdown when you scrape it off. Do the cling wrap trick, and you’ll be rewarded with perfectly smooth layers every single time you pull the container out!
Storage and Reheating Instructions for Your Guilt Free Frozen Treat
So you’ve made your gorgeous, high-protein success, and now you have leftovers—lucky you! Storing this frozen dessert is pretty straightforward, but we need to treat it a little differently than the store-bought stuff, mostly because we didn’t load it up with stabilizers. If you want that perfect scoopability later, you have to keep the freezer environment in mind.
The absolute best way to keep this fresh is in an airtight container, and remember that plastic wrap trick we used for freezing? You absolutely need to do that again before sealing the lid. Press that wrap right down onto the surface of the ice cream. This stops those nasty ice crystals from forming on top, which is usually what happens when you open the container a few days later.
Best Practices for Long-Term Storage
If you’re only keeping this around for a few days, the main freezer compartment is fine. But if you’re trying to save some for a special occasion a couple of weeks down the line, try moving that airtight container toward the back of your freezer where the temperature stays a bit more consistent. Temperature fluctuations are the enemy of creamy desserts!
I’ve successfully kept batches good for nearly three weeks, but honestly, my family devours it within three days. It just tastes too fresh to last longer, you know?
Achieving Perfect Scoopability After Freezing
This is the step that trips people up the most when they switch to homemade ice creams. Because this recipe is essentially just cheese, dairy (if you added milk), sweetener, and air, it freezes much harder than premium store-bought pints filled with stabilizers and corn syrup. If you try to scoop it straight from the deep freeze, you’ll probably chip your spoon!
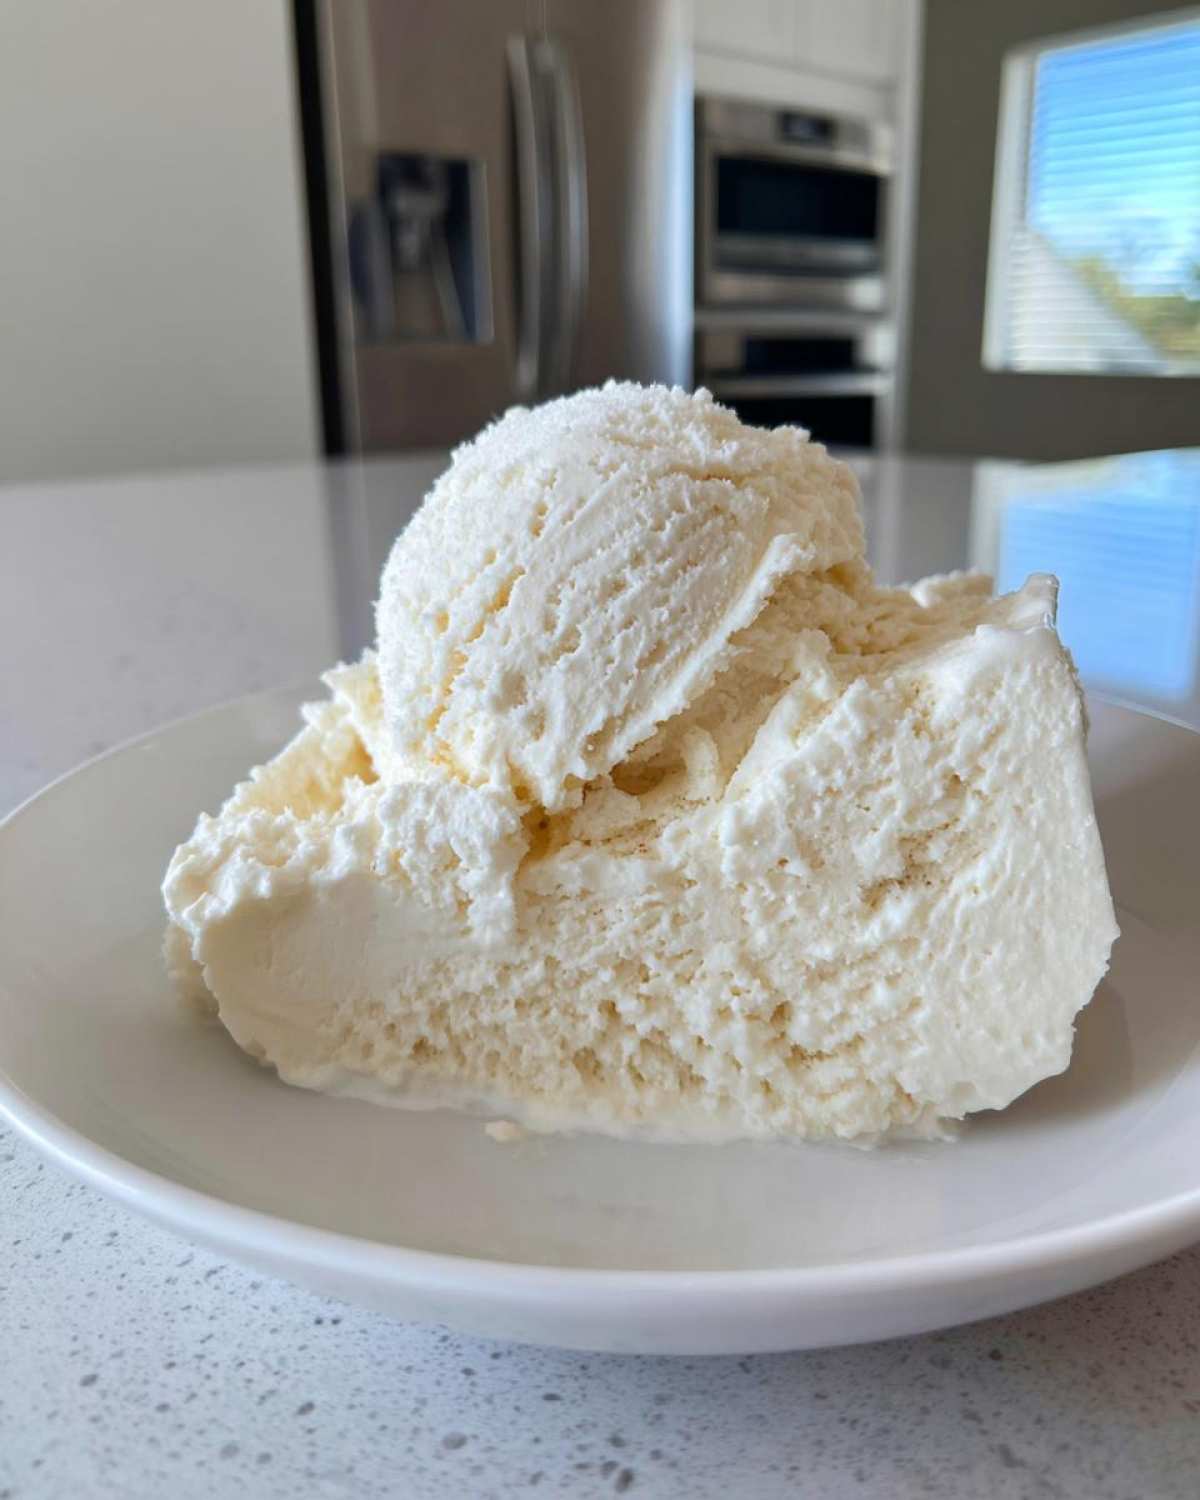
You must pull the container out of the freezer and let it sit on the counter, totally untouched, for 7 to 10 minutes. I set a timer on my phone because I’m impatient! During those minutes, the outer layer softens just enough for you to use a regular ice cream scoop without wrestling the container. It transitions from a hard block to that wonderful, creamy texture we worked so hard to create with the blender. Don’t rush this small window of waiting time—it’s mandatory for a great eating experience!
Frequently Asked Questions About Cottage Cheese Ice Cream
Will this cottage cheese ice cream actually taste like cottage cheese?
That’s the number one fear, right? And I totally get it! When I first tried blending a sample before freezing, I thought I’d ruined my sweetener. But trust me, once it’s thoroughly broken down in the blender and fully frozen, the flavor profile changes completely. The flavor of the cheese itself dissolves into the base, leaving behind a wonderful, rich creaminess. The vanilla and your chosen sweetener totally dominate the flavor profile. If you use a very low-quality or overly sharp cheese, you might notice a slight tang, but with decent quality cheese, it tastes like a fantastic, low sugar ice cream alternative!
Can I substitute Greek yogurt for the cottage cheese?
You absolutely *can* try, but the results won’t be identical, and you’ll be moving away from the *viral* method. Greek yogurt is much smoother to begin with, so you might not need as much blending time. However, the protein structure is different, and you usually need to add extra fat (like heavy cream or coconut cream) to your yogurt base to achieve the same thickness you get naturally with cottage cheese. To get that signature texture for this healthy frozen dessert, I really recommend sticking to the cheese!
How long does it take for this easy homemade ice cream to freeze solid?
Since this is a relatively small batch and it has a higher density (thanks to all that protein!), it can take a little longer than watery ice cubes. Generally, I plan for a minimum of four hours, but five to six hours is safer, especially if your freezer runs a little warmer. If you put it in overnight, you’re golden. Just remember the most important part: you can’t scoop it right out of the deep freeze! You need that 5- to 10-minute rest time on the counter to turn it into a proper, scoopable guilt free frozen treat.
What is the crunchiest part of this recipe I need to avoid?
The crunchiest part comes from poor blending or inconsistent freezing. If you don’t blend long enough, the curds remain distinct, and you get a grainy mouthfeel—that’s crunchy! The second cause is ice crystallization on the top surface if you don’t cover it tightly. This results in a hard, sharp layer on top that is definitely not what we want in a creamy dessert. Make sure those curds are pulverized into oblivion, and always press the plastic wrap down onto the surface!
Nutritional Snapshot of This Cottage Cheese Ice Cream
I know a lot of us are tracking macros or just trying to keep sugar in check, so I wanted to give you a quick look at what’s in a serving of this amazing dessert. Since we are using full-fat cheese and a sweetener that might be zero-calorie (like monk fruit), the numbers come out looking incredible compared to regular ice cream. This is what makes this recipe such a winner for that afternoon sugar craving!
But, a quick word of caution: These numbers are just estimates, okay? They are based on splitting the total recipe yield into two equal servings using the average measurements provided. If you decide to use slightly more maple syrup instead of a sugar substitute, or if you use low-fat cheese, those values will definitely shift!
Here is the ballpark nutrition for about half the batch:
- Serving Size: 1/2 cup
- Calories: 180
- Protein: 18 grams (Yes, EIGHTEEN! That’s more than a small chicken breast!)
- Fat: 8 grams (Remember, we needed that fat for the creamy texture!)
- Carbohydrates: 12 grams
- Sugar: 8 grams (This depends wildly on your sweetener choice, so keep that in mind!)
I always love seeing that protein count—it’s what turns this from a guilty pleasure into a genuinely supportive, protein packed sweet snack that actually keeps you full until dinner. It’s amazing what happens when you swap out cheap fillers for real, whole ingredients like full-fat cheese!
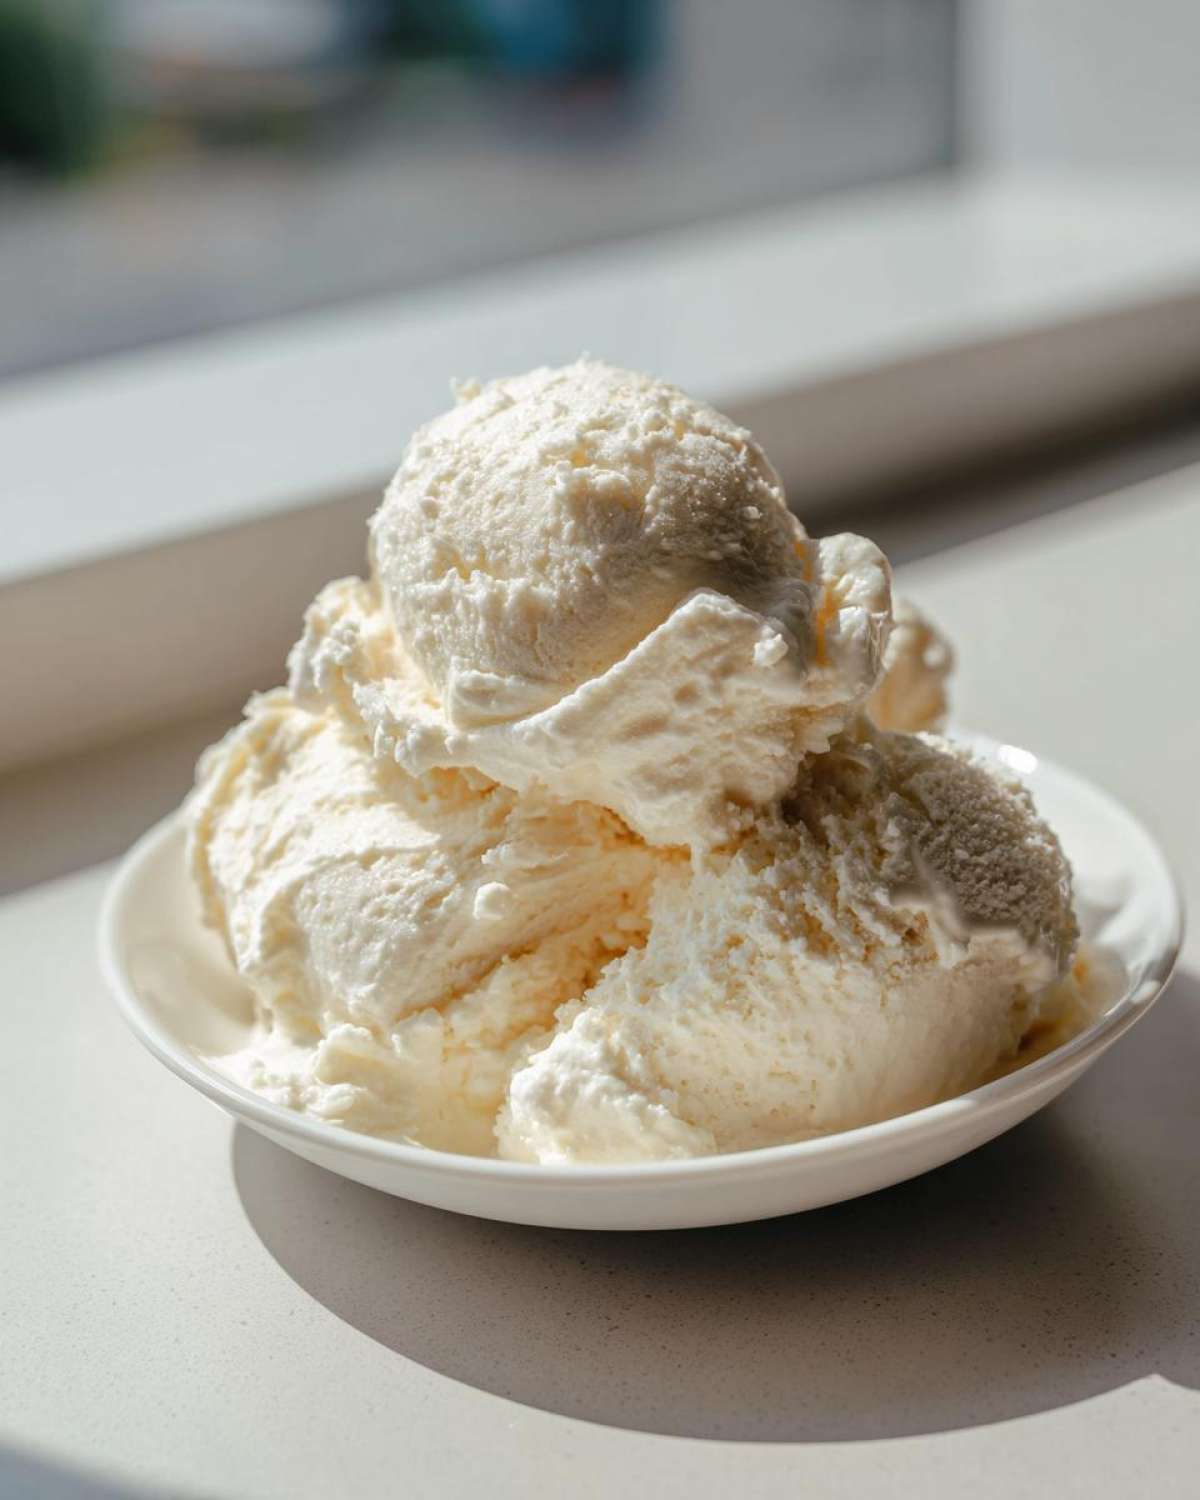

Viral 3-Ingredient Creamy Cottage Cheese Ice Cream
- Total Time: 5 hr 5 min
- Yield: 2 servings
- Diet: Vegetarian
Description
Make a high-protein, low-sugar frozen dessert using cottage cheese as the base. This recipe is simple, requires no churning, and yields a creamy texture.
Ingredients
- 1 cup full-fat cottage cheese
- 1/4 cup sweetener (e.g., monk fruit blend or maple syrup)
- 1 teaspoon vanilla extract
- Optional: 1-2 tablespoons milk or water for blending consistency
Instructions
- Place the cottage cheese, sweetener, and vanilla extract into a high-speed blender or food processor.
- Blend the mixture until it becomes completely smooth and creamy, scraping down the sides as needed. This step is crucial for texture.
- If the mixture is too thick to blend smoothly, add milk or water one tablespoon at a time until a thick, smooth paste forms.
- Transfer the mixture to a freezer-safe container, such as a loaf pan or airtight tub.
- Cover the container tightly with plastic wrap, pressing the wrap directly onto the surface of the mixture to prevent ice crystals.
- Freeze for at least 4 to 6 hours, or until firm.
- Before serving, let the ice cream sit on the counter for 5 to 10 minutes to soften slightly for a soft-serve consistency.
Notes
- For a chocolate version, add 2 tablespoons of unsweetened cocoa powder during blending.
- If you prefer a firmer texture, use low-fat cottage cheese, but full-fat yields a creamier result.
- If using a Ninja CREAMi, blend the mixture until smooth, pour into the pint, freeze solid, and then process according to your machine’s directions.
- Prep Time: 5 min
- Cook Time: 0 min
- Category: Dessert
- Method: No-Churn/Blended
- Cuisine: American
Nutrition
- Serving Size: 1/2 cup
- Calories: 180
- Sugar: 8
- Sodium: 350
- Fat: 8
- Saturated Fat: 4
- Unsaturated Fat: 4
- Trans Fat: 0
- Carbohydrates: 12
- Fiber: 0
- Protein: 18
- Cholesterol: 25


Comments are closed.