
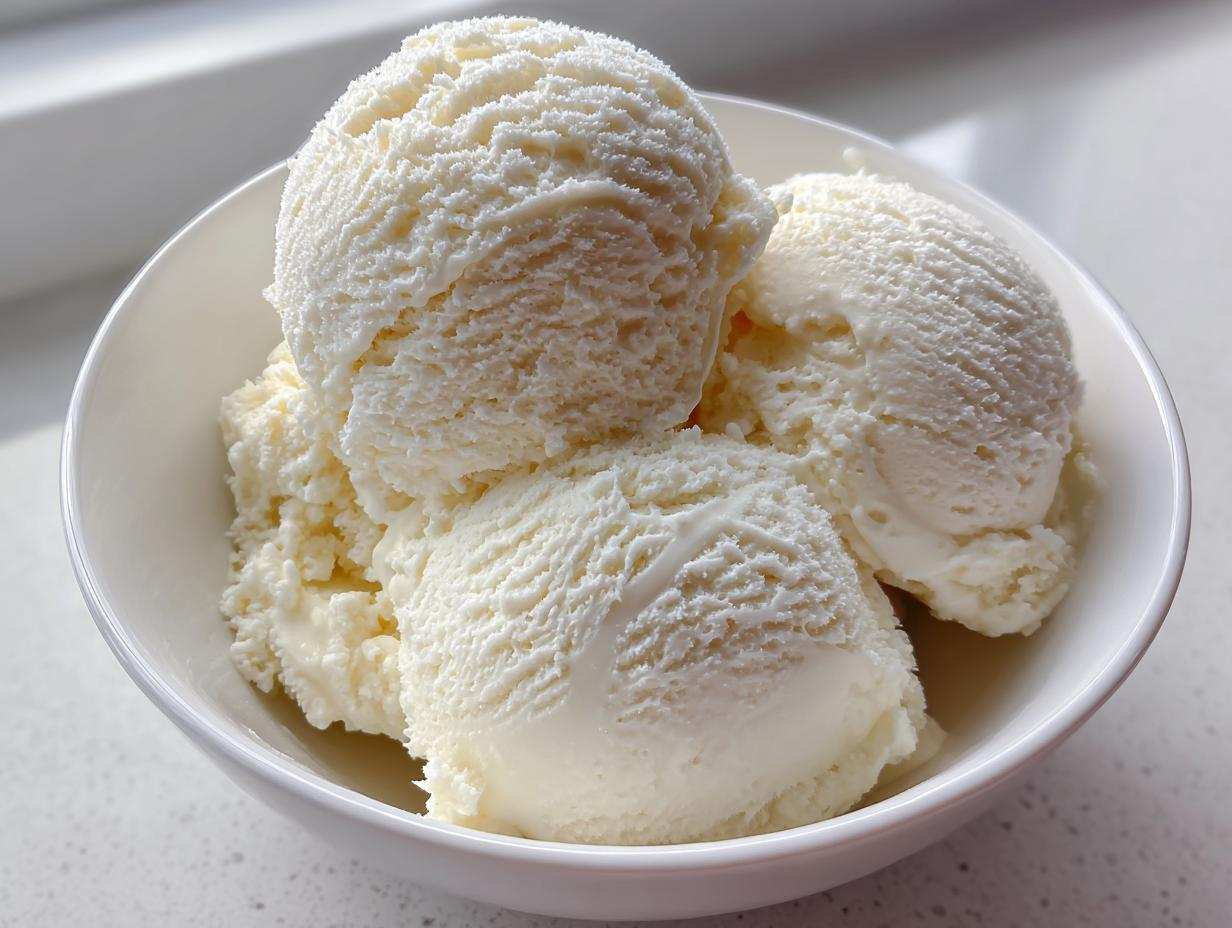
Oh, friends, are you tired of staring down a pint of ice cream knowing it’s going to derail your healthy eating goals for the week? I totally get it! When my sweet tooth hits, it hits *hard*. That’s why, as someone who adores figuring out delicious but macro-friendly desserts, I’ve developed what I truly believe is the ultimate solution: simple, no-churn **protein ice cream**.
You absolutely do not need a fancy machine to get that creamy, satisfying texture. When I first started experimenting with high-protein swaps, I thought I was doomed to icy, chalky failure. But trust me, with a few smart ingredients, you can whip up this stunning vanilla treat in minutes, and then just let the freezer handle the rest. Welcome to Forkful Heaven, where we make cravings work for us!
Why This Simple No-Churn Protein Ice Cream is Your New Favorite Healthy Homemade Ice Cream
Honestly, this recipe changed the game for me. There were nights after a big training session when all I wanted was a massive bowl of ice cream, but my macros just wouldn’t allow it. This **healthy homemade ice cream** allowed me to hit my protein goals and feel like I was cheating! It’s seriously decadent; you get that rich, scoopable dessert feeling, making it one of the best guilt free frozen treats you can make.
The best part is the simplicity. Forget the churning! We’re dealing with maybe five minutes of actual work before it goes into the deep freeze. It’s perfect for anyone who wants a macro friendly dessert but doesn’t own a specialized machine, which is why I love featuring it so much here at Forkful Heaven.
Achieving Creamy Protein Ice Cream Texture Without Churning
The magic here is twofold. First, the Greek yogurt! Because it’s naturally thicker and has less water content than regular milk, it forms a stunningly creamy texture right out of the gate. Second, we fight ice crystals aggressively. By stirring it during those first few freezing hours, we break up developing ice, giving you that soft-serve consistency that makes this protein ice cream so irresistible.
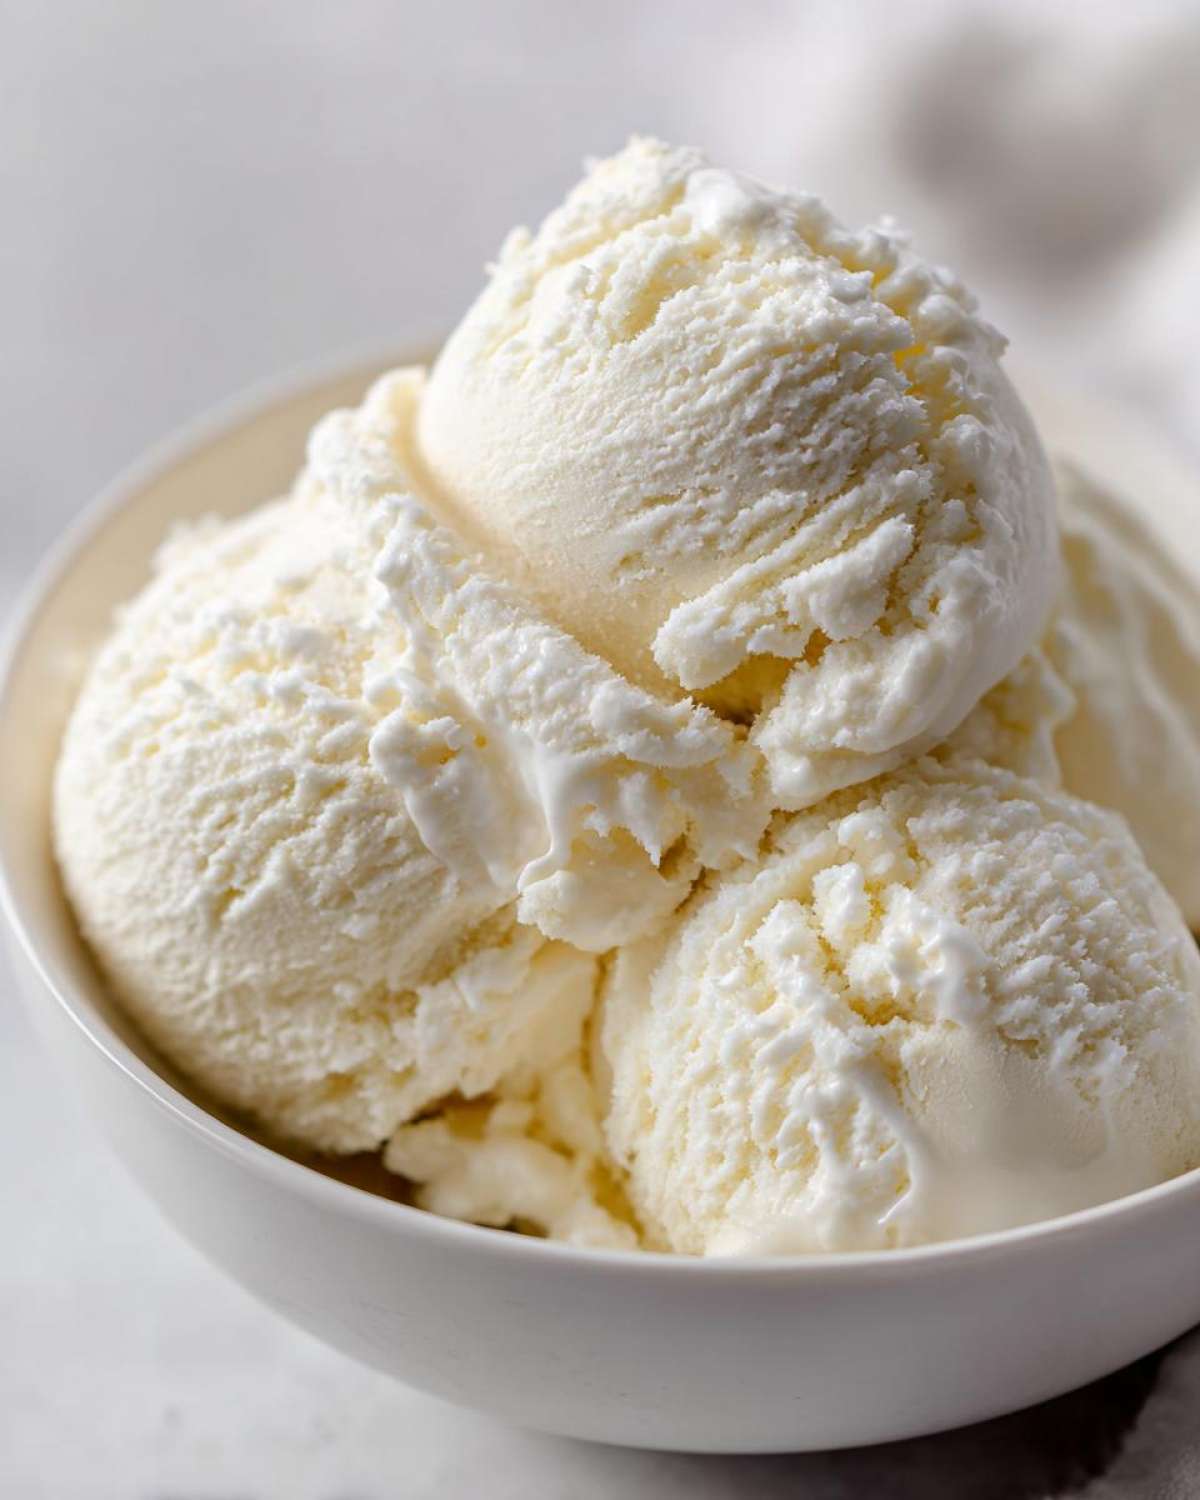
Essential Ingredients for the Best No Churn Protein Ice Cream Base
Okay, let’s talk components. Since this is a four-ingredient recipe at its core (plus vanilla and salt which I always count as kitchen staples!), the quality of what you use really matters for these Greek yogurt ice cream recipes. We aren’t fooling my taste buds with anything subpar here!
First up, you absolutely must use Greek yogurt. I prefer 2% or full-fat because the little bit of extra fat helps mimic that rich mouthfeel of real ice cream. If you go non-fat, it’s going to feel a bit more like frozen yogurt, which is fine, but maybe not the creamy experience you’re chasing!
Next, your protein powder. I find whey/casein blends work the best because they dissolve smoothly and give you that wonderful structural integrity. Make sure you’re using a protein powder you genuinely enjoy the taste of, because its flavor shines through! Don’t forget that tiny pinch of salt—it magically makes the sweetness pop.
Ingredient Substitutions for Your Protein Ice Cream
I love that we don’t need a banana in this recipe—that texture just isn’t for everyone! If you want to boost the creaminess even further, try swapping half the Greek yogurt for cottage cheese, but make sure you blend that cottage cheese until it’s perfectly silky smooth first. That’s a pro tip for making truly decadent bases.
If vanilla isn’t your thing this time around, swapping to a good quality chocolate protein powder instantly turns this into a fantastic **chocolate protein ice cream** variation. Just be careful with liquid absorption—some chocolate powders are a bit thirstier than vanilla, so you might need an extra splash of almond milk to keep things pourable before freezing. These small swaps keep this recipe versatile and exciting!
Step-by-Step Instructions for Perfect No-Churn Protein Ice Cream
Alright, let’s get messy! This process is straightforward, but timing is everything if we want that luxurious scoopable result. Start by grabbing your mixing bowl. We need everything combined smoothly before we go anywhere near the freezer. Think ease, like how simple it is to make my make-ahead breakfast muffins!
First, whisk your wet ingredients together—the Greek yogurt, almond milk, vanilla extract, salt, and sweetener. Make sure that sweetener is fully dissolved before moving on. Now, here comes the part where lumps try to sneak in: the protein powder. Always add the protein powder slowly while whisking continuously. Seriously, do not dump it all in at once, or you’ll be fighting those tiny, hard protein clumps right until serving time. Ensure the base is silky smooth!
Once it’s perfect, pour the mixture into a freezer-safe loaf pan or whatever container you have handy. Now, you absolutely need to cover the surface. I mean press plastic wrap right down onto the surface of the liquid. This stops those awful ice crystals from forming on top of your beautiful **protein ice cream** base. Freeze for at least four hours, but here’s the trick: set a timer for every 60 to 90 minutes for the first three hours. Pull it out and give it a really vigorous stir. This repeated agitation is what transforms it from a yogurt block into real **healthy homemade ice cream**.
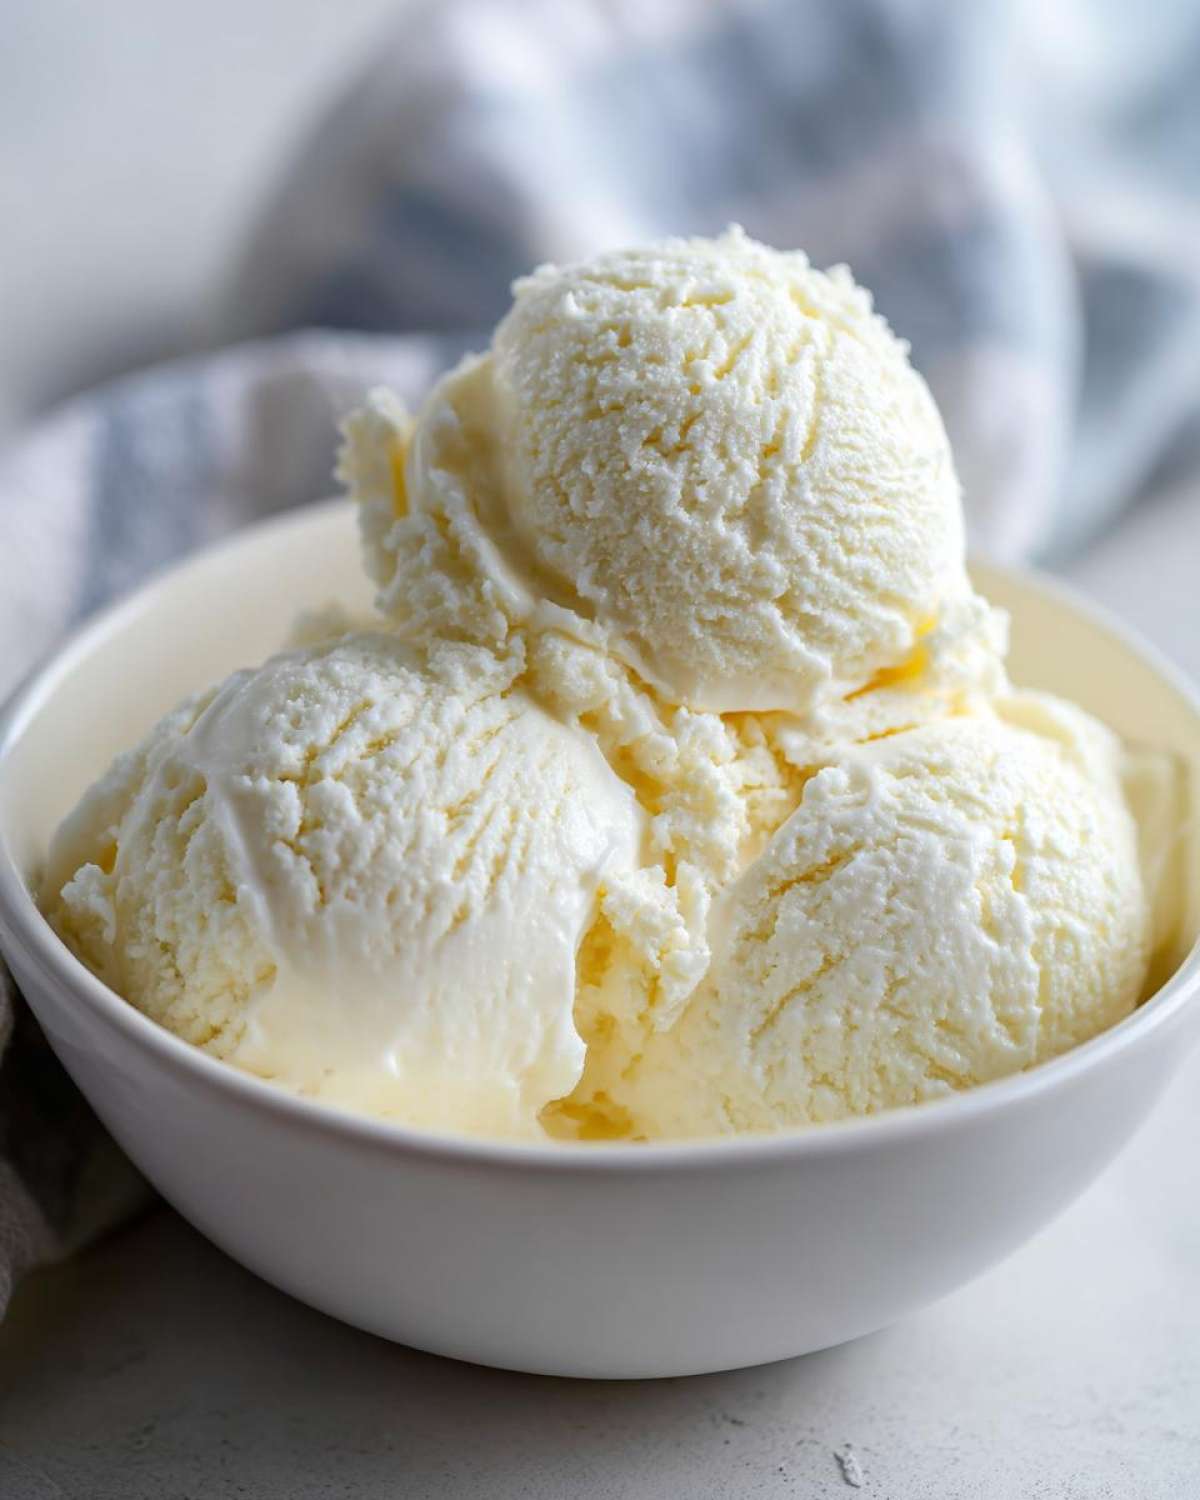
Tips for Making Creamy Protein Ice Cream Every Time
If you’re aiming for the creamiest possible experience, choose a shallow container, like a metal loaf pan, because it freezes faster and more evenly than a deep plastic tub. That stirring schedule I mentioned? Stick to it! That’s my expert tip for minimizing iciness. And remember that plastic wrap trick? Keep it snug against the surface the whole time. It’s the barrier between your soft dessert and freezer burn!
Serving Suggestions for Your Macro Friendly Desserts
Now that you have this amazing, high-protein vanilla ice cream ready, the fun part begins: making it look decadent! Since we’re aiming for **indulgent healthy desserts**, we need toppings that deliver flavor without overloading the macros. A drizzle of sugar-free maple syrup or chocolate syrup always hits the spot, making it feel like a genuine treat.
If you want crunch without the guilt, try keeping a small jar of crushed pecans or slivered almonds handy—they’re fantastic textural additions. Fresh fruit is always my go-to, too! A handful of raspberries or sliced strawberries brightens up the vanilla beautifully. Sometimes I even crumble a low-sugar protein bar on top! It’s all about making that bowl of **protein ice cream** feel like it came straight from a fancy scoop shop. Speaking of nuts, if you ever need a savory crunch inspiration, you might enjoy the walnuts in my pear and arugula salad!
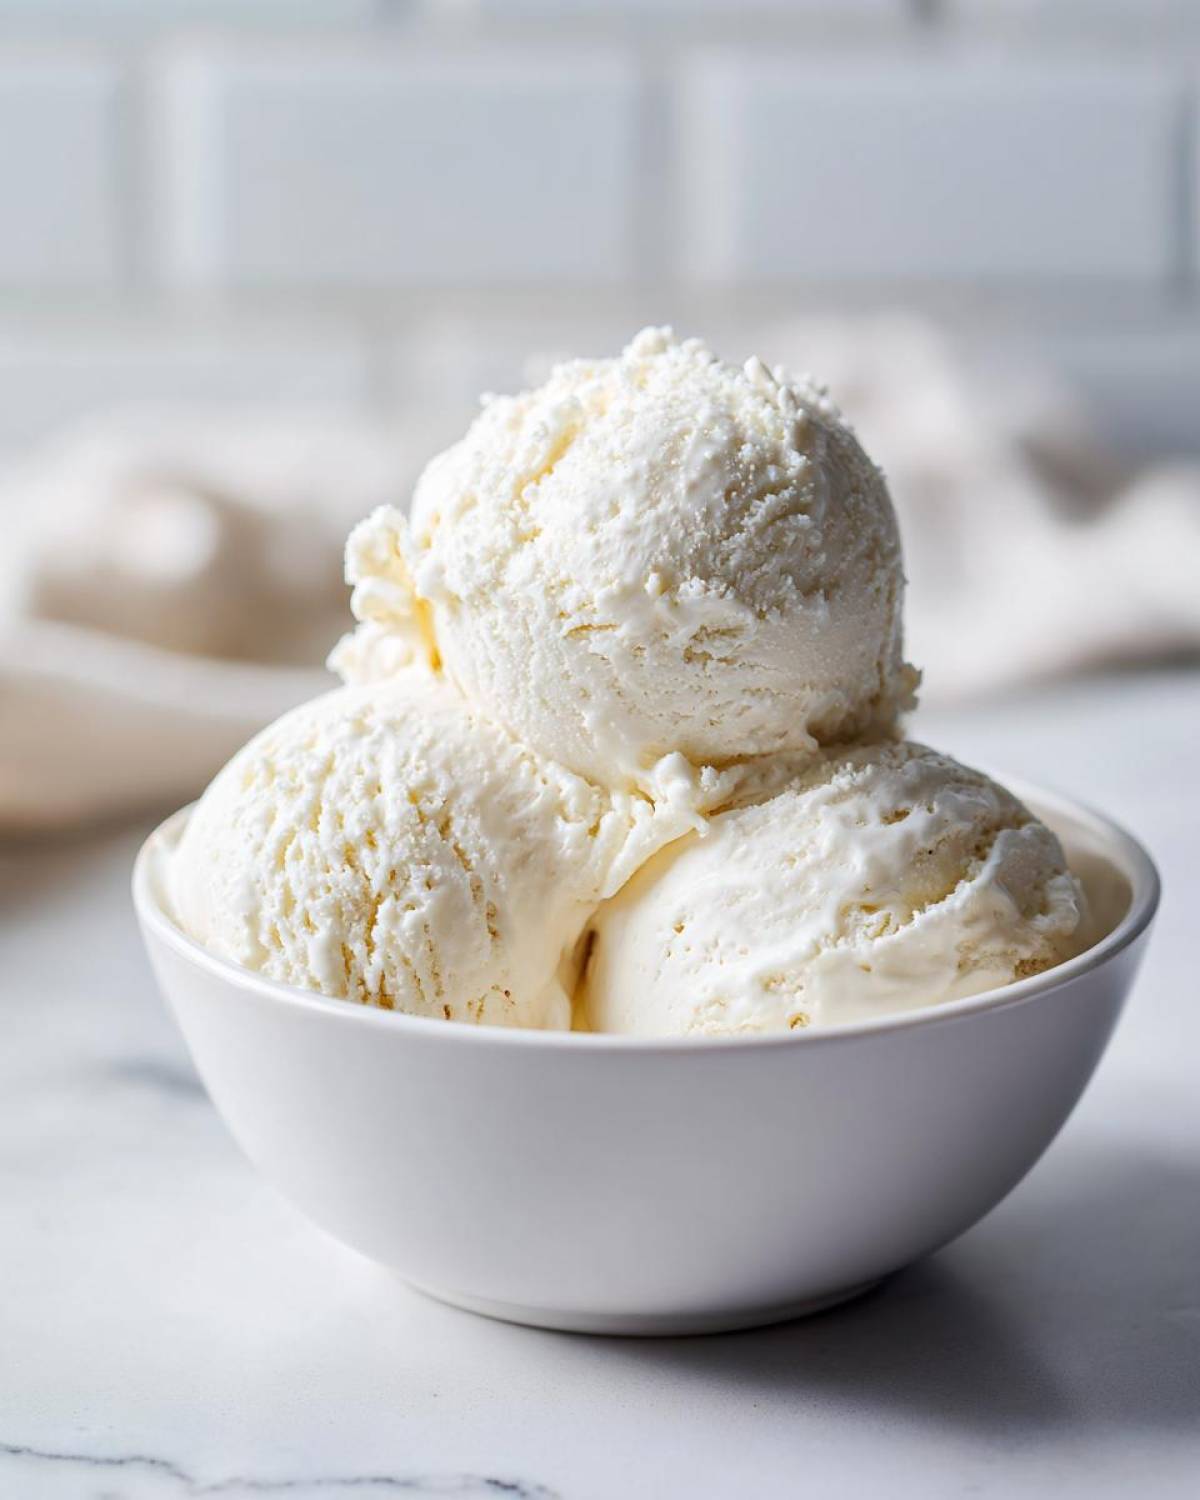
Storing and Reheating Your Homemade Protein Ice Cream
This **protein powder dessert** stores surprisingly well, provided you use the right container. When you’re done scooping your serving, make sure you press plastic wrap directly onto the surface again before putting the lid on tight. This is the only way to keep freezer burn completely away from your **protein ice cream**.
Because we used Greek yogurt, this gets quite firm when fully frozen, which is great, but you can’t eat it rock solid! Always let it sit on the counter for about 5 to 10 minutes before you plan to dig in. This bit of tempering time makes all the difference for serving. It softens up just enough to get those perfect scoops, much like how I let my roasted carrots sit before serving so the glaze really sets up nice. Check out my recipe for maple Dijon glazed carrots for another great example of letting things rest!
Frequently Asked Questions About Protein Ice Cream
It’s natural to have questions when you branch out into making your own healthy frozen treats! I’ve gathered the most common things folks ask me after trying out this recipe. Hopefully, these clear up any last hesitations you have about diving into the world of **protein ice cream**.
Can I use different flavors of protein powder in this protein ice cream?
Absolutely, you can swap the flavors! That’s the fun part of making your own **low calorie ice cream ideas**. If you switch from vanilla to something strong like chocolate or peanut butter, you might find the base thickens up a little more because different powders absorb liquid differently. If the base seems too thick to pour after adding the powder, just add another tablespoon of almond milk until it flows smoothly before freezing. It’s a simple adjustment, but it keeps things creamy!
Is this protein ice cream recipe suitable for meal prepping?
Yes, it totally works for meal prepping because it stores so well—just make sure you follow my storage tip about pressing plastic wrap directly onto the surface! While it’s great for having a ready-made treat, I usually reserve this for one or two servings at a time because the texture is absolutely supreme when it hasn’t been refrozen. However, as a planned **easy protein snack** for the week, it’s perfect to have in the freezer ready to go. Just remember that 10-minute softening time!
What if I want to use my Ninja Creami for this protein ice cream base?
Oh, I love it when you bring out the big guns! If you have the Ninja Creami, this base is perfect, but you need to prep it differently. You cannot freeze it partially like the no-churn method. You must take this entire mixture and freeze it completely solid—we’re talking hard as a rock, usually overnight. Once it’s fully frozen, run it through the ‘Lite Ice Cream’ setting. It comes out ridiculously smooth, almost professionally made. It’s a fantastic option for those who want the ultimate texture with their **high protein dessert recipes**.
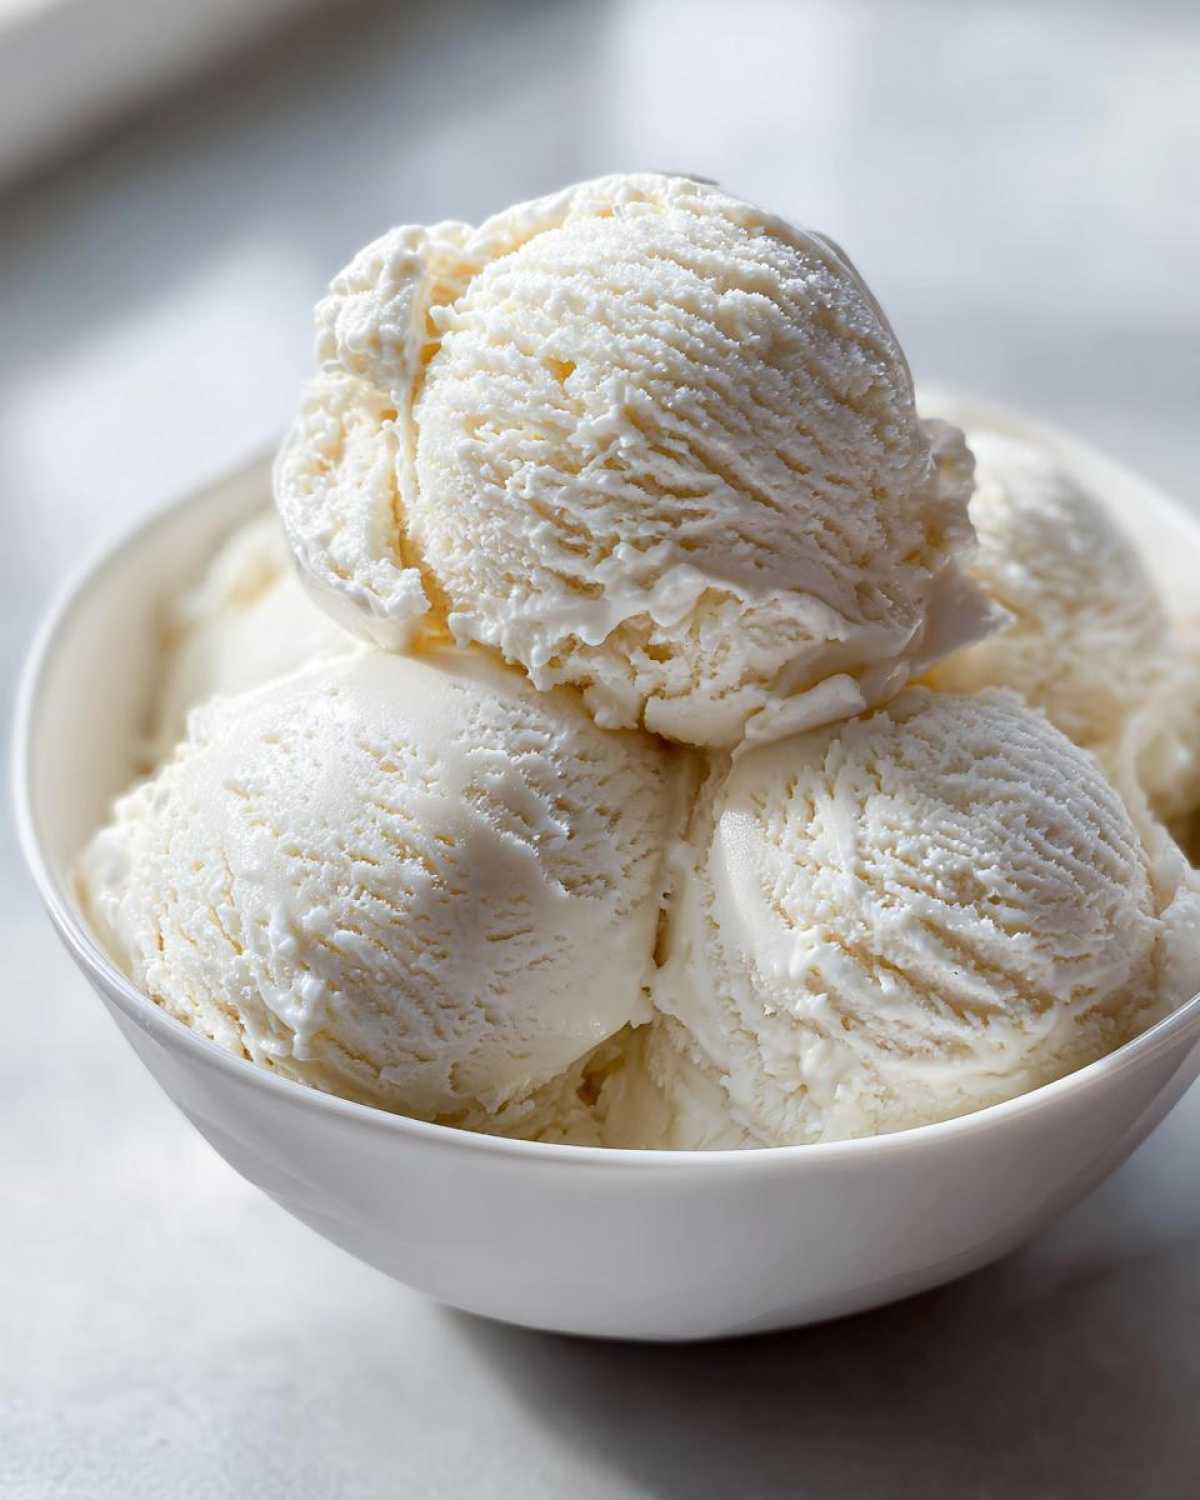
Understanding the Nutrition of Your Protein Ice Cream
One of the best parts about making your own **protein ice cream** is that you know exactly what’s going into it, which is a huge peace of mind coming from someone who loves fitness as much as I love food! Since this is a healthy, macro-friendly take on a classic treat, I tracked the nutrition pretty closely for the base recipe when I developed it. Having this information helps you fit it perfectly into your day, whether it’s a post-workout treat or just a satisfying late-night snack.
Here are the approximate nutrition facts for one serving (which is half of the batch, because who is sharing this, right?). Remember, these are estimated values, and they will shift slightly depending on the brands you choose, especially your protein powder and the type of Greek yogurt you decide to use, but this gives you a fantastic baseline for your macros tracking!
- Calories: 220
- Protein: 30g (Yes, thirty grams! That’s amazing!)
- Fat: 4g
- Carbohydrates: 15g
- Sugar: 5g
Seeing those numbers, especially that huge protein count, really proves that you don’t have to say goodbye to dessert just because you’re focusing on fitness goals. This is proof that good eating can still involve incredible, indulgent flavors!
Share Your Guilt Free Frozen Treats Creations
Now that you’ve made a batch of what might just be my favorite **protein ice cream** recipe, I really, really want to hear what you think! Feeding people (even if it’s just me!) is why I started Forkful Heaven, and knowing these recipes bring joy to your kitchen means the world to me. Did it turn out perfectly creamy? Did you add peanut butter cups or just stick to the pure vanilla?
Please, don’t be shy! Head down to the comments section below and leave a rating and a note about your experience. Sometimes readers try a swap I never considered, and it ends up being brilliant! I love seeing your unique takes on these **guilt free frozen treats**.
If you share a photo of your scoop on social media, tag me! I always get such a kick out of seeing these simple, healthy creations looking like gourmet desserts. It reinforces that we don’t have to sacrifice flavor when we’re eating for our fitness goals. Seeing your success just inspires me to keep looking for the next great flavorful recipe to share with you all.
Thank you again for trying this recipe and letting me share a piece of my kitchen journey with yours. Happy scooping, everyone!
Print
Simple No-Churn Vanilla Protein Ice Cream (Guilt-Free Treat)
- Total Time: 5 hours 5 min
- Yield: 2 servings
- Diet: Low Fat
Description
You can make this creamy, high-protein vanilla ice cream right in your kitchen without needing an ice cream maker. It is a simple, macro-friendly dessert perfect for satisfying sweet cravings.
Ingredients
- 1 cup plain Greek yogurt (2% or full fat for best texture)
- 1/2 cup unsweetened almond milk (or milk of choice)
- 1 scoop vanilla protein powder (whey or casein blend works well)
- 2 tablespoons erythritol or preferred granular sweetener
- 1 teaspoon vanilla extract
- Pinch of salt
Instructions
- In a medium bowl, combine the Greek yogurt, almond milk, vanilla extract, sweetener, and salt. Mix until smooth.
- Whisk in the vanilla protein powder gradually until the mixture is fully incorporated and there are no lumps. The mixture will thicken slightly.
- Pour the protein base into a freezer-safe container, like a loaf pan or a small, airtight container. Cover the surface directly with plastic wrap to prevent ice crystals.
- Freeze for at least 4 to 6 hours, or until firm. For the creamiest results, stir the mixture vigorously every 60 to 90 minutes for the first 3 hours of freezing.
- When ready to serve, let the ice cream sit on the counter for 5 to 10 minutes to soften slightly before scooping. Enjoy your healthy homemade ice cream!
Notes
- For an even creamier texture, use a blend of half Greek yogurt and half cottage cheese (blended smooth first).
- If you own a Ninja Creami machine, use this base mixture, freeze it solid, and process it on the ‘Lite Ice Cream’ setting for a perfect texture.
- You can substitute the vanilla protein powder with chocolate protein powder for an easy chocolate protein ice cream variation.
- Prep Time: 5 min
- Cook Time: 0 min
- Category: Dessert
- Method: No-Churn Freezing
- Cuisine: American
Nutrition
- Serving Size: 1/2 of recipe
- Calories: 220
- Sugar: 5
- Sodium: 180
- Fat: 4
- Saturated Fat: 2
- Unsaturated Fat: 2
- Trans Fat: 0
- Carbohydrates: 15
- Fiber: 1
- Protein: 30
- Cholesterol: 15


Comments are closed.