
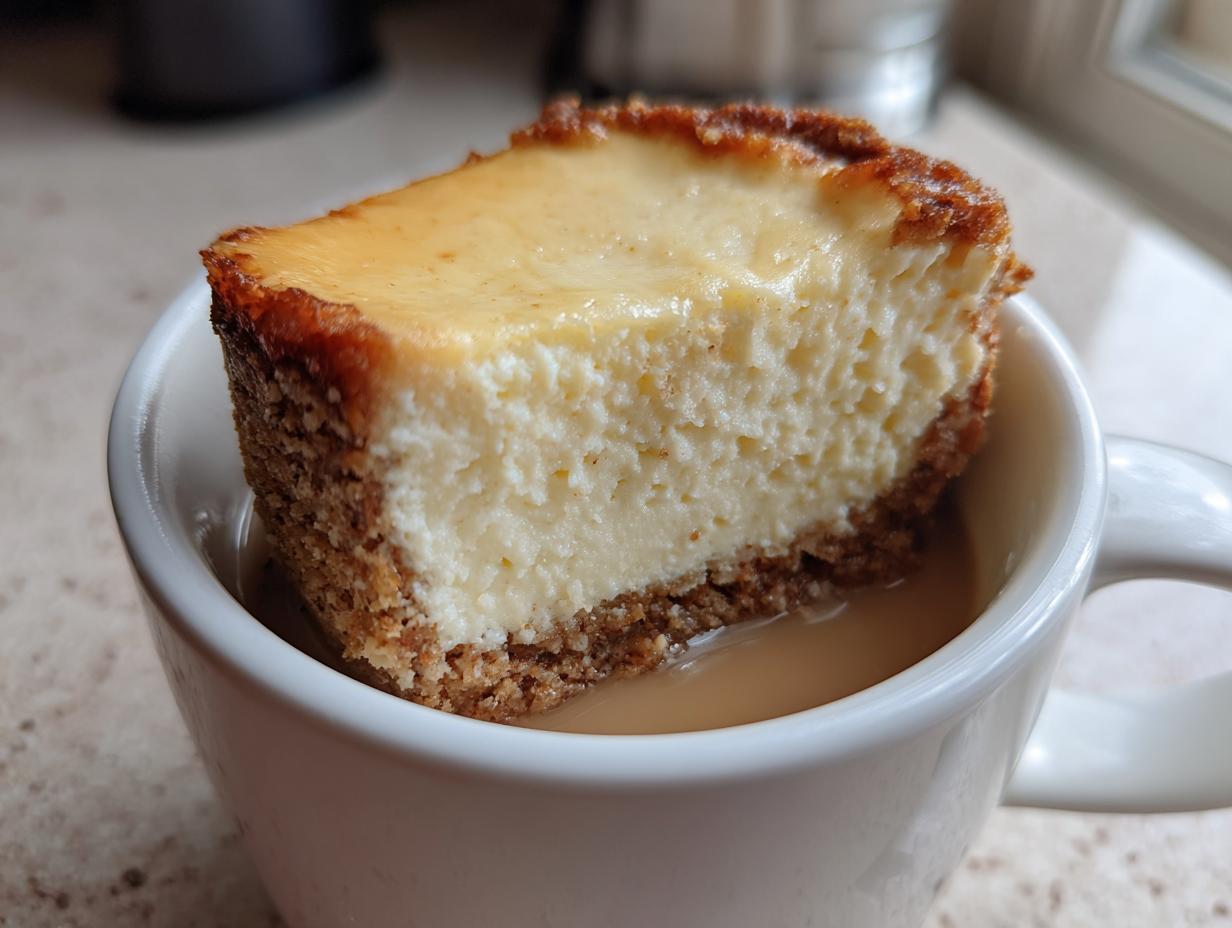
Oh my goodness, you know those nights? It’s 10 PM, you’re curled up on the couch, and suddenly—BAM!—you desperately need something rich, creamy, and utterly satisfying? That used to mean disappointment for me, because who wants to pull out the springform pan for just one person? Not me! That’s why I perfected this **Decadent Cheesecake Mug Recipe**. Seriously, this is the ultimate fix because it delivers that cool, tangy, New York-style velvet texture using nothing but your microwave. No oven preheating, no hours of chilling—just pure, portion-controlled indulgence in under ten minutes. This recipe completely saved my sanity last Tuesday when a serious craving hit out of nowhere. Trust me, this quick cheesecake is about to become your most-used dessert trick!
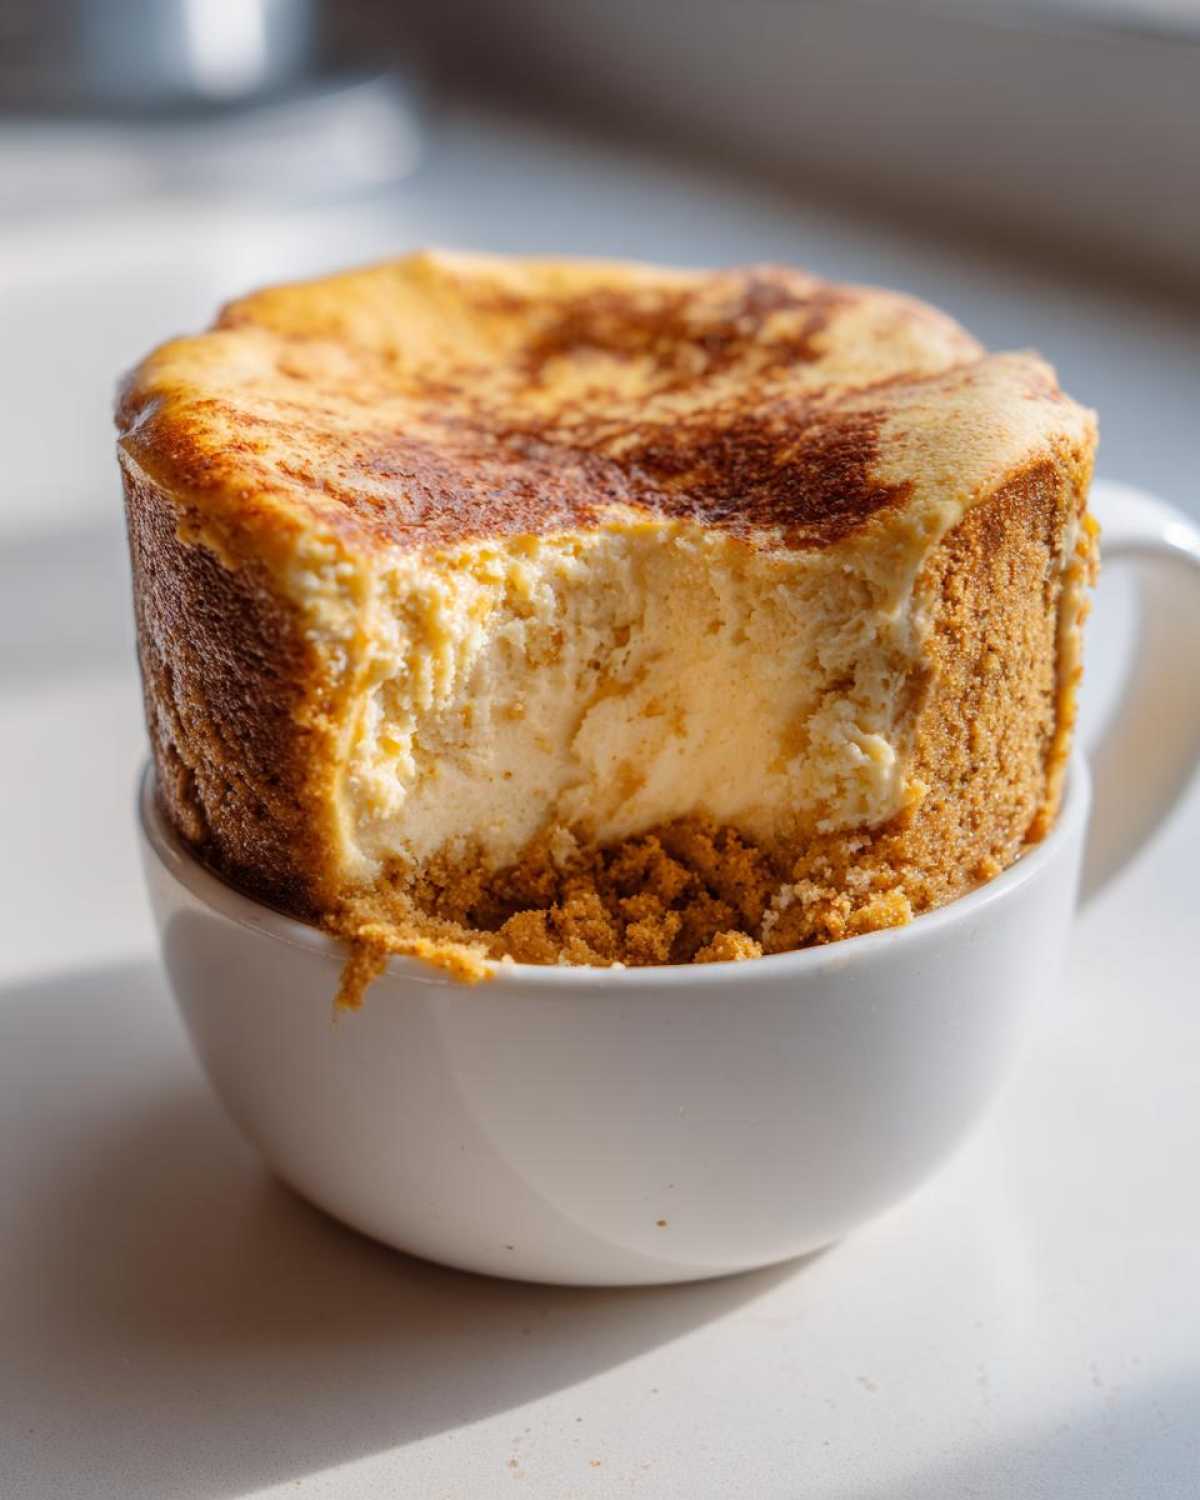
Why This Decadent Cheesecake Mug Recipe is Your New Favorite Dessert
I’m not exaggerating when I say this little recipe changed my dessert life. When you only have a few minutes, you need a winner, and this mug cheesecake delivers every single time. Here’s why you need to trust me and try this ultra-fast fix:
- Zero Waiting Time: Forget the four hours in the fridge—this is real dessert satisfaction now, not later. It’s the perfect dessert for one when impatience strikes!
- Perfect Portion Control: It’s literally one mug, so you get that absolute peak decadence without having to hide the rest of a giant cake from yourself.
- Incredible Texture: We use a special microwave trick (more on that later!) that keeps it unbelievably creamy, not rubbery. It truly holds up the promise of a decadent result.
- Minimal Cleanup: You mix everything, microwave it, and that’s it! Your mug is your serving dish, which means dishes are super easy.
Fastest Single Serving Cheesecake Recipe Available
Seriously, the total time clocking in around six minutes is crazy. Think about it: you can decide you want cheesecake, mix it up, and be eating it before you could even properly soften the cream cheese for a traditional recipe. It’s the ultimate solution for a quick cheesecake craving that hits right after dinner.
Achieving That Rich Cheesecake Flavor
The secret to calling this a Decadent Cheesecake Mug Recipe and not just a sad, sweet lump is the dairy combination. We’re using full-fat cream cheese, of course, but adding heavy cream or sour cream is what swaps out the standard sugary fluff for that authentic, slightly tangy, robust rich cheesecake flavor you expect from a proper slice.
Gathering Ingredients for Your Decadent Cheesecake Mug Recipe
Okay, now that you’re fully convinced you need this in your life immediately, let’s talk about what you need to pull it off. Remember, for that true decadent experience, using proper ingredients matters, even in a mug! Everything needs to be ready to go because we are moving fast once we start mixing. Don’t worry if you think you don’t have enough ingredients; this recipe is designed for just one perfect serving.
I always keep the cream cheese out on the counter for at least an hour before I plan to bake, even if I’m only microwaving it. If it’s cold, it will clump up, and you’ll end up mixing way too hard trying to get it smooth. You want that soft, pliable texture we talk about in my best cream cheese frosting guide—the smoother the start, the creamier the finish!
Crust Components for the Decadent Cheesecake Mug Recipe
The crust is optional, but honestly, skipping it means missing out on the whole experience! It gives you that necessary textural break from the filling. You don’t need much at all:
- 1 tablespoon graham cracker crumbs (crushed up finely—I use a Ziploc bag and a rolling pin!)
- 1 teaspoon melted butter
Just mix those two items together until it looks like wet sand. That’s it! That’s the entire base for your **Decadent Cheesecake Mug Recipe** crust. Press it down gently in the bottom of your greased mug.
Cheesecake Batter Essentials for a Creamy Microwave Dessert
This is where the magic happens, ensuring we hit that wonderfully creamy microwave dessert texture. We need richness here, so no light substitutes!
- 1/4 cup cream cheese, softened (the star!)
- 1 tablespoon granulated sugar
- 1/2 teaspoon vanilla extract
- 1 large egg yolk (only the yolk gives that incredible color and richness)
- 1 tablespoon heavy cream or sour cream (this is the richness booster)
When you’re ready, just beat that soft cream cheese solo until it looks fluffy. Then we add the rest! If you don’t have heavy cream, a teaspoon of sour cream works perfectly to give you that delicious tang that makes it taste homemade.
Step-by-Step Instructions for the Decadent Cheesecake Mug Recipe
Alright, this is the part where we turn those ingredients into heaven! Since we’re microwaving, the steps here are crucial for getting that creamy texture instead of something that feels like hard plastic. If you rush this phase, the texture will suffer, so really listen up about the power settings. It’s the difference between a quick, satisfying treat and a sad, rubbery fail.
If you’re looking for other fast microwave miracles, check out my thoughts on making quick chocolate mug cake recipes—the principles of low power are really similar for both!
Preparing the Crust Layer for Your Decadent Cheesecake Mug Recipe
First things first, grab a standard, microwave-safe mug. I always take a tiny bit of oil or soft butter on a napkin and just wipe the inside—not too much, just enough so it doesn’t stick when it’s done cooking. We don’t want to fight our dessert when it’s ready!
Take the graham cracker crumb/butter mix you prepared earlier and gently press it evenly onto the very bottom of that greased mug. Use the back of a spoon or your fingers. You want it packed down firmly. This crust is the base of your **Decadent Cheesecake Mug Recipe**, so make sure it’s flat!
Mixing the Creamy Cheesecake Batter
Now for the filling. Grab a separate, small bowl. Remember how I said the cream cheese needs to be soft? Good. Beat that cream cheese until it’s perfectly smooth—no lumps lurking! That initial smooth base is essential.
Next, mix in your sugar and vanilla until everything is totally incorporated. Then, gently beat in just that single egg yolk. Finally, stir in your heavy cream or sour cream. Keep stirring just until the entire batter is perfectly uniform and creamy. Stop mixing as soon as you hit that smooth texture—overmixing adds air we don’t want in a dense cheesecake.
Microwaving the Decadent Cheesecake Mug Recipe Correctly
Here is the biggest, most important tip in this whole process: Do not use full power! If you nuke this cheesecake at 100% power, the eggs will seize up immediately, and you’ll end up with something hard and bouncy. We are aiming for creamy, not rubbery!
Pour your batter carefully over the crust layer in the mug. Then, set your microwave to 50% power and cook it for 45 seconds. When you pull it out, the edges should look firm, but the very center should still have a slight wiggle, like really soft Jell-O. If the center looks completely raw and liquidy, pop it back in for an extra 10 seconds at that same 50% power. Seriously, watch it like a hawk! Let it rest in the mug for about five minutes afterward; it sets up beautifully as it cools down.
Tips for the Ultimate Decadent Cheesecake Mug Recipe Success
Even though this recipe is super quick, pulling it off perfectly requires listening to a few of my hard-earned lessons. When you’re dealing with something as delicate as a single-serving cheesecake cooked with speed, you need to respect the science a little bit. Paying attention to these details is what moves it from “okay” to truly unforgettable indulgence—you want that perfect bite every time!
I’ve tested this recipe in three different microwaves over the years, and trust me, they all act differently! What works perfectly in my 1100-watt machine might result in a liquid center in a friend’s older 700-watt model. That’s why knowing how to adjust is key to maintaining that creamy texture we are aiming for in this **Decadent Cheesecake Mug Recipe**.
Microwave Wattage and Cooking Adjustments
The golden rule we established was 50% power for 45 seconds, followed by 10-second check-ins. If your microwave is stronger than 1100 watts, you might even need to drop that base setting to 40% power to play it even safer. High wattage means higher heat intensity!
If, however, you have a lower-wattage machine—say, 800 watts or less—you might need a longer initial hit. Instead of 45 seconds, try 60 seconds initially at 50% power. You still need to check for that central wobble, though! Never, ever assume the time is exact; the wobble test remains your best friend for making sure this is a rich, satisfying treat and not an egg custard disaster.
Another pro tip? When you take the mug out for checking, let it rest on the counter for a full 30 seconds before you touch it. The carryover cooking is real in small batches! This brief pause allows the residual heat to finish setting the edges gently, leading to a much smoother final texture when you finally dig in.
Variations and Toppings for Your Single Serving Cheesecake Recipe
Now that you’ve mastered the classic base—the perfect texture for your **Decadent Cheesecake Mug Recipe**—you get to have fun dressing it up! Since this is an individual serving dessert, it’s the best time to experiment without committing a whole cake to a flavor that maybe doesn’t pan out as planned. I love treating my mug cheesecake like a tiny, warm canvas.
The beauty of this particular recipe is that it’s so neutral and rich. It’s basically just asking for something sweet and contrasting on top. If you’ve ever tried adding some spice to a traditional carrot cake, you know how well vanilla complements earthy flavors; that same principle works here with fruit!
One of my go-to moves when I need something bright is to use a quick spoonful of leftover jam. Think about it: warm, creamy cheesecake mingling with tart raspberry or sweet strawberry. It’s amazing! For a really nice contrast against the richness, try making a quick blueberry compote on the stovetop—it takes about three minutes and feels completely gourmet.
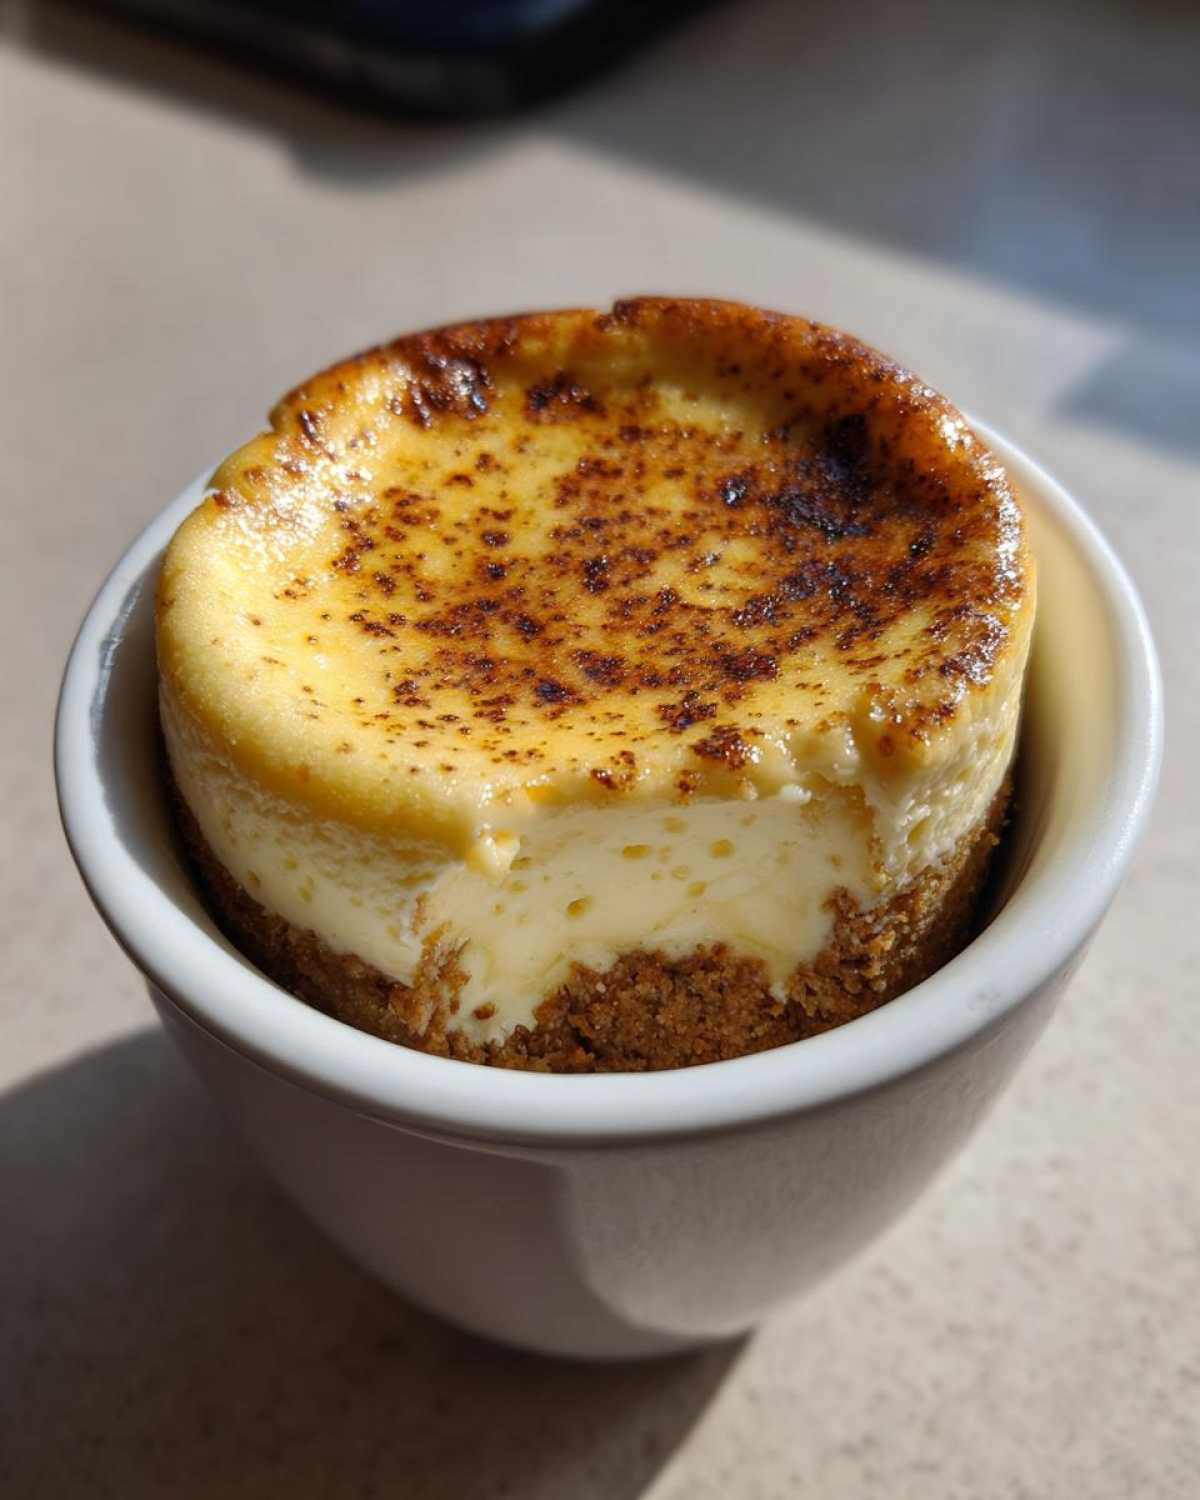
If you’re feeling inspired to bake more than just mug desserts, you should check out my favorite carrot cake recipe sometime for a deeper dive into complementary spices!
Mini Flavor Swaps in the Batter
You don’t have to stick strictly to vanilla either. A tiny switch in the batter itself can yield a whole new experience for your single serving cheesecake recipe. My absolute favorite easy swap is swapping out the vanilla extract for almond extract. You only need about a quarter of a teaspoon, because almond is potent, but it gives the finished dessert this beautiful, delicate floral note that really elevates the experience.
If you prefer a citrus zest, a tiny bit of lemon or orange zest mixed into the batter right before pouring—about half a teaspoon—cuts through the richness beautifully, too. It makes it taste almost like a classic lemon bar meets cheesecake, which is a fantastic change when you’re just looking for that quick fix!
Simple Toppings for a Rich Cheesecake Flavor
The topping is where you turn this simple dessert into something spectacular. Since we cooked this via the microwave, the cheesecake itself is best eaten warm or room temperature, which means your toppings should either be warm, liquidy, or fresh. Here are my top three winners for a fast and satisfying dessert:
- Quick Chocolate Drizzle: Melt three chocolate chips with just a drop of milk or water in a separate tiny bowl (30 seconds in the microwave). Drizzle it right over the top post-cooling. So easy!
- Caramel Sauce: If you have any salted caramel sauce lying around, a swirl creates an instant salty-sweet profile that pairs perfectly with the buttery crust.
- Fresh Berries: A few raspberries or sliced strawberries add acidity and a beautiful pop of color. They cool down the warm center slightly, which is just heavenly.
Remember, since it’s a small portion, you don’t need much topping to make a huge difference in flavor! A small garnish goes a long way toward making this the most decadent dessert idea you’ve had all week.
Storage and Reheating for Your Decadent Cheesecake Mug Recipe
Look, the reality of the **Decadent Cheesecake Mug Recipe** is that it’s designed for immediate gratification. It’s a dessert for one, and frankly, if you followed the instructions correctly, there probably won’t be any leftovers! But let’s say you made it while distracted, or perhaps you decided you needed to save a tiny portion for a midnight snack—I get it. Storing and reheating cheesecake made in the microwave takes a little finesse, mostly because microwave cooking changes the texture slightly.
The most important thing here is that you want to enjoy the *creamy* aspect, which breaks down quickly when microwaved multiple times. So, while you technically *can* save it, I highly recommend eating this individual serving dessert right after it cools down for those first five minutes.
Storing Leftovers Safely
If you absolutely must save it, treat it like any dairy-based mixture. Cover the top of the mug tightly with plastic wrap, making sure the wrap doesn’t actually touch the surface of the cheesecake if you can help it—that way, you won’t tear up the top when you remove it later. Keep it in the fridge for no more than two days.
Honestly, I have never tried keeping this longer than that, mostly because the texture starts to degrade slightly. That intense richness we built up with the cream cheese and yolk doesn’t tolerate time very well, even in the cold!
Reheating This Creamy Microwave Dessert
This is the tricky part! If you try to blast the refrigerated cheesecake in the microwave at full power to warm it up, you are going to end up with hot, slightly spongy cheesecake—the complete opposite of decadent. So, if you’re reheating this portion control dessert, you have to go slow, just like when you cooked it the first time.
Take the mug out of the fridge and let it sit on the counter for about 15 minutes to come closer to room temperature first. Then, microwave it on 30% power for just 15 seconds. Check it. If it still feels too cold, use another 10 seconds at 30% power. The goal is just to take the chill off so that the texture softens back up to that rich cheesecake flavor you love. Trying to reheat it to piping hot will ruin your **Decadent Cheesecake Mug Recipe**!
If that sounds like too much trouble for a tiny dessert, that’s why I always say: make only what you plan to eat! This recipe works so fast that five minutes later, you can just make a fresh one instead of fussing with reheating a slightly drier, cold portion.
Frequently Asked Questions About the Decadent Cheesecake Mug Recipe
I know when you’re making something new, especially a fast microwave dessert, a few questions always pop up before you even start mixing. It’s smart to be prepared! I’ve answered some of the ones I hear most often about turning out a perfect, creamy microwave dessert that still tastes like the real deal. If you’re aiming for that ultimate rich cheesecake flavor, these tips should help seal the deal.
Can I make this Decadent Cheesecake Mug Recipe without a crust?
Absolutely, you totally can skip the crust if you’re watching carbs or if you just didn’t have graham crackers handy! If you skip the crust, you save about a minute of prep time, and it immediately becomes a crustless cheesecake experience. The main difference you’ll notice is in the texture and cooling time. Without the slightly drier crumbs at the bottom, the very bottom of the cheesecake batter can sometimes set up a tiny bit faster or stick slightly more.
Because of that, I recommend making sure you grease that mug really well if you go crustless. You also might need to trim down that microwave time by about 5 to 10 seconds, because you’ve lost that layer of insulation at the bottom. It’s still a fantastic dessert for one, just slightly softer on the base!
What is the best substitute for heavy cream in this microwave dessert?
If heavy cream isn’t in your fridge, don’t panic! This is when we rely on the next best thing to keep that creamy microwave dessert texture. I would strongly recommend using sour cream if you have it, as it brings that necessary tartness that balances the sugar perfectly. If you use sour cream, stick to the same measurement: 1 tablespoon.
If you only have plain milk or half-and-half, that works too, but be aware that it will thin the batter out a bit more. If you use 2% or skim milk, the richness of the final product will decrease a little bit—it might turn out fluffier instead of dense. If you use milk, try reducing the microwave time by 5 seconds, just to be safe, because the batter will be looser.
For those who love making little, fancy desserts, you might want to check out my guide on easy no-bake mini cheesecake bites sometime! They use similar dairy components but offer a different, non-microwave approach.
Can I bake this in a toaster oven instead of the microwave?
Wow, that’s a great question! While you *can* use a toaster oven or a regular oven, I have to be honest: you won’t get the same results that make this the ultimate **Decadent Cheesecake Mug Recipe**. Microwaving creates steam pockets that set the custard quickly on the outside while keeping the center soft. An oven bakes much more slowly and evenly.
If you want to use the oven, you should use a water bath (bain-marie) and bake at a lower temperature (around 325°F/160°C) for about 20 to 25 minutes, treating it just like a traditional mini cheesecake. But honestly, if you’re going to take that much time, you might as well just make a full batch from my recipe collection!
Why does my cheesecake taste rubbery?
Ugh, the dreaded rubbery texture! That almost always means one thing for this quick cheesecake: you cooked it too long or at too high a power. When cheesecake batter hits high heat too fast, the proteins in the eggs and dairy seize up aggressively, making it tough, like a hard rubber eraser. Every microwave is different, which is why our recipe stresses 50% power!
Next time, be militant about using half power and checking frequently. Remember, you want it to wobble slightly in the center when you pull it out. It finishes setting as it cools on the counter, yielding that perfect creamy texture.
What kind of vanilla extract should I use?
I’m a purist about this! If you want that beautiful, rich cheesecake flavor, use pure vanilla extract. Imitation vanilla works in a pinch, but it tastes artificial and just doesn’t blend into the rich flavors of the cream cheese and egg yolk the way the real thing does. For the best result in this individual serving dessert, stick to the good stuff!
Final Thoughts on Making the Decadent Cheesecake Mug Recipe
Well, there you have it—the entire playbook for whipping up the most satisfying, rich, and unbelievably fast dessert you’ve ever made. I truly hope you make this **Decadent Cheesecake Mug Recipe** the next time that irresistible craving hits you after dinner. Forget waiting for the weekend or dealing with a massive cleanup; this simple, individual serving dessert lets you have indulgence on demand.
I’m so proud of how this recipe turned out. It proves you don’t need hours of soaking time or a temperamental oven to achieve that velvety texture and amazing, rich cheesecake flavor we all crave. Seriously, the mix of the buttery crust with the slightly tangy, warm center is pure happiness in a cup!
If you’re looking for even more incredibly easy, fast solutions for those late-night sweet tooth attacks, you absolutely have to browse my roundup of other easy mug desserts. There are so many quick options that require minimal fuss!
Now, go grab your mug and get mixing! And please, please come back and tell me how yours turned out. Did you go with berries? Did you stick to the classic flavor? Drop a comment below and let everyone know how much you loved this lightning-fast cheesecake!
Estimated Nutritional Information for This Individual Serving Dessert
Okay, I always feel a little funny sharing the numbers because, let’s be real, when you need a slice of creamy decadence *right now*, you aren’t usually thinking about macros! But for those of you who truly want to check the boxes or just want a quick idea of what you’re enjoying, here are the general estimates for one serving of this **Decadent Cheesecake Mug Recipe**.
Please remember, these numbers are just ballpark figures, kind of like my guess when I’m measuring out sprinkles! They are based on using full-fat cream cheese and heavy cream as the recipe suggests to ensure that rich, decadent flavor we worked so hard to achieve. If you use fat-free versions, your numbers will, of course, look different.
This information is provided to give you a general idea of the nutritional content of this individual serving dessert:
- Serving Size: 1 mug
- Calories: approximately 300
- Sugar: 18g
- Fat: 22g (This is where the richness comes from!)
- Saturated Fat: 13g
- Carbohydrates: 20g
- Protein: 6g
Enjoy every single bite of this quick treat! If portion control is your main goal, this mug recipe is perfect because you get that huge satisfaction without any leftovers tempting you for breakfast the next morning. That’s a win in my book!
Print
Decadent Cheesecake in a Mug
- Total Time: 6 min
- Yield: 1 serving
- Diet: Vegetarian
Description
Make a rich, creamy, single-serving cheesecake quickly using your microwave.
Ingredients
- 1/4 cup cream cheese, softened
- 1 tablespoon granulated sugar
- 1/2 teaspoon vanilla extract
- 1 large egg yolk
- 1 tablespoon heavy cream or sour cream
- 1 tablespoon graham cracker crumbs (for crust)
- 1 teaspoon melted butter (for crust)
Instructions
- Lightly grease the inside of a standard microwave-safe mug.
- Mix the graham cracker crumbs and melted butter in a small bowl. Press this mixture evenly into the bottom of the prepared mug to form the crust layer.
- In a separate small bowl, beat the softened cream cheese until smooth.
- Add the sugar and vanilla extract to the cream cheese and mix until combined.
- Beat in the egg yolk until the mixture is smooth.
- Stir in the heavy cream or sour cream until the batter is uniform and creamy.
- Pour the cheesecake batter over the crust layer in the mug.
- Microwave on 50% power for 45 seconds. Check for doneness; the edges should look set but the center should still wobble slightly.
- If the center is still very liquid, microwave in additional 10-second bursts at 50% power until mostly set. Do not overcook.
- Let the cheesecake cool in the mug for 5 minutes before serving.
Notes
- For a richer flavor, use full-fat cream cheese and heavy cream.
- You can top this with a spoonful of jam or fresh berries after it cools slightly.
- Cooking times vary based on microwave wattage; start with shorter times to avoid rubbery texture.
- Prep Time: 5 min
- Cook Time: 1 min
- Category: Dessert
- Method: Microwave
- Cuisine: American
Nutrition
- Serving Size: 1 mug
- Calories: 300
- Sugar: 18g
- Sodium: 150mg
- Fat: 22g
- Saturated Fat: 13g
- Unsaturated Fat: 9g
- Trans Fat: 0g
- Carbohydrates: 20g
- Fiber: 0.5g
- Protein: 6g
- Cholesterol: 80mg



Comments are closed.