
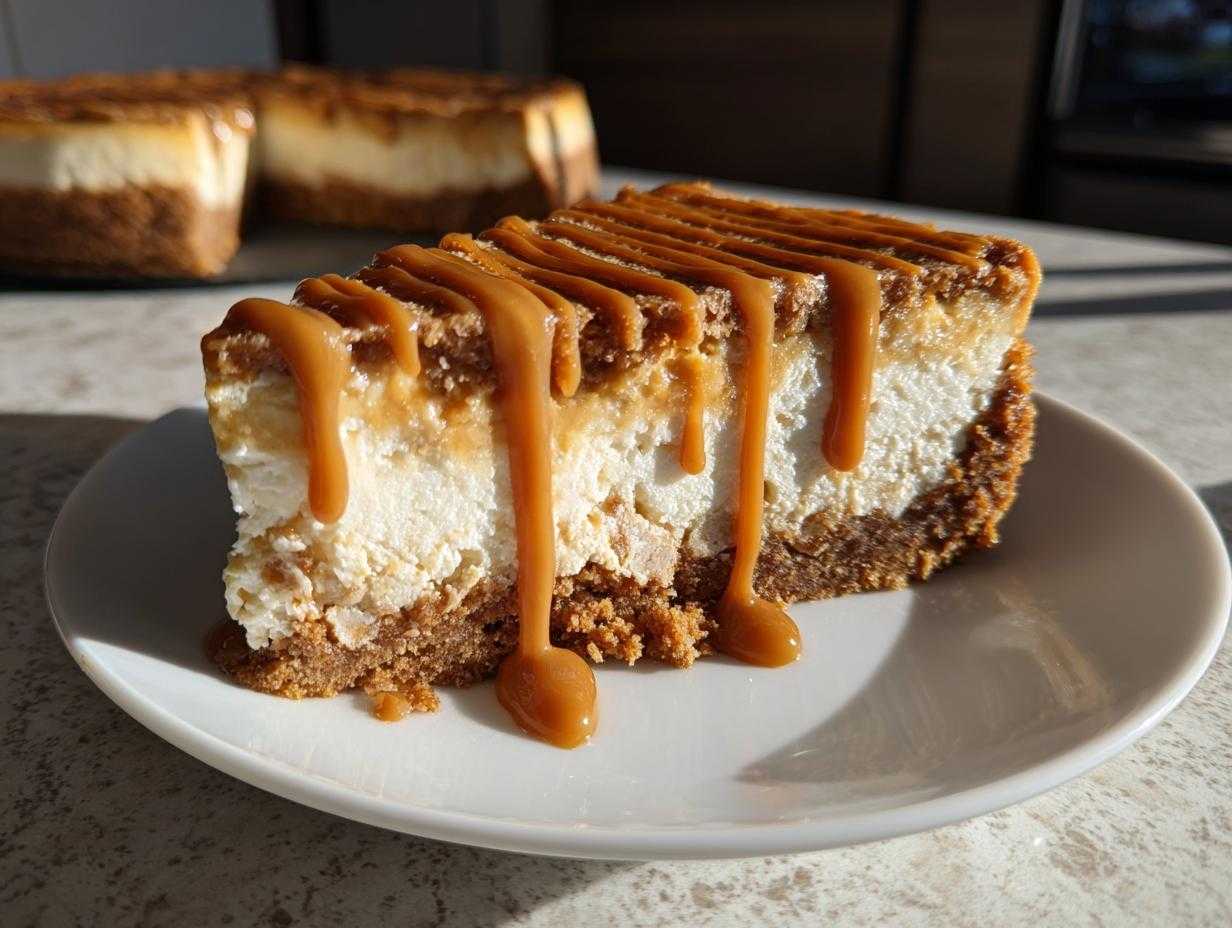
Oh my gosh, you HAVE to stop scrolling right now, because I have found the absolute pinnacle of easy, rich desserts: the No-Bake Biscoff Cheesecake. Seriously, if you think cheesecakes are too much fuss—hello, water baths and cracking tops—this recipe is about to change your life. It’s pure, creamy decadence without ever needing to turn on the oven. I remember the first time I served this at a neighborhood potluck; people were practically fighting over the last slice!
This isn’t just any dessert; it captures that warm, spiced, caramelized magic of Lotus Biscoff spread and turns it into the silkiest filling you’ve ever tasted. The crust is crunchy, the filling is luscious, and the entire thing comes together in about 25 minutes of actual work. Trust me, if you want a crowd-pleasing, make-ahead showstopper, this biscoff cheesecake delivers every single time.
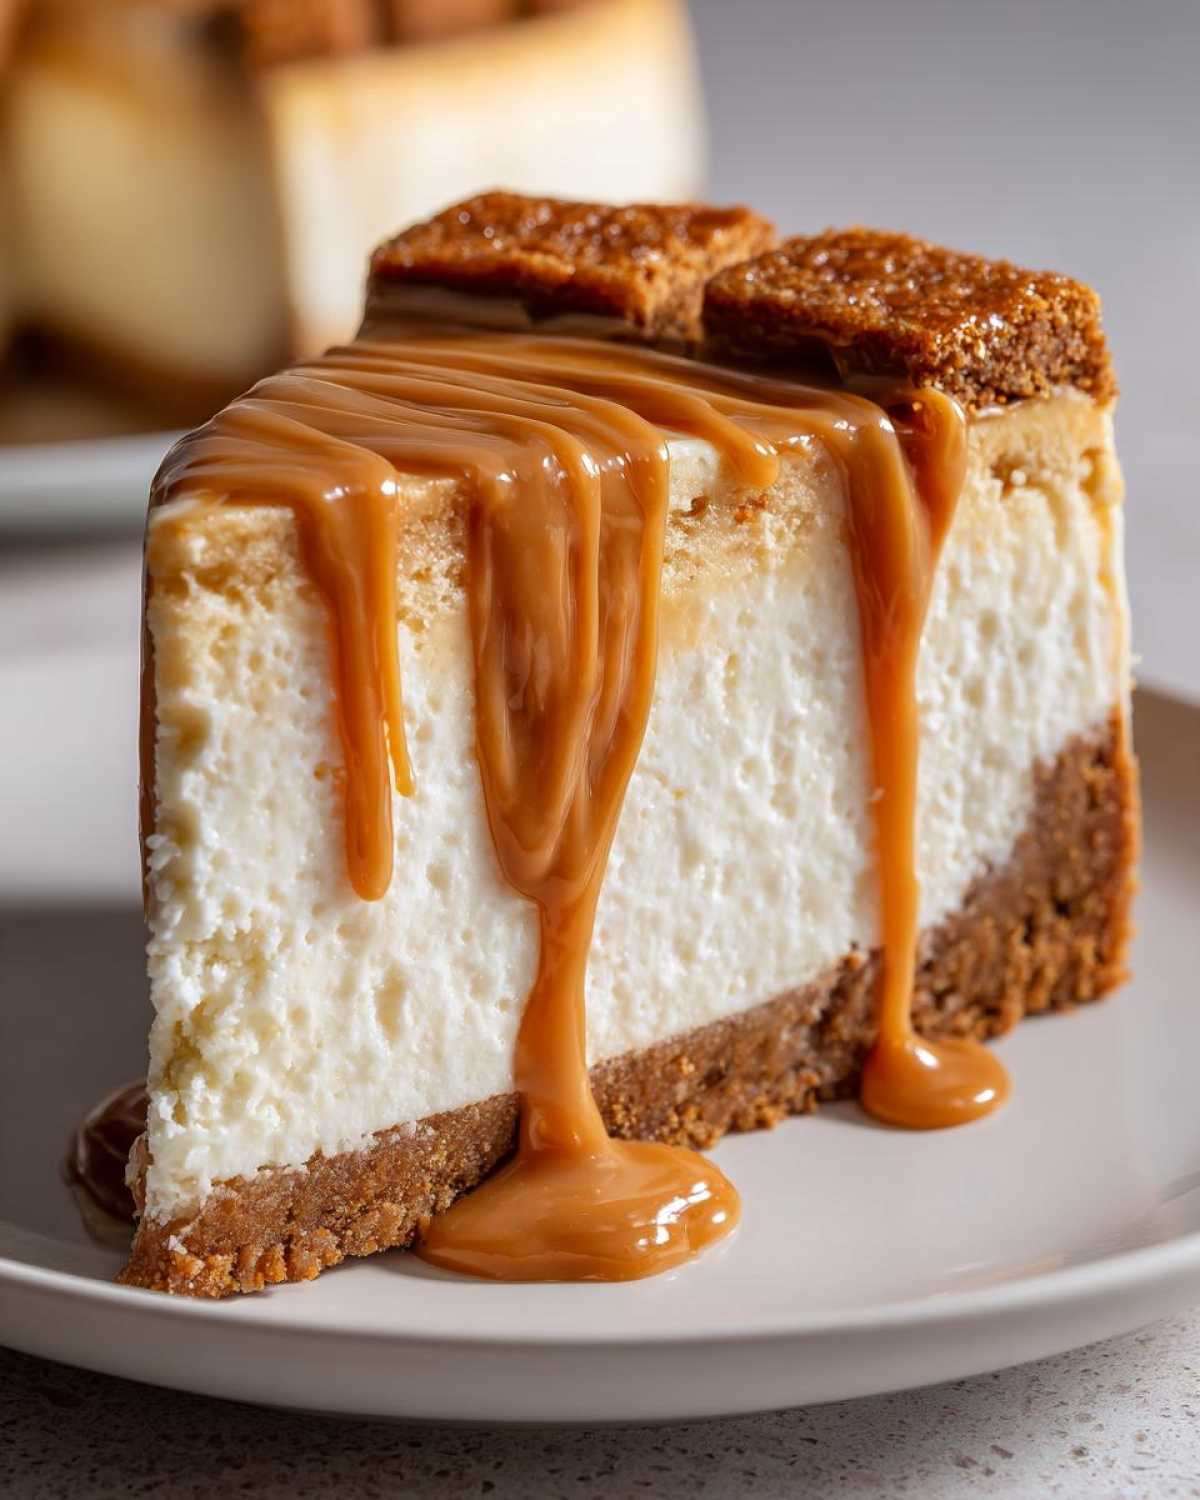
Why You Will Love This No Bake Biscoff Cheesecake
Okay, get ready, because this is the dessert that proves you don’t need complicated steps for something spectacular. I promise you, this recipe is my secret weapon for impressive gatherings. It’s foolproof!
- Literally no oven required! This is the perfect recipe for scorching hot days or for anyone who’s nervous about baking.
- It’s unbelievably easy cheesecake to throw together—we’re talking about active prep time under 30 minutes. That’s just wild for something this impressive.
- The texture is out of this world: a perfectly rich creamy dessert that melts in your mouth, thanks to the perfectly whipped cream folding into the cheese base.
- You get that signature crunch from the Biscoff crust. It’s salty, sweet, and beautifully spiced—the perfect foundation.
- This is the definition of a make ahead dessert. It tastes even better the next day after it’s had time to chill and truly set up.
- The flavor is addicting. If you love that spiced caramel taste of cookie butter, this lets it shine without any competition from heavy lemon or chocolate.
Seriously, what’s not to love? It ticks every box for an easy, impressive, and utterly decadent treat!
Gathering Ingredients for Your Biscoff Cheesecake Recipe
Okay, so for this Biscoff Cheesecake Recipe, you don’t need a million things, which is part of why I adore it! But the quality and state of what you *do* use matters immensely, especially since we aren’t baking this beauty. We need structure and silkiness!
First up, let’s talk about the star foundation: the crust. Make sure you have your Biscoff cookies ready to be crushed up nice and fine. We mix those with six tablespoons of melted, unsalted butter.
Now, for the creamy filling. This is where we get serious. You absolutely must have 16 ounces of cream cheese, and I mean it—it has to be totally softened! If it’s cold, you end up with tiny lumps, and we want zero lumps here. My secret for the smoothest texture is letting the cream cheese sit out for at least an hour, sometimes longer if my kitchen is chilly. For extra silky smoothness, you can check out some tips on getting the best cream cheese base here: super smooth cream cheese.
We combine that lovely soft cheese with one cup of powdered sugar (nothing else works as well for texture!) and one teaspoon of vanilla extract. Then comes the volume builder: one cup of heavy whipping cream. This needs to be ice cold, straight from the fridge, because we are whipping it to stiff, happy peaks. That’s what gives us the airy lift!
The magic binder is one cup of Biscoff cookie butter. Don’t be tempted to dump it in cold! You need to warm that jar up slightly—just 15 or 20 seconds in the microwave usually does the trick—so it’s pourable and mixes easily without deflating your whipped cream. Don’t overheat it, though, we just want it soft!
Finally, for the garnish! You’ll want the remaining half cup of Biscoff spread ready to drizzle on top once the whole thing is set. I promise you, this small amount of extra topping is totally worth it!
- 1 1/2 cups crushed Lotus Biscoff cookies
- 6 tablespoons unsalted butter, melted
- 16 ounces cream cheese, fully softened to room temperature
- 1 cup powdered sugar
- 1 teaspoon vanilla extract
- 1 cup heavy whipping cream, very cold
- 1 cup Biscoff cookie butter, slightly warmed for mixing
- 1/2 cup Biscoff cookie butter, for topping (optional part of the wow factor!)
Step-by-Step Instructions for the Ultimate Biscoff Cheesecake
Now for the fun part! Don’t be intimidated by the steps—it’s all about sequence. We are building layers of flavor and texture here, so follow along closely. This is so much easier than a traditional baked cheesecake, I promise!
Creating the Crunchy Biscoff Cookie Crust
First things first, we need a sturdy base for our creamy dream. Grab a 9-inch springform pan. It makes life so much easier when it comes time to release the cake!
- In a simple bowl, mix those 1 1/2 cups of crushed Biscoff cookies with the 6 tablespoons of melted butter. It should look like wet sand—the kind that holds together when you squeeze it.
- Toss that buttery crumb mixture right into the bottom of your springform pan. Now, grab the back of a measuring cup or a flat glass and press that crust down firmly and evenly across the bottom. Pack it tight! This firmness is key so it doesn’t crumble when you slice it later.
- Once it’s packed down beautifully, pop that pan into the refrigerator while you tackle the filling. We need it cold for at least 20 minutes to firm up nicely.
Mixing the Creamy Filling for Your No Bake Biscoff Cheesecake
This is where the airiness comes from, so pay attention to the folding!
- Get that softened cream cheese into a big mixing bowl—remember, room temperature is your friend here! Beat it until it’s totally smooth and creamy, no lumps allowed. Then, slowly beat in your powdered sugar and vanilla until it looks uniform.
- In a separate, clean bowl, take your ice-cold heavy whipping cream and whip it up until you have lovely, stiff peaks. You want firm peaks that stand straight up when you lift the whisk—don’t stop early! This is what makes the No Bake Biscoff Cheesecake light and wonderful.
- Next, fold in that slightly warmed cup of Biscoff cookie butter gently. You don’t want to deflate all the air you just whipped into the cream mix, so use a spatula and cut down the middle, then scoop up the side. Stop mixing the second you see the mixture is mostly combined. Overmixing at this stage is how you lose the fluff.
- Now, take your slightly chilled crust out. Gently fold that entire cloud of cream cheese and Biscoff mixture right over the top of your crust. Smooth out the top gently with an offset spatula—we are aiming for a beautiful, flat surface.

Setting and Finishing the Decadent Cheesecake Ideas
This is the hardest part: waiting! But honestly, structure is everything with a no-bake treat, so don’t rush this time in the fridge. This step turns your creamy mixture into solid slices of dessert perfection, ideal for those Decadent Cheesecake Ideas you’ve been dreaming up.
- Cover the pan (plastic wrap works fine) and move it into the refrigerator. You need to let this chill for a bare minimum of 6 hours, but I always aim for overnight. If you can wait, it’s so worth it! It needs that time to set up completely.
- When you’re ready to serve, it’s time for the final flourish! Warm up that last 1/2 cup of Biscoff spread—if you want a really thin, drizzly topping, mix it with just one tiny teaspoon of neutral oil first.
- Drizzle that gorgeous melted cookie butter all over the top of your set cheesecake. Slice it with a warm, clean knife, and get ready for the accolades!
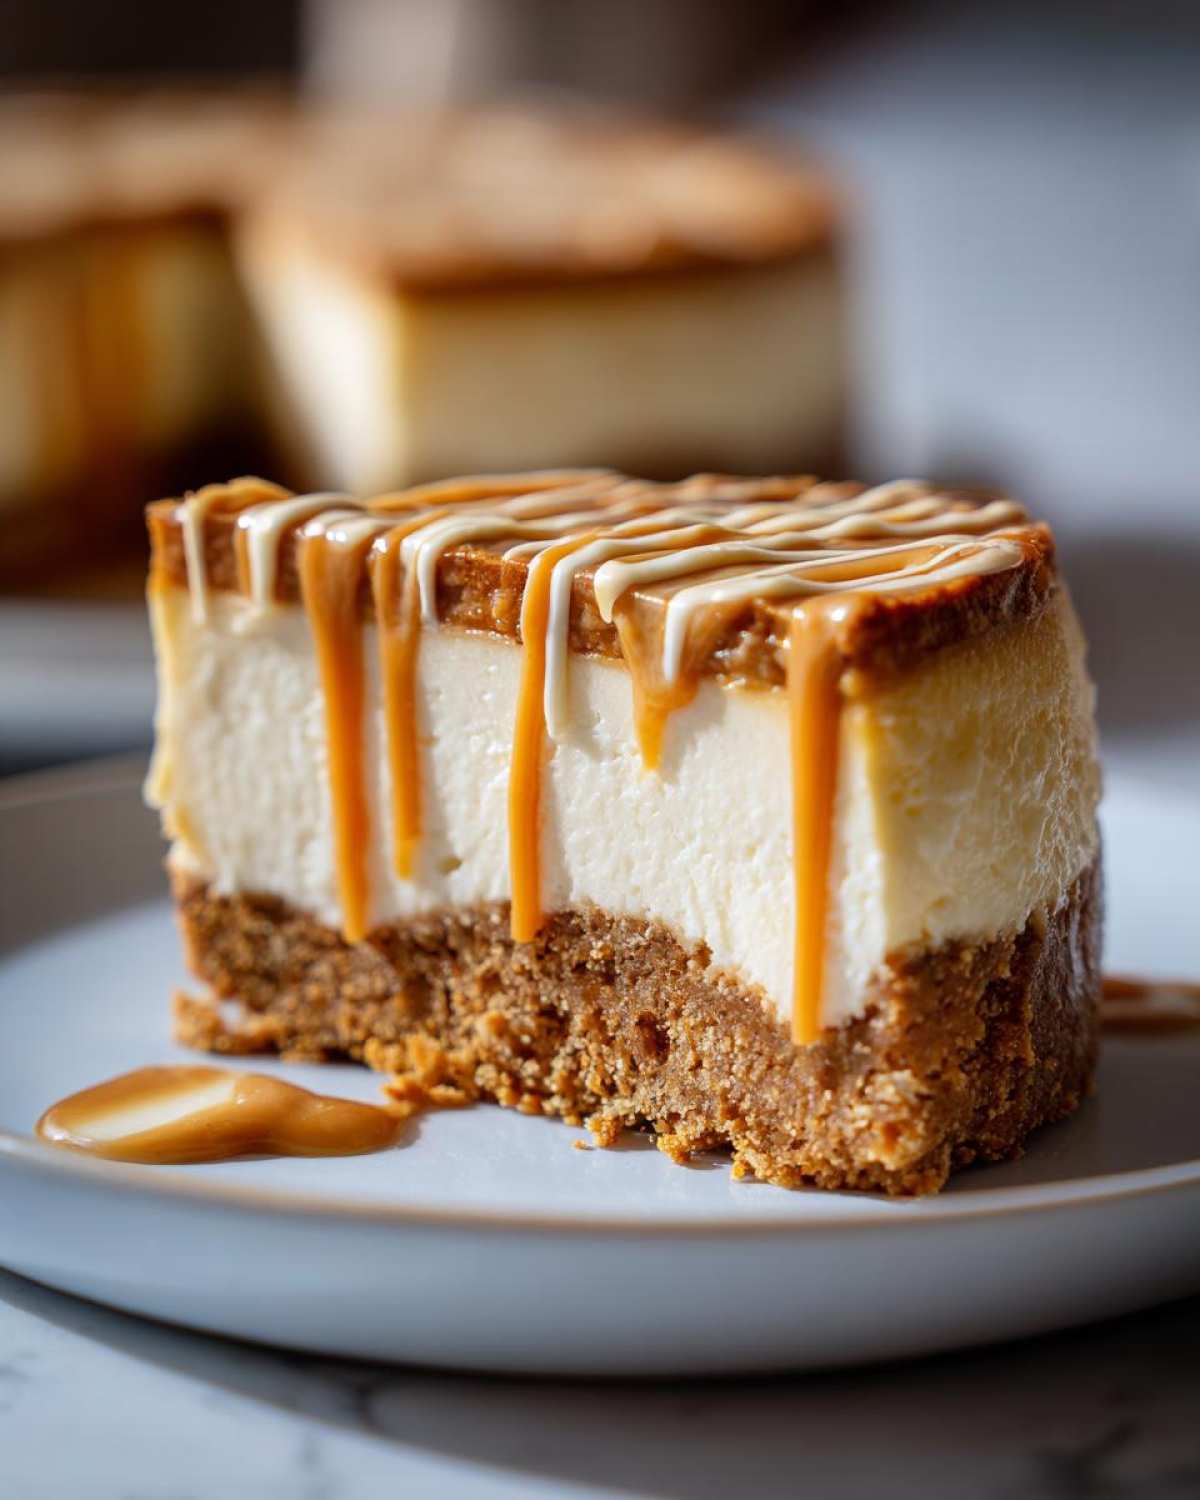
Tips for Success with Your Biscoff Cheesecake Recipe
Listen, this Biscoff Cheesecake Recipe is so easy, but there are just a couple of spots where home cooks can go wrong, and I want to make sure yours is absolutely flawless! It all comes down to temperature and gentle handling. If you follow these little secrets, you’ll have the creamiest Cookie Butter Cheesecake ever.
The biggest thing—and I’ll harp on this because it’s crucial for a no-bake—is that cream cheese. It needs to be truly soft, like spreadable room temperature soft. If you cheat and try to mix half-cold cream cheese, you’re going to spend ages trying to beat out those lumps, and trust me, those lumps usually survive the chilling process and show up when you cut the slice. Plan ahead and let it sit out!
When you’re warming up the primary cup of cookie butter for folding, just warm it enough to make it pourable, not hot! If it’s too hot when you fold it into your whipped cream and cheese base, you’ll melt all those precious air bubbles we worked so hard to create. We want that beautiful, light texture, not a heavy, dense spread. Warm it gently, mix it gently, and you win!
Another simple thing: the heavy cream. It must be COLD. If your bowl or whisk attachments are cold too, even better! This helps the cream stabilize faster when you whip it to those stiff peaks. If you’re whipping cream and it seems slow to thicken, try putting the bowl over an even bigger bowl filled with ice water while you whisk—it gives it a boost.
Also, don’t feel pressured to skip the chilling time! I know we all want dessert *now*, but that 6-hour minimum, or better yet, overnight chill, is non-negotiable for structural integrity. This allows the dairy fats to fully solidify around the air pockets you created. If you cut it early, you end up with a delightful, sweet puddle instead of a clean slice of heaven.
Ingredient Notes and Substitutions for Cookie Butter Cheesecake
I get so many questions about switching things up in this recipe, especially since Biscoff Spread is becoming the superstar ingredient it deserves to be! Since this is our ultimate Cookie Butter Cheesecake, the Biscoff flavor really needs to be front and center, but I understand that sometimes you have to make do with what’s in the pantry. Let’s talk substitutions!
First off, the cookie butter itself. If you absolutely cannot find store-bought Biscoff or a similar speculoos spread, you *could* use peanut butter or another nut butter in a pinch. But please know, you are losing that incredible, complex cinnamon, nutmeg, and cardamom flavor they bake right into the cookies. It becomes a great cheesecake, sure, but it stops being *the* Biscoff cheesecake. For the best result, always hunt down the real thing!
What about the crust cookies? If the grocery store is totally sold out of the actual Lotus Biscoff cookies, you can use graham crackers, or maybe even shortbread cookies if you have them. Again, it changes the entire vibe! Graham crackers work okay, but they don’t have that slight spice that complements the filling. If you use a different cookie, you might even want to add a tiny pinch of cinnamon or ginger to the crust mix to try and mimic that classic flavor profile.
Let’s talk butter for the crust, because that’s non-negotiable for me. You need melted, unsalted butter. Don’t use cold butter; it won’t bind the crumbs correctly! The melted butter coats every single crushed piece, making it pack down beautifully and hold its shape when chilled. It’s the key binder for that sturdy base, ensuring your filling doesn’t weep into a soggy mess. If you want to read up on how butter makes or breaks a crust, I keep a great little primer handy about building the best butter crusts.
And finally, one more little note on the cream cheese. Always use full-fat blocks, never the whipped, low-fat tubs. Those tubs have too much air and water, and they won’t set up firm enough, no matter how long you chill them. Stick to the blocks; they provide the necessary density for a rich, dreamy texture in this no-bake recipe!
Make Ahead Dessert: Storing Your Biscoff Cheesecake
One of the best things about this biscoff cheesecake, besides tasting like a dream, is that it’s a true friend to planners! This is my go-to make ahead dessert for holidays because I can take it off my mind completely the day before, and honestly, it actually tastes *better* the next day.
When you let this cheesecake rest overnight, the flavors really marry together. The spiced cookie butter sinks just a tiny bit into the creamy base, intensifying that rich caramel warmth. It firms up even more than it does after just 6 hours, giving you the cleanest possible slices.
You can absolutely make this cheesecake a full day ahead of time. Once it’s fully set, cover the springform pan tightly with plastic wrap or foil. Just make sure the plastic wrap doesn’t touch the surface of the topping drizzle, or you might smudge your beautiful finish!
If you need to keep it longer, this recipe handles the freezer like a champ! If you plan to freeze it, I always recommend doing all the topping drizzle *after* it thaws, as frozen drizzles sometimes weep slightly when they warm up. After it’s chilled for at least 12 hours, wrap the whole pan (or even individual slices wrapped in plastic wrap then foil) and pop it in the freezer. It will keep beautifully for up to a month. Thaw it slowly overnight in the refrigerator for the best texture when serving. It’s just so handy to have a show-stopping option ready to go! Check out some other fantastic make ahead dessert ideas if you’re planning out a whole menu!
Serving Suggestions for This Creamy Biscoff Dessert
Since this Creamy Biscoff Dessert is so incredibly rich—it’s packed with cream cheese and that dense cookie butter—the key to serving it is contrast! You want something bright next to that spiced caramel flavor to keep things interesting on the plate. You’ve done the hard work making this showstopper, now let’s make sure the presentation is just as stunning.
My absolute favorite way to serve this is with fresh fruit. Raspberries or tart cherries are fantastic against the sweetness. A few bright red berries just scattered around the plate, or stacked right on top alongside that gooey drizzle, cuts through the richness perfectly. It looks so elegant, but it takes zero effort, which is my kind of presentation!
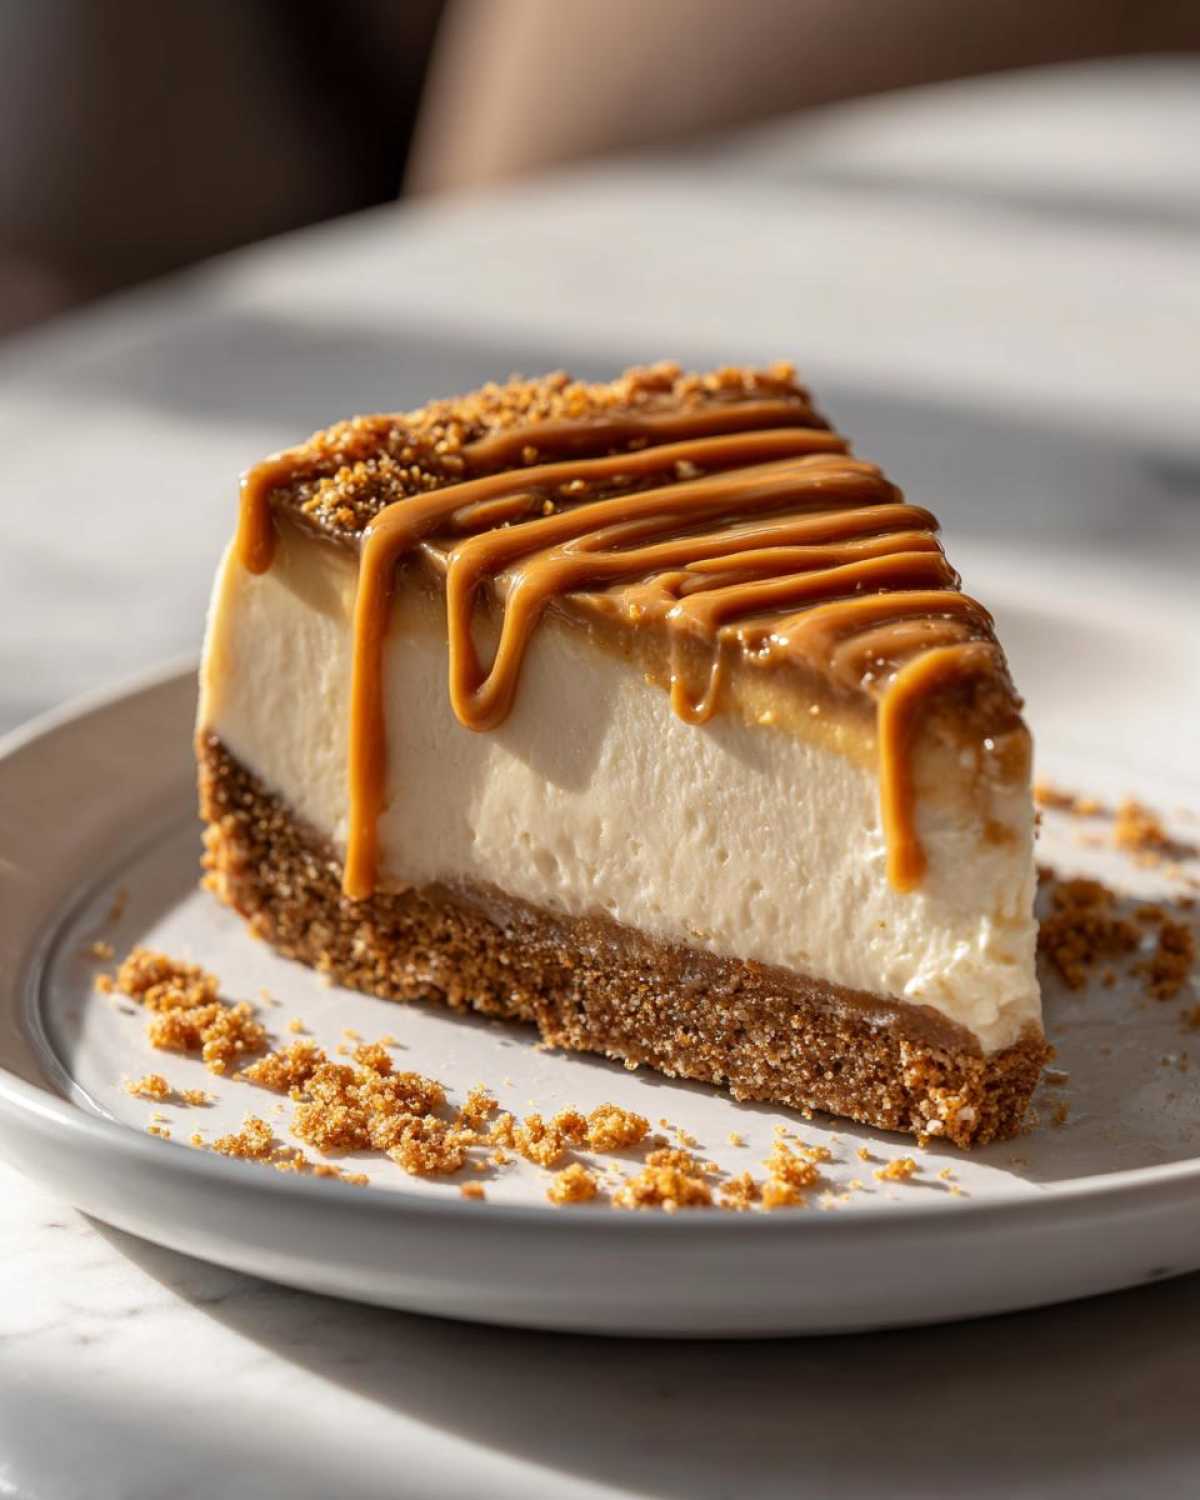
And of course, you have to pair it with the perfect beverage. Because this is a substantial, spiced dessert, it begs for something strong and slightly bitter to balance it out. My first choice is always a hot cup of freshly brewed dark roast coffee. If it’s summer, though, I switch gears completely and make a big batch of cold brew. It’s so smooth that it doesn’t compete with the Biscoff flavor. You can find my secret to the most brilliant cold brew coffee hack right here if you need to whip up some stiff competition for your cheesecake!
For a little extra texture right before serving, I sometimes lightly crush a few extra Biscoff cookies and sprinkle them around the plate right before I bring it to the table. That fresh crunch wakes everything up. Honestly, though, even just serving a clean slice on a pretty white plate is enough because this cheesecake is already the star of the show!
Frequently Asked Questions About No Oven Cheesecake
Since this is a truly simple and incredible recipe, most of the questions I get revolve around making sure the texture sets up perfectly since we aren’t using the oven to help us out! If you’re looking for more ways to make your life easier in the kitchen, check out my collection of Easy Dessert Recipes—I have so many quick wins like this one!
Can I use a different type of cookie for the crust in this biscoff cheesecake?
Oh, you absolutely can, but I have to give you the Aunt Patty warning right away: If you don’t use Biscoff cookies, you change the whole game! The signature flavor comes from those spiced shortbread cookies. You *could* swap them out—graham crackers are a classic substitute, or even vanilla wafers or shortbread cookies work fine if you’re in a pinch for ingredients. Just know that when you swap the cookie, you swap out that perfect, warm, spiced note that makes this such a decadent treat. It’ll still be a great cheesecake, but it won’t be *the* Biscoff cheesecake!
How do I prevent my no bake biscoff cheesecake from becoming too soft?
This is the number one worry for anyone making a **No Oven Cheesecake**, and it all comes down to two things: air and chilling time. First, make triple sure that heavy whipping cream is whipped until you have nice, stiff peaks before you fold it in. If it’s just soft mounds, it won’t have the structure to hold up the weight of the cream cheese and Biscoff!
Second, and I can’t stress this enough, you must let it chill! Six hours is the absolute minimum needed for the fats to solidify, but honestly, if you can leave it in the fridge overnight, you will get the dreamiest, firmest slice possible. Do not cut into it early, or you’ll just deflate the center.
What is the best way to slice the cheesecake cleanly?
This is a pro trick for any soft, no-bake dessert, and it makes such a difference when you serve it! Forget just wiping your knife on a towel. You need to use a long, thin knife—something with a good, smooth edge. Dip that knife tip-first into a tall glass of very hot water for about ten seconds. Then, pull it out and quickly wipe it completely dry with a paper towel before making your first cut. The hot blade slides right through that creamy filling like butter! Wipe it clean and re-heat it in the hot water for every single slice you make. It keeps the sides of your slices perfectly smooth!
Rate This Easy Cheesecake and Share Your Creation
Phew! You’ve made it through the ultimate, no-fuss, creamy dream! Now that you’ve chilled, sliced, and tasted your perfect biscoff cheesecake, I would absolutely love to hear what you thought. Since this is my personal favorite recipe for an Easy Dessert, knowing how it turned out for you truly makes my day!
Please don’t be shy—head up to the rating section right below and give this recipe the stars you think it deserves. Did the crust hold up? Was the filling perfectly silky? Give me the honest truth!
And listen, if you managed to snap a picture of that beautiful drizzle before everyone dove in, you *have* to tag me on social media! I live for seeing your kitchen triumphs. Tag me with your photos of this stunning Cookie Butter Cheesecake—it’s always the highlight of my feed. Happy baking (or rather, happy *no-baking*)!
Print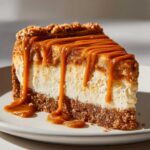
No-Bake Biscoff Cheesecake
- Total Time: 6 hr 25 min
- Yield: 10 servings
- Diet: Vegetarian
Description
Make a rich, creamy, and decadent no-bake cheesecake featuring the distinct flavor of Lotus Biscoff cookie butter on a crunchy cookie crust.
Ingredients
- 1 1/2 cups crushed Lotus Biscoff cookies
- 6 tablespoons unsalted butter, melted
- 16 ounces cream cheese, softened
- 1 cup powdered sugar
- 1 teaspoon vanilla extract
- 1 cup heavy whipping cream, cold
- 1 cup Biscoff cookie butter, slightly warmed
- 1/2 cup Biscoff cookie butter, for topping (optional)
Instructions
- Combine the crushed Biscoff cookies and melted butter in a bowl. Press this mixture firmly into the bottom of a 9-inch springform pan. Chill the crust in the refrigerator for 20 minutes.
- In a large bowl, beat the softened cream cheese until smooth. Gradually beat in the powdered sugar and vanilla extract until fully combined.
- In a separate bowl, whip the cold heavy whipping cream until stiff peaks form. Gently fold the whipped cream into the cream cheese mixture.
- Warm the 1 cup of Biscoff cookie butter slightly so it is pourable. Gently fold the warmed Biscoff spread into the cream cheese mixture until just combined. Do not overmix.
- Pour the cheesecake filling over the chilled crust and smooth the top.
- Refrigerate the cheesecake for at least 6 hours, or preferably overnight, until firm.
- Before serving, warm the remaining 1/2 cup of Biscoff spread and drizzle it over the top of the set cheesecake. Slice and serve cold.
Notes
- You can make this dessert one day ahead of time for the best texture.
- If you prefer a thinner topping drizzle, mix the 1/2 cup of topping Biscoff with 1 teaspoon of neutral oil before drizzling.
- Use a food processor to crush the cookies for a finer, more uniform crust.
- Prep Time: 25 min
- Cook Time: 0 min
- Category: Dessert
- Method: No Bake
- Cuisine: American
Nutrition
- Serving Size: 1 slice
- Calories: 450
- Sugar: 35g
- Sodium: 280mg
- Fat: 30g
- Saturated Fat: 18g
- Unsaturated Fat: 12g
- Trans Fat: 0g
- Carbohydrates: 40g
- Fiber: 1g
- Protein: 5g
- Cholesterol: 90mg


Comments are closed.