
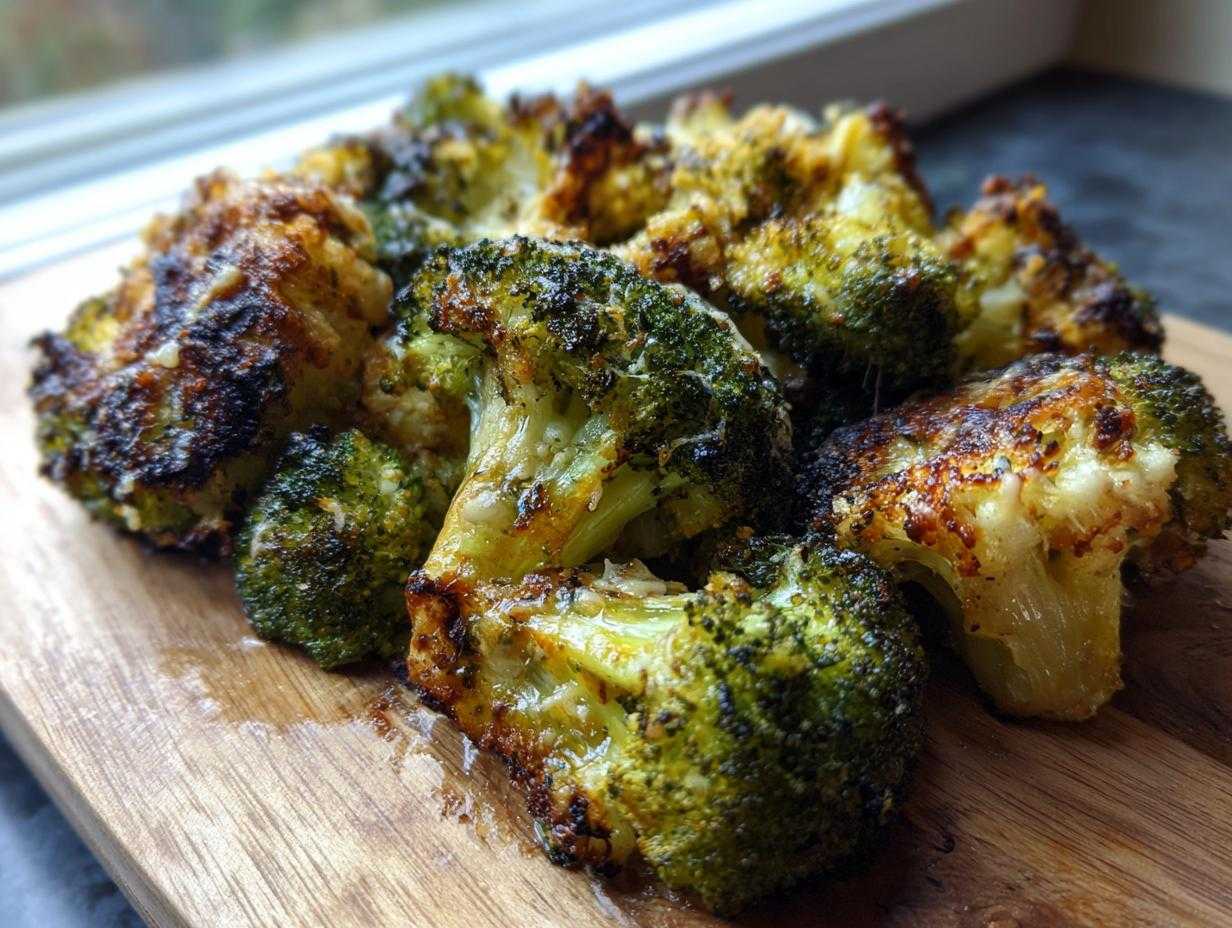
Oh my gosh, you want crispy vegetables? I’m so glad you asked! For years, I struggled with sad, steam-blasted broccoli that tasted like something from a school cafeteria. It was tragic! But I finally cracked the code, and trust me, after trying nearly every temperature and timing adjustment you can imagine, I have landed on the absolute best technique for making roasted broccoli that comes out perfectly crunchy every single time.
Forget mushy green disappointment. This, my friend, is the ultimate Garlic Parmesan roasted broccoli recipe. The edges get these dark, beautiful little crisps, and the garlic melts right into the oil and coats every floret. It’s ridiculously flavorful and, honestly, it’s so fast that I make it even on nights when I’m feeling completely lazy. This simple side dish has become my weeknight MVP!
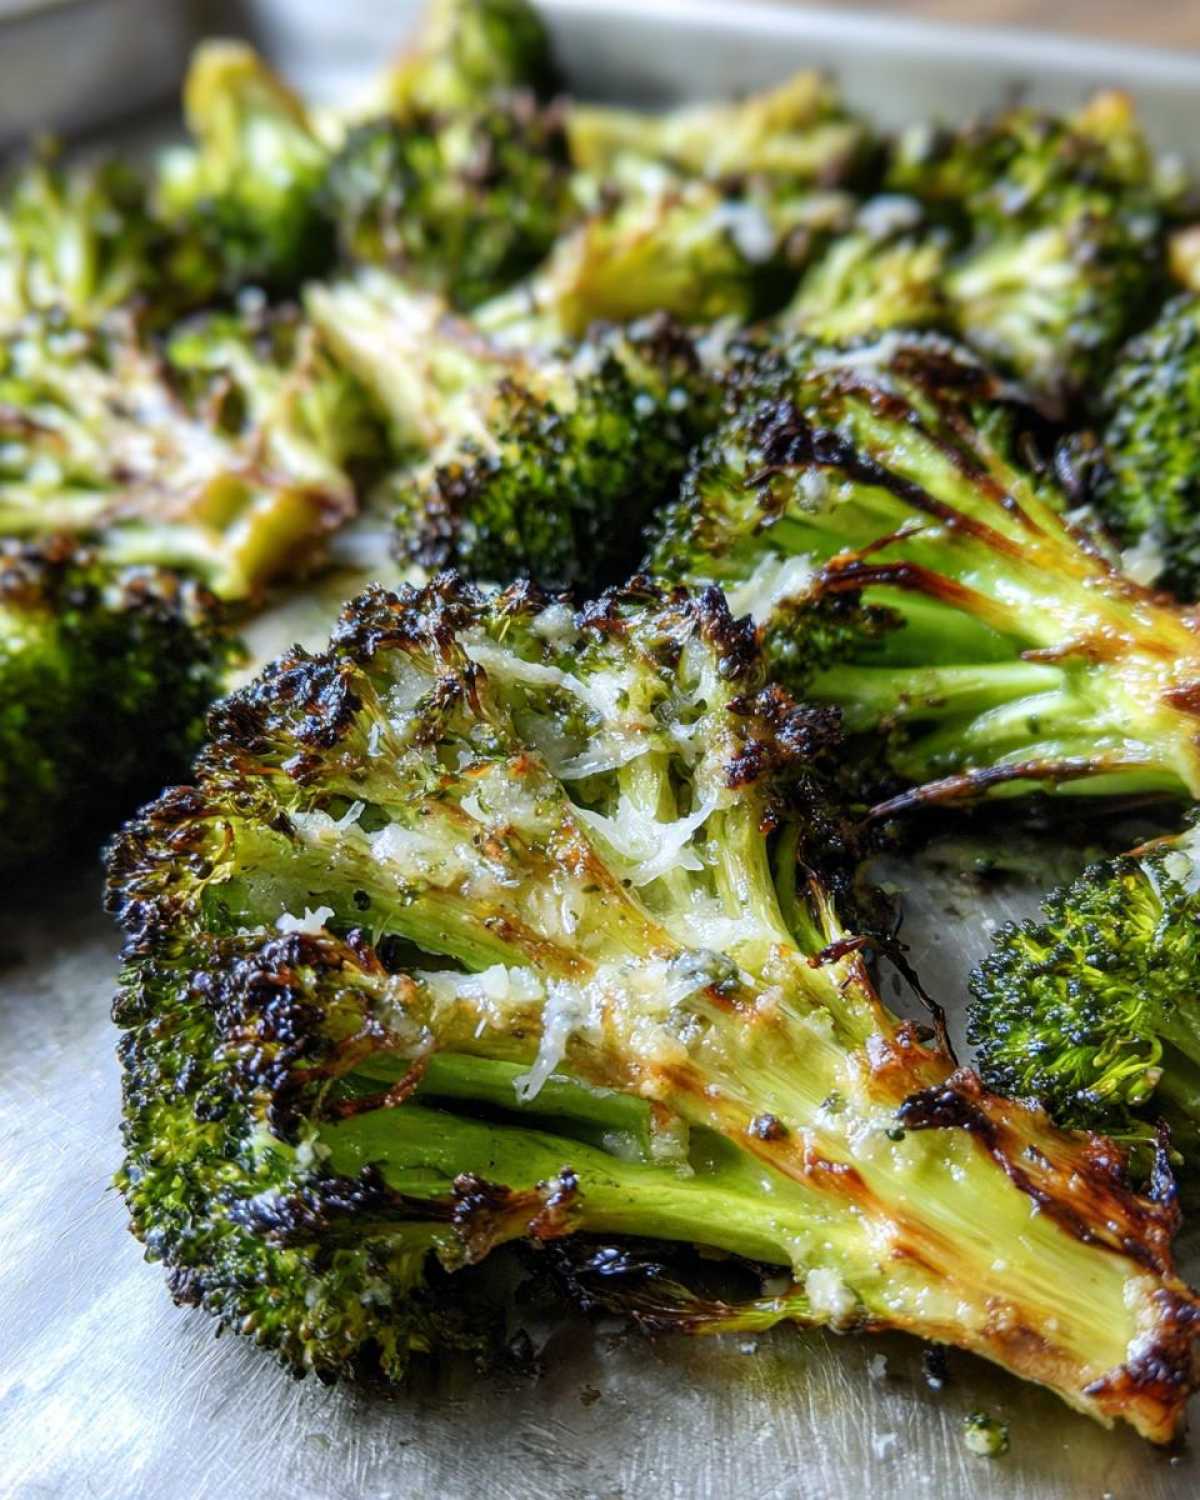
Why This Garlic Parmesan Roasted Broccoli is the Best Roasted Broccoli
Look, I know vegetables can be boring, but this particular combination—rich olive oil, pungent garlic, and salty Parmesan—makes this the *best* roasted broccoli you will ever eat. Seriously, my cousin Rick hated broccoli with a passion. He thought the stuff we ate as kids was just sad, boiled green mush. When I served him this Crispy Broccoli Recipe last Thanksgiving, I swear he ate half the platter before anyone else got a look in! It’s so intensely flavorful, it’s almost like a snack chip!
It’s the trifecta: speed, flavor, and texture. It’s the perfect Easy Broccoli Side Dish because you need about ten minutes of hands-on time, tops. It cooks fast at a high temperature, which is exactly what we want for a vibrant, tender-crisp final product. If you love that deep garlic char we get in my famous green bean recipe, you’re going to adore this!
Achieving Incredibly Crispy Broccoli Recipe Texture
The secret to getting those glorious, crunchy little bits isn’t magic; it’s mathematics and physics! First, you absolutely must dry those florets. If they are wet when they hit the oiled pan, they steam, and we are done with steam! Second, and this is huge, never, ever overcrowd your baking sheet. The air needs room to circulate around every single piece. If the pan is packed, they steam again. Giving them space means you get that beautiful golden-brown char on the edges that makes this Crispy Broccoli Recipe shine.
Ingredients for Perfect Roasted Broccoli
Okay, let’s talk about what you need for this amazing Garlic Parmesan Broccoli. The ingredient list is honestly so short, which is why it makes such a fantastic choice for a busy weeknight. You don’t need fancy stuff—just standard pantry staples treated with respect! Make sure you’ve got your broccoli cut properly, because that matters a lot for cooking evenly. I always aim for bite-sized florets, nothing too huge.
The core items that bring the flavor are the garlic (don’t skimp here!) and that fantastic salty Parmesan cheese we sprinkle on late so it gets golden instead of burning to charcoal. Here’s exactly what you need:
- Two heads of fresh broccoli, chopped into bite-sized florets
- Two tablespoons of good olive oil—this helps everything crisp up beautifully
- Three cloves of garlic, minced fine
- Half a teaspoon of salt
- A quarter teaspoon of fresh black pepper
- And the star! A quarter cup of grated Parmesan cheese
Ingredient Notes and Substitutions for Roasted Broccoli
When it comes to the garlic, please, please use fresh cloves! Jarred minced garlic has a weird, dull flavor compared to the bright punch you get from chopping it yourself. For the Parmesan, while the pre-grated stuff works in a pinch, grating it fresh off the block makes a massive difference in how it melts and coats the roasted broccoli. If you run out of olive oil, avocado oil is a great, high-heat substitute that won’t change the flavor much at all. Keep it simple, keep it fresh!
How to Prepare Roasted Broccoli: The Crispy Broccoli Recipe Instructions
This is where we turn those simple ingredients into something spectacular! For perfect oven roasted broccoli, timing is everything, but don’t stress! It’s all about getting that heat hitting the florets right away. We are aiming for that high-heat environment, so you need to start your oven warming up before you even finish tossing the bowl. Trust me, the reward is worth the five minutes of focused effort.
If you want the secret to the best roasted broccoli that’s ready almost before the main course is done, pay close attention to the order of operations here. We don’t just dump everything in and hope for the best!
Prepping the Broccoli for Maximum Crispiness
First things first: crank that oven up to 400°F (200°C). High heat is your friend for crisping! While it heats up, grab a large baking sheet and line it. I always use parchment paper; it’s a lifesaver for cleanup. Now, remember what I said about drying? Make sure those broccoli florets are as dry as you can get them! Then, put them in a big bowl. Drizzle them with the olive oil first; this helps everything stick evenly. Next, add your minced garlic, salt, and pepper, and toss like you mean it. You want every surface slicked with oil and seasoning!
Here’s the critical part for your roasted broccoli: spread everything out in a single layer on that prepared pan. If the pieces are touching, they steam. If they’re touching, they fail! If you have to use two sheets to keep them spread out, do it! That space is essential for getting those gorgeous crispy edges we are after.
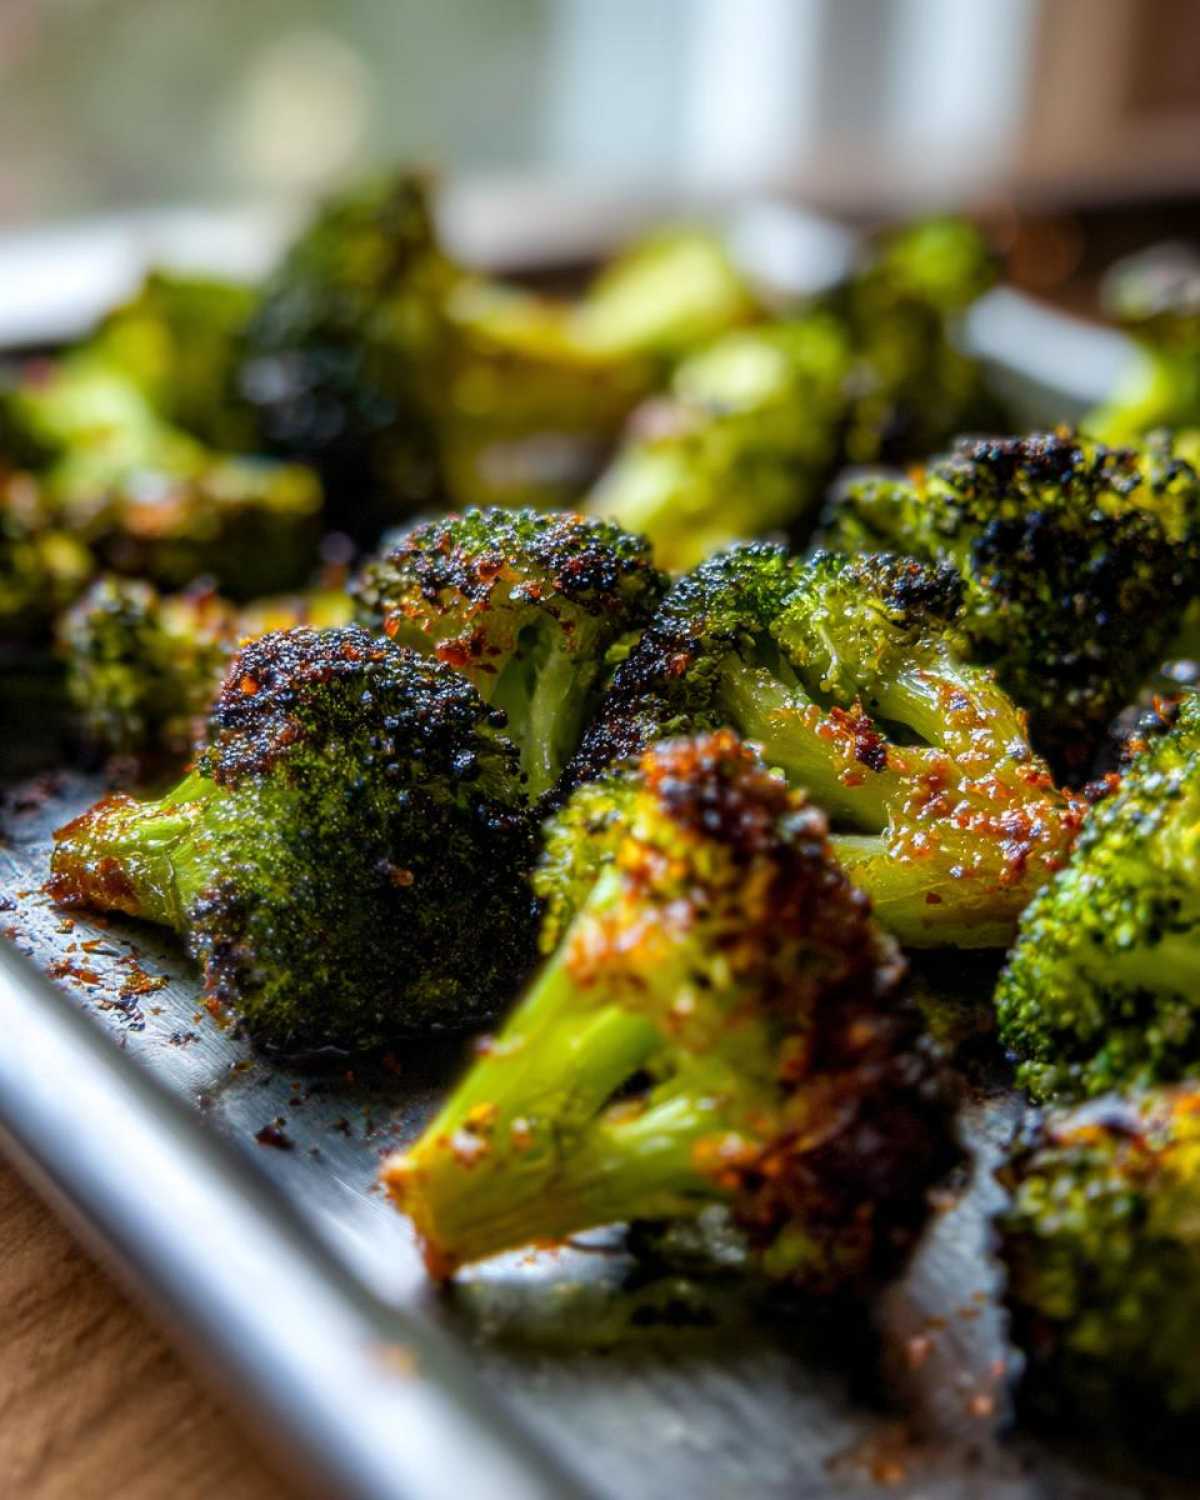
The Two-Stage Roasting Process for Flavorful Roasted Vegetables
We roast most of the way before adding the cheese. Pop that pan into the 400°F oven and let it go for about 15 minutes. This is when the broccoli starts to soften and tenderize underneath while the exposed edges start to brown. After 15 minutes, pull the pan out carefully—it’ll be hot! Now for the magic: sprinkle that grated Parmesan evenly all over the hot veggies. Because the pan is already hot, the cheese will start smelling amazing right away.
Put the pan back in for just another 5 to 7 minutes. We are only using this second stage to toast the Parmesan until it’s golden brown and slightly bubbly, not to cook the broccoli further. Once those edges are perfectly brown and you can hear little crackles coming from the pan, they’re done! You can check out how I use a similar two-temperature process for my incredible breakfast potatoes too! Serve immediately for the best experience.
Tips for Success with Oven Roasted Broccoli
Even with the best instructions, sometimes things go a little sideways in the oven, right? I’ve learned a few non-negotiable rules over the years to make sure this Oven Roasted Broccoli always turns out bright green and crispy, not sad and grey. First, I’m hammering this home one last time: the single layer rule is sacred. If you stack them up, you are making soup, not roasted veggies! You need every floret to feel the direct heat wrapping around it.
Also, don’t forget that little burst of freshness at the end! Right when my broccoli comes out of the oven, smelling like garlic and cheese heaven, I always give it a good squeeze of fresh lemon juice. It cuts through the richness of the oil and honestly wakes up the whole flavor profile. It’s such a simple garnish but makes a huge difference. It pairs fantastic with any roasted meat, like my garlic herb butter roasted chicken. Don’t be afraid to experiment with a little acid to finish!
Making Roasted Broccoli for Meal Prep Broccoli
This is one of my go-to vegetables when I’m doing my weekly batch cooking because, honestly, roasted broccoli is a superstar leftovers candidate! It keeps its texture surprisingly well if you follow the crispy rules we laid out for the initial bake. You’ll want to store it in an airtight container in the fridge, and it should hold up great for about four days.
When it comes time to eat those leftovers, please, for the love inside the kitchen, avoid the microwave if crispiness is your goal! The microwave just steams everything back to life in the worst way possible. For your Meal Prep Broccoli, the best way to wake it up is to pop it into an air fryer for about three minutes, or back into the 400°F oven for about five minutes. That high, dry heat brings back that gorgeous, slightly charred texture we worked so hard for in the first place! I use the same logic when reheating my cheeseburger bowls—dry reheat is always better!
Variations: Roasted Broccoli with Lemon and Other Flavors
Part of what I love about this base roasted broccoli recipe is how much you can jazz it up without changing the core cooking method. It’s so versatile! Once you have mastered that crispy texture, you can start decorating it with all sorts of fantastic flavors. We’ve already talked about the fresh lemon squeeze—that’s my number one go-to. It just brightens everything up, especially if you’re serving it alongside something rich, maybe like my maple dijon glazed carrots for a flavor contrast.
If you’re someone who likes a little kick to your vegetables, which I totally am sometimes, you need to try red pepper flakes! Add just a heavy pinch of flakes along with the garlic and salt before the first roast. That gentle infusion of heat while baking is fantastic. It adds warmth without being aggressively spicy. It’s a simple sprinkle that completely transforms the experience.
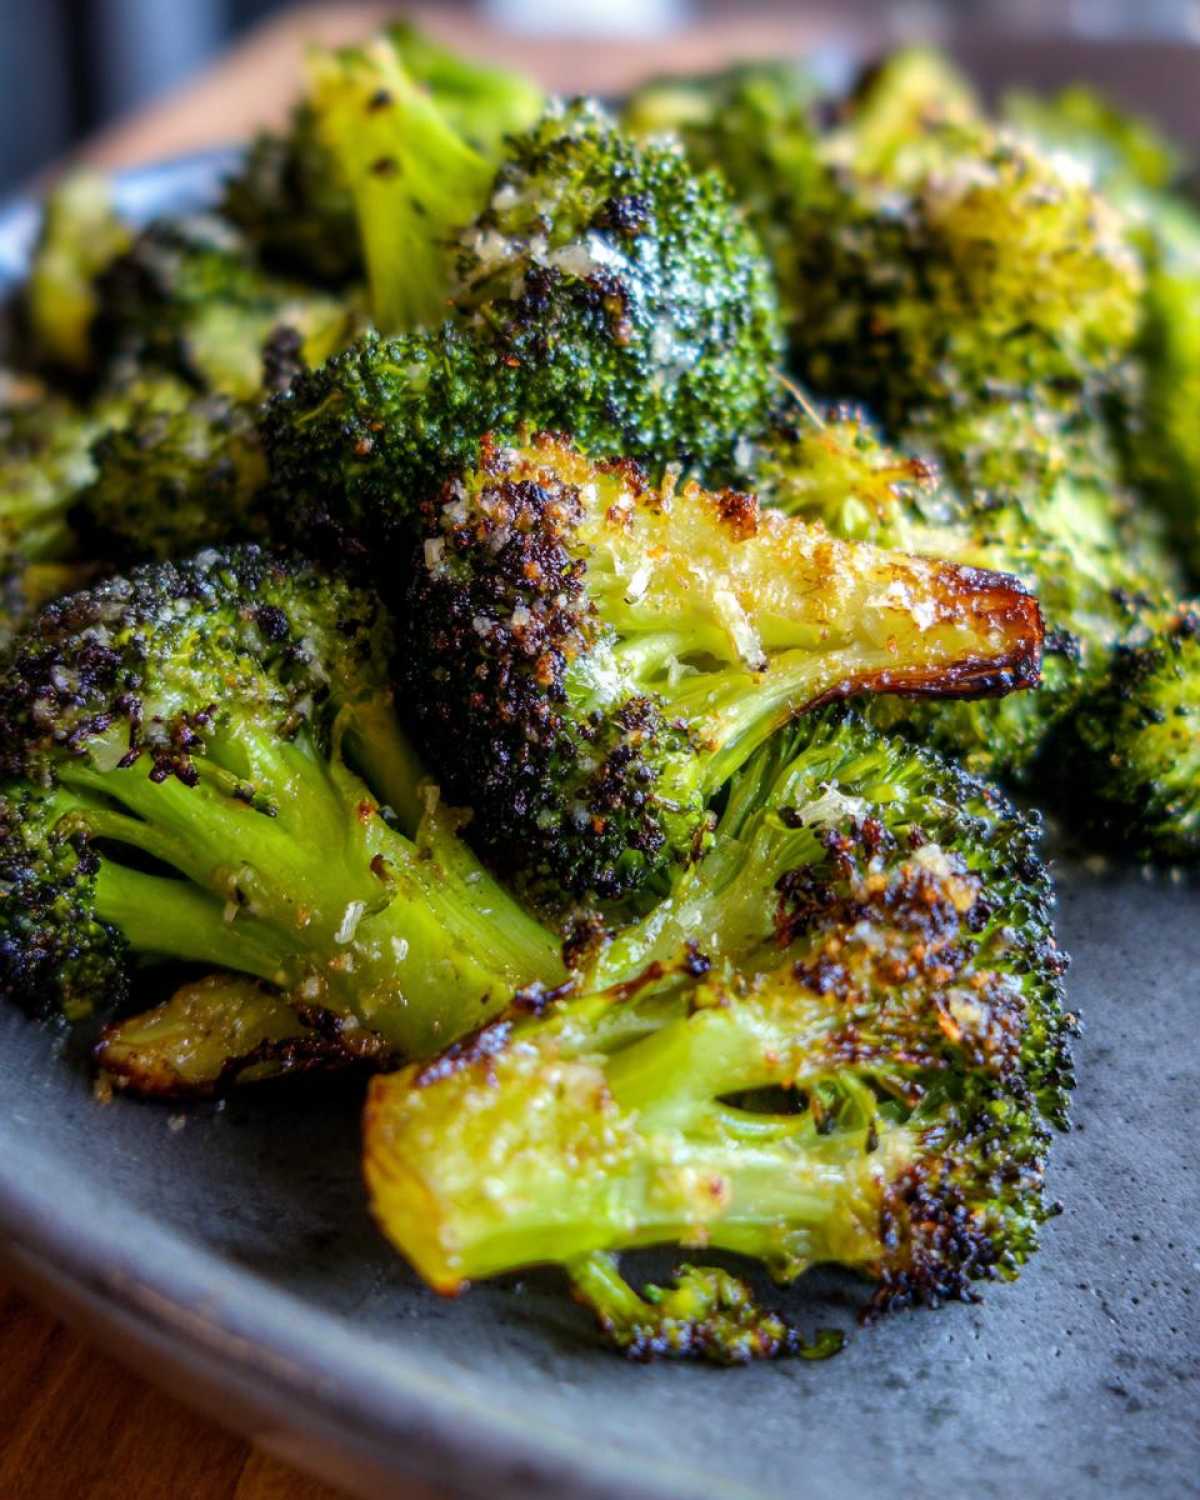
Now, for my friends who eat plant-based or just want to skip the dairy sometimes, this recipe adapts beautifully thanks to the high-heat roasting. Instead of the Parmesan at the end, try swapping it out for nutritional yeast. It gives you that slightly cheesy, savory depth without the dairy. You might need just a tiny bit more oil during the second stage if the dry yeast isn’t clinging as well as the cheese did, but it still yields wonderfully flavorful roasted vegetables. See? So easy to change it up!
Serving Suggestions for Your Easy Broccoli Side Dish
Now that you have this incredibly crispy, garlicky vegetable ready to go, you might be wondering what to put it next to! Honestly, this Easy Broccoli Side Dish is so robust, it doesn’t feel like a flimsy afterthought. It stands up beautifully next to anything hearty. I love pairing it with simple grilled or pan-seared protein—a flaky white fish, like cod or halibut, shines next to that sharp Parmesan flavor.
But if we are talking weeknight comfort, this is the perfect green to cut through richer mains. Try it next time you make my juicy steak fajita recipe. The crispy texture is just unbeatable against the tender meat. It also transitions perfectly into those low-carb bowls we make for easy meal prep. It definitely counts as one of my favorite go-to recipes for quick, Simple Dinner Sides!
Storage and Reheating Instructions for Leftover Roasted Broccoli
I know you probably want to eat this entire batch right away—I usually do! But if you have leftovers of your amazing roasted broccoli, storing them properly is key to maintaining that hard-won crispiness. Keep them sealed up tight in an airtight container in the fridge, where they’ll be good for about three or maybe four days. Don’t leave them sitting out, or they’ll get soggy fast.
When it’s time to eat them again, please listen to me: skip the microwave! That just turns them back into mushy sadness. For the best result that gets close to tasting freshly made, reheat any leftovers in the oven at 375°F for about 5 minutes, or just toss them into your air fryer for 3 minutes. That dry heat is what truly revives the golden, crispy texture. It works like magic every time!
Frequently Asked Questions About Roasted Broccoli
When you perfect a recipe, naturally you get questions! I’ve gathered the ones I hear most often about getting this roasted broccoli just right in your own kitchen. Don’t get stressed, these are simple fixes for common snags we all hit when trying to achieve that perfect crunchy edge!
How do I stop my broccoli edges from burning before the center cooks?
That’s usually one of two things, honey. Either your oven temperature is running a little hot (and you should definitely invest in a cheap little oven thermometer—they are lifesavers!) or you are using florets that are too small. If your pieces are tiny, they’ll crisp up in five minutes but they’ll be charcoal by minute fifteen. Try to make your pieces uniform and medium-sized. If you notice them browning too fast, just pull the sheet out a minute early, give the pan a shake, and maybe move the pan down to a slightly lower rack for the final few minutes. That slight adjustment makes a huge difference for this low carb broccoli side.
Can I use frozen broccoli for this recipe?
Oh, I wish you could, but if you want that beautiful, crunchy texture we worked so hard for, frozen broccoli is a definite no-go. Frozen vegetables have way too much water content locked inside them, and no matter how long you roast them, they will basically steam themselves into oblivion first. You won’t get that amazing crispiness! For the best roasted broccoli, always use fresh heads that you trim yourself right before you cook.
Should I add the Parmesan cheese before or after roasting?
You absolutely must add the Parmesan cheese in the final 5 to 7 minutes! This is a non-negotiable step in my Garlic Parmesan Broccoli method. If you mix the cheese with the oil and garlic at the beginning, the heat will cause the cheese to burn long before the actual broccoli florets are tender. You end up with blackened, slightly bitter bits instead of that wonderful gooey, golden topping. Wait until the end, sprinkle it on when the veggies are already cooked halfway, and just toast it until it looks perfect!
Is this a Low Carb Broccoli Side?
Yes, 100%! This is actually one of my favorite go-to dishes when I’m trying to keep things light and healthy. Because we are focusing on olive oil, garlic, and vegetables, this fits perfectly into almost any health regimen. It’s naturally very low in sugar and carbohydrates. It’s a fantastic Low Carb Broccoli Side that doesn’t taste like you’re sacrificing flavor for health at all; it tastes rich and satisfying!
How do I ensure my broccoli is truly seasoned throughout?
Seasoning is done in stages for maximum impact! First, toss the dry florets with the olive oil. Then, add the garlic, salt, and pepper. Toss everything until you see every piece getting coated by that spiced oil. This ensures the seasoning sticks before the high heat sets it. You can find more great tips on getting vegetables perfectly seasoned on my guide [how to roast broccoli perfectly]. A little extra toss power equals a whole lot more flavor!
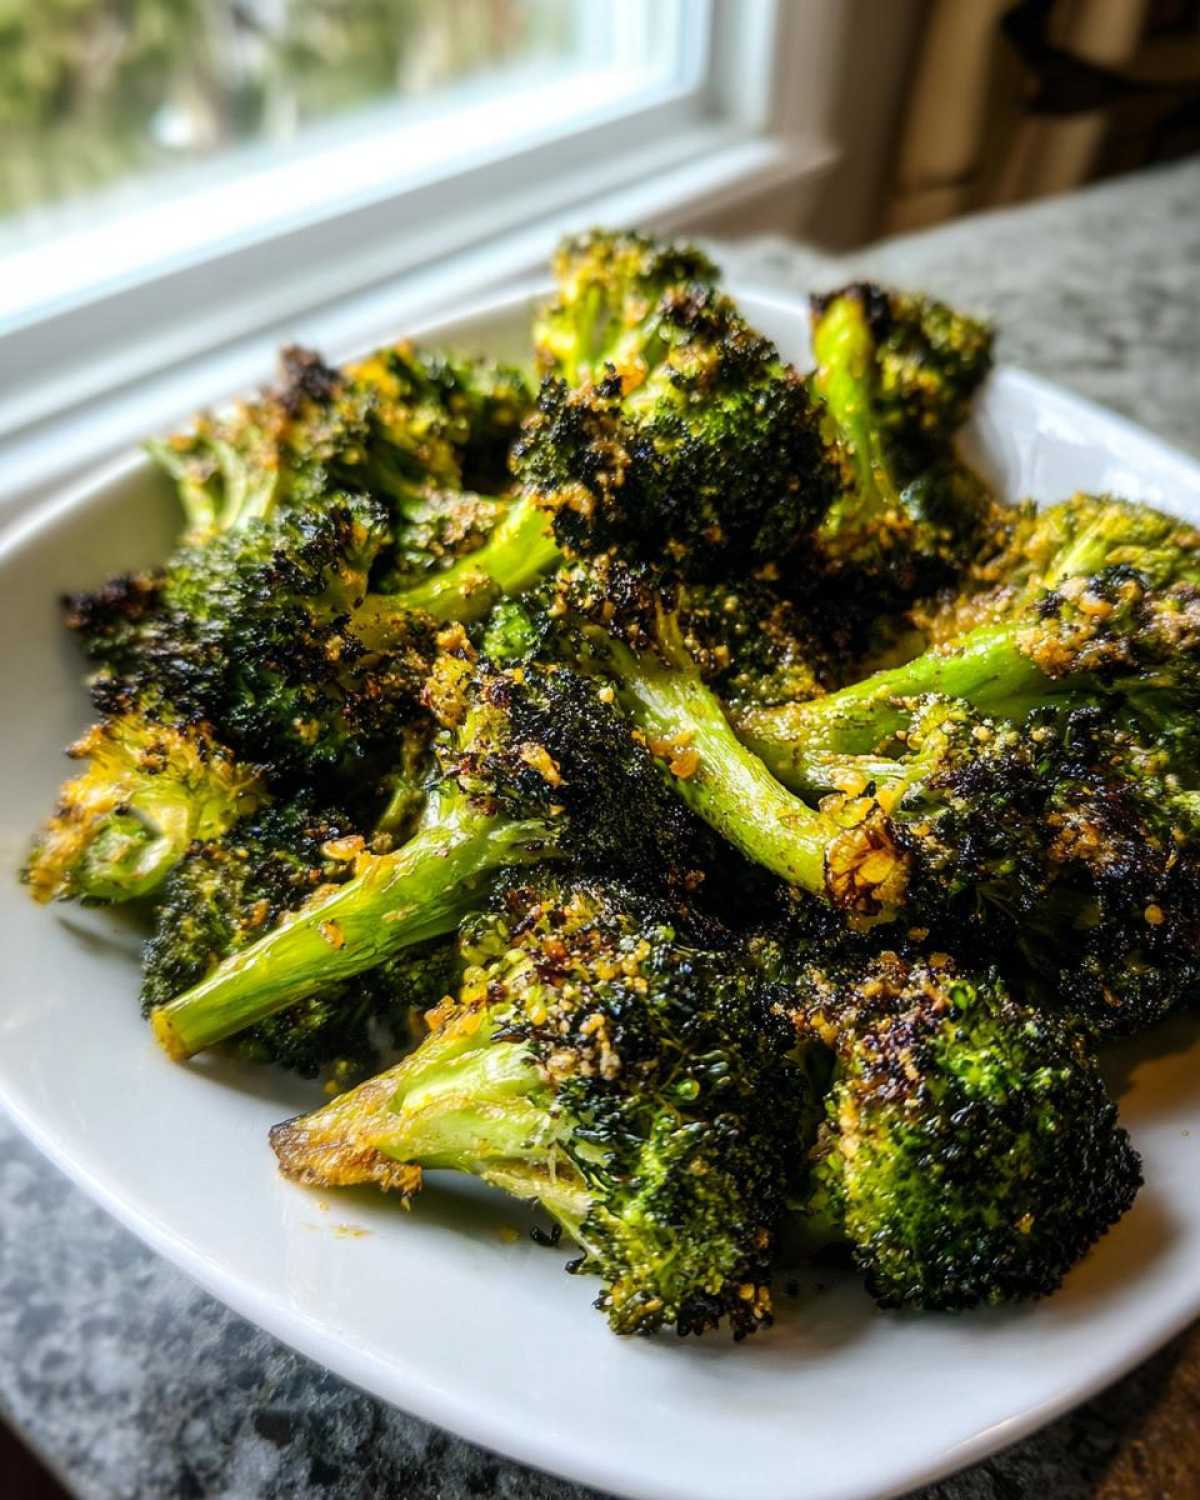

Garlic Parmesan Roasted Broccoli
- Total Time: 32 min
- Yield: 4 servings
- Diet: Low Fat
Description
Make crispy, flavorful roasted broccoli in the oven with garlic and Parmesan cheese. This simple side dish cooks quickly and is perfect for any meal.
Ingredients
- 2 heads broccoli, cut into bite-sized florets
- 2 tablespoons olive oil
- 3 cloves garlic, minced
- 1/2 teaspoon salt
- 1/4 teaspoon black pepper
- 1/4 cup grated Parmesan cheese
Instructions
- Preheat your oven to 400°F (200°C). Line a large baking sheet with parchment paper for easy cleanup.
- Place the broccoli florets in a large bowl. Drizzle with olive oil and toss to coat evenly.
- Add the minced garlic, salt, and pepper. Toss again until the broccoli is well seasoned.
- Spread the seasoned broccoli in a single layer on the prepared baking sheet. Do not overcrowd the pan; use two sheets if necessary for crispier results.
- Roast for 15 minutes.
- Remove the pan from the oven and sprinkle the grated Parmesan cheese over the broccoli.
- Return to the oven and roast for another 5 to 7 minutes, or until the edges are golden brown and crispy.
- Serve immediately.
Notes
- For extra flavor, squeeze fresh lemon juice over the finished broccoli before serving.
- To achieve maximum crispiness, ensure the broccoli florets are dry before tossing them with oil.
- If you prefer softer broccoli, increase the total roasting time by 5 minutes.
- Prep Time: 10 min
- Cook Time: 22 min
- Category: Side Dish
- Method: Roasting
- Cuisine: American
Nutrition
- Serving Size: 1 serving
- Calories: 110
- Sugar: 2
- Sodium: 250
- Fat: 7
- Saturated Fat: 2
- Unsaturated Fat: 5
- Trans Fat: 0
- Carbohydrates: 9
- Fiber: 4
- Protein: 6
- Cholesterol: 5



Comments are closed.