
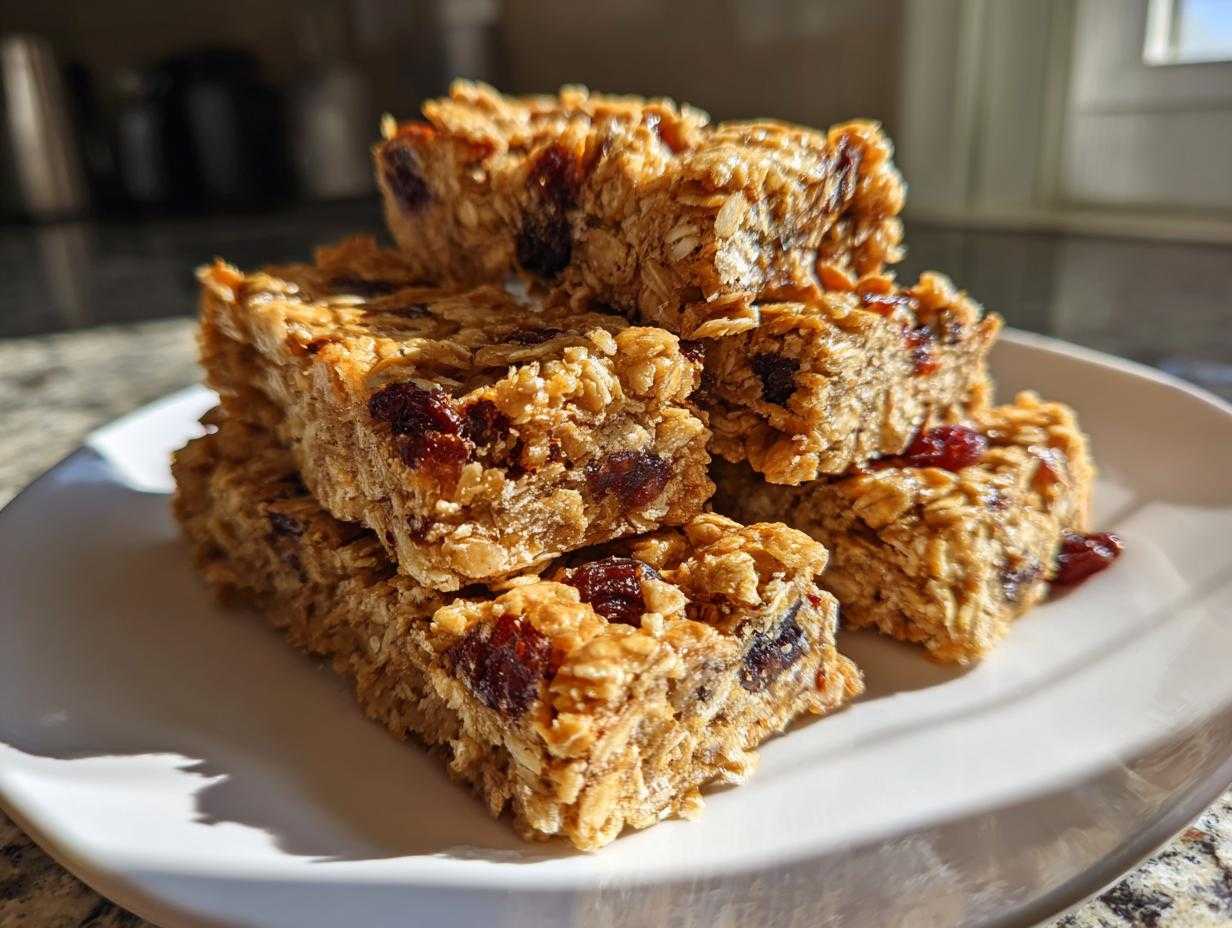
Oh, don’t even get me started on store-bought snack bars! They promise you chewy goodness, but nine times out of ten you end up with something that crumbles into sawdust the second you look at it, or it’s loaded with weird syrups you can’t even pronounce. After years of frustration, I finally cracked the code for the absolute best homemade granola bars you will ever try. Seriously, this base recipe is magic. I’ve been tweaking the ratio of maple syrup to nut butter for what feels like a decade to guarantee that perfect, satisfying chew. These aren’t just good; they’re wonderful because they’re naturally sweetened and completely yours to customize. If those sad little cardboard boxes in the grocery aisle are making you frown, trust me, this is the upgrade your snack drawer needs. Plus, if you happen to need a quick breakfast recipe, I always keep a batch of my honey bran muffins ready!
Why These Homemade Granola Bars Are the Best (Chewy & Wholesome)
You hear me when I talk about texture, right? So many recipes fail because they turn out dry or too crunchy. These homemade granola bars nail that chewy center every single time. That’s the foundation! Because we control the ingredients, these are truly wholesome bars.
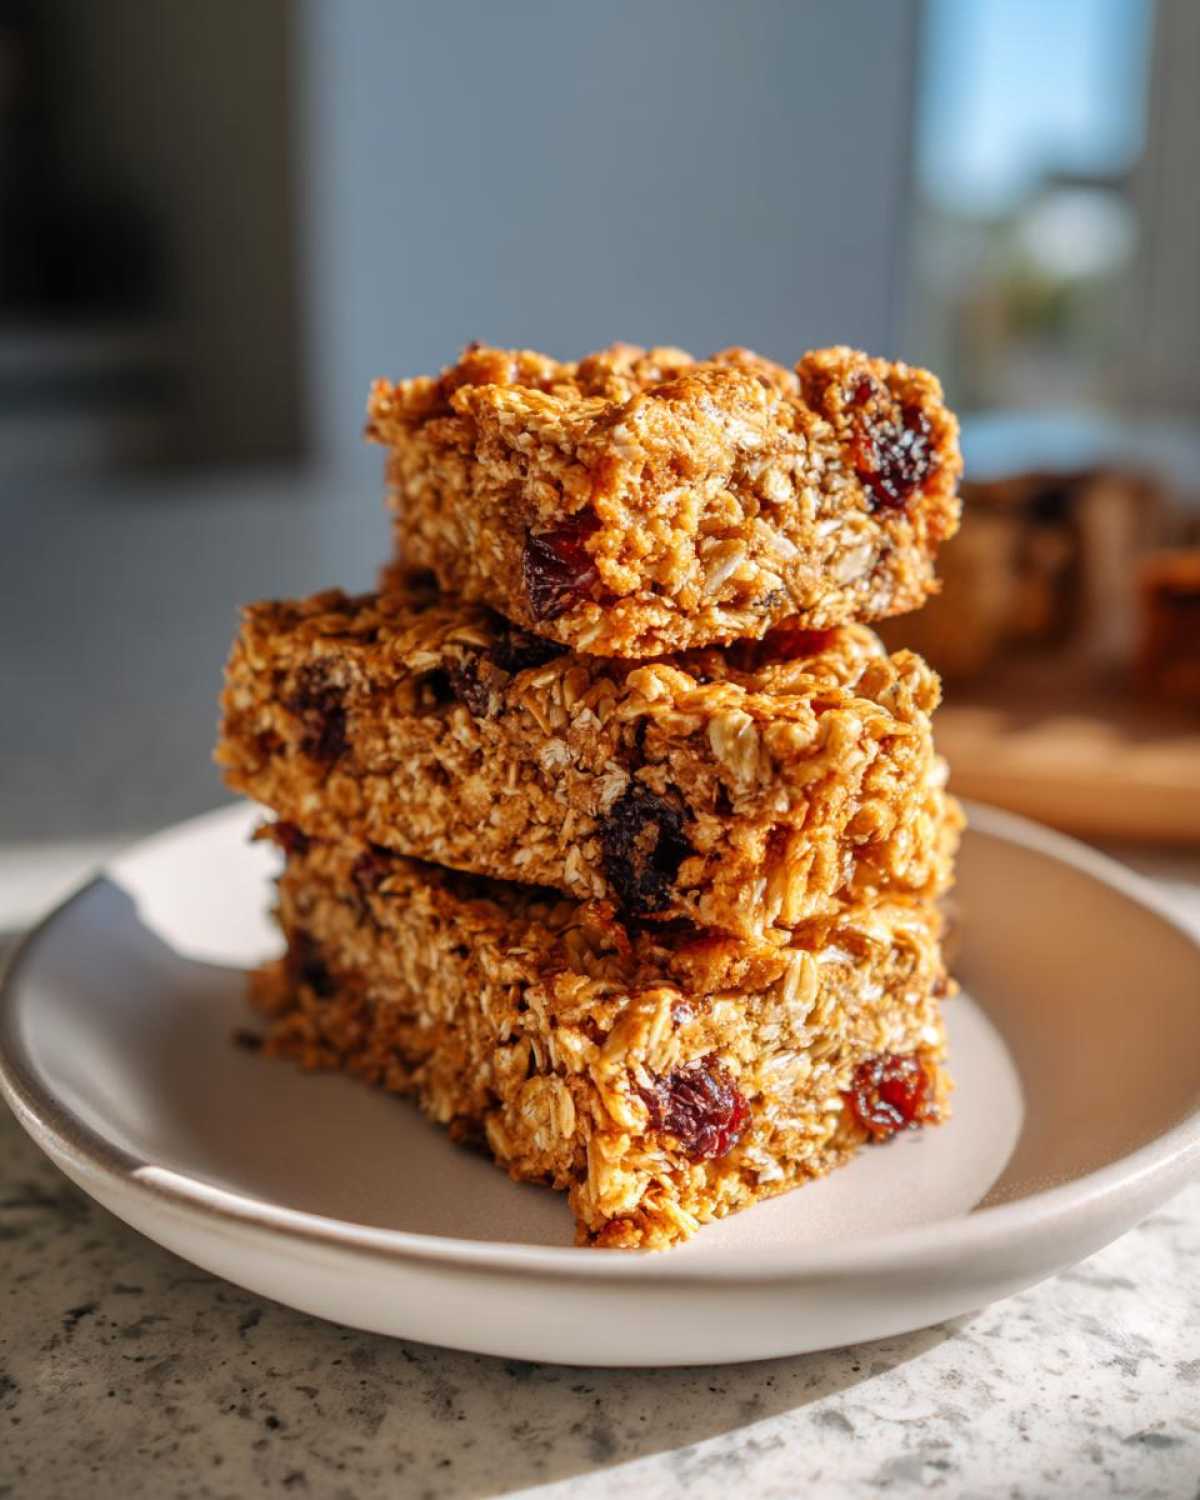
- You get that amazing, satisfying chewiness that store-bought brands always brag about but never deliver.
- We use pure maple syrup for sweetness, so you skip all that mysterious high-fructose junk. They are naturally sweetened!
- They are completely adaptable. I love throwing in chocolate chips, but you can use protein powder or nuts.
It’s the easiest way to make a perfect make ahead breakfast or lunchbox filler. If you love soft oatmeal textures, you need to check out my one-bowl oatmeal cookies recipe too!
Ingredients for Perfect Homemade Granola Bars
Okay, let’s talk components! This is a true base recipe, so you just need to stick to the foundational stuff for that perfect chewy texture. Don’t go trying to use quick oats here; we need sturdy old-fashioned rolled oats, trust me. If you ever need a really reliable dough recipe, my simple whole wheat bread always works wonders!
Base Ingredients for Chewy Granola Bars
- 2 cups rolled oats (the regular kind, not the instant ones!)
- 1 cup mixed nuts and seeds, like almonds and pumpkin seeds
- 1/2 cup dried fruit, chopped up a little if it’s big, like raisins or apricots
- 1/4 cup coconut oil, melted so it mixes easily
- 1/2 cup pure maple syrup—this is our natural sweetener!
- 1/4 cup smooth nut butter, like peanut or almond butter
- 1 teaspoon vanilla extract
- 1/2 teaspoon salt
Customizable Mix-Ins for Your Homemade Granola Bars
This is where you get to play! You only need about a half cup total, so don’t go overboard, or they might not stick together so well.
- 1/2 cup mix-ins of your choice (chocolate chips are my favorite, or shredded coconut!)
Step-by-Step Instructions for Baked Homemade Granola Bars
Making these baked homemade granola bars is honestly so straightforward, but it requires a little patience at the end—don’t rush the cooling! This method guarantees you get that chewy bite you’re looking for, unlike those brittle store-bought versions. Before we even start mixing, get your pan ready! I always use an 8×8 inch pan, and I line it completely with parchment paper, making sure the paper hangs over the sides like little handles. That overhang is your best friend for lifting the whole slab out later! If you’re ever struggling with things sticking, sometimes I even brush my pans with a little mixture like the one I use for my honey garlic salmon to ensure a clean release, though parchment usually does the trick here.
Preparing the Dry and Wet Mixtures
First things first, get your oven heating up to 350°F (175°C). While that warms, grab your largest mixing bowl and toss in all the dry stuff: your oats, your nuts, seeds, and dried fruit. Give that a quick stir just to make sure they are evenly distributed. Now for the flavor power-up! In a separate, smaller bowl, take your melted coconut oil, maple syrup, smooth nut butter, vanilla, and salt. Whisk this vigorously until everything looks totally smooth and creamy. You want that nut butter fully incorporated so you don’t get lumps.
Mixing, Pressing, and Baking Your Homemade Granola Bars
Time to bring it all together! Pour that beautiful liquid binder over your oats and other dry bits. Stir it all up really well, making sure every single oat looks coated. If you are throwing in chocolate chips or extra coconut, fold those in gently right now. Now, the most important step for structure: transfer the whole sticky mess into your prepared pan. You have to press this *firmly* and evenly across the bottom. I mean, really pack it down! Use the flat bottom of a solid measuring cup or glass to really squish it tight. Bake that for about 20 to 25 minutes until the edges look barely golden. Don’t let them get too dark!
The Critical Cooling Phase for Chewy Granola Bars Recipe
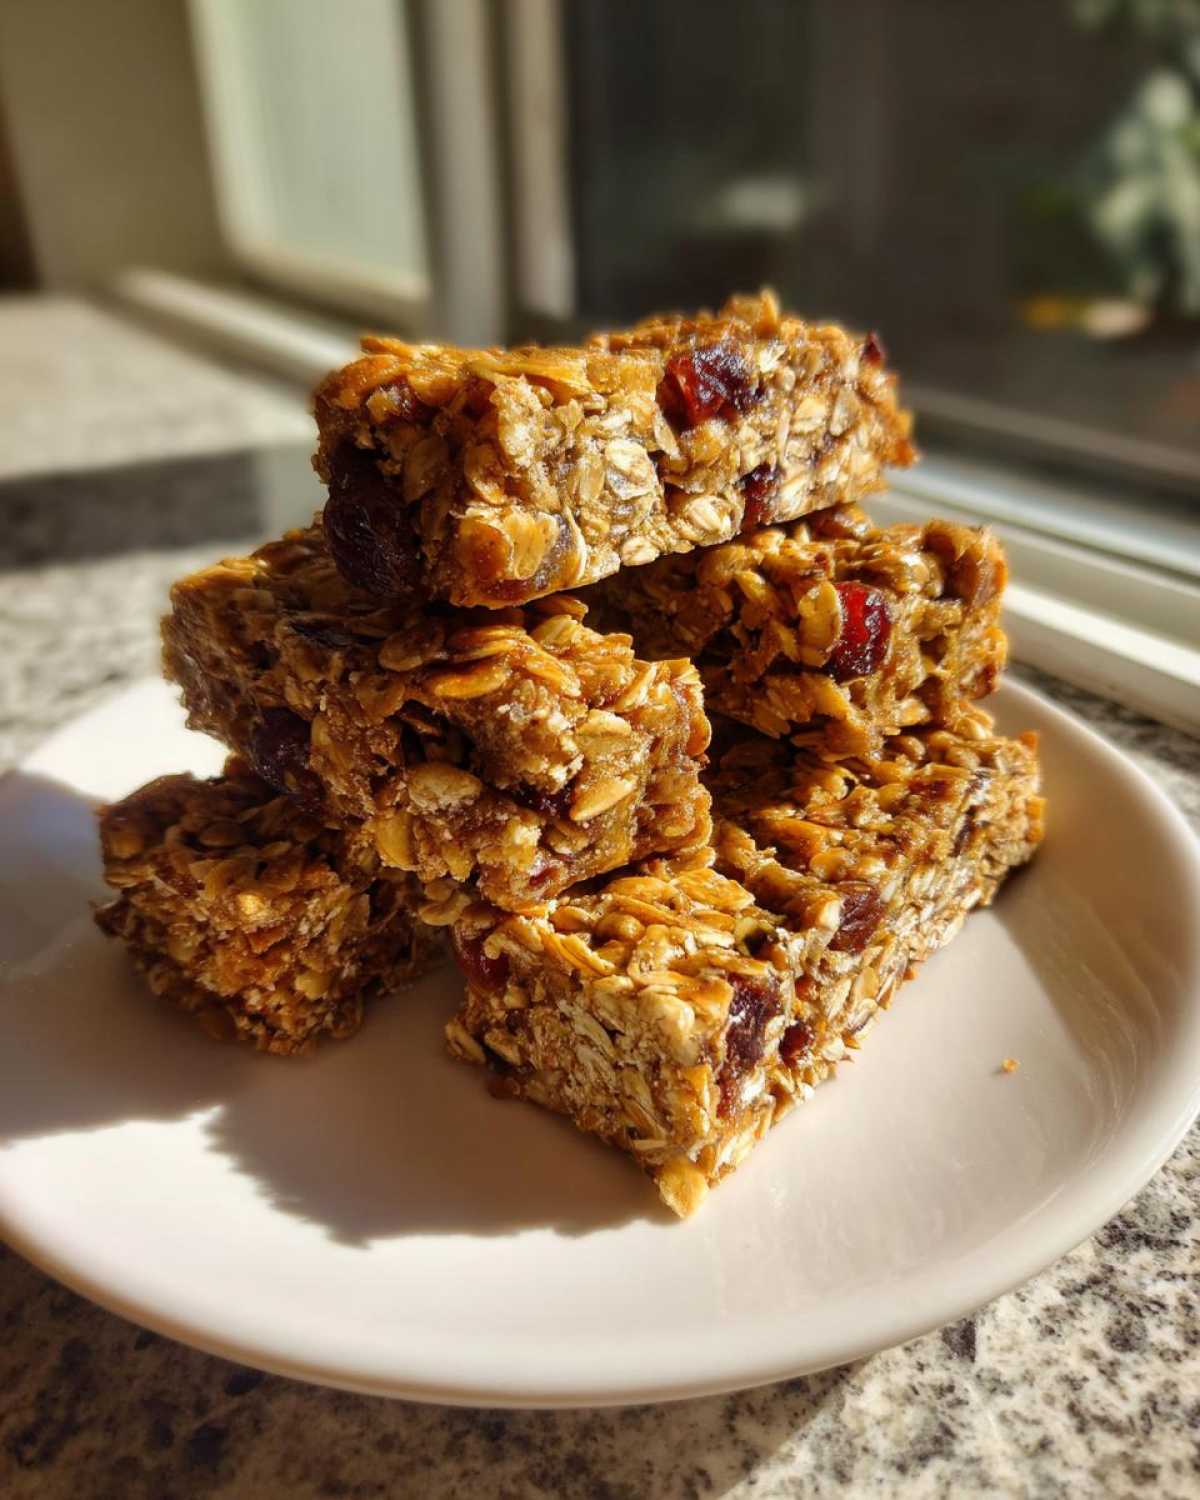
Listen to me: you must let these cool completely in the pan. If you try to cut them while they are warm, they will crumble into a million pieces, and you’ll end up with loose oatmeal, not bars. Let them sit on a rack for at least an hour. Seriously! For the absolute chewiest texture, once they are totally cool, use those parchment handles to lift the whole block out and pop it into the fridge for maybe 30 minutes before cutting. Then, slice them into 12 or 16 pieces. Now you have the best batch of homemade granola bars!
Tips for Success: Mastering Chewy Homemade Granola Bars
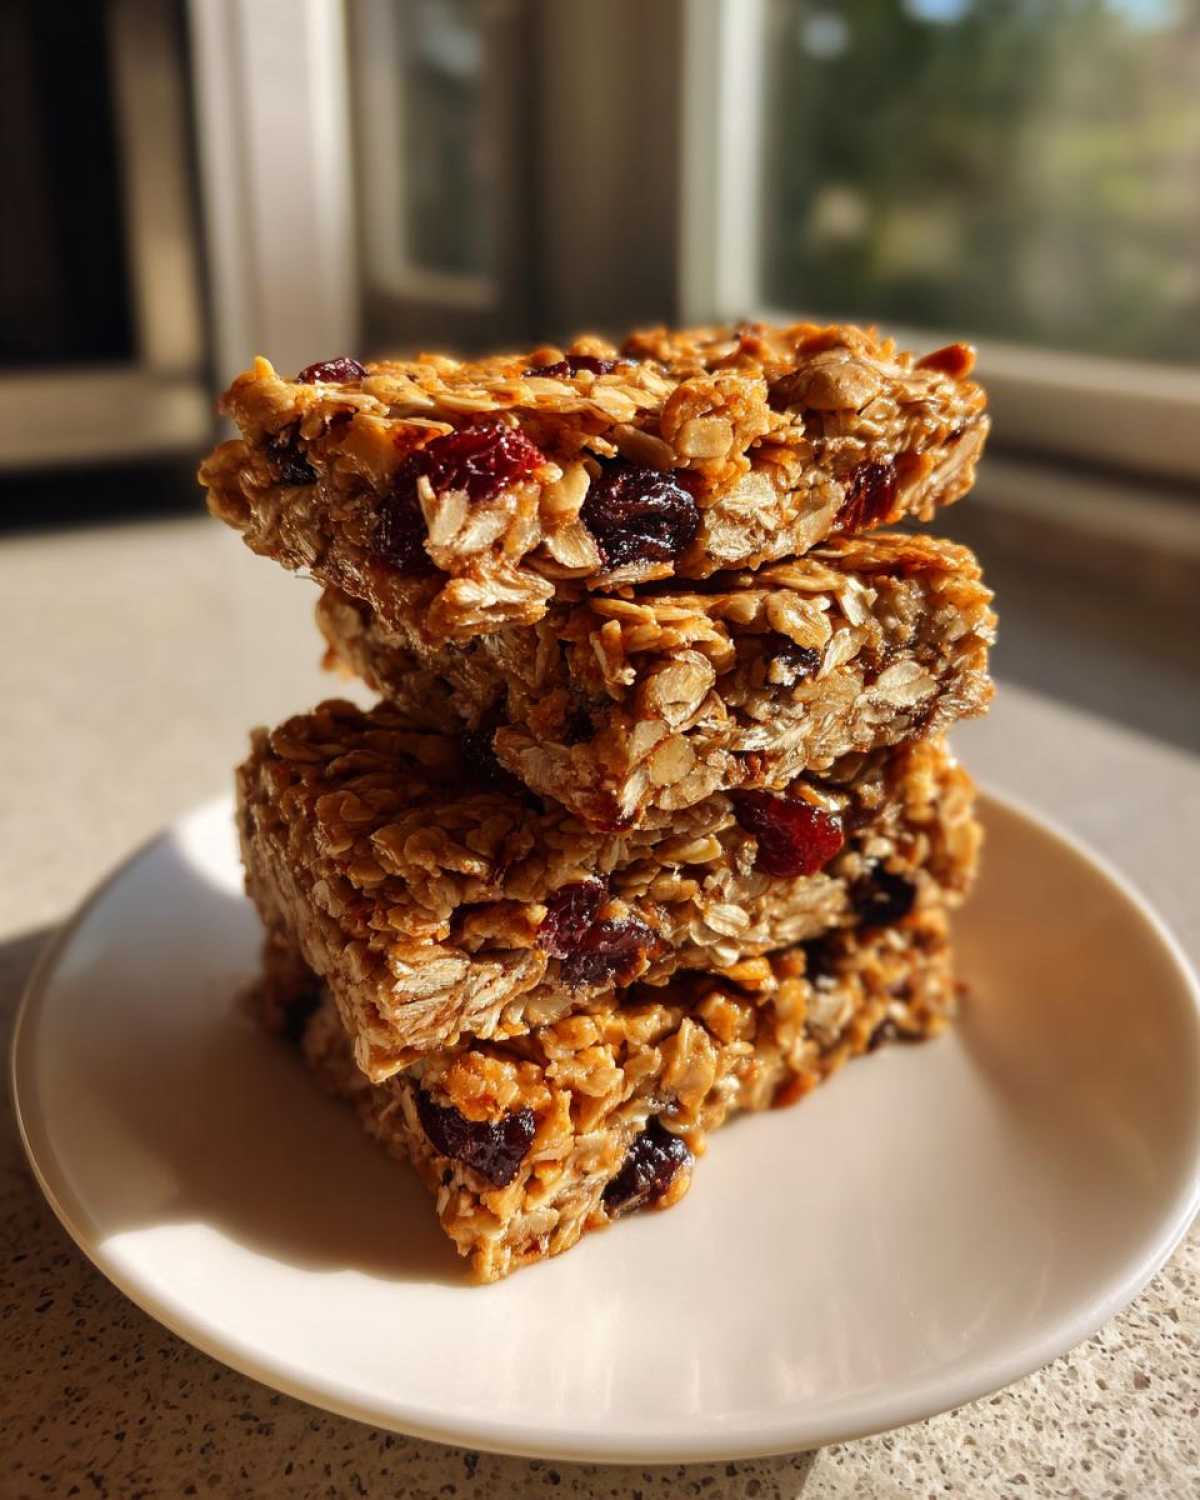
When you’re aiming for that perfect bite in your homemade granola bars, a few little secrets make all the difference outside of the actual mixing. The biggest thing people ask me about is texture. If you accidentally bake these too long, they turn crispy, which isn’t bad—it’s just not the chewy experience we are going for here!
If you crave that slight crisp around the edges, just toss them back in the oven for an extra five to ten minutes, but watch them constantly. You don’t want burnt oat bits!
Also, if you or someone you are making these for needs to avoid gluten, just make sure your oats are certified gluten-free. That’s the only ingredient swap you need to worry about for the base structure. If you love soft oatmeal textures, you should definitely look at my soft oatmeal cookie recipe, too; it has that same satisfying chew!
Customization Ideas for Your Homemade Granola Bars
This base recipe for homemade granola bars is fantastic because you can literally swap things out almost daily if you want! If you’re trying to make something quick like a high-protein batch, just swap out a quarter cup of oats for vanilla or unflavored protein powder. Be warned, though: powder really sucks up moisture, so you might need an extra tiny splash of maple syrup.
For flavor twists, try swapping the dried apricots for dried cherries or even adding some finely chopped dates. If you want to try making my version of some popular copycat granola bars, double the vanilla and add a tiny pinch of cinnamon for that familiar taste. My kids love when I sneak in things like banana protein powder for an extra boost in their afternoon snack!
Storage and Make Ahead for Homemade Granola Bars
One of the greatest joys of making these homemade granola bars is that they are fantastic for meal prep! This is why I love using them as make ahead breakfast options during busy weeks. Because we use maple syrup and nut butter as our binder rather than relying solely on honey, they stay super fresh and chewy for longer.
You can definitely keep a batch right on the counter! Store the cut bars in a single layer, or separated by parchment paper squares, inside a truly airtight container. At room temperature, they should stay perfectly chewy for about a week. If you need them to last longer, or if your kitchen gets super hot and humid, pop them in the fridge. Refrigeration keeps them firmer and helps them stay solid, easily lasting up to two weeks!
But the real game-changer for ultimate meal prepping? Freezing! You can totally freeze these. Cut the bars first, stack them with parchment or wax paper in between each layer, and tuck them into a freezer-safe bag or container. They actually freeze really well, up to three months! Then you can just grab one the night before, let it thaw on the counter, and you’ve got a sturdy, wholesome snack bar ready to go. It’s planning ahead at its best! These are just as good as my egg muffin cups for quick grab-and-go meals.
Serving Suggestions for These Healthy Snack Bars
While these homemade granola bars are absolutely designed to handle being shoved into a backpack pocket for an emergency energy boost, don’t let that be their only job! They are so much better than any store-bought energy bars you find, and they deserve to be enjoyed properly sometimes.
First off, everyone needs an afternoon pick-me-up, right? Try taking one of these bars and pairing it with a good, strong cup of coffee. The maple and oat flavor really complements a dark roast beautifully. It’s way more filling than just a standard pastry!
My absolute favorite way to elevate them is for breakfast. We crumble one of these chewy bars right over a bowl of plain Greek yogurt. It gives you that crunch and sweetness instantly, turning a plain yogurt into a full, satisfying bowl. It’s almost like a fancy parfait without the fuss.
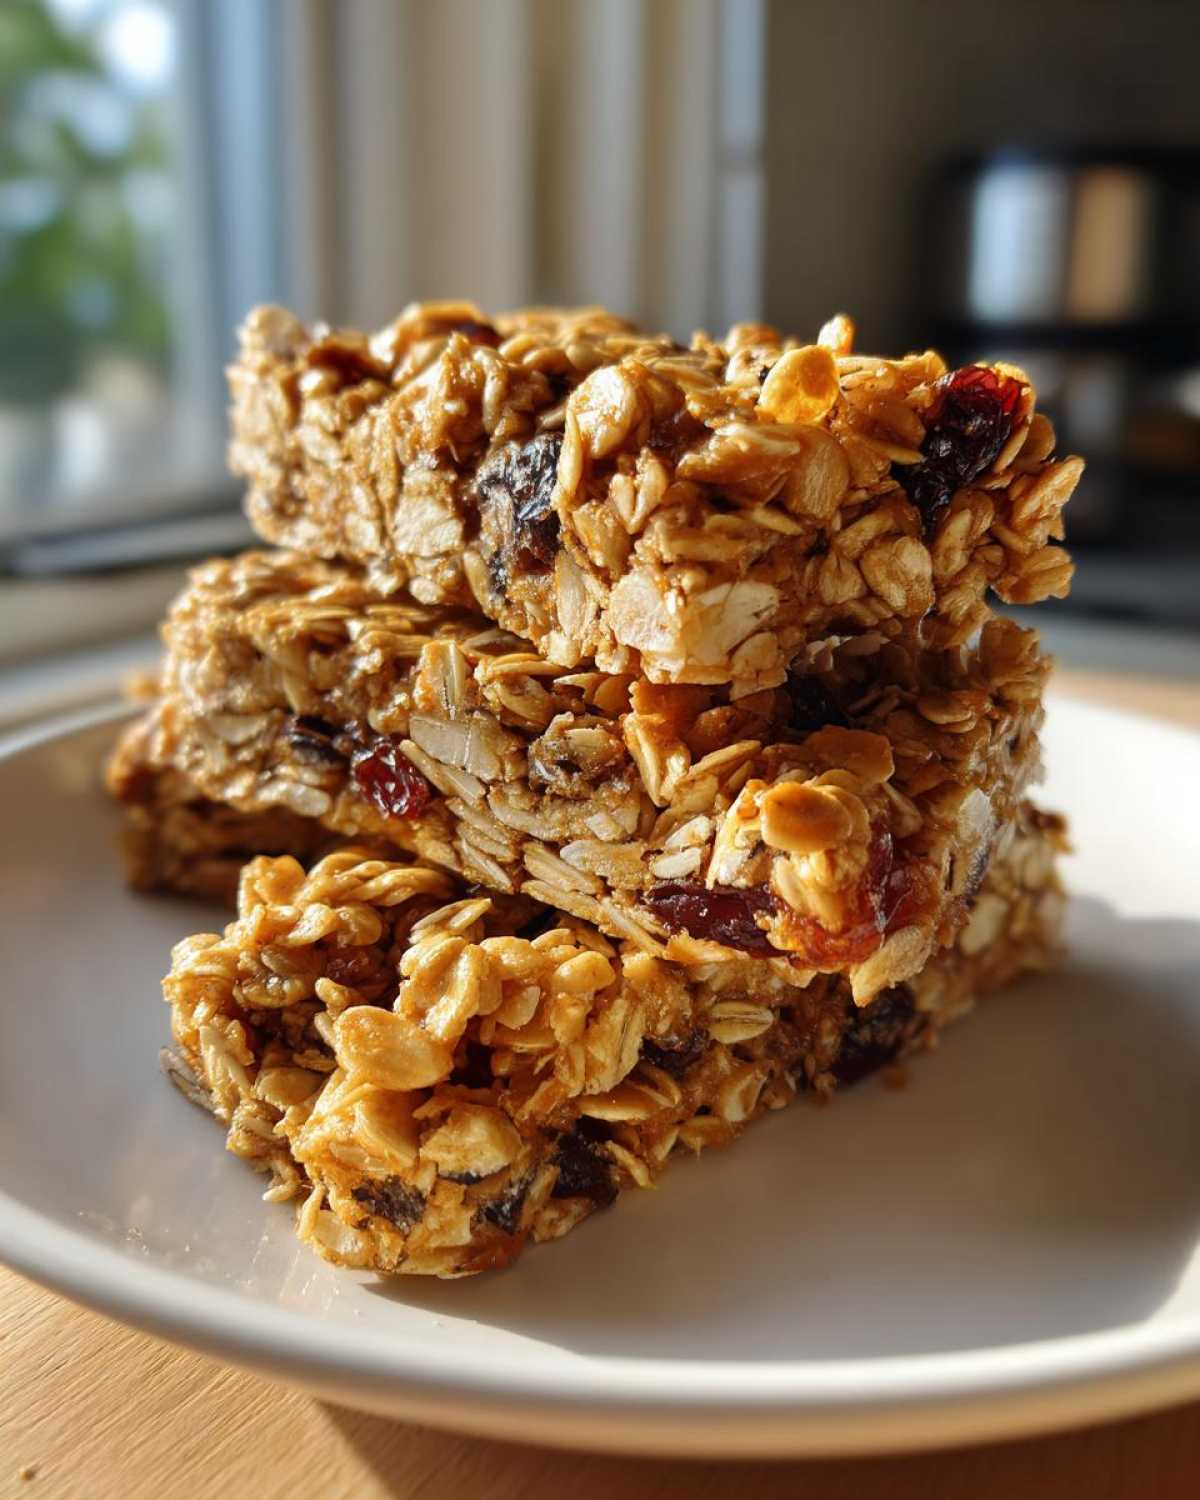
For the kids’ lunchboxes, I often slice them into smaller squares—think more of a wholesome bite-sized treat rather than a full bar—and I’ll stick one next to some fruit. They disappear fast, and I feel great knowing they’re made with simple ingredients. If you need another breakfast idea for those super rushed mornings, you can always check out my honey bran muffins!
Frequently Asked Questions About Homemade Granola Bars
I get so many messages asking about tweaking things here and there, which is what I love about this recipe! It’s your canvas. Here are the things that come up the most often when folks are making their first batch of homemade granola bars.
Can I make these into no bake granola bars?
Oh, absolutely! If I’m short on oven time or it’s hotter than the surface of the sun outside, I switch to no bake granola bars. The main difference is you skip the baking step entirely. You mix everything exactly the same way—make sure that binder is rich and sticky—and then you press it super, super tight into that parchment-lined pan. Instead of baking, you just slide the whole thing into the fridge for a good two hours, or even the freezer for 45 minutes. Chilling is what sets the coconut oil and hardens the maple syrup mixture so they don’t fall apart when you cut them. Seriously, freezing them makes them hold together like a rock!
Why are my homemade granola bars crumbly instead of chewy?
This is almost always one of two things, and it drives me nuts when it happens! First, check your ratios. If you used too many dry ingredients or didn’t use enough liquid binder (the maple syrup/nut butter mix), they won’t stick. Second, and this is the big one, you didn’t let them cool long enough. If you try to cut them even slightly warm, they shatter. For these chewy granola bars recipe treats, they need that full hour on the counter, or even a good 30 minutes in the fridge after cooling, before slicing. That cooling time is mandatory!
Are these kid friendly granola bars easy to pack for school?
They are the ultimate kid friendly granola bars! They hold their shape beautifully once they are pressed tight and cooled properly. I cut mine into smaller squares—about 16 pieces instead of 12—because the full bar is a lot of energy for a little one at snack time. Plus, cutting them smaller makes them less likely to get smooshed at the bottom of a lunchbox. They keep really well in their own little airtight containers too. If you want to see another great, safe recipe, check out my guide on no-bake cookie dough bars!
Nutritional Snapshot of These Wholesome Granola Bars
Now, I always tell folks that when you’re making something this delicious with real ingredients like oats, nuts, and maple syrup, you shouldn’t stress the numbers too much. But since we are making these to be truly wholesome snack bars, it’s worth taking a quick peek! Keep in mind, these estimates are just that—estimates—based on the core recipe using standard portions of nuts and a light hand on the optional chocolate chips.
Think of this as the general breakdown for one bar, cut from a yielding batch of 12:
- Serving Size: 1 bar
- Calories: Approximately 220
- Total Fat: Around 11g
- Carbohydrates: About 28g
- Protein: Roughly 6g
- Sugar: Currently around 12g (and that’s all natural from the maple and fruit!)
See? Far better than what you find wrapped in plastic at the checkout aisle! It gives you a great little energy boost without a massive sugar crash later on.
Print
The Best Chewy, Naturally Sweetened Homemade Granola Bars
- Total Time: 1 hour 40 min
- Yield: 12 bars
- Diet: Vegetarian
Description
Make chewy, wholesome granola bars at home using natural sweeteners. This base recipe is easy to customize with your favorite mix-ins.
Ingredients
- 2 cups rolled oats
- 1 cup mixed nuts and seeds (almonds, pumpkin seeds, sunflower seeds)
- 1/2 cup dried fruit (raisins, chopped apricots)
- 1/4 cup coconut oil, melted
- 1/2 cup pure maple syrup
- 1/4 cup smooth nut butter (almond or peanut butter)
- 1 teaspoon vanilla extract
- 1/2 teaspoon salt
- 1/2 cup mix-ins (optional: chocolate chips, shredded coconut)
Instructions
- Preheat your oven to 350°F (175°C). Line an 8×8 inch baking pan with parchment paper, leaving an overhang for easy removal.
- In a large bowl, combine the rolled oats, nuts, seeds, and dried fruit.
- In a separate small bowl, whisk together the melted coconut oil, maple syrup, nut butter, vanilla extract, and salt until smooth.
- Pour the wet mixture over the dry ingredients. Stir well until everything is evenly coated.
- If using, fold in the optional chocolate chips or coconut now.
- Press the mixture firmly and evenly into the prepared baking pan. Use the bottom of a glass or measuring cup to pack it down tightly; this helps the bars hold their shape.
- Bake for 20 to 25 minutes, or until the edges are lightly golden brown.
- Remove from the oven and let the bars cool completely in the pan on a wire rack. Cooling is crucial for chewiness.
- Once fully cooled (about 1 hour), use the parchment paper overhang to lift the block out of the pan. Cut into 12 or 16 bars.
Notes
- For extra chewiness, chill the bars in the refrigerator for 30 minutes after cooling before cutting.
- To make these bars gluten-free, use certified gluten-free rolled oats.
- If you prefer a crispier bar, bake for an additional 5 to 10 minutes, watching carefully to prevent burning.
- Store the finished bars in an airtight container at room temperature for up to one week, or refrigerate for longer storage.
- Prep Time: 15 min
- Cook Time: 25 min
- Category: Snack
- Method: Baking
- Cuisine: American
Nutrition
- Serving Size: 1 bar
- Calories: 220
- Sugar: 12
- Sodium: 85
- Fat: 11
- Saturated Fat: 4
- Unsaturated Fat: 7
- Trans Fat: 0
- Carbohydrates: 28
- Fiber: 3
- Protein: 6
- Cholesterol: 0


Comments are closed.