
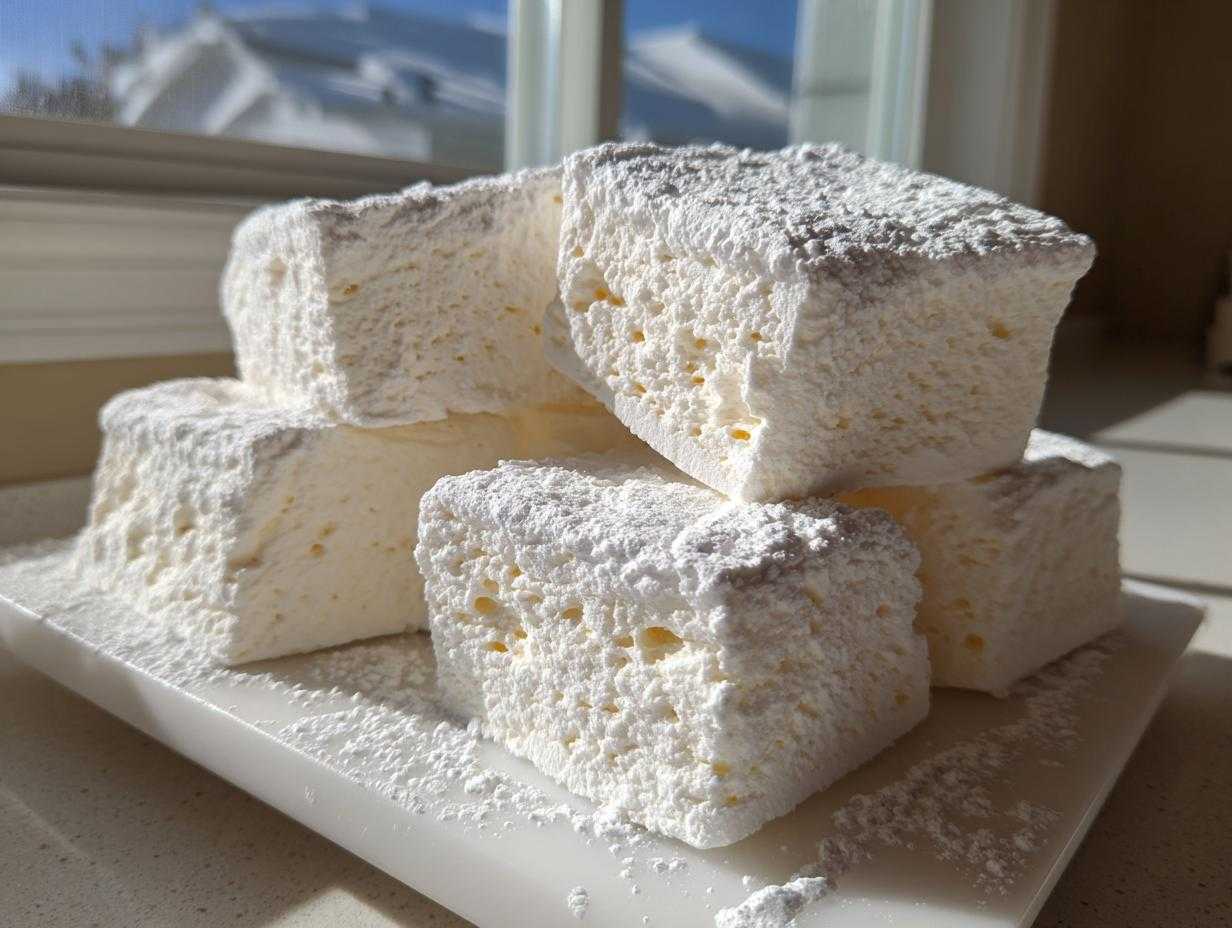
Look, can we be honest for a second? Those little cylindrical bags of store-bought marshmallows? They’re fine for roasting over a campfire if you absolutely have to, but they’re basically bouncy, flavorless air filled with preservatives. I used to think that’s just what a marshmallow was—a little chewy, a little plastic-tasting. Then, everything changed when I finally stopped buying them and decided to make my first batch of homemade marshmallows. Wow. Seriously, the satisfaction of making these marshmallows from scratch is huge!
I’m not going to lie, working with hot sugar can be intimidating. I melted a little sugar twice before I got the temperature right the first time! But this recipe is my tried-and-true method, and it yields the softest, fluffiest sweets you will ever eat. If you can follow steps, you can nail this. Trust me, once you taste these cloud-like wonders, you’ll never look back at the shelf stuff again.
Why You Will Love These Fluffy Homemade Marshmallows
Honestly, these are just heavenly. Forget the chewy, firm stuff they sell in bags. We are talking cloud-like texture here. If you need a reason to try this batch of Homemade Marshmallows, here’s what I guarantee:
- They are unbelievably soft! Seriously, they deflate perfectly on your tongue—pure Soft Marshmallow Treats.
- The vanilla is so clean and bright. It tastes like the “real deal,” unlike those overly processed store versions.
- While candy making seems scary—trust me—this recipe proves you can make incredible Marshmallows From Scratch without needing a fancy pastry degree.
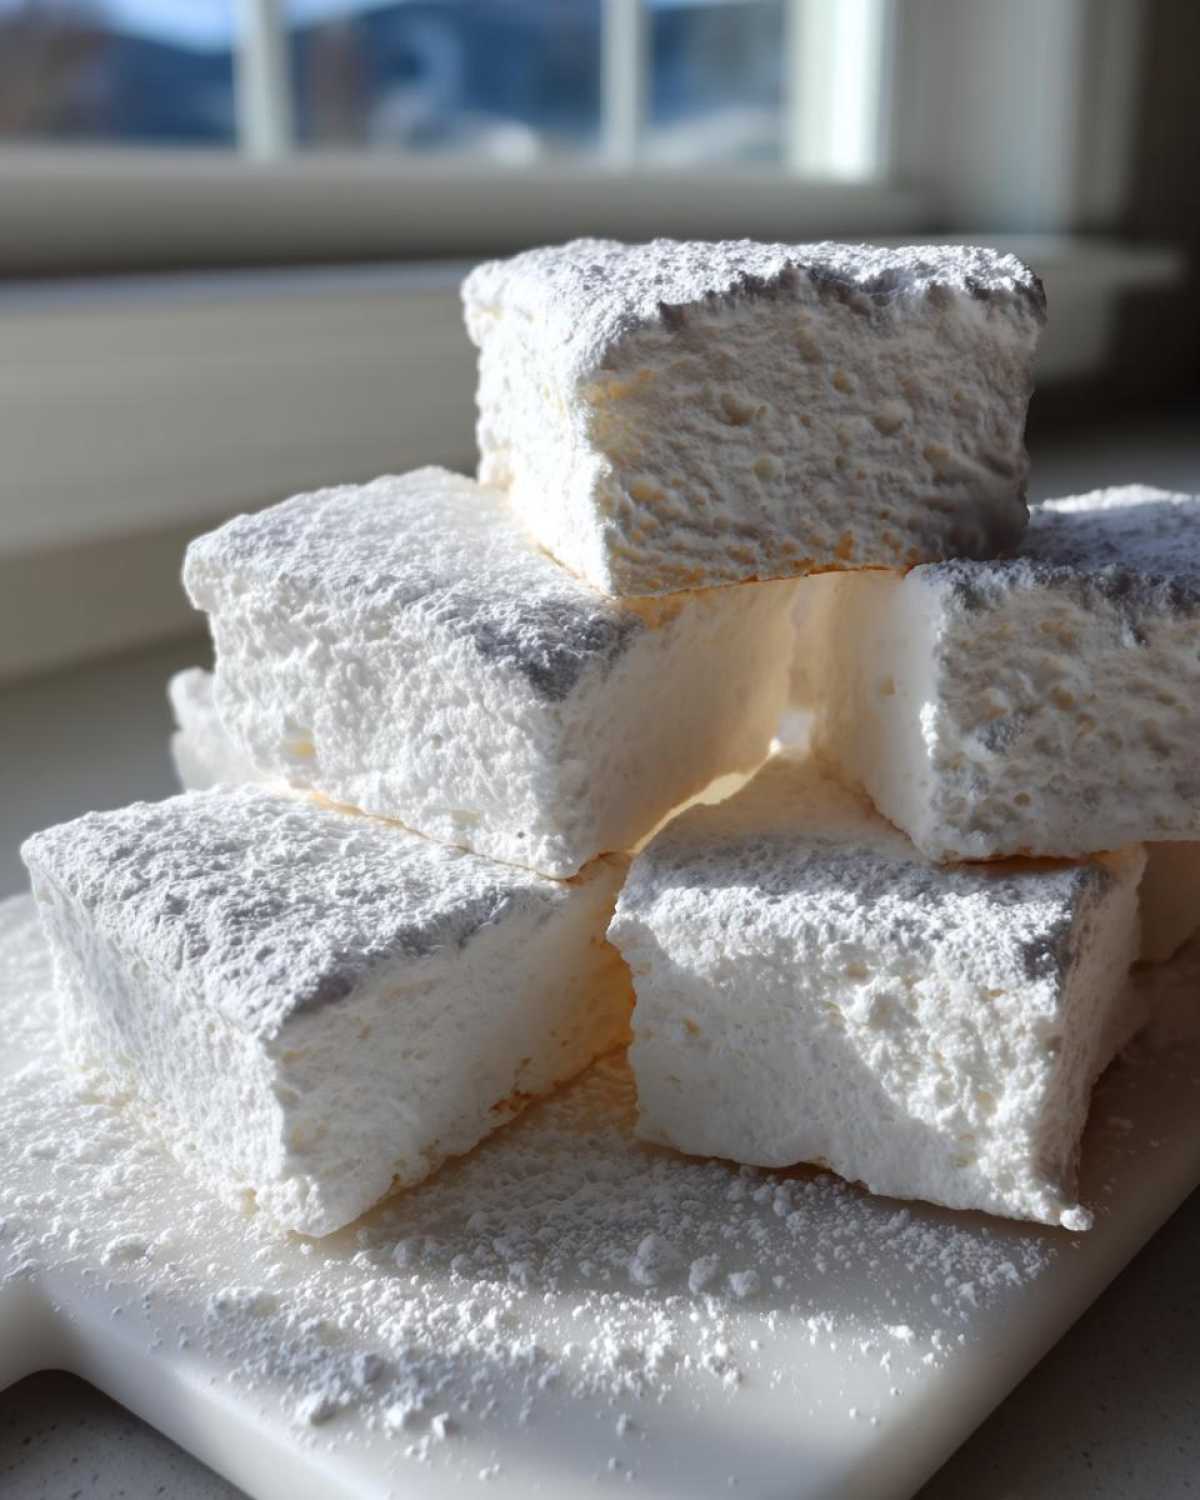
- They look amazing once dusted, making them perfect for gifting or showing off your Homemade Confectionery skills!

Essential Equipment for Perfect Homemade Marshmallows
Since we’re playing with hot sugar here, precision matters way more than when we’re just whipping up a quick cake batter. Skip the hand mixer on this one! You need some specific tools if you want those perfectly smooth, cloud-like results. Don’t worry, most of this is stuff you might already have for other baking projects.
The absolute MVP in this process is your stand mixer. You are going to be whipping that hot sugar mixture for a solid 15 minutes, and your arm will give out long before the mixer does. Make sure the bowl attachments are clean—any speck of grease can prevent proper whipping!
The other non-negotiable tool is your candy thermometer. You absolutely cannot guess with this syrup; it has to hit exactly 240 degrees Fahrenheit (the soft-ball stage). This temperature sets the gelatin perfectly so you don’t end up with sticky goo or hard sugar blobs. Buy a good one so you can trust the reading!
Here is what you need ready to go before you even turn the heat on:
- A sturdy stand mixer with a whisk attachment.
- A medium saucepan for the sugar syrup, preferably heavy-bottomed so it cooks evenly.
- A reliable candy or deep-fry thermometer that clips onto the side of the saucepan.
- A 9×13 inch metal baking pan.
- Parchment paper—this is your best friend for easy removal later!
- A light coating of oil or shortening, plus that crucial dusting mixture of powdered sugar and cornstarch.
Having everything measured out and ready on the counter is what professional bakers call “mise en place,” and it’s essential when dealing with high heat. Trust me, one second you’re watching the thermometer, and the next second you need that piping hot syrup poured! Get organized first, and the rest is easy.
Ingredients for the Best Marshmallow Recipe: Making Homemade Marshmallows
Okay, let’s talk about what goes into these fluffy dream clouds. I know some recipes try to trick you with other sweeteners, but for the structure and classic softness you want in Homemade Marshmallows, we need to stick closely to this lineup. Seriously, this blend of sugar and syrup is what separates the fantastic from the… well, the store-bought disappointments.
The gelatin has to be unflavored—we’re aiming for pure vanilla flavor here! And make sure you have fresh, triple-checked measurements, because when you’re making candy, even an extra teaspoon can throw off the whole setting process. This recipe makes a huge batch, about 36 large squares, which is perfect for holiday baking or just keeping around the house for late-night cocoa emergencies!
Here is exactly what you need for this Easy Marshmallow Recipe:
- Three whole packets of unflavored gelatin. (That’s roughly 2 and 1/4 teaspoons, so measure carefully!)
- We need 1/2 cup of cold water, reserved just for helping the gelatin bloom. Don’t use hot water for this part!
- One and a half cups of plain granulated sugar. This brings the main sweetness.
- One full cup of light corn syrup. This is the magic ingredient that keeps them chewy instead of crystallizing hard.
- Another half cup of water, this time it goes into the saucepan with the sugar.
- Just a tiny pinch of salt—don’t skip it, it balances everything out perfectly.
- One tablespoon of the best vanilla extract you own. Since this is the main flavor, make it count!
- For the dusting mix, you’ll need 1/2 cup of powdered sugar and 1/2 cup of cornstarch. We mix these two for the coating.
I always have a little stash of that cornstarch and sugar mix ready to go, almost like prepping for the next small batch of honey bran muffins—it keeps things moving smoothly when the syrup is ready. Having all these components laid out means when that sugar hits 240 degrees, you can move fast and secure those amazing, sticky-free, Perfect Fluffy Marshmallows!
Step-by-Step Instructions: How to Make Marshmallows at Home
This is where the magic happens! Don’t rush these steps, especially the sugar cooking, because that is what sets the entire batch. Once you get the hang of this, you’ll feel like a true candy maker. Remember how I mentioned getting organized? It pays off here. Put on your apron, crank up that mixer, and let’s get these Homemade Marshmallows assembled!
Preparing the Pan for Soft Marshmallow Treats
First things first: we need to create a surface they won’t stick to! Take your 9×13 inch pan and lightly grease it all over with shortening or baking spray. Then, line it with parchment paper, making sure you leave a good overhang on the sides. This overhang is what lets you lift the entire slab out later—a massive time-saver!
Next, take that bowl of mixed powdered sugar and cornstarch you prepared. Take a sieve or a sifter and dust the *inside* of that parchment-lined pan generously. I mean *really* dust it. This mixture is what keeps these otherwise ridiculously sticky treats manageable.
Whipping the Homemade Marshmallows to Perfection
Time to wake those gelatin sleeping bags up! Put your gelatin into your stand mixer bowl with the 1/2 cup of *cold* water and just let it sit there for about 10 minutes. This is called blooming, and you can’t skip it if you want that perfect cloud texture.
While that’s happening, get your syrup going. Combine the sugar, corn syrup, the remaining 1/2 cup of water, and the salt in your saucepan. Heat it over medium heat, stirring just until everything dissolves. Once it starts boiling, *stop stirring*. Seriously, don’t touch it. Clip on that candy thermometer and let the mixture cook until it hits exactly 240 degrees Fahrenheit—no more, no less.
The second it hits that target temperature, pull it off the heat. Now, turn your stand mixer on low speed. Slowly, and I mean really slowly, pour that scorching hot syrup down the side of the mixing bowl. Here’s that critical tip: make sure that stream of syrup misses the whisk attachment completely! If it hits the whisk directly, the hot sugar can splatter and start to solidify prematurely. Once it’s all in, bump the mixer up to high speed. You need to whip this mixture for a solid 12 to 15 minutes. You are looking for it to thicken up immensely, turn bright white, and look super glossy, forming stiff peaks. When the bowl feels only warm to the touch, take the pan off the whisk, add your vanilla, and mix for just 30 more seconds.
Setting and Cutting Your Homemade Candy Recipes
Okay, they look amazing—like thick, shiny snow! Now, work fast because this fluff starts setting quickly. Scrape all that gorgeous fluff into your dusted pan. Use a spatula that you oiled slightly or use your hands dusted with your sugar/starch mix to gently spread it evenly. Don’t press down too hard; you want to keep the air you just whipped in there!
Generously dust the top surface again with any leftover sugar mixture. Now, leave them alone! They need at least four hours, but honestly, overnight is better. They just need to dry out a little from the top down. When they are completely set, use the parchment overhangs to lift the entire slab out onto a cutting board. If they still feel a little tacky, give them one last light dusting.
Time for the big reveal! Grab a large, sharp knife or a clean pizza cutter. Lightly oil the blade before the first cut—that oil goes a long way to stop sticking. Cut them into whatever size squares you like. I usually aim for big, satisfying pieces for my steak bite-sized indulgence! After cutting, toss the individual squares one last time in the leftover dusting powder so none of your gorgeous Homemade Marshmallows stick together in the storage bin.
Ingredient Notes and Substitutions for Homemade Marshmallows
I get asked all the time about swaps, especially since corn syrup is one of those ingredients people sometimes try to avoid in their homemade candy recipes. I totally get it! But here’s the thing about corn syrup in this recipe: it’s crucial for structure. It’s not just about providing sweetening power; it actively prevents the sugar from crystallizing into a hard rock. Without it, you’re not making a soft, fluffy marshmallow; you’re making brittle.
If you absolutely need to avoid it, you can try swapping it one-for-one with liquid glucose or golden syrup, but you MUST monitor that thermometer like crazy because those syrups behave differently when heated. If you switch it out for honey, you might need to reduce the overall liquid slightly, and the flavor will definitely change. For the best homemade vanilla marshmallows, though, stick with the corn syrup for that signature texture.
Now for the fun part—variations! If you want to make these chocolatey clouds instead of vanilla, it’s super simple. You just reduce that lovely vanilla extract down to 1 teaspoon. Then, when you are about to add the vanilla, gently sift in 1/4 cup of good quality, unsweetened cocoa powder. Mix that in just until it’s combined. It adds such a rich depth, almost like a fancy hot chocolate!
If you’re planning on making these for someone who loves chocolate, try using a splash of orange zest with the cocoa powder—it’s divine. These customized batches are always a massive hit when I bring them over to parties. I think people aren’t ready for how easy it is to make such impressive treats once you master the basic timing for these homemade marshmallows. You can use this base recipe to make any flavor you dream up! I even used a batch when I was making those light and airy vanilla cupcakes last month, just topping them with a single, soft marshmallow instead of buttercream.
Tips for Success When Making Marshmallows From Scratch
Making great DIY Marshmallows is all about controlling the environment—especially because you’re dealing with a gelatin foam structure that loves to absorb moisture! I’ve learned a few things the hard way, so you don’t have to ruin a perfectly good batch of bubbling syrup.
Tip number one, and this is crucial: Check the weather! Humidity is the enemy of candy making, period. If it’s raining or super sticky outside, you might want to wait. High humidity means the setting surface (your powdered sugar and cornstarch dust) can get damp faster, and your finished squares will feel tacky no matter how much you dust them. If you have to bake on a damp day, make sure that dusting powder is super fresh and dry.
Second, let’s talk about that thermometer again. I know I beat this horse, but it’s worth repeating. If your thermometer reads 238°F when the syrup is supposed to be 240°F, you might end up with material that never fully sets up right. If it reads 242°F, you might burn the sugar slightly, and your fluff won’t whip properly. Trust your tool! If you think it might be off, test it in boiling water first—it should read 212°F at sea level. If it doesn’t, make the necessary adjustment to your target temperature.
Third, remember that clean cutting we talked about? Once the marshmallow slab is set, use a very large, sharp knife, and wipe it down with a neutral oil (like canola) after *every* two or three cuts. If you just keep hacking away with a dry knife, you’ll end up dragging the soft interior up and creating messy, weird edges instead of those gorgeous clean squares. A pizza cutter works surprisingly well, too, but always make sure that blade is lightly oiled.
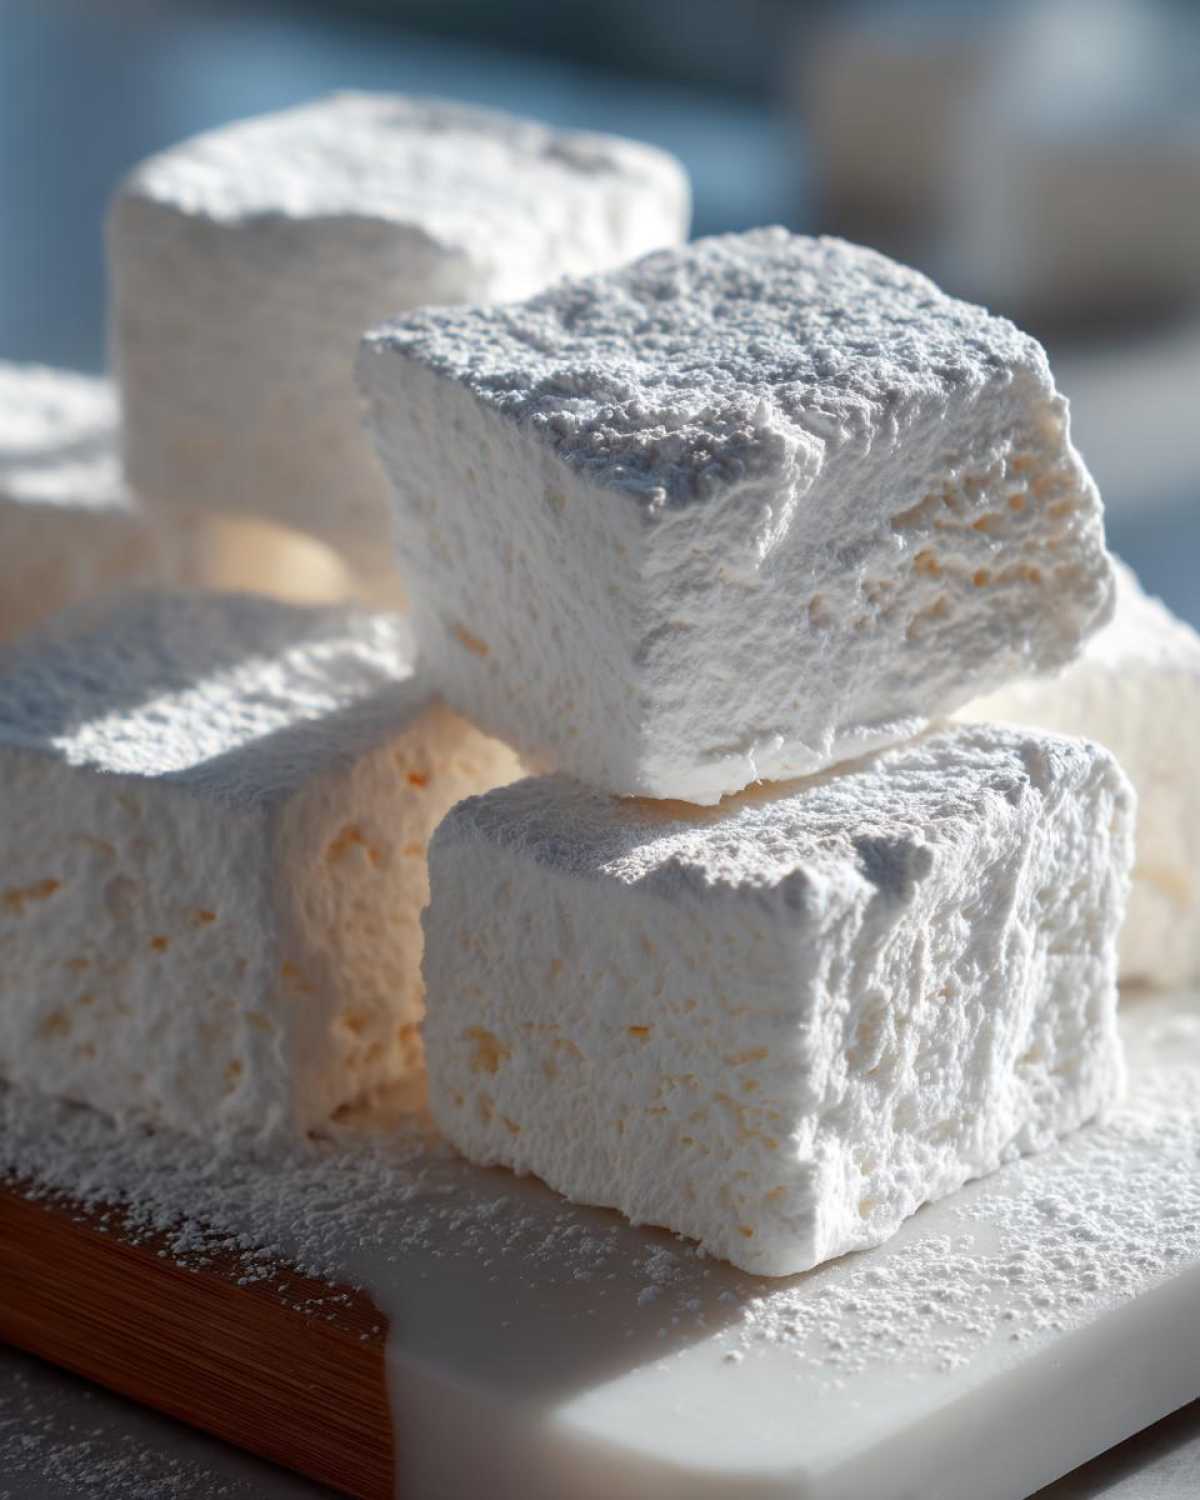
Finally, when you incorporate the vanilla, don’t over-mix it! That lengthy whipping phase is done when the sugar is incorporated. The vanilla is just for flavor, and mixing it too long after adding it can sometimes deflate the volume you worked so hard to create. Mix just enough to combine, then get it into the pan quickly. Mastering these little tricks is what makes the difference between a fun experiment and truly fantastic Homemade Marshmallows that rival any bakery’s best frosting or cream cheese frosting.
Serving Suggestions for Your Fluffy Homemade Sweets
Now that you have these ridiculous, airy clouds sitting on your counter, you might be wondering, “What now?” Well, I basically keep a jar of these on hand at all times because they elevate everything simple into something special. Honestly, the best way to eat them is just plain, right out of the jar, but if you insist on using them for something else, I have some killer ideas!
First, forget the sugary little packets you keep for novelty. When you make these truly Fluffy Homemade Sweets, you have to use them in hot cocoa. Just drop one big square into a mug of hot chocolate, and watch it puff up and melt slowly. It creates this gorgeous, thick, frothy topping that smells like pure vanilla heaven. I seriously make a huge batch of creamy hot cocoa mix just so I have an excuse to keep the marshmallows coming!
Next up, s’mores! If you’ve only had campfire s’mores with the stale stuff, you are missing out on a lifetime of flavor. When you toast these homemade ones—and trust me, they toast gorgeously with that slight exterior crisp—the inside just melts into warm goo. You haven’t lived until you’ve had a homemade graham cracker sandwich with one of these melty wonders in the middle. They are an absolute must for any summer gathering.
And finally, if you managed to save any (which I rarely do), they make the absolute best gifts. Seriously, cut them into cute little shapes, maybe dip half of them in melted chocolate, and package them up with a pretty ribbon. They look professional, but the recipient knows you took the time to make real Edible Gifts from Scratch. They always get rave reviews!
Storage and Reheating Instructions for Homemade Marshmallows
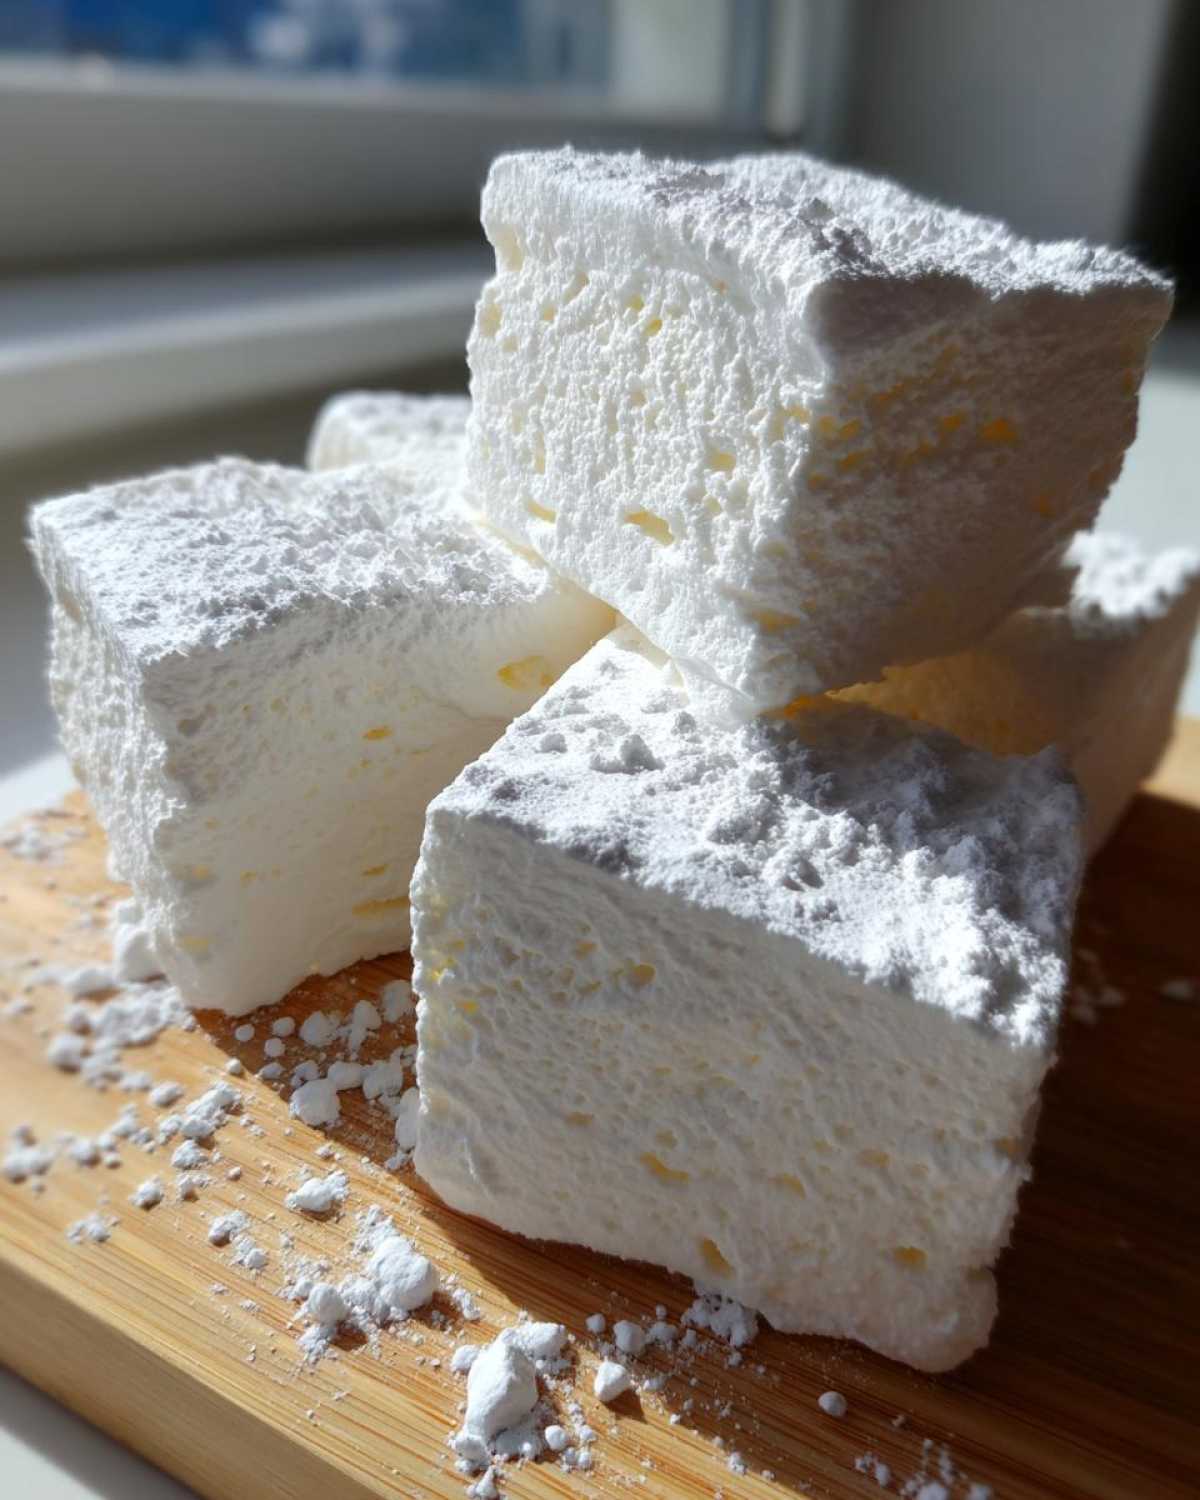
Now that you have achieved the peak of fluffiness, storing them correctly is the final hurdle. This is where so many people accidentally ruin their beautiful work! The absolute biggest rule I can give you about keeping these soft squares perfect is this: Do NOT put them in the refrigerator. I know it feels wrong, but cold air plus the sticky nature of the sugar syrup equals one thing: one giant, solidified, hard marshmallow brick.
Keep them on the counter, away from direct sunlight or heat sources (like above the stove, if your kitchen gets hot). You need an airtight container to keep the air out, but the ambient room temperature keeps them perfectly soft. If you didn’t dust them enough earlier, you might notice the pieces sticking together slightly over a few days—that’s why that dusting powder is so important!
When stored properly in a sealed container at room temperature, these delicious treats will stay perfectly soft and springy for about one to two weeks. After that, they start to dry out slowly, losing that melt-in-your-mouth quality. They won’t go bad, but they definitely won’t be as melt-in-your-mouth soft as they are on day one or two.
What about reheating? Well, you don’t really reheat marshmallows; you just toast them! If you used them for dipping, like on a stick, they toast up beautifully because the exterior has a slight crust from the drying process. If you want that warm, gooey texture for a fancy cup of cocoa, just drop the full square into the hot liquid, and the heat does all the work, melting it from the outside in. No microwave needed for these babies!
Frequently Asked Questions About Homemade Marshmallows
I get so many questions after people try making their first batch of Homemade Confectionery! It’s totally normal, especially when dealing with hot sugar and gelatin. I rounded up a few of the most common things folks ask me about their DIY Marshmallows. Hopefully, this helps you nail that perfect texture the first time!
How long do homemade marshmallows last?
This is a big one! If you follow my storage advice—and remember, no fridge!—your homemade marshmallows will stay beautifully soft and fluffy at room temperature in an airtight container for about one to two weeks. Honestly, mine rarely last that long because we snack on them constantly. If you notice the outer surface getting a little sticky after about day 10, just toss them quickly in that extra dusting powder. If they start getting a bit firm, they are still safe, but they lose that melt-in-your-mouth quality we are aiming for.
Can I make these vanilla marshmallows without corn syrup?
Oh, the eternal question! While I really, really advise against it if you want that textbook soft texture, I know some people just have hard limits. If you absolutely can’t use corn syrup, you can try swapping it 1:1 with liquid glucose or golden syrup. However, you have to be extra vigilant with your thermometer reading because these other sweeteners heat up differently. You might need to pull the syrup slightly earlier than 240°F. If you substitute with honey, be warned, it changes the flavor profile significantly, and you might end up needing to reduce the other liquids a bit. For the Easy Marshmallow Recipe to work as written, the syrup is non-negotiable for preventing crystallization!
What is the secret to making sure my homemade marshmallows are fluffy?
There are two massive secrets here that work together, and they both involve making sure the air stays trapped in that gelatin! First, you must whip long enough. I mean it—12 to 15 minutes on high speed after the hot sugar hits the gelatin. You are done when the mixture is brilliant white, very thick, and holds super stiff peaks. The stand mixer does the heavy lifting here!
The second secret is temperature precision. Make sure that syrup hits exactly 240°F. If it’s too cool, the structure won’t set up right when it hits the whisk. If you were a fan of my famous carrot cake recipe, you know I preach similar precision when dealing with delicate batters. Get the temperature right, whip hard and long, and you’ll have the best, most fluffy homemade sweets!
Share Your Homemade Candy Recipes Success
Whew! You made it! You tackled hot sugar and created pure, sugary magic. Now that you have these incredible containers full of soft, vanilla-scented clouds, I really want to know how they turned out for you! Don’t keep those successes—or those hilarious failures if the sugar seized up on you—to yourself!
Please, drop me a comment below and tell me everything. Did you go for the chocolate variation? Did you use them on top of your favorite hot cocoa? I love hearing how you’re using your homemade candy recipes. Showing off your final cut squares really brightens my day!
If you snapped a photo of your gorgeous batch, please share it on Instagram or Facebook and tag me! I always scroll through my tags to see everyone’s handiwork. It helps me figure out what recipes my readers are excited about next, maybe even inspiring me to post my super easy chicken fried rice next time!
And if this recipe truly blew your expectations out of the water—if you genuinely think these are the best marshmallows you’ve ever had—give those stars a click and let other aspiring candy makers know this one is a winner. Happy snacking, friends!
Print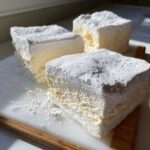
Easy Fluffy Homemade Vanilla Marshmallows
- Total Time: 4 hr 50 min
- Yield: About 36 large squares
- Diet: Vegetarian
Description
Make soft, fluffy vanilla marshmallows from scratch using simple ingredients and a straightforward process.
Ingredients
- 3 packets unflavored gelatin (about 2 1/4 teaspoons each)
- 1/2 cup cold water, divided
- 1 1/2 cups granulated sugar
- 1 cup light corn syrup
- 1/2 cup water
- 1/4 teaspoon salt
- 1 tablespoon vanilla extract
- 1/2 cup powdered sugar, for dusting
- 1/2 cup cornstarch, for dusting
Instructions
- Lightly grease a 9×13 inch baking pan. Line the pan with parchment paper, leaving an overhang on the sides for easy removal. Mix the powdered sugar and cornstarch together in a small bowl. Dust the prepared pan generously with this mixture.
- In the bowl of a stand mixer fitted with the whisk attachment, sprinkle the gelatin over 1/2 cup of cold water. Let it sit for 5 to 10 minutes to bloom.
- While the gelatin blooms, combine the granulated sugar, corn syrup, 1/2 cup water, and salt in a medium saucepan. Stir over medium heat until the sugar dissolves. Stop stirring once it boils.
- Attach a candy thermometer to the saucepan. Cook the syrup mixture without stirring until it reaches 240 degrees Fahrenheit (soft-ball stage). This usually takes about 8 to 10 minutes.
- Once the syrup reaches 240 degrees F, remove the pan from the heat. Turn the stand mixer on low speed and slowly pour the hot syrup in a steady stream down the side of the bowl into the bloomed gelatin mixture. Avoid pouring directly onto the whisk.
- Increase the mixer speed to high. Whip the mixture for 12 to 15 minutes until it becomes very thick, white, glossy, and holds stiff peaks. The outside of the mixing bowl should feel warm, not hot.
- Stop the mixer. Add the vanilla extract and mix briefly until just combined.
- Working quickly, scrape the marshmallow fluff into the prepared baking pan. Use a lightly oiled spatula or your dusted hands to spread the mixture evenly into the pan.
- Dust the top surface generously with the remaining powdered sugar and cornstarch mixture. Let the marshmallows set, uncovered, at room temperature for at least 4 hours, or preferably overnight.
- Once set, use the parchment paper overhang to lift the marshmallow slab out of the pan onto a cutting board. Dust the top and sides again if sticky.
- Use a large, sharp, oiled knife or a pizza cutter to cut the slab into desired squares. Toss the cut pieces lightly in the remaining dusting mixture to prevent sticking.
Notes
- For cutting, lightly oil your knife or pizza cutter before each cut for clean edges.
- If you want to make chocolate marshmallows, reduce the vanilla extract to 1 teaspoon and add 1/4 cup of sifted cocoa powder when you add the vanilla.
- Store finished marshmallows in an airtight container at room temperature for up to two weeks. Do not refrigerate, as this causes stickiness.
- Prep Time: 20 min
- Cook Time: 15 min
- Category: Dessert
- Method: Whipping/Setting
- Cuisine: American
Nutrition
- Serving Size: 1 square (1/36th recipe)
- Calories: 120
- Sugar: 27
- Sodium: 15
- Fat: 0
- Saturated Fat: 0
- Unsaturated Fat: 0
- Trans Fat: 0
- Carbohydrates: 30
- Fiber: 0
- Protein: 2
- Cholesterol: 0



Comments are closed.