
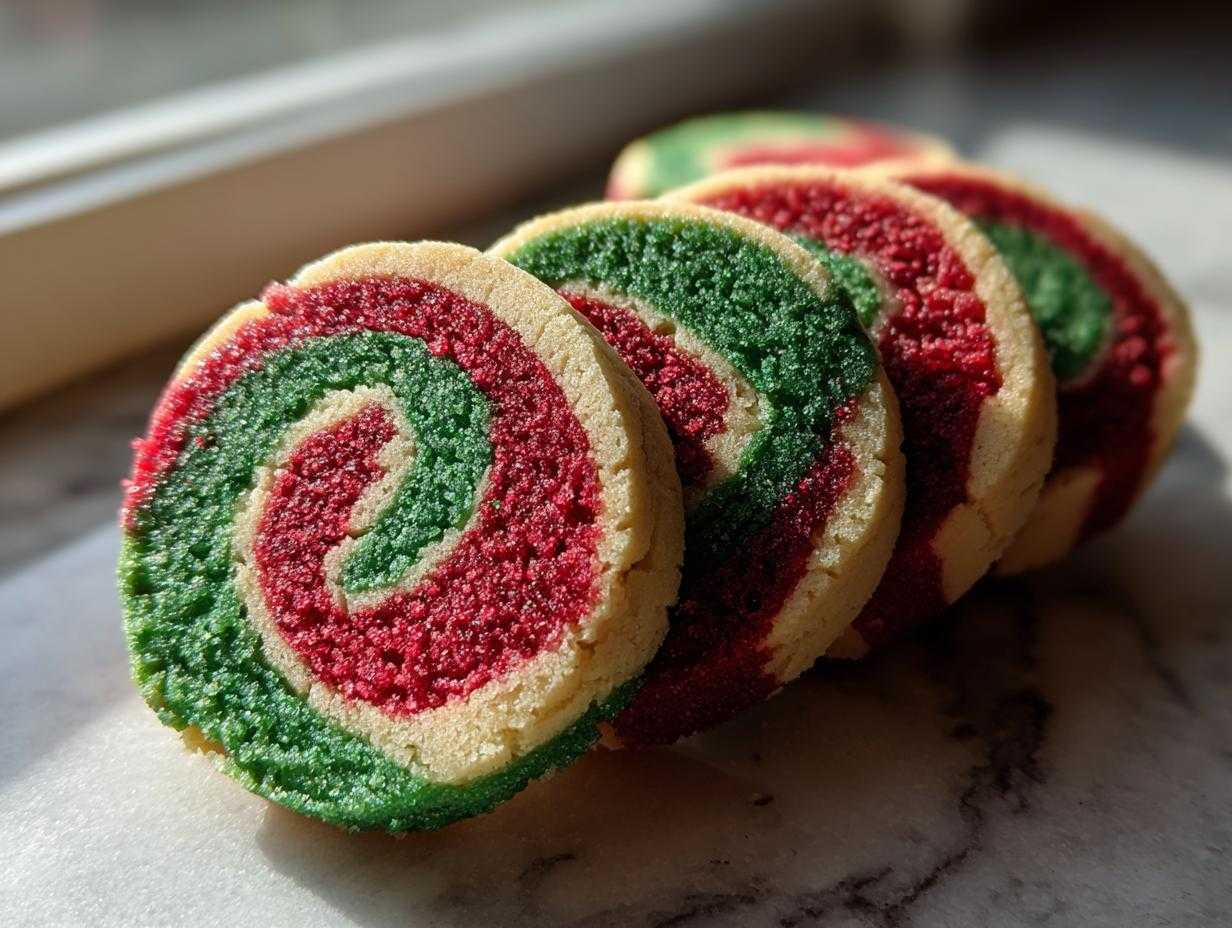
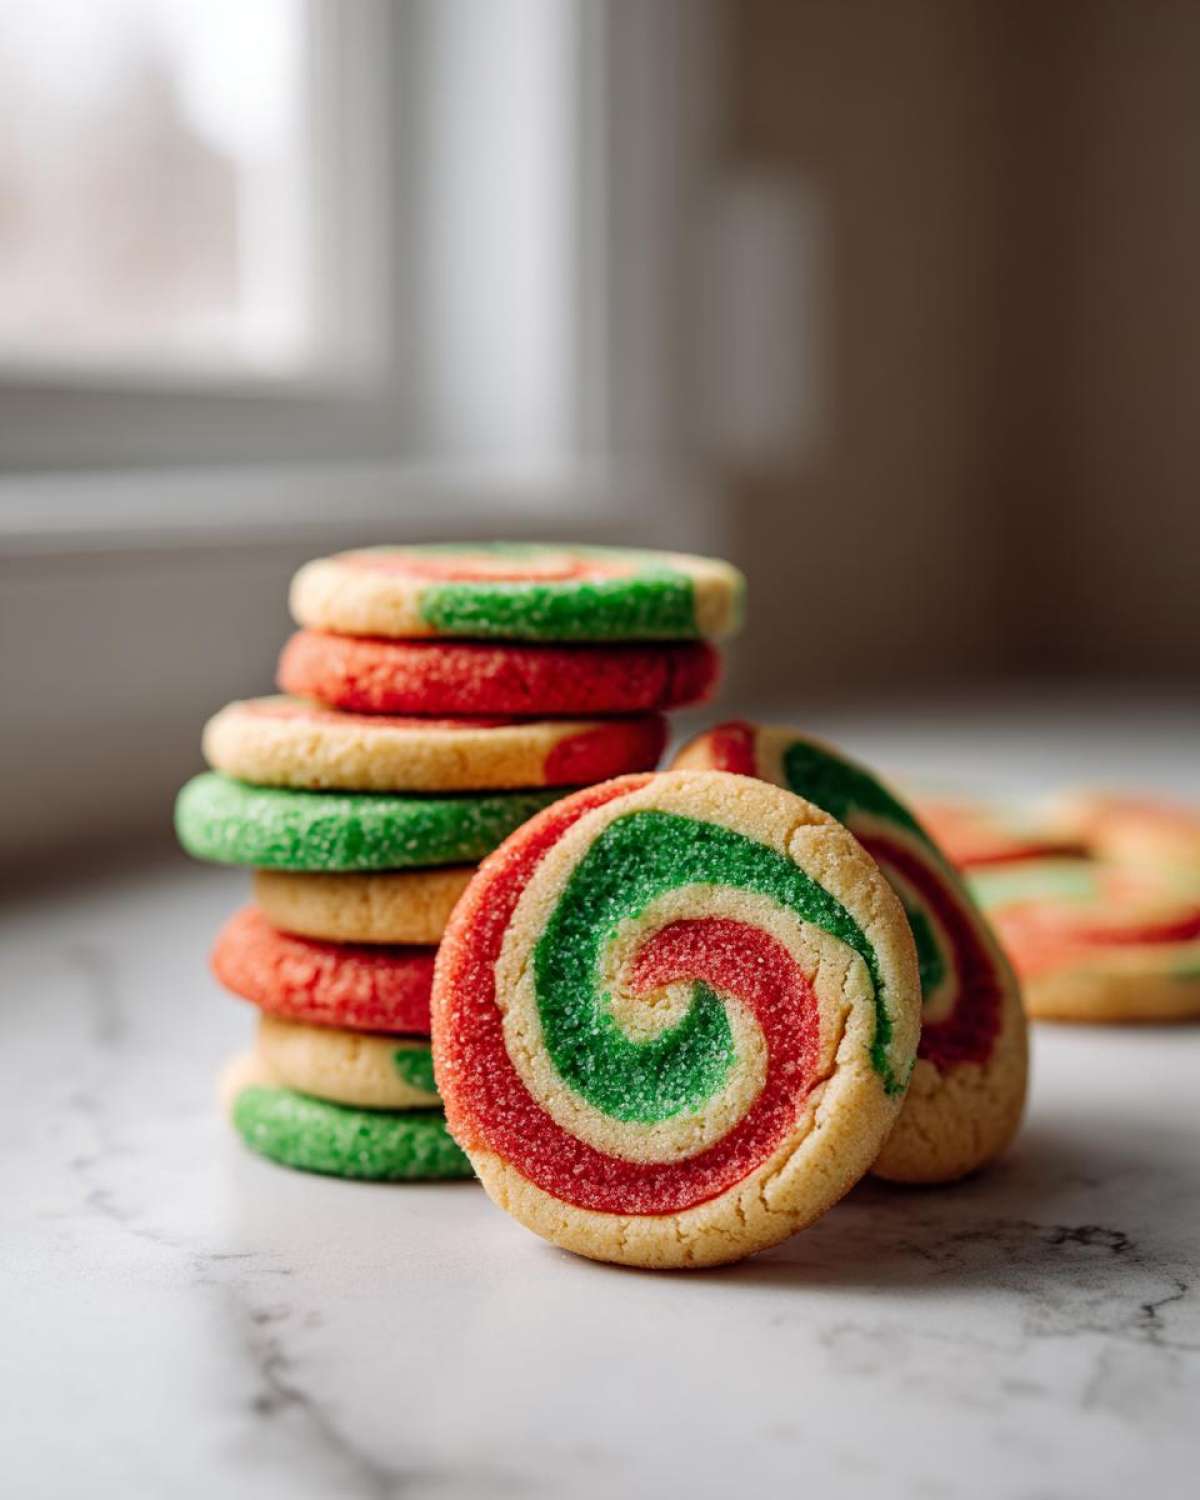
Oh my gosh, if you’re anything like me, the holidays just aren’t complete without a tray full of those gorgeous, patterned cookies! Forget fussy cutting and shaping every single cookie; we are making the ultimate festive treat: **pinwheel cookies**. Seriously, these are my yearly staple because they look so impressive, but they are secretly one of the easiest things you’ll ever bake. We’re going old-school with a classic, buttery sugar cookie base and using that amazing slice-and-bake magic to get those perfect red and green swirls every single time. I’ve learned a few tricks over the years handling these doughs, and I’m going to share them so your cookies turn out photo-perfect!
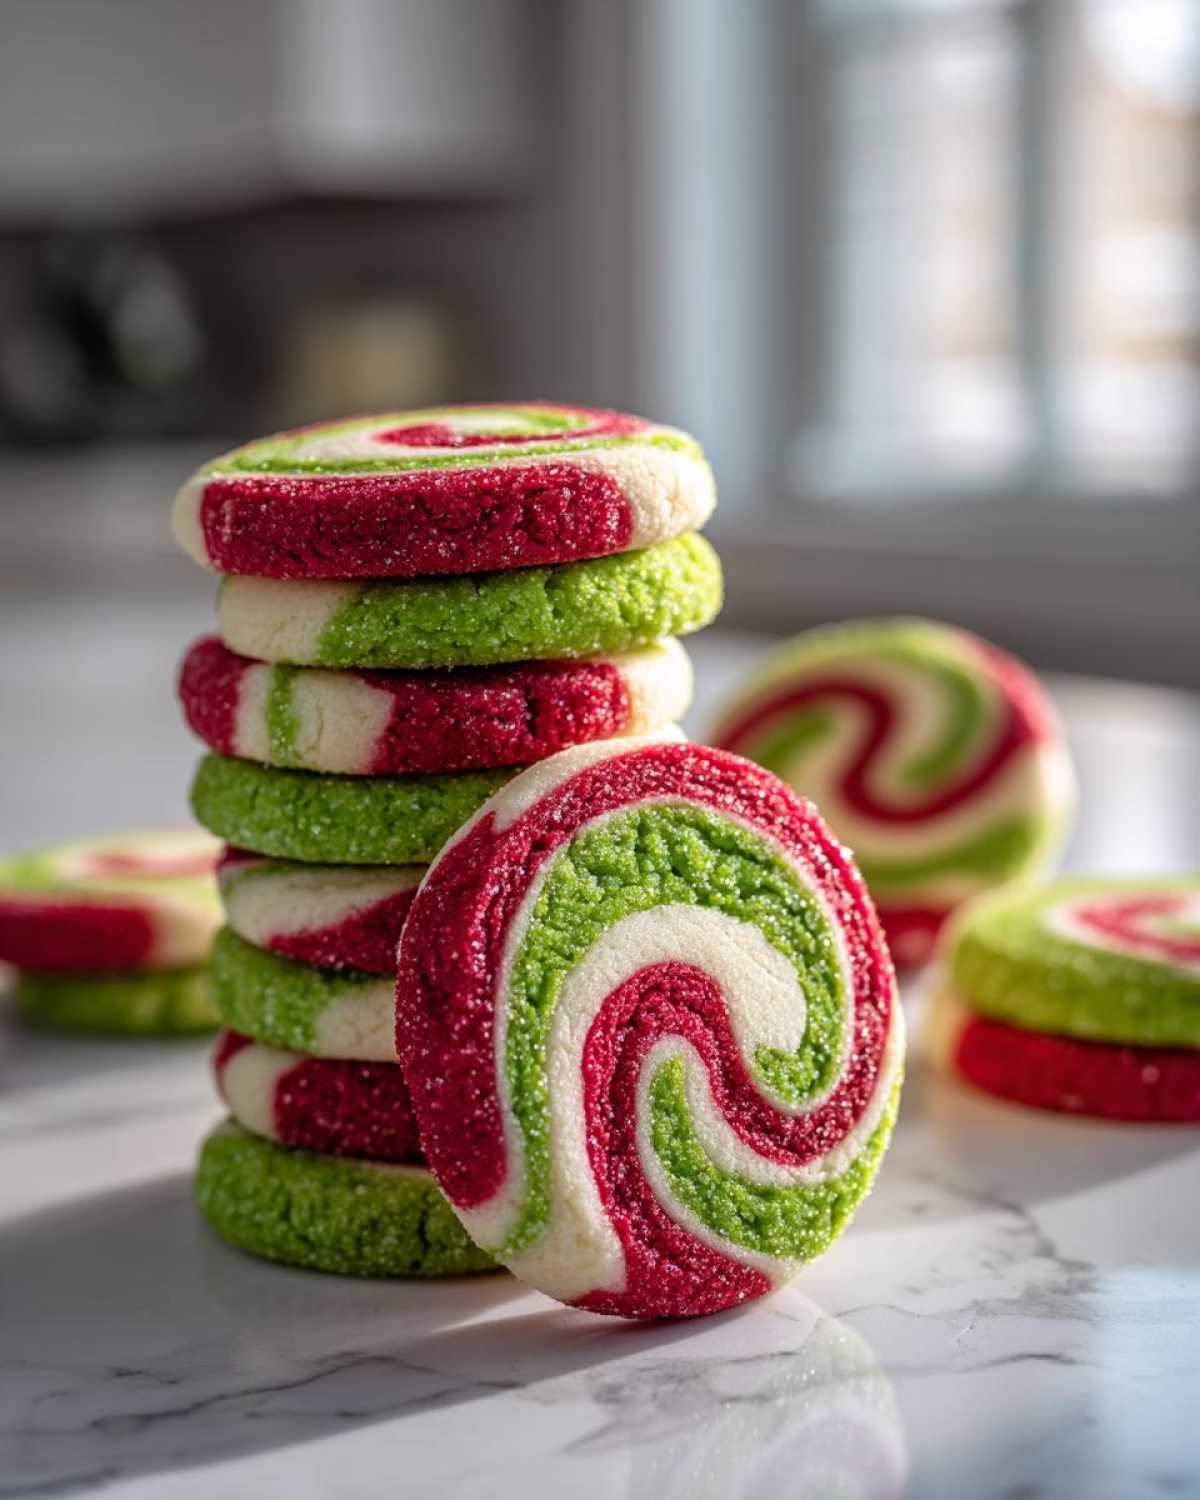
Why This is the Best Pinwheel Cookies Recipe
You are going to love this recipe, trust me! It takes everything good about a sugar cookie—that buttery melt-in-your-mouth flavor—and makes it holiday-ready with zero extra fuss. It stands above the rest because:
- You get those crisp, vibrant red and green swirls without slaving over tiny details.
- They have that wonderfully tender, buttery texture we all crave in holiday baking.
- It’s genuinely a slice and bake cookies dream, meaning the dough is ready days ahead!
- They are absolutely showstoppers at any cookie exchange recipes gathering. If you need a festive topping later, I swear by this creamy frosting recipe, too!
Gathering Your Ingredients for Festive Pinwheel Cookies
Okay, let’s get organized! The beauty of these pinwheel cookies recipe is how straightforward the ingredient list is. It’s mostly pantry staples, which is why I always have everything on hand for spontaneous holiday baking. You need the dry stuff, the foundational fats, and then the magic bits that bring the color!
For the dough base, grab:
- 2 1/4 cups all-purpose flour
- 1 teaspoon baking soda, and just 1/2 teaspoon of salt
- 1 cup of unsalted butter that’s softened nicely—leave it out on the counter for an hour before you start!
- 1 1/2 cups of granulated sugar
- One large egg
- 1 teaspoon vanilla extract and 1/2 teaspoon almond extract. That little bit of almond really gives it a vintage depth, I adore it!
Now, for the fun part: the color! You absolutely must use gel food coloring here, not the liquid drops you use for Easter eggs. Expert Tip Alert: Liquid coloring throws off the dough consistency. We want vibrant red and green coloring, so just a tiny toothpick dip of gel color in each half batch is all you need!
How to Make Pinwheel Cookies: Step-by-Step Instructions
This is where the fun really begins! If you want perfectly clear stripes in your final cookie, paying attention during the mixing and chilling phases is non-negotiable. This recipe is built perfectly around the slice and bake cookies method, which means planning ahead is your superpower here. I’ve found that if you just stick to the chilling times, you’ll get crisp, clean swirls every single time.
Preparing the Dough Base for Your Pinwheel Cookies Recipe
First things first, let’s get our dry ingredients together. Whisk the flour, baking soda, and that salt in a bowl—don’t skip this aeration step! In your big mixer bowl, you need to beat that softened butter and sugar until it’s genuinely light and fluffy. I mean, beat it until it looks pale yellow, almost creamy. Beat in your egg, vanilla, and that little kick of almond extract till everything is cheerful. Now, add the dry mixture to the wet mixture slowly, mixing only on low speed. Seriously, stop mixing the second you don’t see any more flour streaks. Overmixing this sugar cookie base is the fastest way to get tough cookies!
Coloring and Chilling the Dough
Once you have that beautiful vanilla base, divide it perfectly in half. One bowl gets the red food coloring, and the other gets the green—mix them till the color is totally even. We talk about this more in the tips section, but make sure you’re using gel colors for the best result! Then, wrap each colored ball up tight in plastic wrap, like little dough presents. They need to chill in the fridge for at least an hour. This initial chill firms them up so they don’t smear together when you roll them out later.
Rolling and Forming the Colorful Spiral Cookies Log
This layering part is crucial for sharp swirls. Lightly flour your counter and roll out the red dough into an even rectangle, about 1/4 inch thick. Repeat that with the green dough. Then, you stack them—red on top of green, making sure the edges line up nicely. Gently press them together so they stick. Starting from one long side, roll the dough up as tightly as you possibly can, like rolling a jelly roll or a yoga mat. Wrap that log up again and put it *back* in the fridge for another solid hour or two. It needs to be rock solid—the firmer it is, the cleaner your slices will be when you cut into those easy rolled cookies!
Baking Your Beautiful Pinwheel Cookies
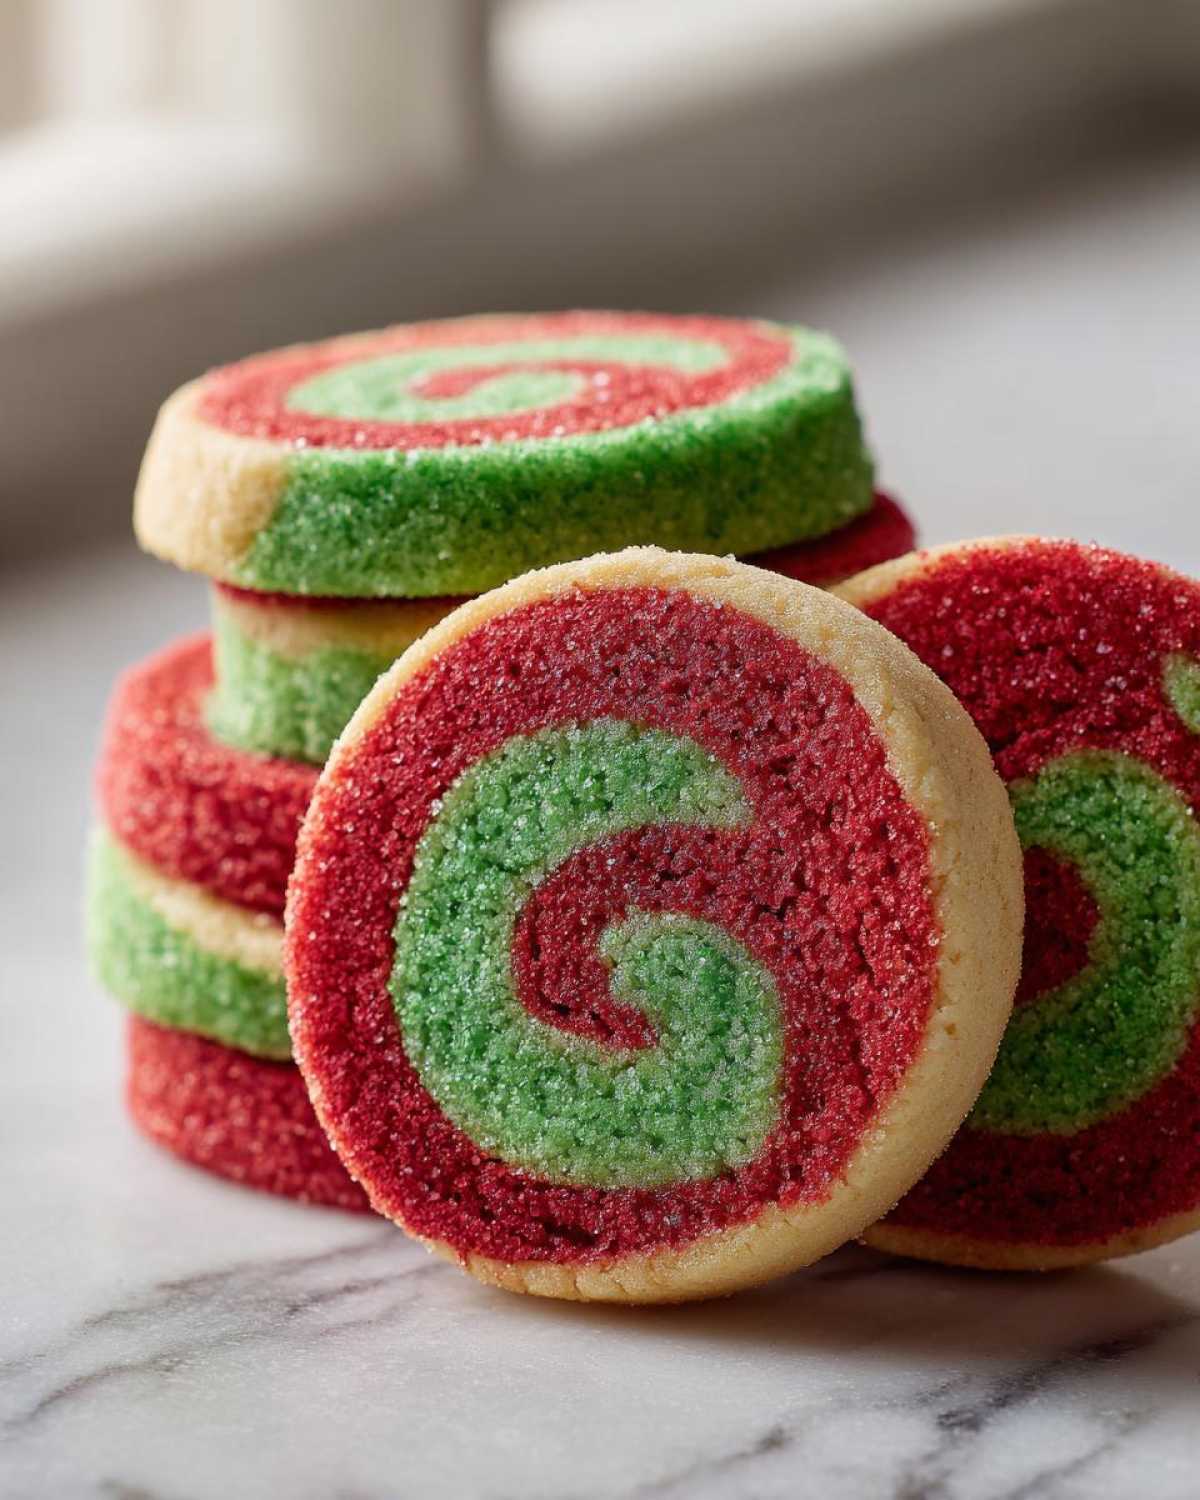
Once that log is properly chilled, preheat your oven to 375 degrees F (190 degrees C) and line your baking sheets with parchment paper. Now, slice the log into rounds that are about 1/4 inch thick. You need good spacing on the sheet—about 2 inches apart—because these buttery cookies spread just a tiny bit. They only need 8 to 10 minutes. I check them when the edges look lightly set; don’t let them actually brown! Let them sit on the hot pan for five minutes before you carefully move them to a wire rack to cool down. That little bit of time on the pan finishes them off just right!
Tips for Perfect Buttery Pinwheel Cookies
So, you’ve rolled your log, and now you want those sharp, stunning stripes, am I right? The look of these buttery pinwheel cookies is all about respecting the chill time! If the dough is even slightly soft when you slice it, the colors bleed together, and suddenly you have a brown blob instead of a beautiful spiral. You really need that second chill time (after rolling the log) to make sure the log is firm enough to cut clean slices.
Remember I mentioned the food coloring? I really can’t stress enough using the gel kind. If you use regular liquid coloring, you’re adding extra water into a rich, butter-based dough, and that messes with the texture we worked so hard to achieve! Gel coloring gives you that rich red and green without diluting that perfect buttery base. If you want to save yourself a massive headache during busy holiday baking, wrap that final dough log tightly. You can freeze it for up to three months! When you’re ready to bake, just skip the first thaw and slice it straight from the freezer—it might take an extra minute or two of baking, but it’s a lifesaver! This trick works so perfectly because this is such a robust make ahead cookies recipe.
Oh, and just a quick note: if you aren’t a fan of almond extract, don’t worry! You can absolutely substitute it with more pure vanilla extract. It’s your kitchen, after all!
Variations on Classic Pinwheel Cookies
While the red and green swirls are unbeatable for Christmas, these cookies are such a marvelous base recipe that you’d be missing out if you only made them once a year! These beautiful swirl cookies are super adaptable, which is why I love them so much. You can easily switch up the colors or the flavors to suit any season or mood.
My favorite non-holiday version has to be the classic chocolate vanilla pinwheel cookies. It’s the perfect switch! Instead of dividing the dough and using food coloring, just mix cocoa powder into one half of the batter until it’s a deep chocolate brown. Then you layer that with the plain vanilla dough, roll it up tight, and chill!
Another fantastic option, which I know some of you vintage bakers love, is using a filling instead of coloring. If you wanted to get adventurous and create one of those rich, dark treats, you could try a date filled pinwheel cookies variation. You’d skip dividing the dough entirely. Instead, roll your plain dough out, and then spread a thin layer of softened, slightly spiced date paste over the top. It’s a bit stickier, so you want that dough extra cold! If you love dates, I have an amazing recipe for date nut bread too, and you can borrow some of those spice ideas for the filling!
Honestly, once you master the technique for rolling and chilling, you can create any kind of pattern you want. Think purple and yellow for Easter, or pale blue and white for a winter theme. These **easy rolled cookies** are essentially a blank, buttery canvas waiting for your creativity!
Serving Suggestions for Your Swirl Cookies
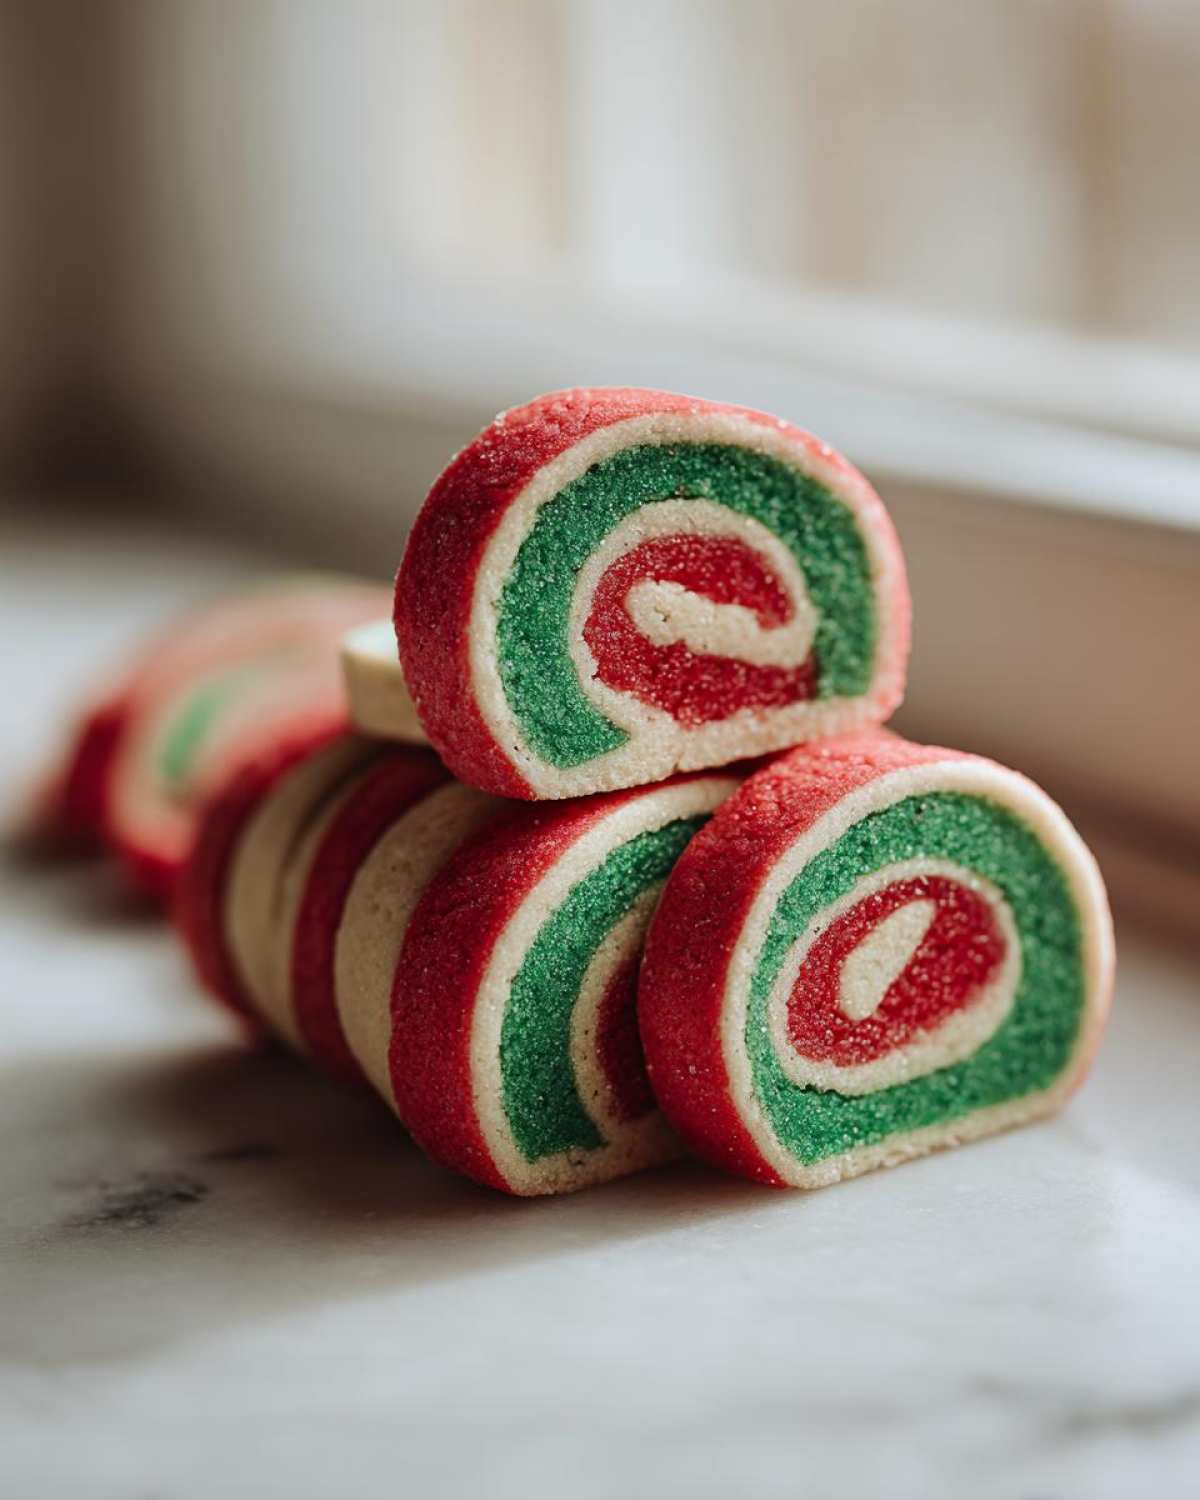
These perfectly buttery swirl cookies are fantastic on their own, but they really shine when you pair them up with the right drink while watching classic holiday movies. Honestly, nothing beats just dunking one into a tall glass of cold milk—it’s instantly nostalgic!
If you’re setting up a dessert table or heading to a cookie exchange, consider serving them alongside something savory or salty to cut through all that sweet butteriness. A little bowl of spiced nuts or maybe some savory garlic bites on the side gives people something different to munch on. For beverages, hot cocoa is a must, but they are also perfectly delightful with a warm mug of spiced apple cider. They look so festive on a platter; you won’t even need much extra decor!
Storage and Making Ahead Pinwheel Cookies
The absolute best part about this pinwheel cookies recipe is that it’s designed for busy people! If you want to get ahead of the holiday baking rush, you are in luck. Baked cookies are super stable. Keep them in an airtight container at room temperature, and they are delicious for a good week. Just put a slice of sandwich bread in there with them; it keeps them soft, which is a trick I learned from my grandmother for all her shortbreads!
But for true make-ahead power, freeze the dough log! After you finish rolling it up tight in plastic wrap (that’s the step right before the final chill), just pop it into the freezer. It keeps perfectly for up to three months. When you’re ready to bake a batch, you don’t even need to thaw it all the way. We love being prepared, and you can find more great tips in my guide on how to prepare cookies ahead of time. Just slice the firm log about 1/4 inch thick and add a minute or two to the baking time. Instant fresh cookies!
Frequently Asked Questions About Pinwheel Cookies
Why aren’t my swirls distinct when I slice them?
This is almost always down to chilling time, honey! If the dough isn’t perfectly firm when you try to slice it, the two colors will naturally squish together instead of staying separate layers. You really need that second chill—the one after you form the log—to be at least an hour, maybe longer if your kitchen is warm. You want the log nearly hard before you start slicing those rounds for your easy rolled cookies.
Can I use regular liquid food coloring instead of gel?
You technically *can*, but please, don’t! My experience shows that liquid coloring adds too much moisture to the dough. We need a stiff, non-sticky dough for rolling and swirling. If you add liquid dye, you risk making the dough sticky, forcing you to pile on extra flour, which ruins that incredible buttery texture we worked so hard for in the base recipe. Gel coloring packs the color in without the water content. It’s worth the extra trip to the craft store for the good stuff!
What is the absolute best thickness for slicing the dough log?
I recommend aiming right near 1/4 inch thick. Any thicker, and you get massive, puffy cookies that might not fully bake through the center before the edges burn. Any thinner, and you get these delicate, almost crisp little things that break apart too easily. A 1/4-inch slice keeps that perfect balance of buttery softness and that beautiful, tight spiral pattern on the face of the cookie. A sharp, thin knife makes this slicing step so much easier!
Can I make these cookies without almond extract?
Oh, absolutely! I know some people just don’t love that slight almond note, and that’s fine. The almond extract just helps deepen the vanilla flavor, making it taste a little more complex—like traditional vintage pinwheel cookies. If you skip it, just bump up your vanilla extract from 1 teaspoon to 1 1/2 teaspoons total. You’ll still have incredibly delicious, buttery swirl cookies!
Estimated Nutritional Breakdown
Now, look, I’m a home baker, not a certified nutritionist, so please take these numbers with a grain (or maybe a teaspoon!) of salt. These figures are estimates based on generic product data, and your final count is going to change based on the exact brands of butter and sugar you use. But this way you can at least get a ballpark idea of what you’re serving up at the party!
For one of these beautiful pinwheel cookies:
- Serving Size: 1 cookie
- Calories: Roughly 120
- Sugar: About 12 grams
- Fat: Around 7 grams (most of that is the delicious butter!)
- Carbohydrates: About 14 grams
- Protein: Only 1 gram
- Cholesterol: About 25 mg
Since these are slice and bake cookies, you get to control the thickness, which is why the actual serving size can fluctuate! Use a ruler when you slice the log to keep things consistent for everyone, especially if you’re bringing these to a cookie exchange!
Print
Classic Red and Green Pinwheel Cookies
- Total Time: 150 min
- Yield: 3 dozen
- Diet: Vegetarian
Description
A simple slice-and-bake recipe for festive, buttery sugar cookies with red and green swirls, perfect for holiday baking.
Ingredients
- 2 1/4 cups all-purpose flour
- 1 teaspoon baking soda
- 1/2 teaspoon salt
- 1 cup unsalted butter, softened
- 1 1/2 cups granulated sugar
- 1 large egg
- 1 teaspoon vanilla extract
- 1/2 teaspoon almond extract
- Red food coloring (gel preferred)
- Green food coloring (gel preferred)
Instructions
- Whisk together the flour, baking soda, and salt in a medium bowl. Set aside.
- In a large bowl, beat the softened butter and sugar with an electric mixer until light and fluffy.
- Beat in the egg, vanilla extract, and almond extract until combined.
- Gradually add the dry ingredients to the wet ingredients, mixing on low speed until just combined.
- Divide the dough evenly into two separate bowls.
- Add red food coloring to one bowl and green food coloring to the other. Mix each bowl until the color is uniform.
- Wrap each colored dough ball separately in plastic wrap and chill in the refrigerator for at least 1 hour.
- On a lightly floured surface, roll out the red dough into a rectangle approximately 1/4 inch thick. Repeat with the green dough.
- Carefully place the red dough rectangle directly on top of the green dough rectangle, aligning the edges. Gently press them together.
- Starting from one long edge, tightly roll the layered dough into a log. Wrap the log tightly in plastic wrap.
- Chill the dough log for another 1 to 2 hours, or until firm enough to slice easily.
- Preheat your oven to 375 degrees F (190 degrees C). Line baking sheets with parchment paper.
- Slice the chilled log into rounds about 1/4 inch thick.
- Place the slices about 2 inches apart on the prepared baking sheets.
- Bake for 8 to 10 minutes, or until the edges are lightly set. Do not overbake.
- Let the cookies cool on the baking sheet for 5 minutes before transferring them to a wire rack to cool completely.
Notes
- Use gel food coloring for the most intense, vibrant colors without adding excess liquid to the dough.
- For sharper swirls, chill the dough logs longer until they are very firm before slicing.
- You can substitute the almond extract with more vanilla extract if desired.
- These cookies freeze well before slicing; wrap the log tightly and freeze for up to three months.
- Prep Time: 30 min
- Cook Time: 10 min
- Category: Dessert
- Method: Baking
- Cuisine: American
Nutrition
- Serving Size: 1 cookie
- Calories: 120
- Sugar: 12
- Sodium: 55
- Fat: 7
- Saturated Fat: 4
- Unsaturated Fat: 3
- Trans Fat: 0
- Carbohydrates: 14
- Fiber: 0
- Protein: 1
- Cholesterol: 25



Comments are closed.