
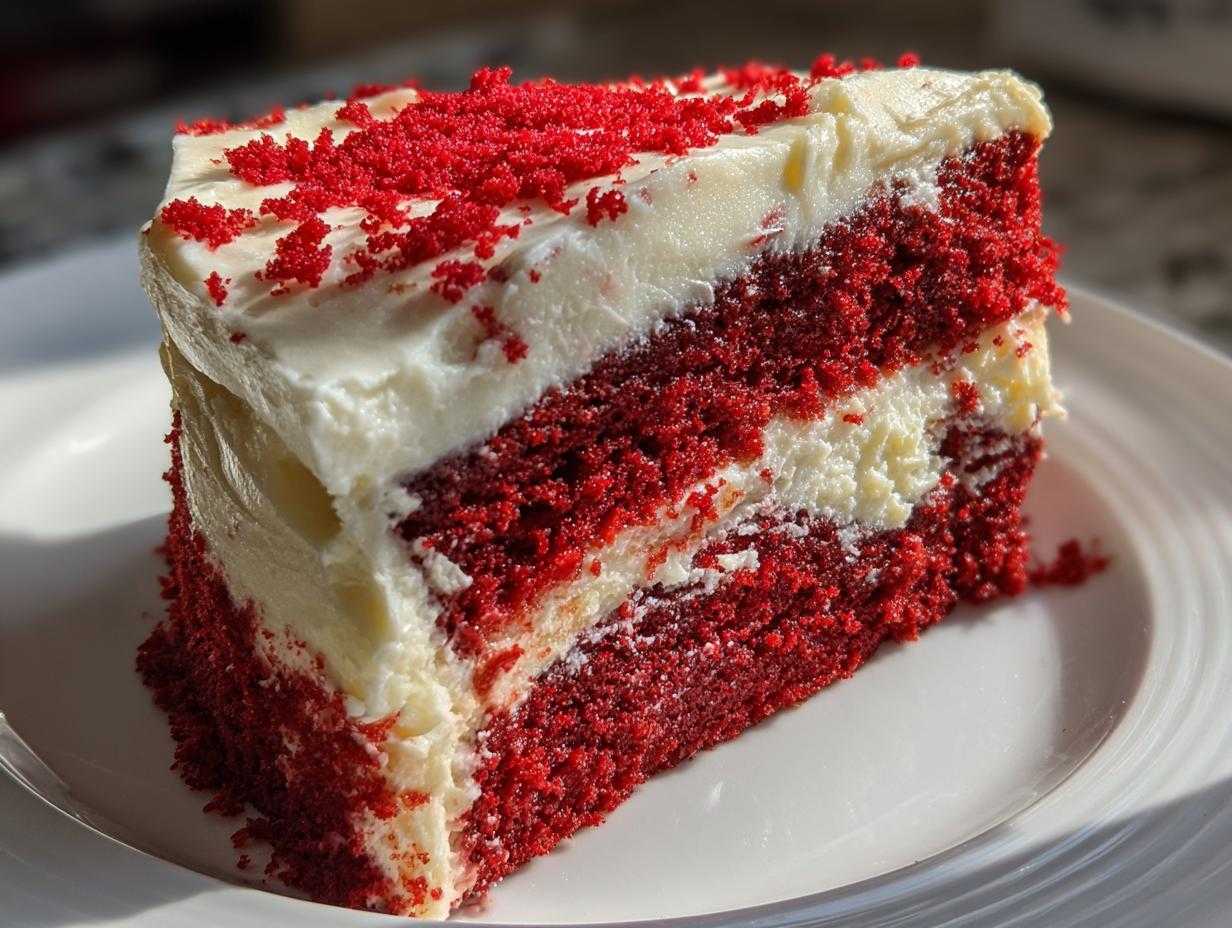
Sometimes you just need a dessert that screams ‘special occasion’ but doesn’t require you spending all day in the kitchen, right? Tell me I’m not the only one! That’s why I’m obsessed—truly obsessed—with this **Easy, Ultra-Moist Red Velvet Poke Cake with Cream Cheese Frosting and Sweetened Condensed Milk Filling**. It looks like you slaved away for hours, but honestly? It’s one of the simplest party cakes you’ll ever whip up. I swear, my sister asked for this specific **red velvet poke cake** recipe after I brought it to a Christmas party last year, and she thought it was some fancy bakery creation! The texture is just unbelievable because of that sweet soak we pour right into it. Trust me, this is going into your permanent rotation. For more amazing red velvet inspiration, check out how I make an amazing scratch version over at this red velvet cake recipe!
Why This red velvet poke cake Recipe is Your New Go-To Simple Dessert Ideas
When time is short but flavor needs to be huge, this is the recipe I run to. It’s the ultimate **No Fuss Dessert** because we skip all the complicated layers but keep all the decadent textures.
- It’s incredibly moist; seriously, you might not believe how wet this cake gets!
- It fits perfectly as a **Simple Dessert Ideas** list-topper for any last-minute party.
- You get the rich, **velvety cake** flavor without making everything from scratch.
If you want to see how amazing the frosting component is on its own, check out my guide to the best cream cheese frosting recipe!

The Secret to an Ultra-Moist red velvet poke cake
The magic here is truly in the poking! When you pour that sweet condensed milk mixture over the warm cake, it seeps down deep, guaranteeing moisture in every single bite. Using a store-bought **Cake Mix Poke Cake** base just means we save time getting to that essential soaking step faster. Zero dry spots, guaranteed!
Gather Your Ingredients for the red velvet poke cake
Okay, don’t panic when you see the list—it looks long, but honestly, most of it is just the base ingredients from the box and the simple things for our layers! We’re grouping them so you can just set everything out in stations. It makes assembly so much smoother. Getting your ingredients ready, or mise en place, is half the battle won, especially when we’re layering this **red velvet poke cake**!
I’ve had readers ask if they can use different brands, and while I stick to the recipe, I truly believe using full-fat cream cheese and real butter for that topping makes all the difference in flavor. If you’re looking for another amazing dessert idea to pair with this, maybe try sneaking in some of my rich sweet potato brownies as a backup!
Ingredients for the Velvety Cake Base
This is the part that’s cheating, in the best way possible. We are starting with a mix, folks!
- 1 box (15.25 oz) red velvet cake mix
- Ingredients listed on cake mix box (this usually means eggs, oil, and water—check your box!)
Ingredients for the Sweetened Condensed Milk Cake Filling
This soak is what makes it gorgeously moist, and the pudding layer adds that delicious, light body. Don’t skip the hot water; it helps everything combine perfectly.
- 1 (14 oz) can sweetened condensed milk
- 1/2 cup hot water
- 1 teaspoon vanilla extract
- 1 package (3.4 oz) instant vanilla or white chocolate pudding mix
- 1 cup cold milk (for pudding)
- 1 container (8 oz) frozen whipped topping, thawed
Ingredients for the Cream Cheese Frosting Cake Topping
This is the classic, tangy crown for our **Moist Red Velvet Dessert**. Make sure your cream cheese and butter are truly soft—I leave mine out for hours sometimes!
- 8 oz cream cheese, softened
- 1/2 cup (1 stick) unsalted butter, softened
- 3 cups powdered sugar
- 1 teaspoon vanilla extract
How to Prepare Your Easy red velvet poke cake Instructions
Okay, let’s make some magic happen! You’ll be shocked how fast this comes together, especially since we’re using that boxed mix to get us started on our **Holiday Poke Cake**. The secret to an ultra-moist cake is making sure you do the soaking step while the cake is still warm. Timing is everything here, honey! If you want to see another fantastic holiday version, check out my guide for a Christmas Poke Cake recipe!
Baking the Cake and Creating the Initial Soak
First things first, bake that red velvet cake according to the package instructions for your 9×13 pan. You want it done perfectly—the toothpick test is your friend here. Once it comes out, let it cool on the counter for just about 15 minutes; we want it warm, not piping hot! While it’s resting, whisk together your sweetened condensed milk, hot water, and vanilla extract until they look like one happy mixture. Now, grab a wooden spoon handle—or a large fork if you have thicker prongs—and start poking holes all over that cake! Space them about an inch apart. Pour that sweet **Sweetened Condensed Milk Cake Filling** slowly and evenly over the top. Watch it disappear! Let that truly soak in for about an hour while you prep the next layer.
Adding the Pudding Layer for a Moist Red Velvet Dessert
This step adds such a lovely texture contrast to our **Moist Red Velvet Dessert**. Once the cake is totally cooled down—make sure it is, or your whipped topping will melt!—it’s time for the pudding. Whisk up that instant pudding mix with the cold milk until it gets thick, which happens super fast. Then, gently fold in your thawed whipped topping. Don’t overmix it; we want a light, airy texture in that middle layer. Spread this whole dreamy mixture evenly over the cake base. Pop it in the fridge for at least 30 minutes to set up nicely before we frost it.
Making and Applying the Cream Cheese Frosting Cake Topping
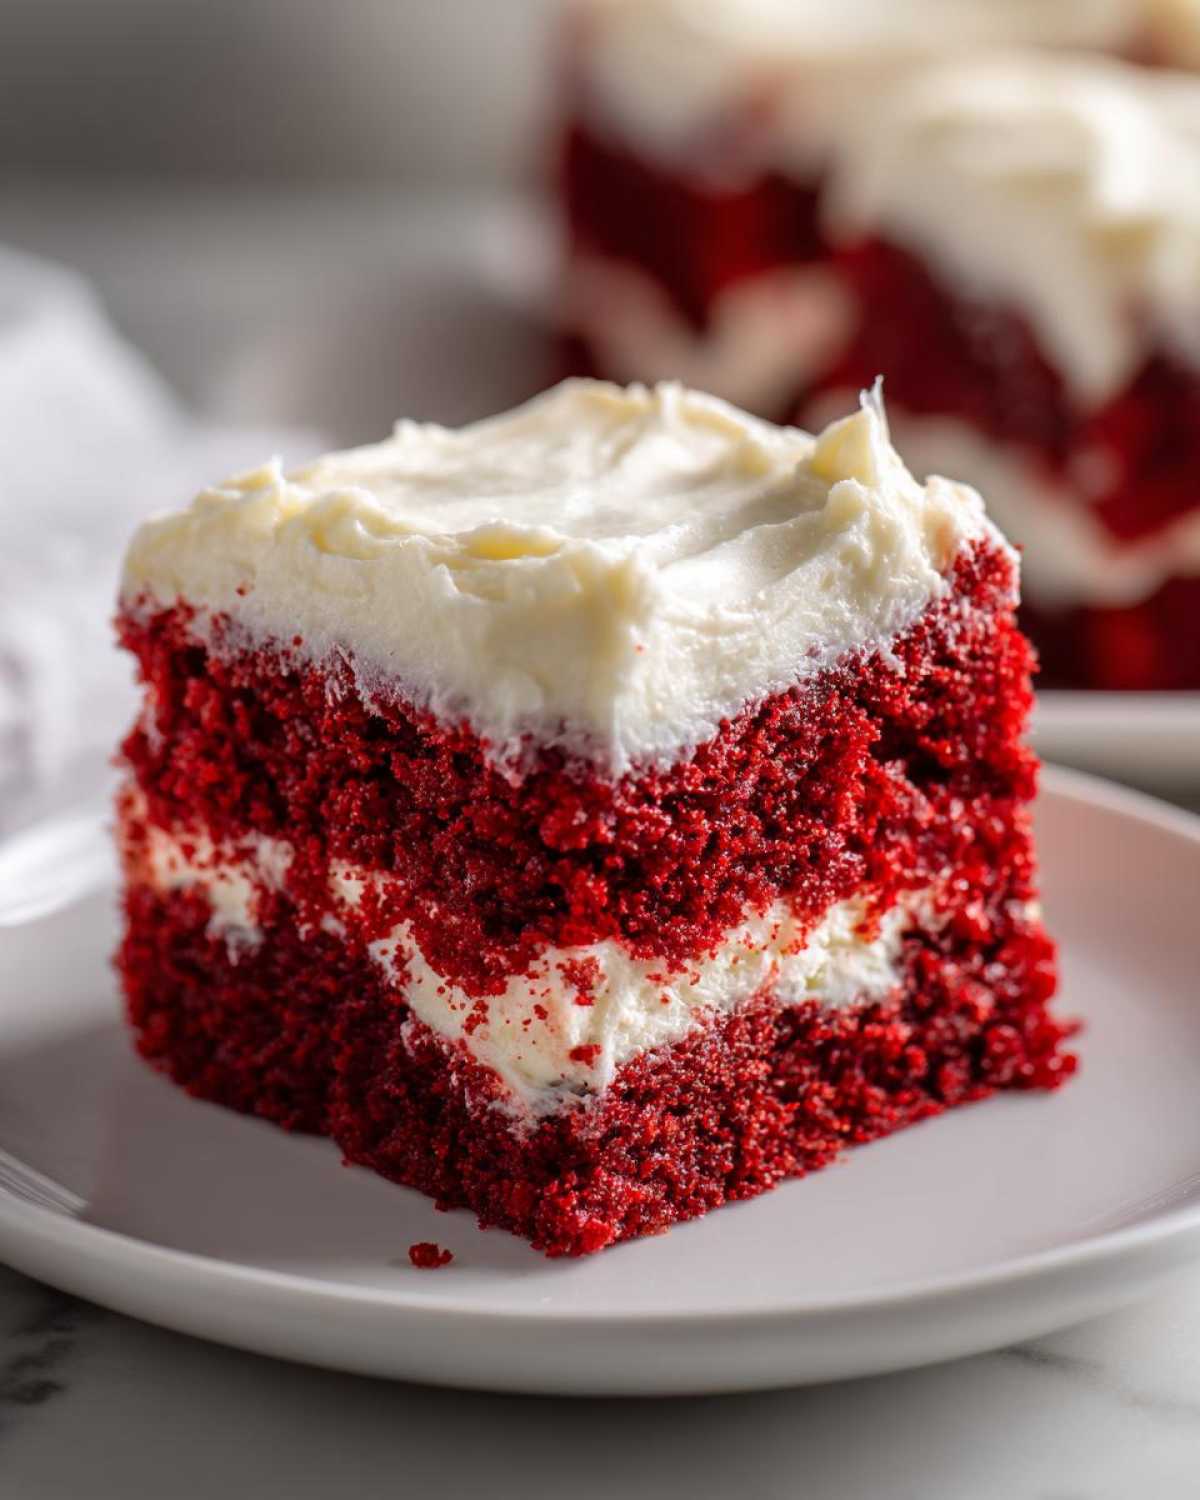
This is my favorite part! Remember: your cream cheese and butter must be soft! Beat them together until they are completely smooth—no lumps allowed, please! Then, gradually add in that powdered sugar, beating slowly at first so you don’t look like a snow globe exploded in your kitchen. Once it’s mixed, beat it a little faster until it’s light and fluffy. Spread that gorgeous classic **Cream Cheese Frosting Cake** topping over the chilled pudding layer. Now, the final, crucial step for a perfect **Valentine’s Day Cake** slice: chill it again for at least one hour. That prevents tearing when you slice into it!
Tips for Success Making the Best red velvet poke cake
Even though this recipe uses a mix and feels super simple, the details are what make it truly spectacular. We want this to be the most perfect **Moist Red Velvet Dessert** you’ve ever made. It’s all about checking temperatures and making sure nobody gets a sad, un-soaked bite!
If you’re looking for dry baking tips that work for all cakes, like how to keep muffins fluffy, I’ve got some great advice over here about best moist and fluffy blueberry muffins recipe. But for this poke cake, here are the superstar tips for success:
Ingredient Notes and Substitutions
Remember those notes I mentioned? They are game-changers. If you want to elevate this from good to unforgettable, pay attention to these small swaps.
- Pudding Power-Up: For the pudding layer, if you swap the cold milk for cold heavy cream, it makes that middle layer incredibly rich. It tastes amazing against the tang of the final frosting!
- Frosting Fix: If you taste your frosting and it seems too sweet (hey, it happens!), a tiny squeeze of lemon juice or a little extra cream cheese can cut that sweetness perfectly without changing the texture too much.
- No Lumpy Butter: I cannot stress enough: softened butter and cream cheese for the frosting. If they are cold, you’ll end up with little hard bits of dairy in your gorgeous topping. Let them sit!
The goal here is maximizing texture and flavor without adding hours of work. This **Easy Poke Cake** is meant to simplify your life, not complicate it!
Serving Suggestions for Your Holiday Poke Cake
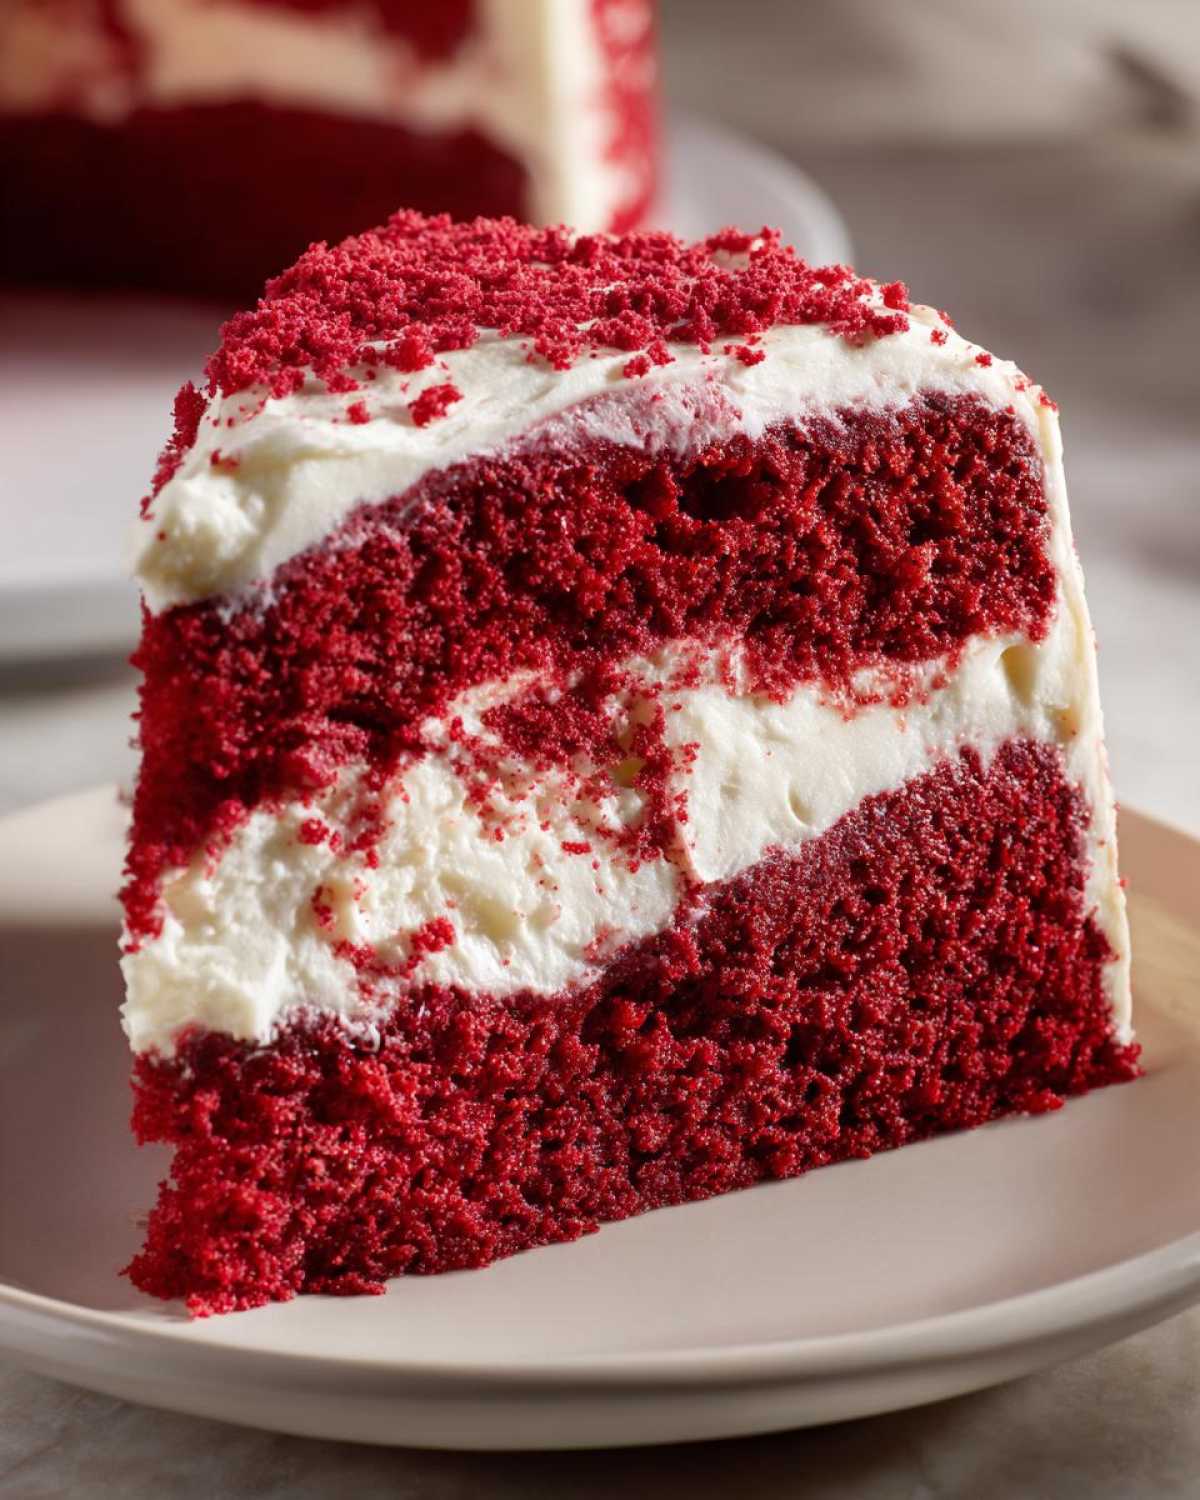
Because this **red velvet poke cake** is so rich—we’ve got condensed milk, pudding, AND frosting here, after all—I usually like to serve it with something light on the side. It’s the perfect centerpiece for any **Valentine’s Day Cake** spread, but it still feels cozy enough for **Christmas Red Velvet** gatherings. A simple side of fresh raspberries or strawberries cuts through the richness beautifully. If you’re putting together a whole holiday spread, why not check out my recipe for Christmas tree spinach dip with breadsticks? It’s a great savory balance to this wonderfully sweet **Party Cakes** recipe!
Storage and Reheating Instructions for red velvet poke cake
Now, this is important because we have a lot of creamy, dreamy stuff going on here—the condensed milk soak, the pudding layer, and that beautiful cream cheese topping?
That means this cake absolutely demands refrigeration. Don’t leave this beauty sitting out on the counter, no matter how tempting that slice looks! Because we used whipped topping and cream cheese, we have to treat it like a dairy situation to keep it fresh and safe.
Here’s my standard procedure for keeping this **red velvet poke cake** delicious for days. I find that the flavor actually deepens overnight, which is just perfect for plan-ahead bakers!
- Covering is Key: Once the cake is fully chilled (after that final hour in the fridge), cover the pan tightly. You can use plastic wrap, but be careful not to let it touch the frosting—if it touches, it sticks and tears up your hard work! A loose tent of foil or, even better, plastic wrap gently laid over the very top edge of the pan works well to keep it protected.
- How Long It Lasts: Stored correctly in the fridge, this cake is delicious for about 3 to 4 days. Honestly, ours rarely makes it past day two because everyone keeps sneaking slices!
- Thawing or Serving: There’s no reheating for a poke cake! Seriously, don’t even try. The whole point is that cold, refreshing texture contrast between the moist cake and the cool, tangy frosting. If you are serving it straight from the fridge, take it out about 15 minutes ahead of time. This lets the cream cheese frosting soften just a tiny bit so it’s easier to cut those beautiful slices.
Keeping this layered beauty cold ensures every slice stays perfectly structured and delightfully refreshing!
Frequently Asked Questions About This red velvet poke cake Recipe
I totally get it; when you find a **Quick Baked Desserts** recipe that looks this good, you have questions before you pull out the stand mixer! I’ve gathered the questions I get most often about making sure this **red velvet poke cake** turns out absolutely perfect for your family gatherings.
If you’ve mastered this one and want another classic to add to your repertoire, my moist carrot cake recipe is always requested around here!
Can I make this red velvet poke cake ahead of time?
Yes, and this is great news for anyone planning **Party Cakes**! You can absolutely make the cake base, poke it, and pour that sweet **Sweetened Condensed Milk Cake Filling** over it the day before you plan to serve it. Let it chill overnight after the filling soaks in. What I highly recommend you *don’t* do until just a few hours before serving is frost it. The cream cheese frosting is best when it’s fresh, and sometimes the moisture transfer overnight can make it look a little less pristine when it comes out—and heaven forbid we mess up that beautiful top layer!
What is the best way to get clean slices of this Cream Cheese Frosting Cake?
This is a game-changer for looking professional! Because this is such a moist dessert, the frosting and layers like to stick to your knife. First, make sure the cake is thoroughly chilled—seriously, the colder the better. Then, grab a long, sharp knife and dip it into a tall glass of very hot water. Wipe the knife dry quickly with a paper towel, and then make your cut. Wipe the knife clean and repeat the hot water dip *before* every single slice. It melts through the frosting and the moist cake layers like butter. You’ll get those picture-perfect slices for your **Family Favorite Cake**!
Estimated Nutritional Data for this red velvet poke cake
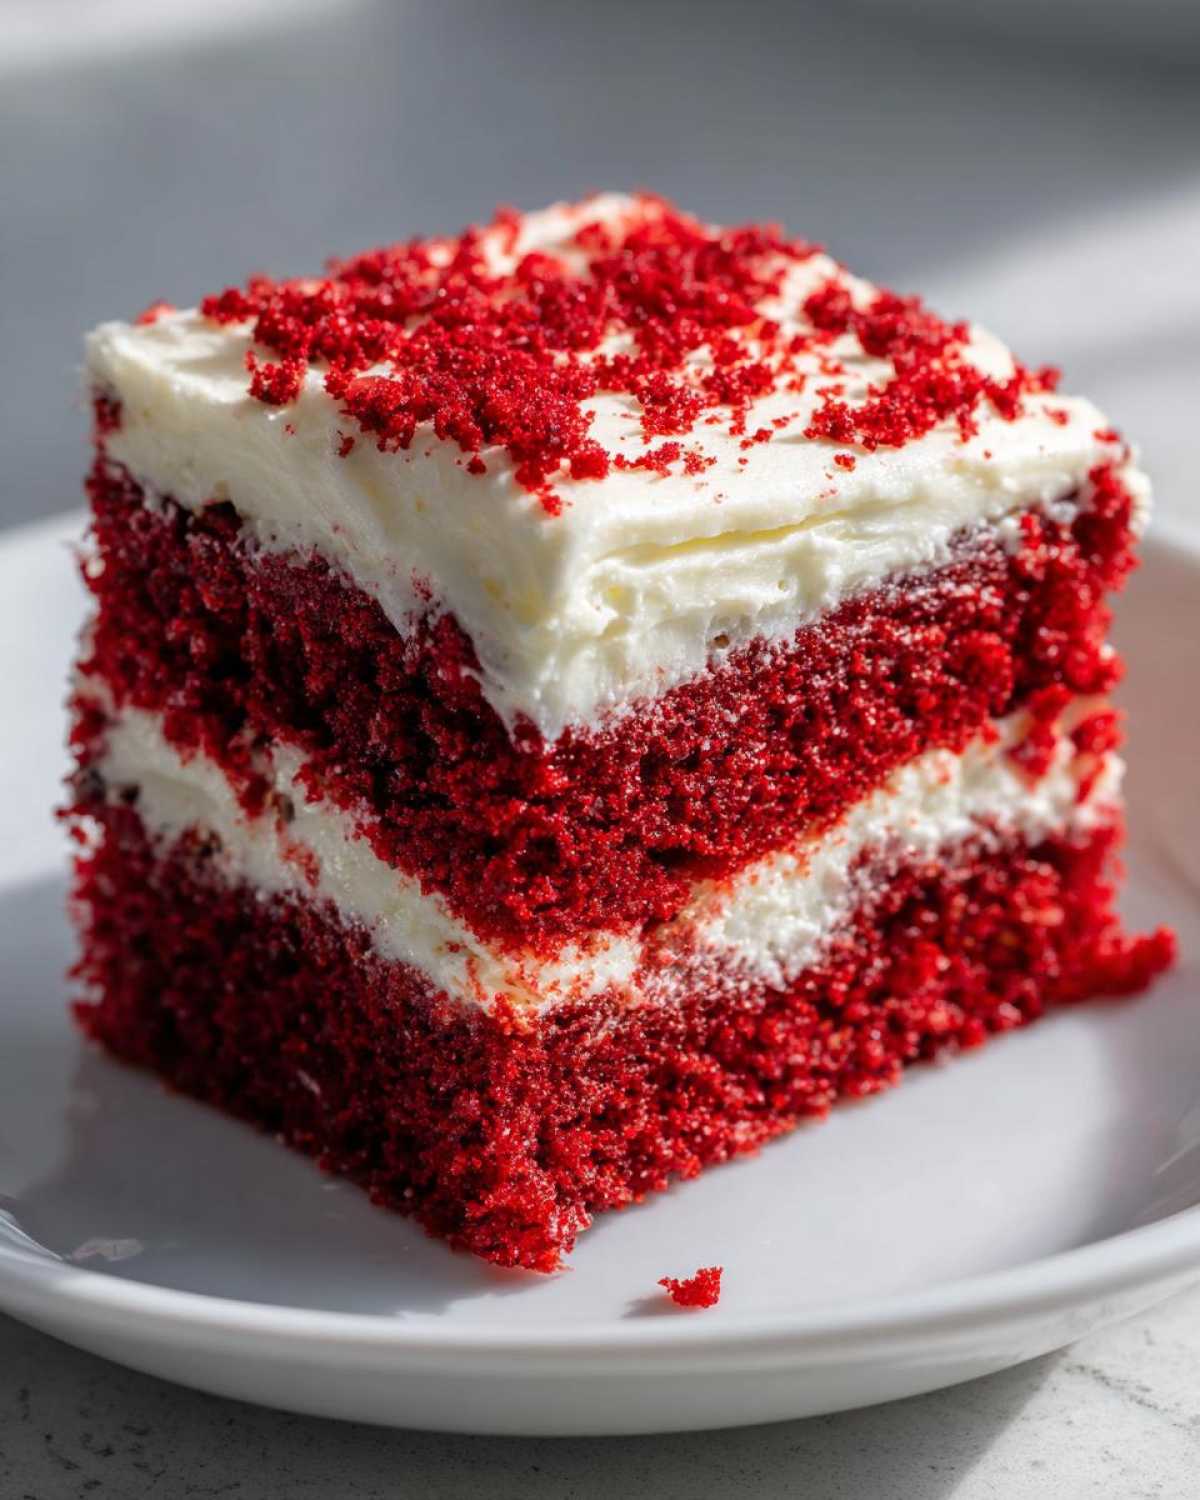
I always look at the nutrition facts just to make sure I know what I’m dealing with, but let’s be real—this is a treat, not an everyday lunch! It’s important to remember that because we are using a cake mix and making everything from scratch, these numbers are just an estimate. Your brand of cake mix or the specific amount of frosting you pile on can definitely change things up!
Think of this as the snapshot for one generous slice of our **Moist Red Velvet Dessert**:
- Serving Size: 1 slice
- Calories: 450
- Sugar: 65g (Yes, it’s sweet, but that’s the joy of it!)
- Sodium: 350mg
- Fat: 20g
- Saturated Fat: 10g
- Trans Fat: 0.5g
- Carbohydrates: 68g
- Fiber: 1g
- Protein: 5g
- Cholesterol: 45mg
It’s a rich one, so enjoy that slice slowly! If you’re looking for something a bit lighter after all that sweetness, maybe check out how I lighten up my moist vanilla cupcakes recipe next time, though nothing beats this **red velvet poke cake**!
Share Your Velvety Cake Creations
Now that you’ve got the roadmap to the most unbelievably moist **red velvet poke cake** known to humankind, I absolutely need to know how it turned out! Baking isn’t just about following steps; it’s about making it your own special treat. Did you go wild dusting the top with extra red velvet crumbs, or did you manage to keep yours perfectly still in the fridge?
Don’t be shy! Leave a comment down below and tell me all about your experience!
- Did you use this for a big party?
- Did the **Sweetened Condensed Milk Cake Filling** soak in perfectly?
- Tell me your best slice-cutting secret!
If you snap a picture that shows off that gorgeous **Cream Cheese Frosting Cake** layer, please tag me on social media!
It honestly makes my whole week seeing your results. If you loved how quick and easy this was, you should absolutely dive into another simple recipe, like my guide for perfect moist vanilla cupcakes. Happy baking, friends!
Print
Easy, Ultra-Moist Red Velvet Poke Cake with Cream Cheese Frosting
- Total Time: 95 min
- Yield: 12 servings
- Diet: Vegetarian
Description
Make this simple, rich Red Velvet Poke Cake using cake mix. It features a moist texture from a sweetened condensed milk filling and is topped with classic cream cheese frosting.
Ingredients
- 1 box (15.25 oz) red velvet cake mix
- Ingredients listed on cake mix box (usually eggs, oil, water)
- 1 (14 oz) can sweetened condensed milk
- 1/2 cup hot water
- 1 teaspoon vanilla extract
- 1 package (3.4 oz) instant vanilla or white chocolate pudding mix
- 1 cup cold milk (for pudding)
- 1 container (8 oz) frozen whipped topping, thawed
- 8 oz cream cheese, softened
- 1/2 cup (1 stick) unsalted butter, softened
- 3 cups powdered sugar
- 1 teaspoon vanilla extract
Instructions
- Prepare the red velvet cake according to the package directions, using a 9×13 inch baking pan. Bake until a toothpick inserted in the center comes out clean. Let the cake cool in the pan for 15 minutes.
- While the cake is cooling slightly, prepare the filling. In a small bowl, whisk together the sweetened condensed milk, hot water, and vanilla extract until combined.
- Use the handle of a wooden spoon or a large fork to poke holes all over the warm cake, spacing them about 1 inch apart. Pour the condensed milk mixture evenly over the entire surface of the cake, allowing it to soak into the holes. Let the cake cool completely, about 1 hour.
- Prepare the pudding. Whisk the instant pudding mix and 1 cup of cold milk together until thickened, about 2 minutes. Gently fold the thawed whipped topping into the prepared pudding until just combined. Spread this mixture evenly over the cooled cake. Refrigerate for at least 30 minutes.
- Prepare the cream cheese frosting. In a large bowl, beat the softened cream cheese and softened butter together until smooth. Gradually add the powdered sugar, beating until fully incorporated. Mix in the vanilla extract until the frosting is light and fluffy.
- Spread the cream cheese frosting over the pudding layer. Chill the cake for at least 1 hour before slicing and serving.
Notes
- For a richer flavor, you can use heavy cream instead of cold milk when preparing the pudding.
- If you prefer a thicker frosting, add an extra half cup of powdered sugar to the recipe.
- You can decorate the top with red velvet cake crumbs or small chocolate shavings before serving.
- Prep Time: 20 min
- Cook Time: 35 min
- Category: Dessert
- Method: Baking
- Cuisine: American
Nutrition
- Serving Size: 1 slice
- Calories: 450
- Sugar: 65
- Sodium: 350
- Fat: 20
- Saturated Fat: 10
- Unsaturated Fat: 10
- Trans Fat: 0.5
- Carbohydrates: 68
- Fiber: 1
- Protein: 5
- Cholesterol: 45


Comments are closed.