
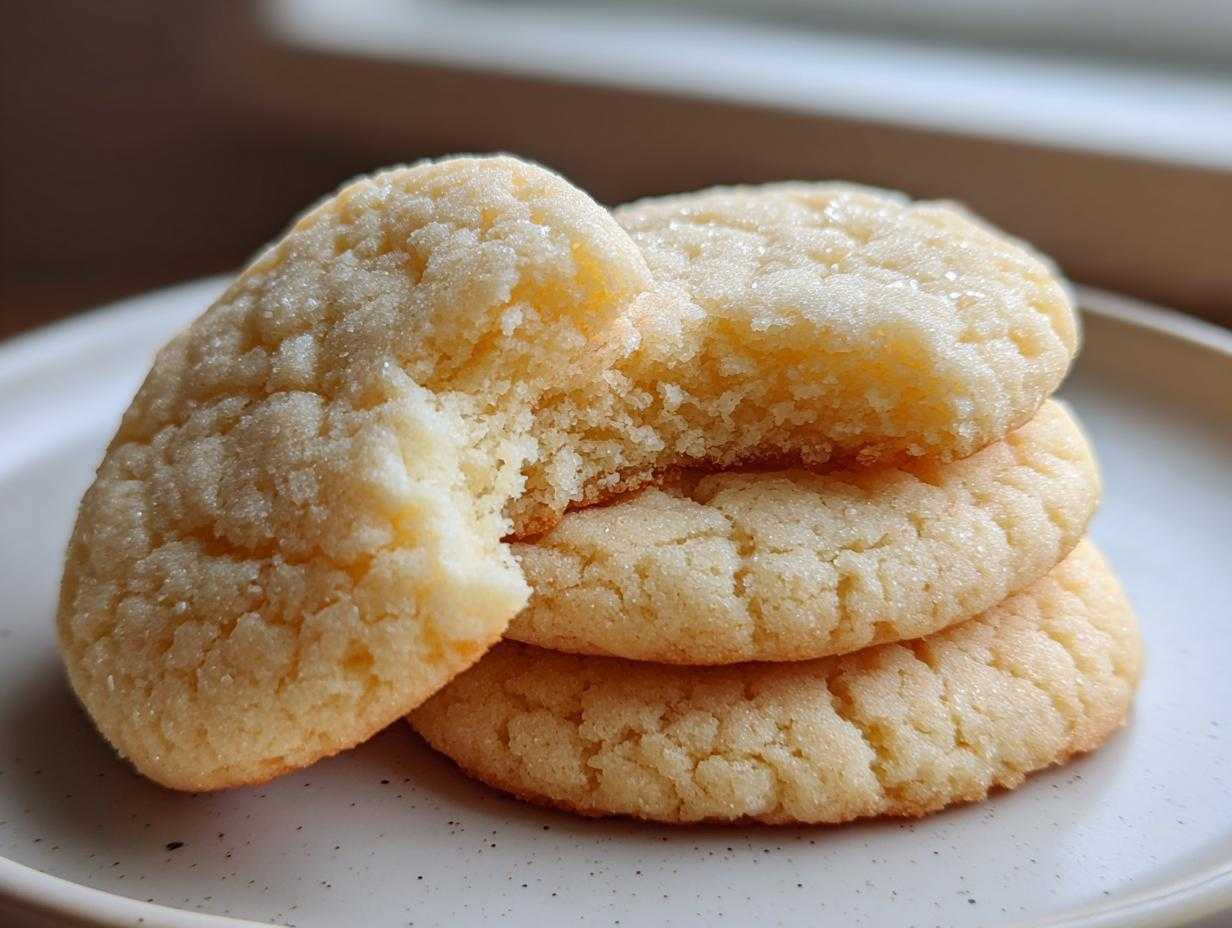
Oh, I know the feeling! You spend all that time rolling out the dough, cutting out perfect stars and gingerbread men, and what happens? They bake up like little ginger-flavored crackers. Hard as a rock! That’s why I am obsessed with nailing the truly soft sugar cookies that *actually* hold their shape. It felt like a myth for years, right? Every recipe either resulted in floppy, spreading puddles or perfectly shaped hockey pucks.
But trust me, after one too many holiday disappointments, I finally cracked the code for what I genuinely believe is the ultimate version. These aren’t just soft; they’re chewy, they melt in your mouth, yet they’re sturdy enough for a little festive drizzle. It took tweaking the fat ratio and getting the chilling time just right, but welcome to the best sugar cookies recipe you’ll ever need!
Why These Are the Ultimate Soft Sugar Cookies Recipe
The secret to success here isn’t just in the ingredients—it’s figuring out how to get that pillowy, tender center without the cookie creeping across the pan like an escaped balloon! Most recipes force you to choose one or the other, but we don’t compromise in this kitchen. We want them thick and soft but still pretty enough to deliver to the neighbors. Speaking of pretty, once you master these, don’t forget to check out my recipe for the best cream cheese frosting to top them off!
- They bake up beautifully thick, avoiding that flat, crispy edge many cut-out recipes suffer from.
- The texture is genuinely buttery and crumbly, almost like shortbread, but it stays pliable for days.
- They’re sturdy enough to handle a simple icing layer, especially if you need something to decorate for the holidays.
Achieving That Melt in Your Mouth Texture
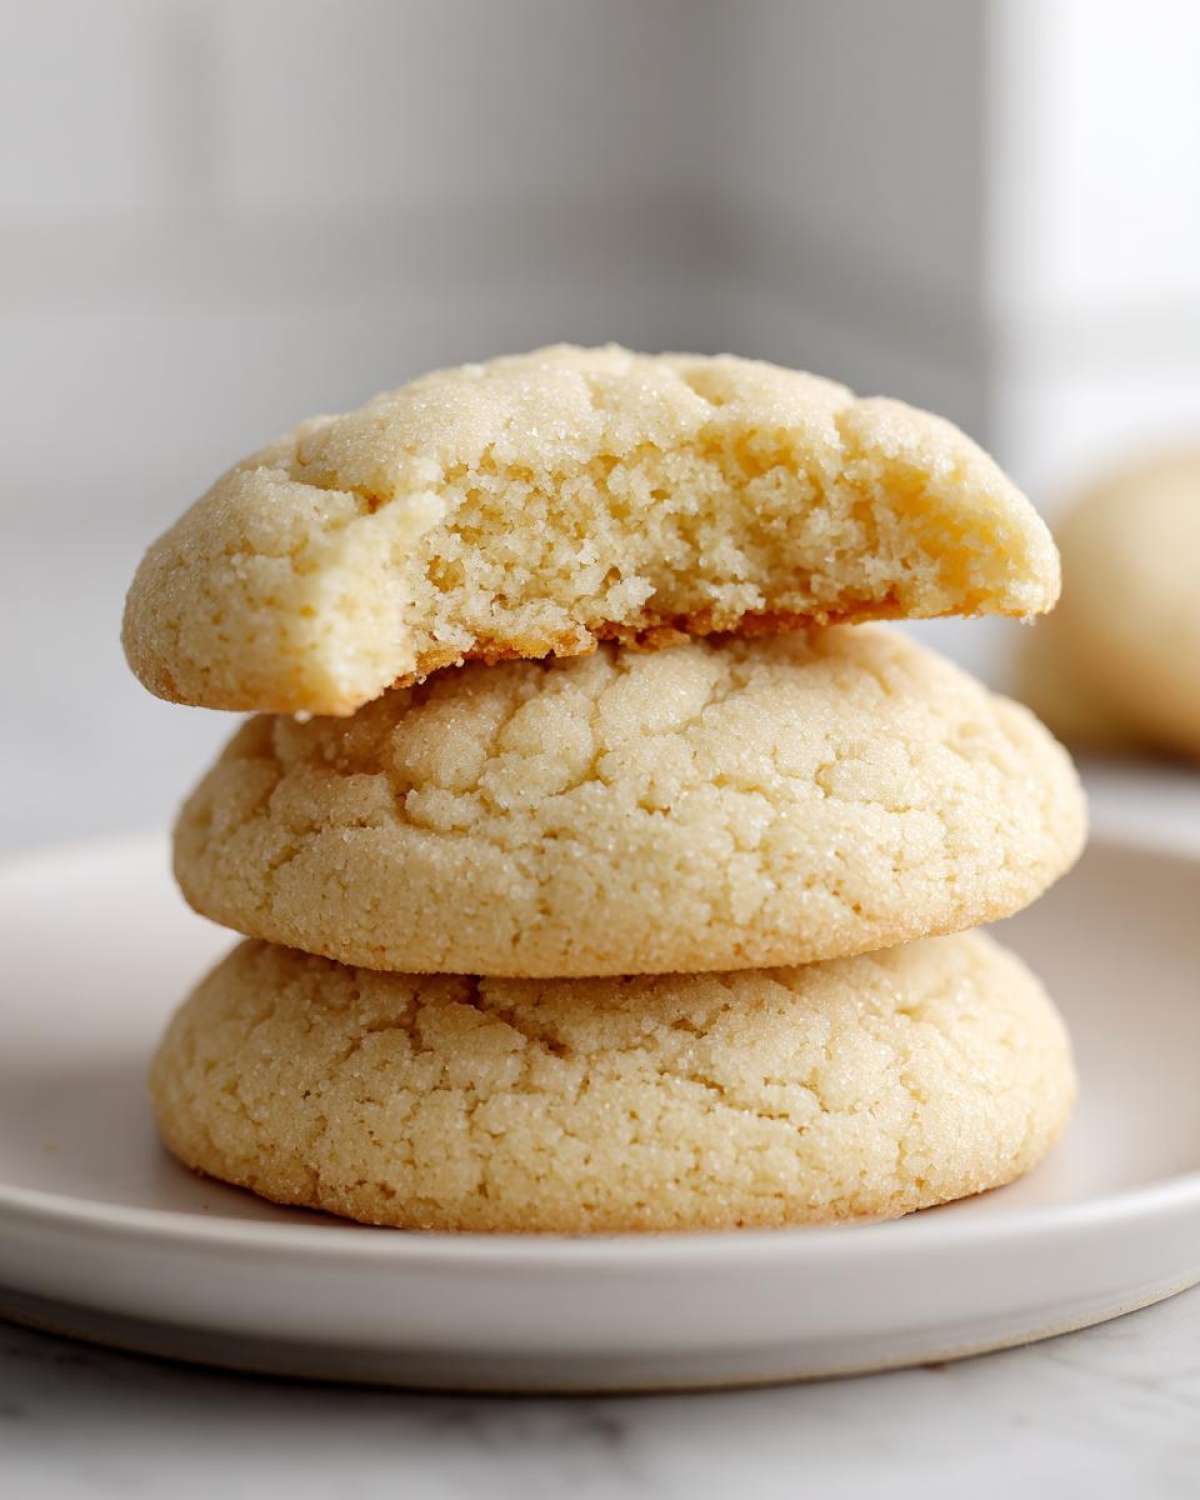
It all comes down to the creaming process. You need enough air incorporated when you beat the butter and sugar, but you absolutely cannot go too far! If you over-cream, you’re actually making them lighter and more cake-like, which means less chew. We want that perfect pale yellow fluff that signals the fat has just enough trapped air to create that incredible mouthfeel.
Tips for Cut Out Sugar Cookies Soft Results
Even when we prioritize softness, we need structure, right? That’s why chilling the dough is non-negotiable in this specific soft sugar cookies recipe. When the dough is cold, it relaxes, and the fat firms up. This keeps the edges sharp when they hit the hot oven. Also, make sure you roll them out slightly thicker—aim for a full quarter-inch. That extra dough depth is what keeps the middle perfectly soft while the outside sets.
Ingredients for the Best Sugar Cookies Recipe
I always lay my ingredients out first because preparation is key to getting that melt-in-your-mouth consistency. If everything is ready to go, you’re less likely to mess up the timing, especially when mixing the wet ingredients. We are using standard pantry items, but the temperature of those items makes a huge difference for these soft sugar cookies! Don’t just grab butter straight from the fridge; it needs time to soften up properly.
Ingredient Notes and Substitutions for Soft Sugar Cookies
For the very best results in these soft sugar cookies, let the egg sit out with the butter so it comes to room temperature. That helps everything emulsify nicely when mixing.
You’ll notice I called for almond extract alongside the vanilla. Seriously, don’t skip that almond if you can help it! It’s optional, yes, but it adds such a subtle depth that makes people wonder what your secret flavor is. It keeps the flavor profile big even though we aren’t adding any heavy spices. It just elevates that buttery vanilla base so nicely.
- Butter must be genuinely softened—you should be able to press a finger into it easily without it getting oily.
- If you have time, use high-quality vanilla; it pays off!
- Oven temperature is critical, so make sure your oven thermometer is accurate before you start baking.
How to Prepare the Ultimate Soft & Chewy Sugar Cookies
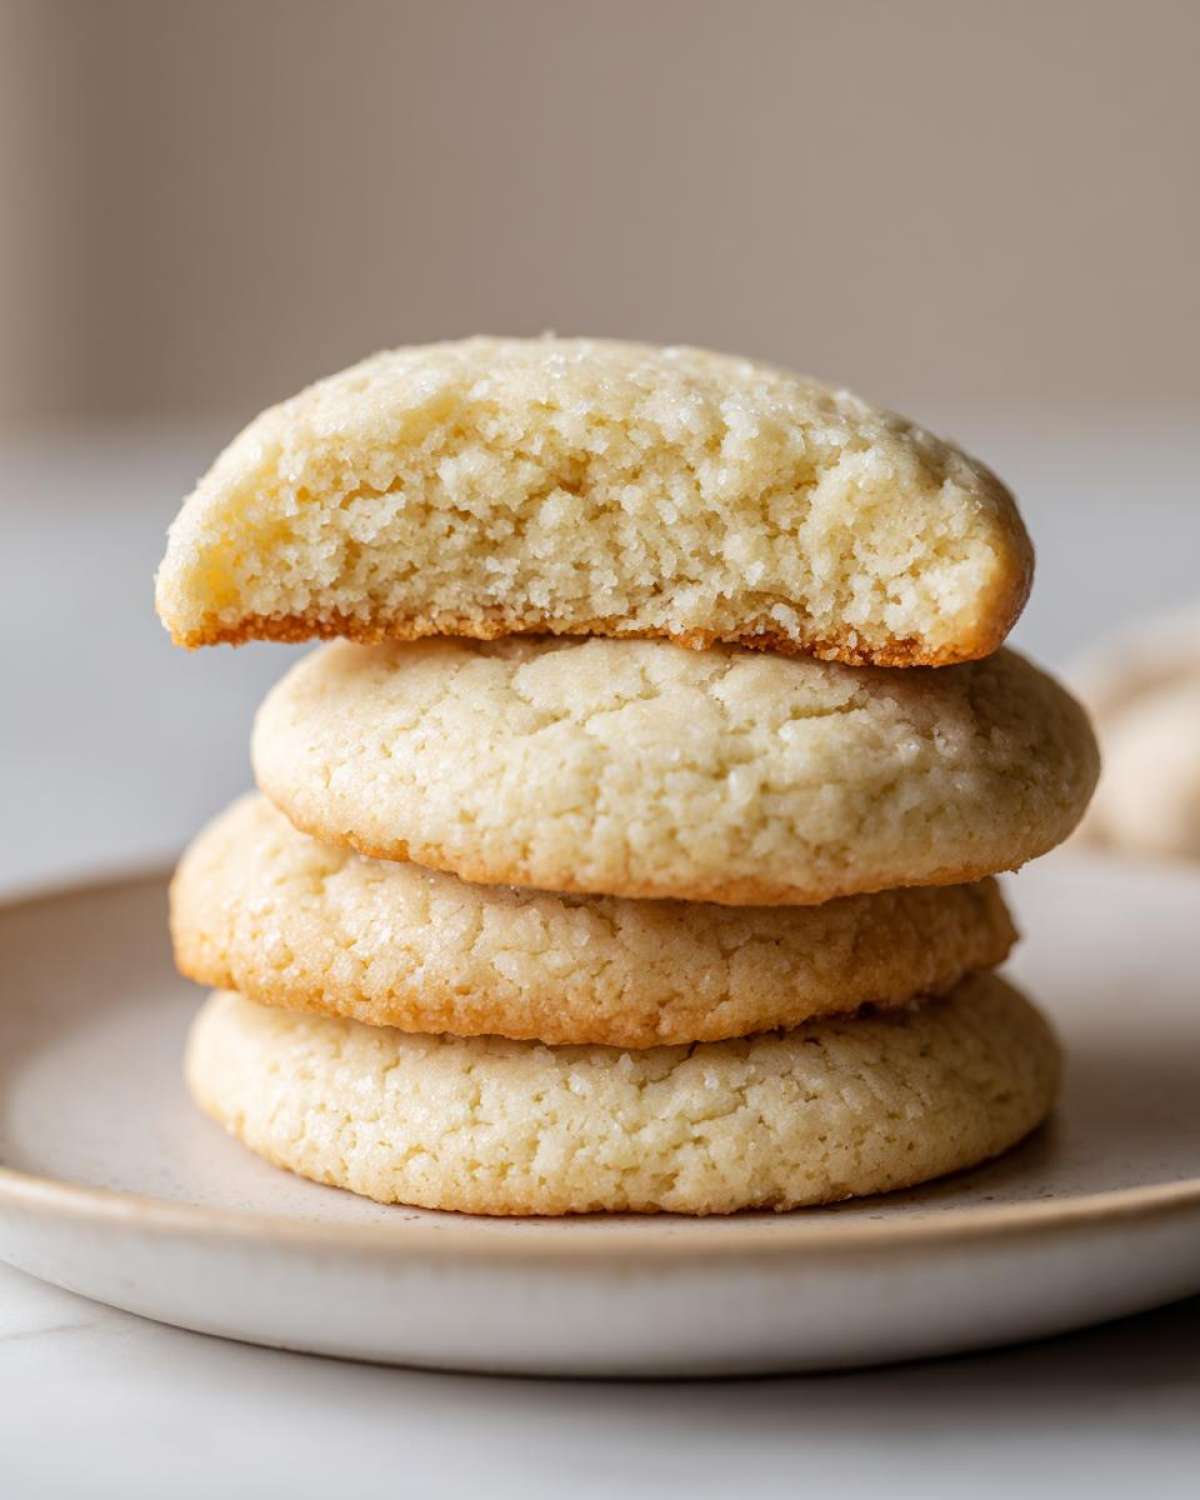
This is where the magic really happens, and where patience pays off! Follow these steps closely, especially regarding the mixing, and you’ll end up with those dreamy, thick sugar cookies we’re aiming for. If you ever get stuck between these cookie steps and need a sweet distraction, maybe check out my muffin recipe for a completely different kind of comfort baking!
Mixing the Dough for Perfect Soft Sugar Cookies
When you’re combining the dry flour mixture with the wet butter/sugar mix, you simply must stop mixing the second the flour streaks disappear. I mean it—put the mixer on the absolute lowest speed and stop as soon as the last streak vanishes. Overmixing is the number one enemy of soft sugar cookies! All that mixing builds gluten, and gluten is what turns a fantastic, tender crumb into something tough. We want buttery tenderness, not chewiness bred from overwork.
Rolling and Cutting Your Soft Sugar Cookies
After chilling your dough for that mandatory hour (or maybe two, if you stepped away to clean something!), flour your surface lightly. You want to roll these beauties out to a uniform thickness of about 1/4 inch. If they’re too thin, they bake crisp. If they’re too thick, the centers might stay a bit raw. Get that oven preheated to 375 degrees Fahrenheit while you’re cutting your shapes. This ensures the oven is perfectly ready for those cold dough disks.
Baking Times for Tender Center Cookies
This is the trickiest part, but it guarantees you get those fantastic tender center cookies. You are looking for 8 to 10 minutes, max. The visual cue is key: the edges should look set—firm enough that they won’t fall apart if you bump them—but the very center of the cookie should still look slightly pale and soft when you pull the tray out. Don’t fret! That residual heat hanging onto the baking sheet will finish the cooking process right on the parchment paper. This is how we avoid dry, sad cookies.
Decorating Your Soft Sugar Cookies
Alright, after all that patience getting the bake just right, the last thing we want is heavy, thick frosting to weigh these beauties down! Because these cookies are so tender and soft, a thick blanket of buttercream can actually compress that lovely center we worked so hard to create. My favorite approach is usually a simple vanilla glaze that sets almost like a crackle shell, letting you still see the cookie underneath.
If you’re feeling fancy and want a traditional fluffy look, you’ll want a slightly thinner frosting recipe than usual. You could definitely use a nice, fluffy vanilla buttercream, but thin it down just a touch with a spoonful of milk or cream so it doesn’t overpower the delicate cookie. Keep the decoration simple—a thin outline and a little flood in the center is all you need to make these holiday sugar cookies shine without turning them crunchy!
Storage and Make-Ahead Tips for Soft Sugar Cookies
Now that you’ve made the perfect batch of soft sugar cookies, we have to keep them perfect, right? They are best eaten the day of, naturally—everything is better fresh—but the good news is these hold up way better than those thin, crispy types. The number one enemy here is air. Air makes things stale, and stale cookies turn hard!
You absolutely must store the fully cooled, undecorated cookies in a truly airtight container. I’m talking about a good latching Tupperware or a rigid container with a rubber seal. If you stack them, use parchment paper or wax paper between the layers so they don’t stick together since they are so wonderfully soft!
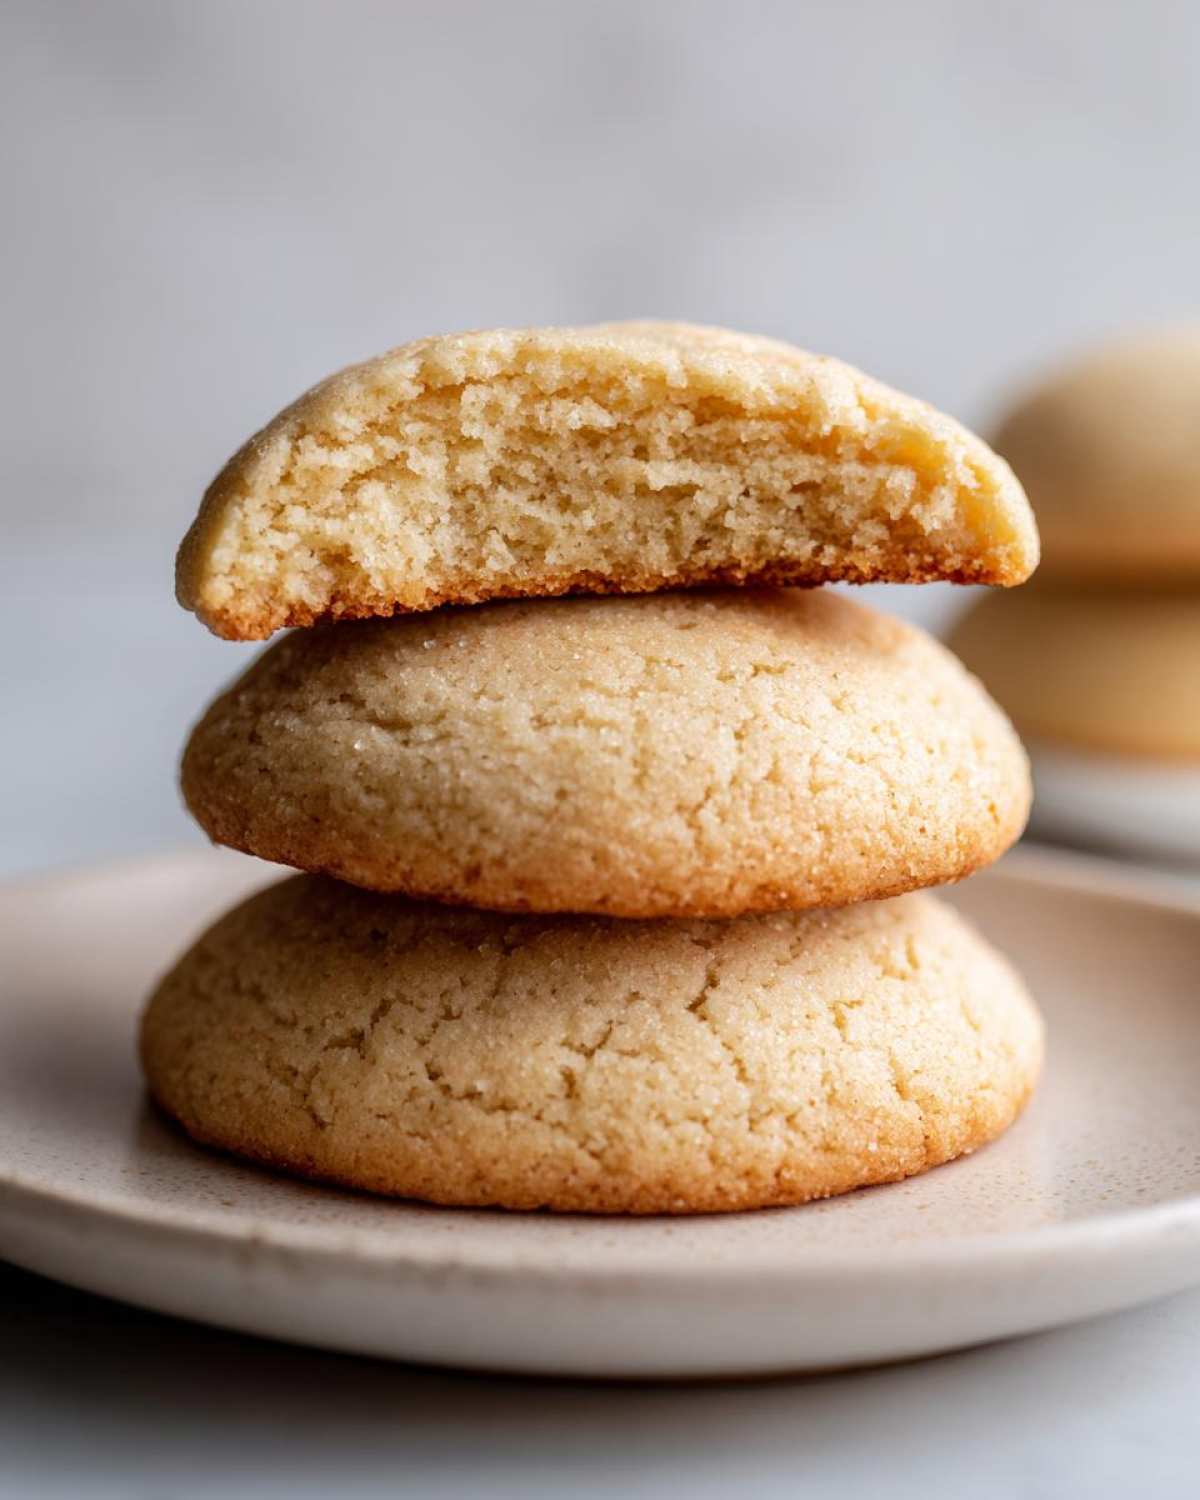
Here’s my old trick for keeping baked cookies soft for nearly a week: pop a slice of fresh white bread into the container with the cookies. Seriously! The cookies will wick the moisture right out of that bread slice, keeping your soft sugar cookies wonderfully chewy for days. Yes, the bread will harden, but your cookies will stay soft, so it’s a worthy sacrifice!
If you want to get ahead, the dough freezes wonderfully. I usually divide the dough into disks, wrap them tightly in plastic wrap, and then tuck those disks into a freezer bag. When you’re ready to bake, just let the disk thaw on the counter for about 30 minutes before you roll it out. Because they are already slightly cold, cutting them after that short thaw prevents spreading, guaranteeing you still get those beautiful, thick, soft sugar cookies.
Troubleshooting Common Soft Sugar Cookies Issues
Even when you follow this recipe to the letter, baking always has a little wiggle room—and sometimes things go sideways! Don’t panic if your first batch isn’t 100% perfect. Usually, issues with your soft sugar cookies come down to two things: spreading too much or ending up too hard. Let’s walk through what likely happened so your next batch is flawless.
My Cookies Spread Out Like Pancakes!
This is the most common heartbreak when aiming for a thick cookie. If your dough melts before your oven has a chance to set the structure, you get flat cookies, and those are never as soft as you want. The main culprit is usually dough temperature. If the butter wasn’t cold enough when you rolled it, or if your kitchen is just naturally warm, the dough spreads instantly. Remember, the chilling stage isn’t optional here; it’s your insurance policy against spread!
Another thing that causes spread is too much leavening agent, usually the baking soda or powder. If you accidentally added a little extra scooping that flour cup, those bubbles expand too fast and push the dough outward before the structure can solidify. Double-check those measurements next time—even an extra half-teaspoon can dramatically affect these delicate, soft sugar cookies.
Why Did My Cookies End Up Hard or Crumbly?
If you bit into your cookie and it had zero chew and felt dry, you probably overbaked them. Even one extra minute in a hot oven can suck the essential moisture right out of these tender treats. Next time, pull them out when the centers still look slightly underdone—that residual heat will work its magic!
The other huge reason for hardness is flour. Did you scoop your flour straight out of the bag with the measuring cup? If you did, you ended up packing in way too much flour, which leads to a dry, heavy cookie. For the best, softest results possible, you need to use the spoon-and-level method when measuring flour. That might sound fussy, but it’s the difference between a great cookie and a hard one!
My Cut-outs Lost Their Sharp Edges
This is the balance we battle: softness versus sharp edges. If you managed to keep them from spreading into puddles but the little points on your stars or snowflakes look rounded, it usually means one of two things. First, you didn’t chill the cut shapes for 10 minutes on the baking sheet before they went into the oven. That quick freeze helps lock everything in place. Second, your rolling thickness might have been inconsistent. If one part of the cookie is thick and the other is thin, the thin part cooks faster and ruins the overall shape integrity of your soft sugar cookies.
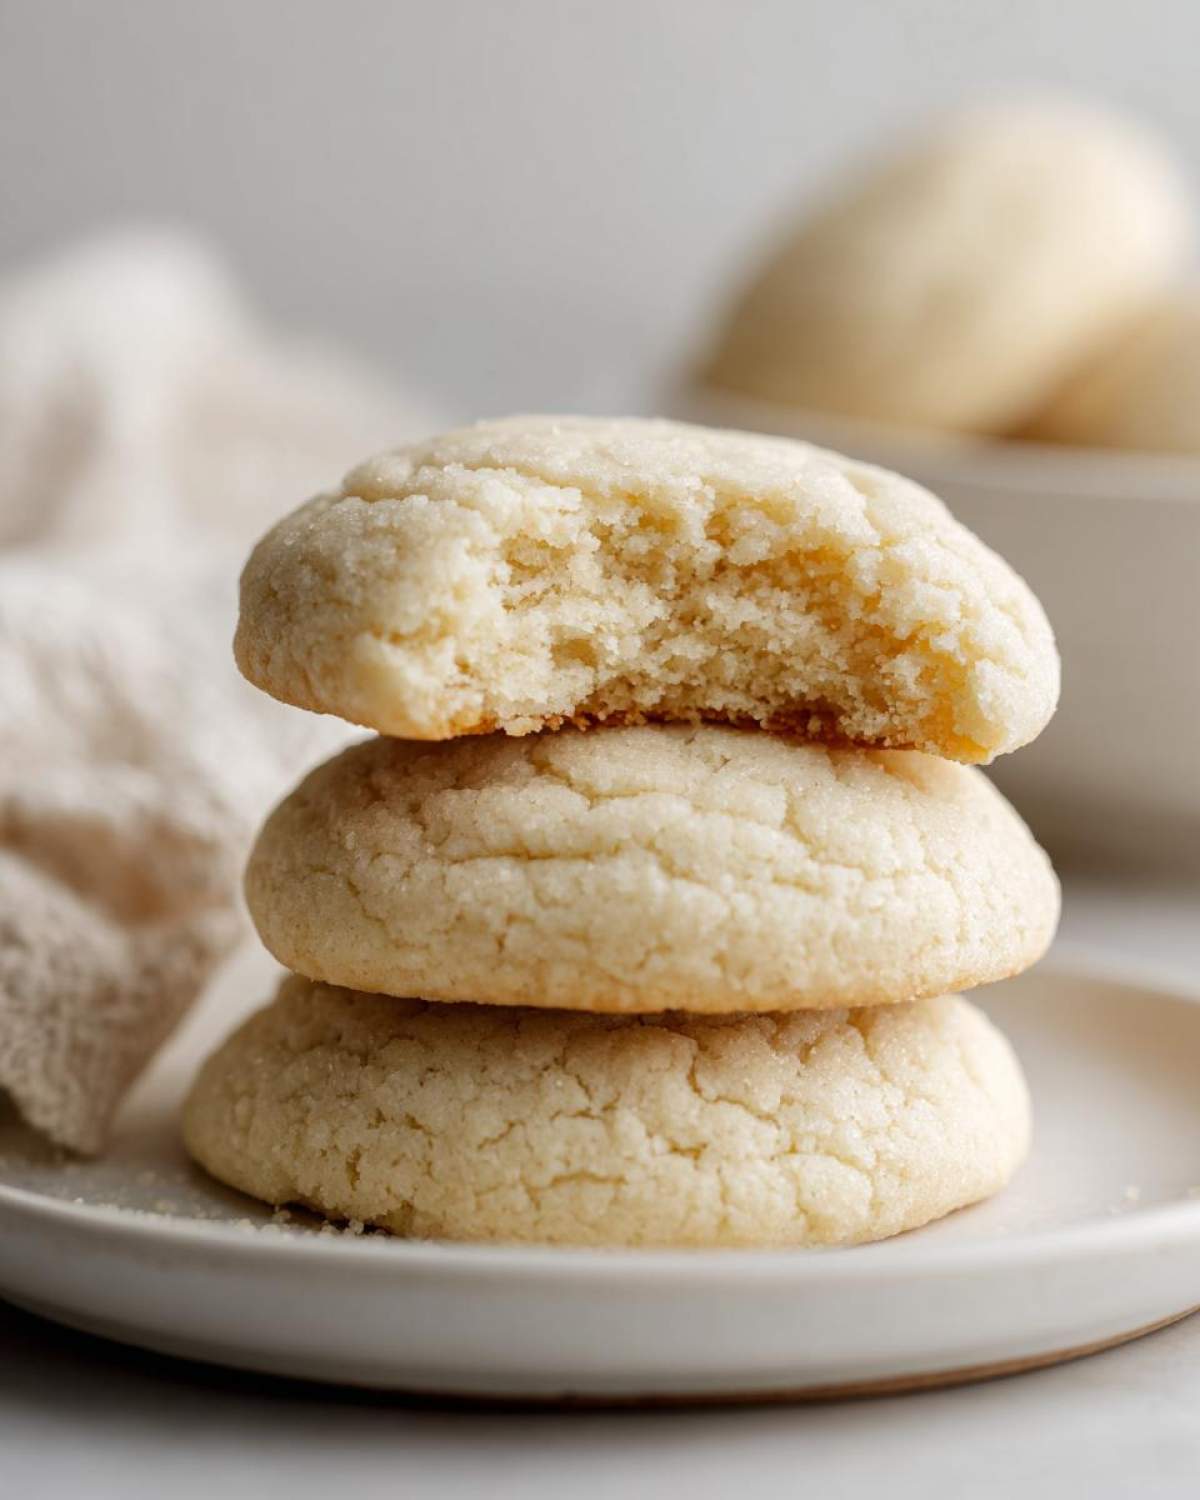
Serving Suggestions for Buttery Vanilla Cookies
These wonderfully simple, buttery vanilla cookies are truly wonderful on their own, but sometimes you need to elevate the experience a little, right? They are so tender that they practically beg to be dunked. My absolute favorite way to serve them, especially when the weather cools down, is alongside a big mug of hot chocolate. Make sure you check out my recipe for that easy, big-batch hot cocoa mix—it’s the perfect warm counterpoint to that cool, soft cookie center!
They are also simply divine next to a scoop of rich vanilla bean ice cream. The contrast between the slightly warm, rich ice cream and the cool, crumbly cookie is just heavenly. Honestly, though, sometimes the best pairing for these buttery vanilla cookies is just a tall, cold glass of milk. You can’t mess with that classic simple perfection!
Frequently Asked Questions About Soft Sugar Cookies
Can I make these chewy sugar cookie recipe without chilling the dough?
Oh, you totally *can* try it! I get wanting to skip that step when you’re in a baking frenzy. But since our goal is achieving that perfect thick, chewy sugar cookie recipe result, I really advise against it. Unchilled dough means the butter is soft, and that fat melts way too fast in the oven before the structure has a chance to set. You’ll end up with cookies that spread outwards instead of rising nicely upwards, resulting in much flatter cookies. They’ll still taste buttery and fine, but you lose that wonderful thick, soft quality we worked so hard for!
What makes these homemade sugar cookies so soft?
It’s really a three-part harmony, honestly, but the biggest factors are that generous amount of butter you’re creaming with the sugar, and that precise baking time. We use a good amount of fat in these homemade sugar cookies—that’s what dissolves in your mouth beautifully! But the real secret sauce is slightly underbaking them. Pull them out when the center still looks just a tiny bit pale. That residual heat does the last minute of perfectly gentle cooking, locking in all the moisture needed for true soft sugar cookies.
Are these easy sugar cookies suitable for complex decorating?
They are great for easy sugar cookies decorating—think simple floods, sprinkles, or light drizzles. Because we are prioritizing that soft, tender center, the trade-off is that the edges won’t be as razor-sharp as a dedicated gingerbread or shortbread-style cut-out cookie. If you try to cut out something super intricate, like a tiny reindeer antler, that tiny piece might soften and round off slightly during the 8 to 10 minutes of baking. For most holiday shapes, though, especially anything thick, they hold up beautifully!
Nutritional Estimates for These Simple Vanilla Cookies
I always get asked about the numbers, and while I’m totally focused on taste and texture over calorie counting, it’s sensible to have a rough idea! Here’s a quick look at what you’re generally looking at per one of these delicious, simple vanilla cookies. Remember, this is just an estimate because how much sugar sticks to your fingers during decorating totally changes the game, right?
These figures are based on the recipe yielding 3 dozen cookies. For the full breakdown where I talk about ingredients and moderation, you can always read my official site disclaimer page!
- Serving Size: 1 cookie
- Calories: 150
- Sugar: 15g
- Fat: 8g
- Protein: 2g

The Ultimate Soft & Chewy Sugar Cookies That Hold Their Shape for Perfect Cutting and Decorating
- Total Time: 80 min
- Yield: 3 dozen
- Diet: Vegetarian
Description
This recipe produces thick, soft, and chewy sugar cookies with a melt-in-your-mouth texture that still maintain their shape well enough for simple cutting and decorating.
Ingredients
- 2 1/4 cups all-purpose flour
- 1 teaspoon baking soda
- 1/2 teaspoon baking powder
- 1/2 teaspoon salt
- 1 cup (2 sticks) unsalted butter, softened
- 1 1/2 cups granulated sugar
- 1 large egg
- 1 teaspoon vanilla extract
- 1/2 teaspoon almond extract (optional, for depth of flavor)
Instructions
- In a medium bowl, whisk together the flour, baking soda, baking powder, and salt. Set aside.
- In a large bowl, use an electric mixer to beat the softened butter and granulated sugar together until light and fluffy, about 3 minutes.
- Beat in the egg, vanilla extract, and almond extract (if using) until just combined. Scrape down the sides of the bowl.
- Gradually add the dry ingredients to the wet ingredients, mixing on low speed until just combined. Do not overmix.
- Divide the dough in half, flatten each half into a disk, wrap tightly in plastic wrap, and chill in the refrigerator for at least 1 hour. Chilling helps the cookies hold their shape.
- Preheat your oven to 375 degrees Fahrenheit. Line baking sheets with parchment paper.
- On a lightly floured surface, roll out one disk of dough to about 1/4 inch thickness. Use cookie cutters to cut out desired shapes.
- Place the cut-out cookies onto the prepared baking sheets, leaving about 1 inch between them.
- Bake for 8 to 10 minutes. The edges should be set, but the centers should still look slightly soft.
- Let the cookies cool on the baking sheet for 5 minutes before carefully transferring them to a wire rack to cool completely.
- Decorate once fully cooled.
Notes
- For the softest center, slightly underbake the cookies by 1 minute.
- If you skip chilling, the cookies will spread more and lose some shape definition.
- Use room temperature ingredients for better creaming and texture.
- Prep Time: 20 min
- Cook Time: 10 min
- Category: Dessert
- Method: Baking
- Cuisine: American
Nutrition
- Serving Size: 1 cookie
- Calories: 150
- Sugar: 15
- Sodium: 85
- Fat: 8
- Saturated Fat: 5
- Unsaturated Fat: 3
- Trans Fat: 0
- Carbohydrates: 18
- Fiber: 0
- Protein: 2
- Cholesterol: 30


Comments are closed.