
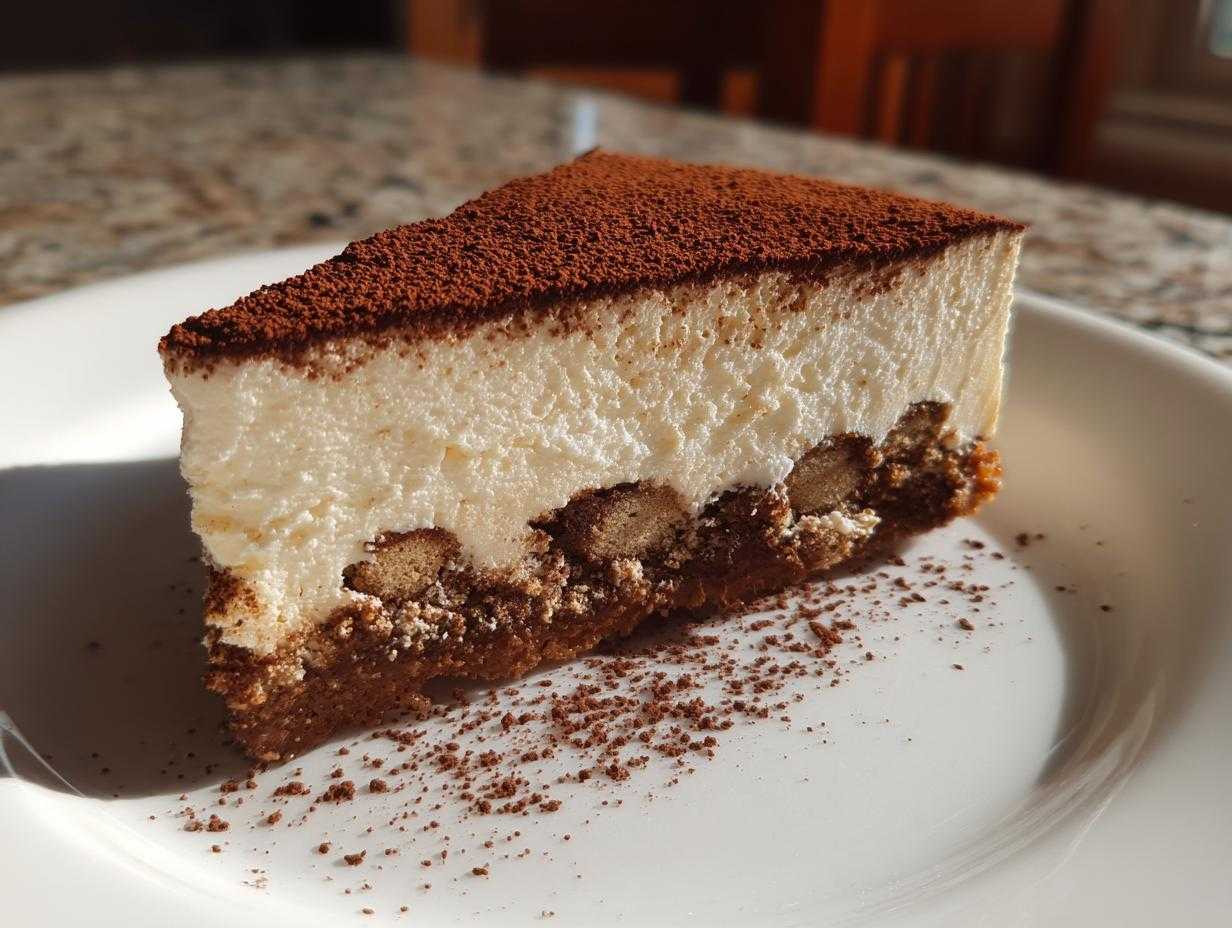
Oh, honey, I am such a sucker for a good dessert mashup! You take two classics, and suddenly you have something new that’s somehow better than the originals. Well, my absolutely favorite creation that ever came out of my kitchen is this incredible tiramisu cheesecake. Forget fussy baking! We are skipping the water baths and cracked tops entirely with this one.
This is my foolproof, no-bake version, and let me tell you, it nails the balance every single time. I spent ages trying to get that perfect marriage between rich Italian mascarpone cream and that deep espresso punch, without it getting too heavy. The secret, which you’ll see below, is really controlling how quickly you dip those ladyfingers. Trust me, once you try this layered coffee dessert, it’s going straight onto your ‘must-make-for-guests’ list. It’s pure decadence!
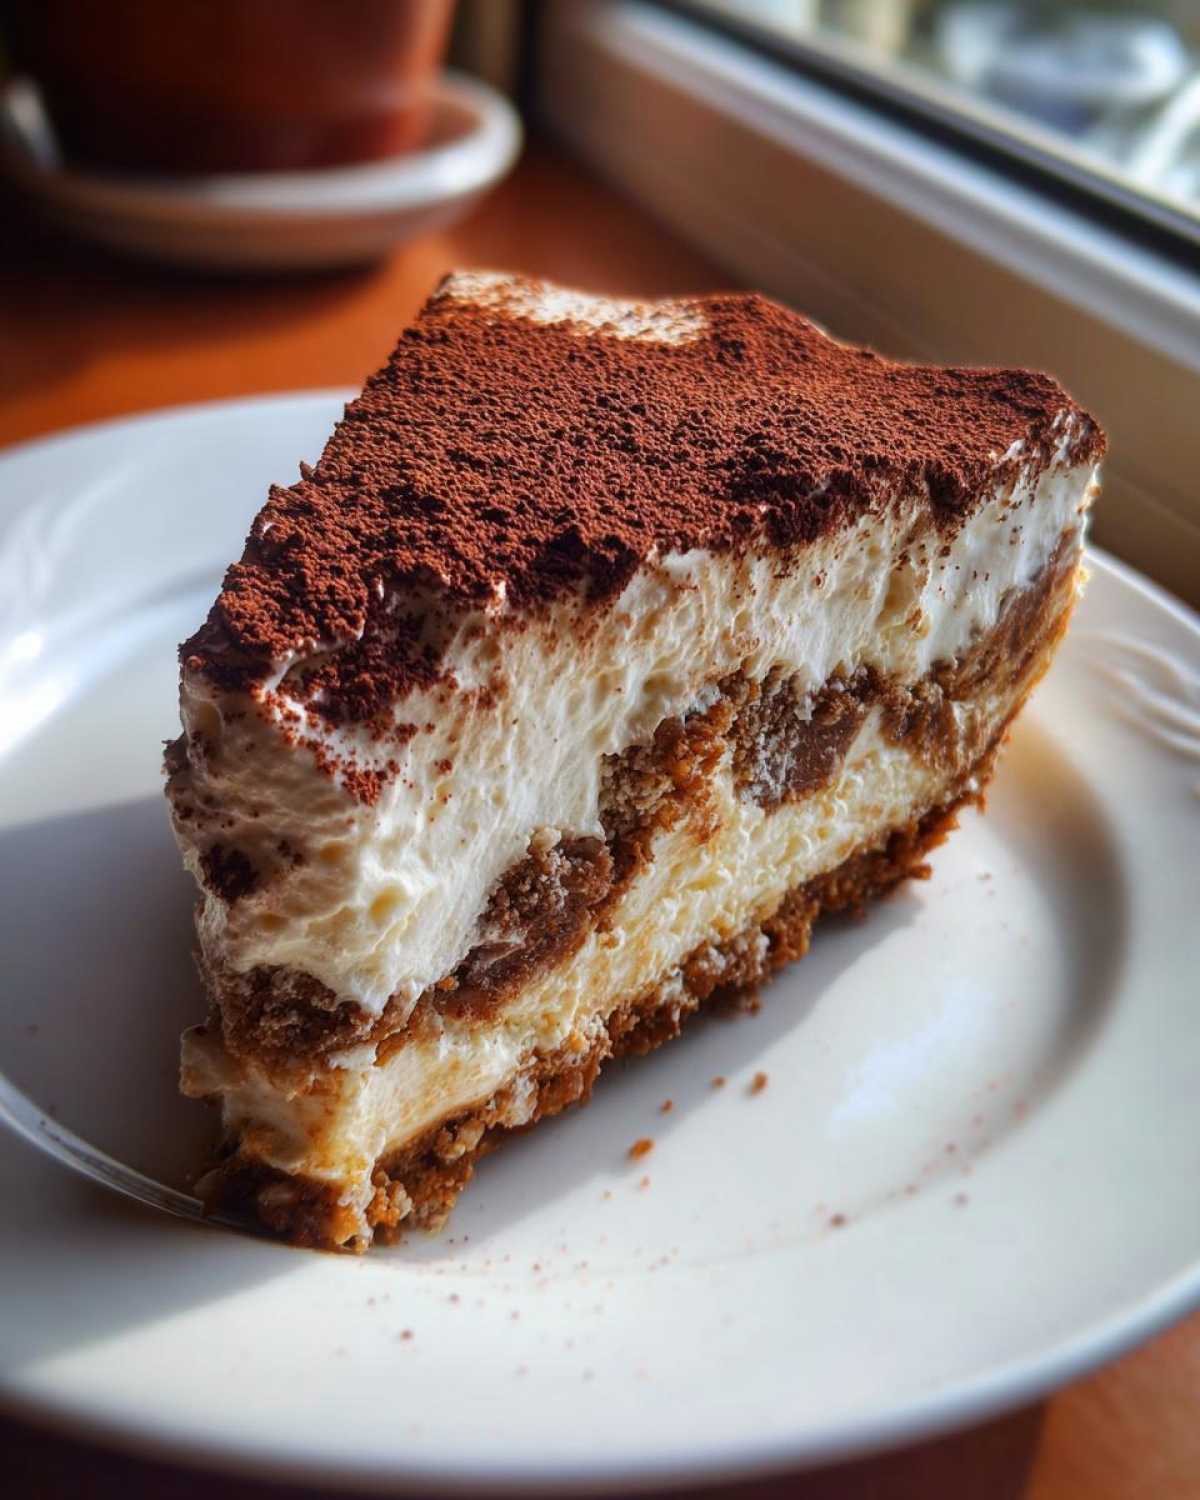
Why This No-Bake tiramisu cheesecake is Your New Favorite Dessert
Honestly, once you make this hybrid dessert, you won’t go back to making separate ones. It has that undeniable richness but without any of the hassle!
- The creamy texture is simply divine—so smooth, thanks to that perfect combo of cream cheese and mascarpone.
- It’s the ultimate Easy Make Ahead Cheesecake! You mostly just mix and chill, which is a lifesaver when company is coming.
- You get that intense Coffee Cheesecake Flavor layered perfectly with sweet, light filling.
- No oven worries means no stress! It sets up beautifully in the fridge, just like magic.
If you loved the simple approach of my peanut butter pie, you are going to adore how fuss-free this one is. Check out the technique here: no-bake creamy desserts!
Gathering Ingredients for the Perfect tiramisu cheesecake
Okay, getting all our players together is half the battle for this tiramisu cheesecake! Because this is a no-bake recipe, the quality of our components really shines through, especially those cheeses. We don’t want any funny business or lumps, so pay close attention to the temperatures I list here. If you need tips on making sure your cream cheese is perfectly smooth, check out my guide on making the smoothest cream cheese base!
For the Graham Cracker Crust
For the crust, we need fine crumbs—like sand! This helps it pack down beautifully hard.
- 1 1/2 cups graham cracker crumbs
- 1/4 cup granulated sugar
- 6 tablespoons unsalted butter, melted
For the Creamy tiramisu cheesecake Filling
This is where the magic happens! You must make sure both the cream cheese and the mascarpone are perfectly softened—I mean, butter-soft—or you’ll get lumps the size of marbles, and nobody wants that!
- 16 ounces cream cheese, softened
- 8 ounces mascarpone cheese, softened
- 1 cup powdered sugar
- 1 teaspoon vanilla extract
- 1 cup heavy cream, cold (keep this cold until whipping!)
For the Coffee Soak and Topping
These are the elements that really bring in that classic Italian dessert flavor profile we love.
- 1/2 cup strong brewed espresso, cooled completely
- 1 tablespoon coffee liqueur (if you skip this, just use a little more espresso!)
- 1 package (7 ounces) ladyfingers
- Unsweetened cocoa powder, for dusting on top
Step-by-Step Instructions for No-Bake tiramisu cheesecake
This is where we bring everything together to create that gorgeous, layered tiramisu cheesecake structure. The steps look straightforward, but timing is everything, especially when we deal with the espresso soak. If you’re looking for other easy assembly desserts, you might want to check out my guide on quick protein bars for a different kind of treat!
Preparing the Crust and Chilling
First things first, we need a solid foundation! Take all those crust ingredients—crumbs, sugar, melted butter—and mix them up until they look like wet sand. Press that mixture down firmly into the bottom of your springform pan. I use the bottom of a measuring cup to really tamp it down tight. Then, this needs a quick 15 minutes in the fridge just to firm up while you get the filling ready.
Creating the Mascarpone Cream Filling
Time for the luxurious part! Get your softened cream cheese and mascarpone into your mixer. Beat them with the powdered sugar and vanilla until they are completely velvety smooth. Seriously, stop and scrape the bowl down a few times to make sure zero lumps survive. Next, take your very cold heavy cream and whip it separately until you have stiff peaks. Then, gently, and I mean *gently*, fold that whipped cream goodness into your cheese mixture. We want to keep all that air we just beat in there!
Layering the tiramisu Cheesecake Components
Now for the coffee! Combine your cooled espresso and the coffee liqueur (if you’re using it) in a shallow dish—something wide is best for dipping. Here is my biggest tip for avoiding a soggy base: you must dip each ladyfinger quickly! Just a one-second dunk on each side. If you let them soak, they dissolve! Arrange your quickly dipped ladyfingers right over the chilled crust. Spread half your mascarpone filling over that layer. Then, dip and layer the remaining ladyfingers, and top it off with the rest of your beautiful filling, making sure to smooth out the top nicely. For more amazing ladyfinger desserts, check out this link!
Setting and Finishing the tiramisu Cheesecake
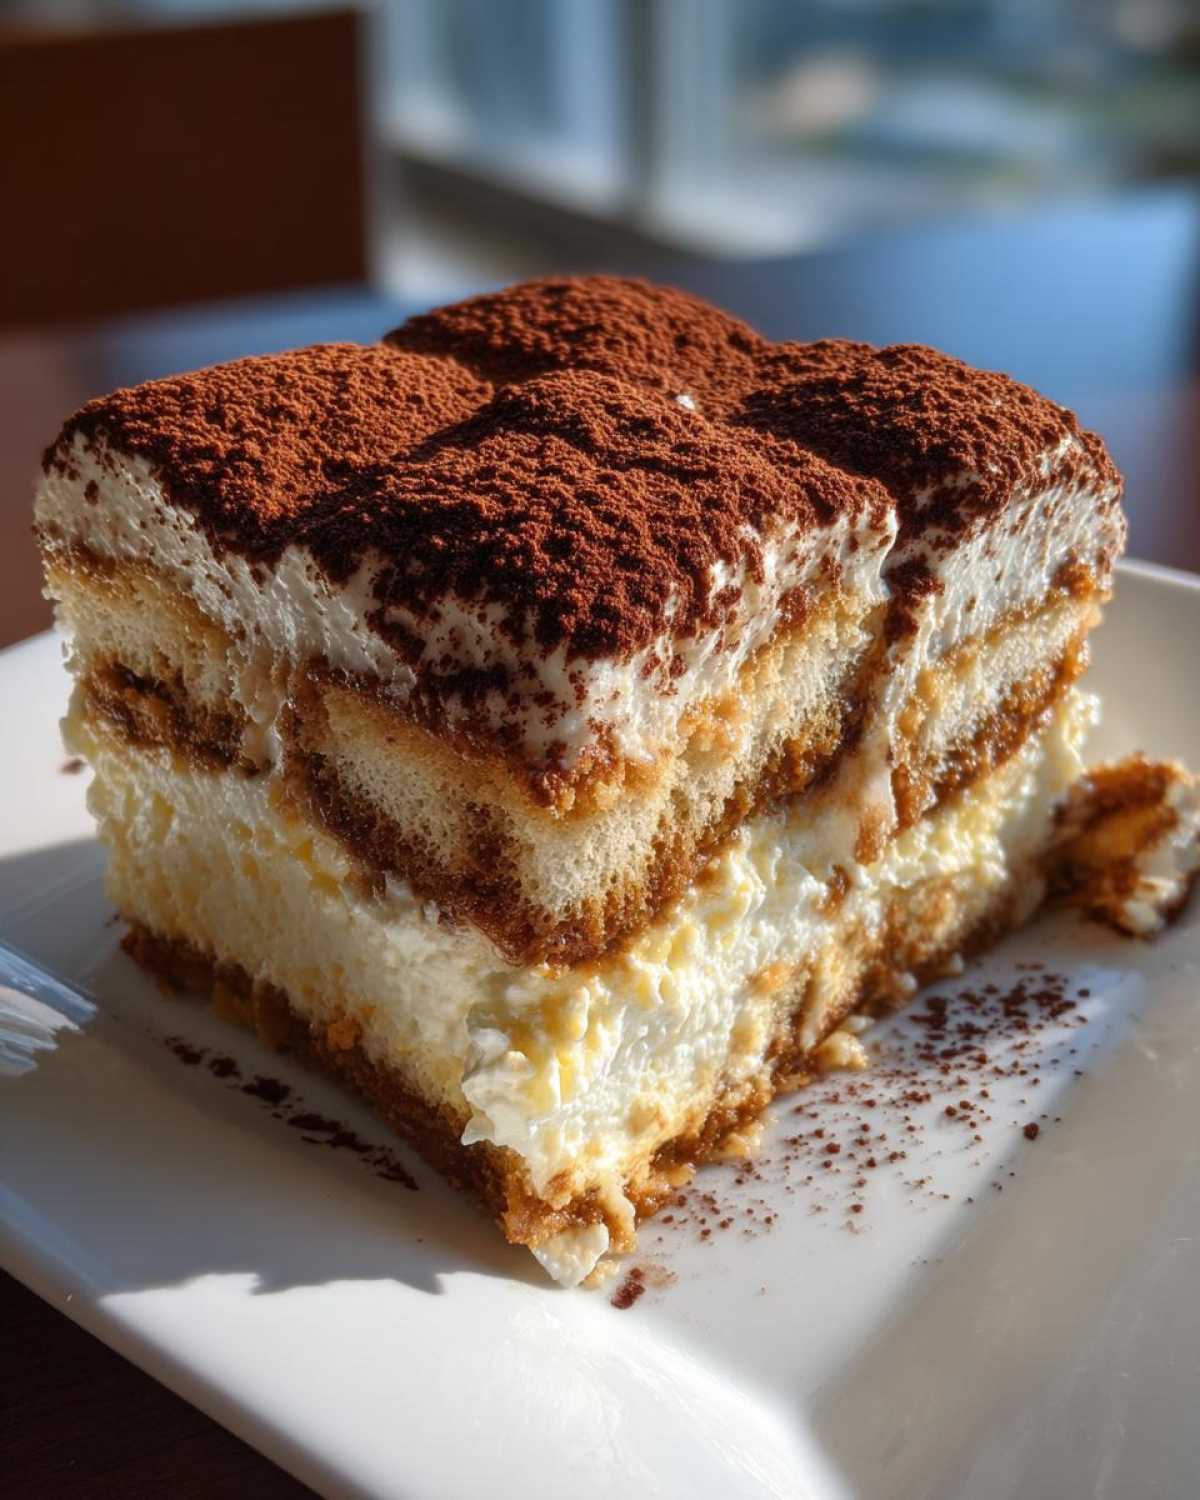
This waiting is the hardest part, I know! Cover that beautiful dessert carefully. It absolutely *must* chill for a minimum of 6 hours. Honestly, if you can leave it overnight, your sliceability will be way better. Once it’s firm and totally set, run a thin knife around the edge before releasing the springform ring gently. Last but not least, grab your sieve and dust that top generously with that unsweetened cocoa powder. It’s the perfect finish!
Expert Tips for a Flawless tiramisu Cheesecake
Even though this is a simple no-bake dessert, a few little tricks make the difference between good and *amazing*. We want that deep, authentic Coffee Cheesecake Flavor coming through without overpowering the sweet creaminess. If you’re looking to master the art of making desserts ahead of time, this recipe is perfection. You can check out my general guide on easy make ahead cheesecake tips for more general structure advice!
Achieving the Right Coffee Intensity
Don’t be shy with the espresso, but find your personal sweet spot! If you love that slightly bitter kick, use the full 1/2 cup of espresso and maybe drop the coffee liqueur entirely and skip straight to adding a teaspoon of instant coffee granules directly into your cream cheese mixture. If you prefer something smoother, stick to the recipe’s original ratio, or maybe just a splash of liqueur.
Handling the Cream Cheese and Mascarpone
I cannot stress this enough: temperature is your best friend here. If your cream cheese or mascarpone is straight out of the fridge, you will end up stopping every thirty seconds to beat chunky bits out of your filling. Take them out at least an hour before you start mixing. They need to be soft enough to easily smooth with a spoon. This guarantees that luxuriously smooth texture we are aiming for!
Serving Suggestions for tiramisu Cheesecake
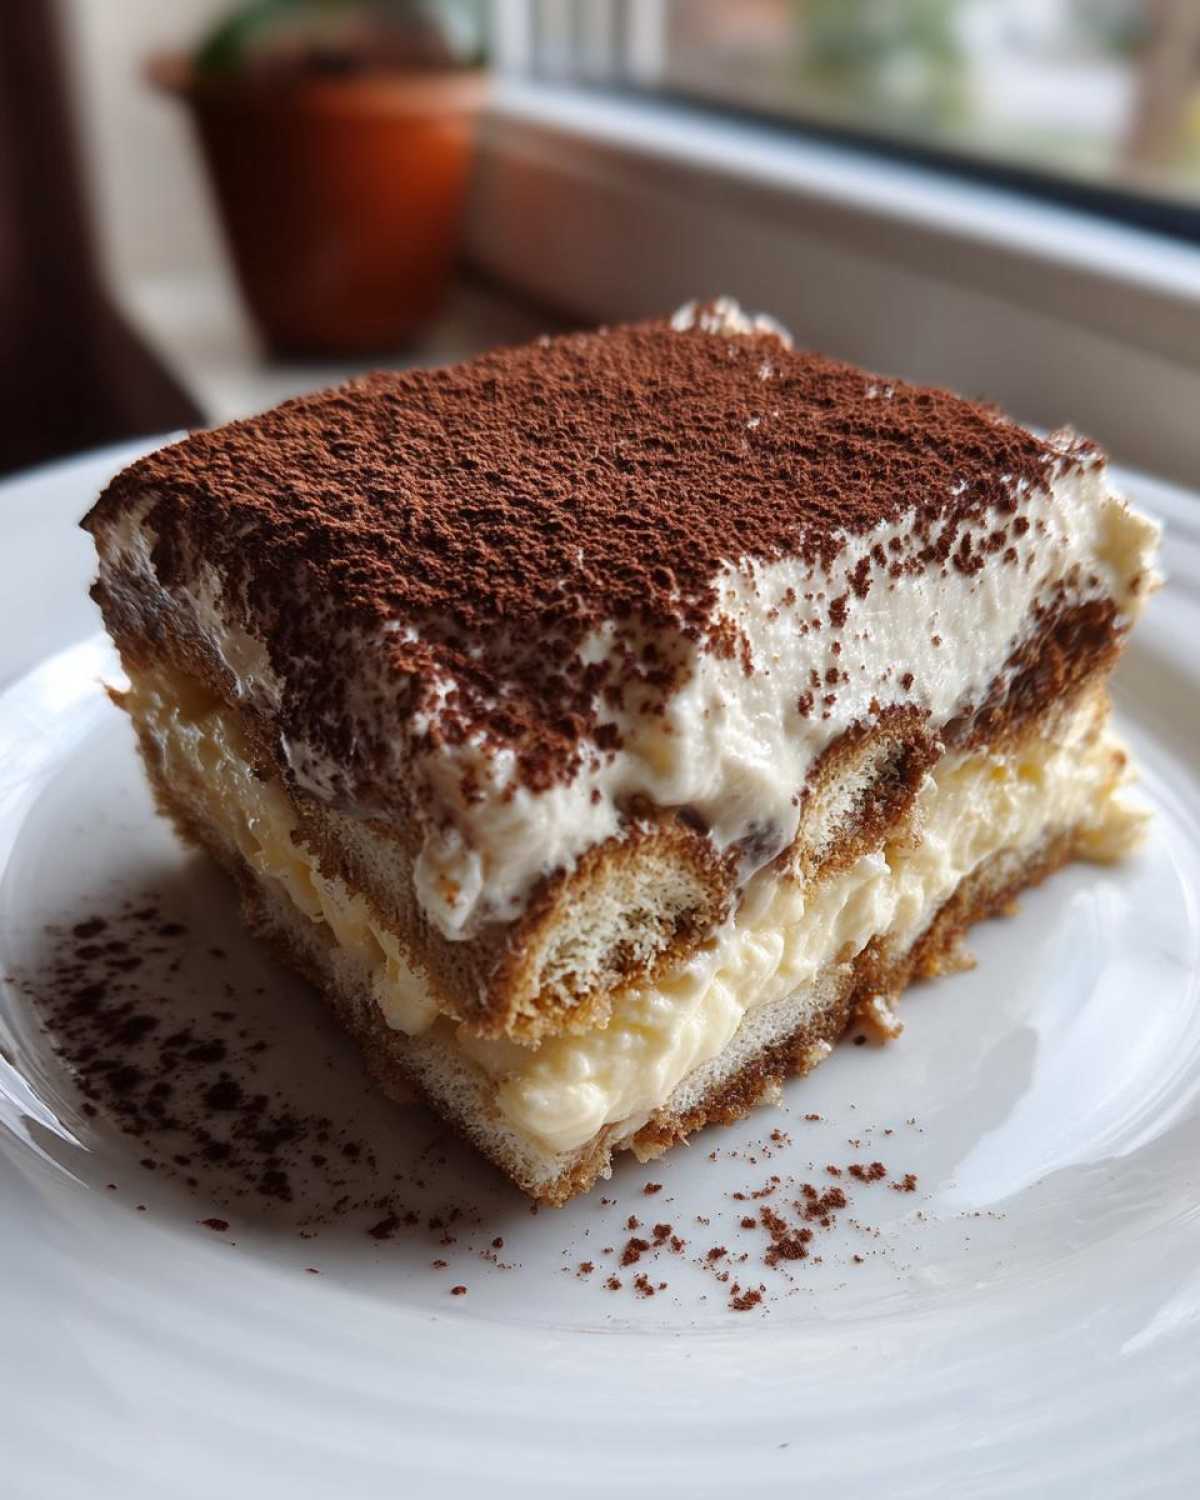
This incredible tiramisu cheesecake is truly one of those showstoppers that looks like it took you three days to assemble! It makes the perfect centerpiece for any gathering. Because it features such strong Italian Inspired Desserts flavors, it looks fantastic cut into elegant squares if you used a 9×9 pan, or as those perfect, tall slices from a springform.
For an Elegant Dinner Party Sweet, dust that cocoa on *just* before serving so it’s fresh and dark against that pale cream. It pairs beautifully with a small glass of chilled Vin Santo or just a strong, bitter shot of espresso afterward. Honestly, people go crazy for it!
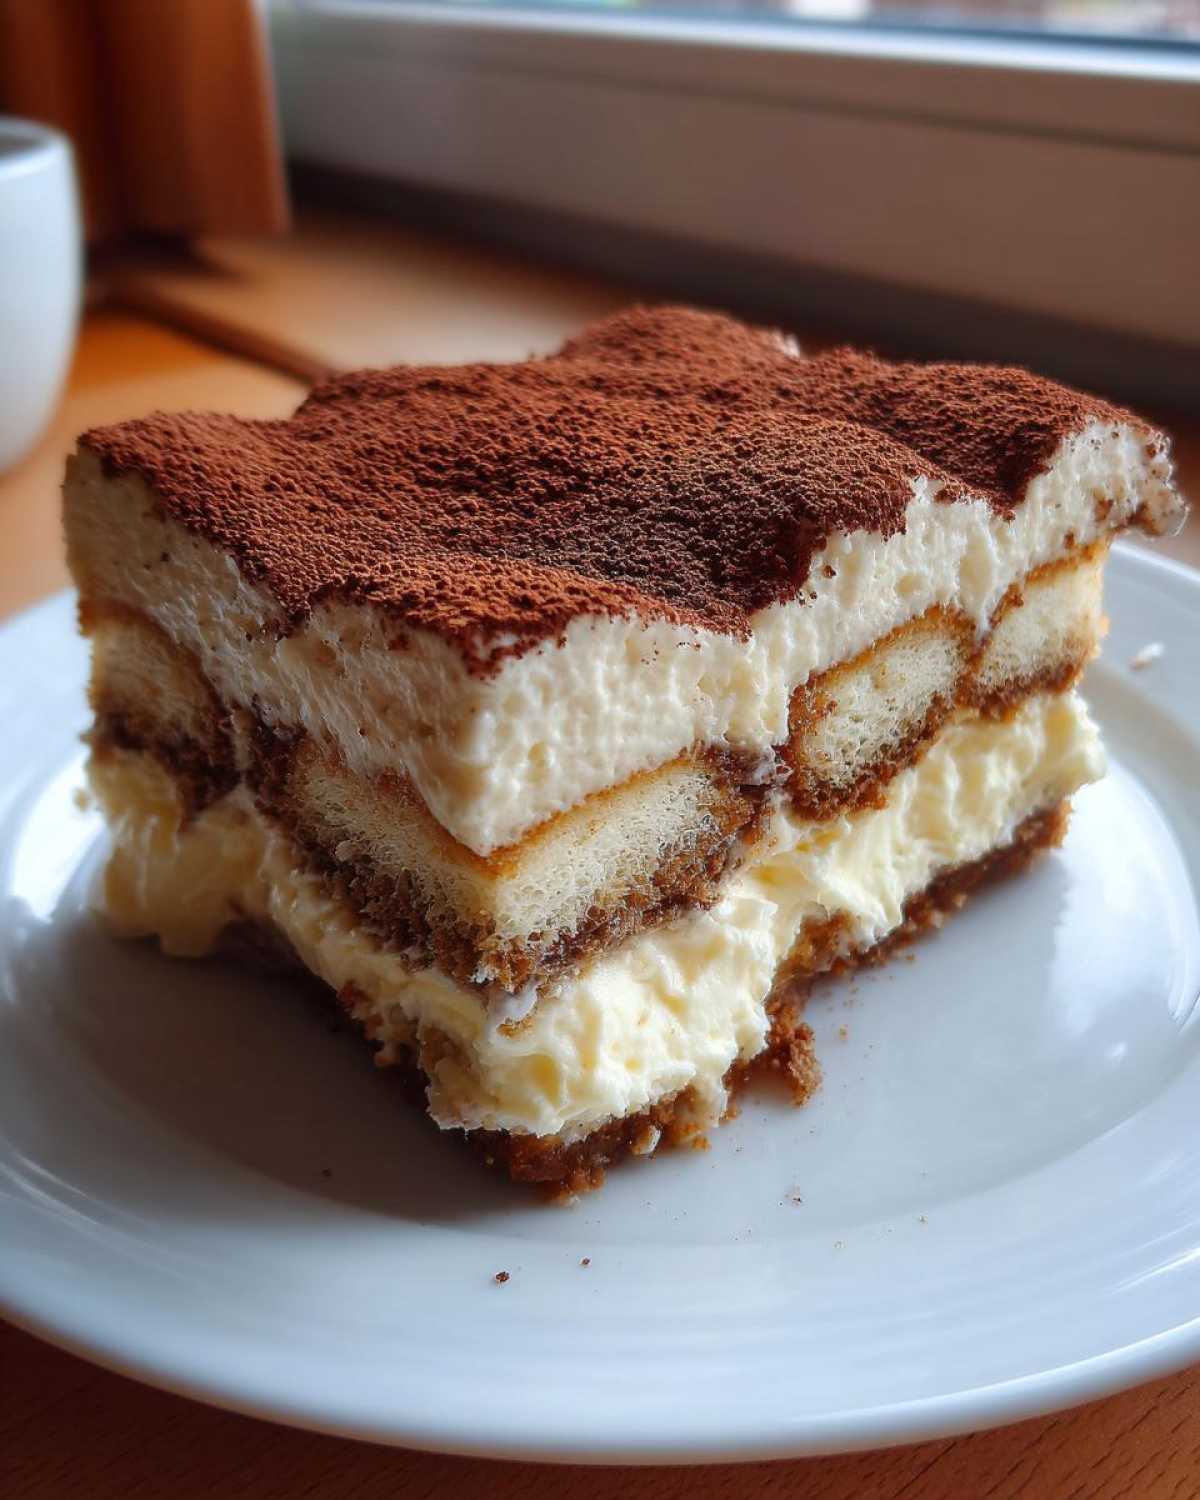
If you’re looking for other fantastic Italian-inspired recipes, you really need to try my savory herb and cheese bread—it’s the perfect appetizer leading up to this dessert!
Storage and Make-Ahead Potential for tiramisu Cheesecake
This is exactly why I adore this tiramisu cheesecake—it’s built for planning ahead! Since it’s no-bake, the Make Ahead Convenience is off the charts. You can absolutely make this the day before you plan to serve it. In fact, I think it tastes even better the next day once those espresso flavors really settle into that creamy filling.
Keep it covered tightly in the refrigerator, and it will be perfect for up to four days. Now, about freezing? I generally advise against it for this one. The whipped cream and the cheese base don’t freeze and thaw super beautifully; they can sometimes get grainy or release too much moisture. Better to plan to eat it within a few days! If you want to learn more about planning desserts in advance, check out my tips here: make ahead guides!
Frequently Asked Questions about tiramisu Cheesecake
It’s super common to have questions when you’re mixing things up, especially when combining two amazing desserts into one killer tiramisu cheesecake! Fire away—I’ve heard them all over the years.
Can I bake this tiramisu cheesecake recipe?
Oh, bless your heart for asking! This specific recipe is totally designed to be no-bake because we rely on that cold heavy cream whipping up to give us lift and structure. If you popped this in the oven, the cream would melt, and the whole thing would just turn into a puddle. If you want a baked recipe, you’d need a completely different formula, but trust me, this is so much easier!
What if I don’t have mascarpone cheese for the tiramisu cheesecake?
That classic mascarpone is tough to replace since that’s what really gives it that Italian edge, but I get it—sometimes the grocery store is low! The best way to fake it is to substitute part of the mascarpone amount with extra full-fat cream cheese mixed with a couple of tablespoons of just a little heavy cream or sour cream until it feels a bit lighter. Just know that the resulting Cheesecake Fusion won’t have quite the familiar airy lightness of a traditional Tiramisu.
How long does the tiramisu cheesecake need to set?
This is non-negotiable, promise! Because we didn’t use any gelatin or eggs to stabilize it, it relies purely on the cold to firm up those fats and heavy cream. You absolutely need a minimum of 6 hours in the fridge, but if you can let your Coffee Cheesecake Flavor dessert chill overnight, that’s when you get those super clean, perfect slices. If you try to cut into it too soon, it’s just going to slump right out of the pan!
If you’re interested in making smaller versions, check out my guide on mini cheesecake recipes—sometimes smaller sets faster!
Nutritional Estimates for tiramisu Cheesecake
Now, listen up, because while this tiramisu cheesecake is heavenly, it is certainly a treat! The numbers below are just my best estimate based on standard ingredient calculations. They help us keep track, but remember these are just guidelines, not gospel truth!
- Serving Size: 1 slice
- Calories: 450
- Sugar: 35g
- Sodium: 210mg
- Fat: 32g
- Protein: 8g
So, enjoy it proudly, because we made it with love, not worrying about every single macronutrient!
Share Your tiramisu Cheesecake Creations
Whew! That is everything you need to know to make the most wonderfully decadent, easy tiramisu cheesecake imaginable. I truly hope this becomes a staple in your kitchen just like it is in mine. When you give this a try, don’t be shy!
Please come back down here and let me know how it turned out! Did you use the coffee liqueur? Did the mascarpone blend right up for you? Drop a comment below and tell me what you think. If you snap a picture, tag me on social media—I absolutely love seeing your beautiful final products!
If you’re looking for another fantastic, easy recipe to try next week—maybe something slightly less rich—you should definitely check out my easy honey bran muffins. Happy baking, or in this case, happy chilling!
Print
No-Bake Tiramisu Cheesecake
- Total Time: 6 hours 30 min
- Yield: 10 servings
- Diet: Vegetarian
Description
A simple, no-bake dessert combining creamy cheesecake with classic tiramisu flavors of coffee and cocoa.
Ingredients
- 1 1/2 cups graham cracker crumbs
- 1/4 cup granulated sugar
- 6 tablespoons unsalted butter, melted
- 16 ounces cream cheese, softened
- 8 ounces mascarpone cheese, softened
- 1 cup powdered sugar
- 1 teaspoon vanilla extract
- 1 cup heavy cream, cold
- 1/2 cup strong brewed espresso, cooled
- 1 tablespoon coffee liqueur (optional)
- 1 package (7 ounces) ladyfingers
- Unsweetened cocoa powder, for dusting
Instructions
- Mix graham cracker crumbs, 1/4 cup sugar, and melted butter. Press mixture firmly into the bottom of a 9-inch springform pan. Chill crust for 15 minutes.
- Beat cream cheese, mascarpone, powdered sugar, and vanilla extract until smooth.
- In a separate bowl, whip the cold heavy cream until stiff peaks form. Gently fold the whipped cream into the cream cheese mixture.
- Combine cooled espresso and coffee liqueur (if using) in a shallow dish.
- Dip each ladyfinger briefly into the espresso mixture, coating both sides quickly. Arrange a single layer of soaked ladyfingers over the chilled crust.
- Spread half of the cheesecake filling over the ladyfingers. Top with a second layer of dipped ladyfingers.
- Spread the remaining cheesecake filling over the second layer of ladyfingers, smoothing the top.
- Cover the pan and refrigerate for at least 6 hours, or preferably overnight, until firm.
- Before serving, carefully remove the springform ring and dust the top generously with cocoa powder.
Notes
- For a stronger coffee flavor, use 1/2 cup espresso and 1/4 cup coffee liqueur.
- If you do not have a springform pan, line a 9×9 inch baking dish with parchment paper, leaving an overhang for easy removal.
- Make sure your cream cheese and mascarpone are fully softened to prevent lumps in the filling.
- Prep Time: 30 min
- Cook Time: 0 min
- Category: Dessert
- Method: No-Bake
- Cuisine: Italian Inspired
Nutrition
- Serving Size: 1 slice
- Calories: 450
- Sugar: 35g
- Sodium: 210mg
- Fat: 32g
- Saturated Fat: 19g
- Unsaturated Fat: 13g
- Trans Fat: 0.5g
- Carbohydrates: 35g
- Fiber: 1g
- Protein: 8g
- Cholesterol: 95mg



Comments are closed.