
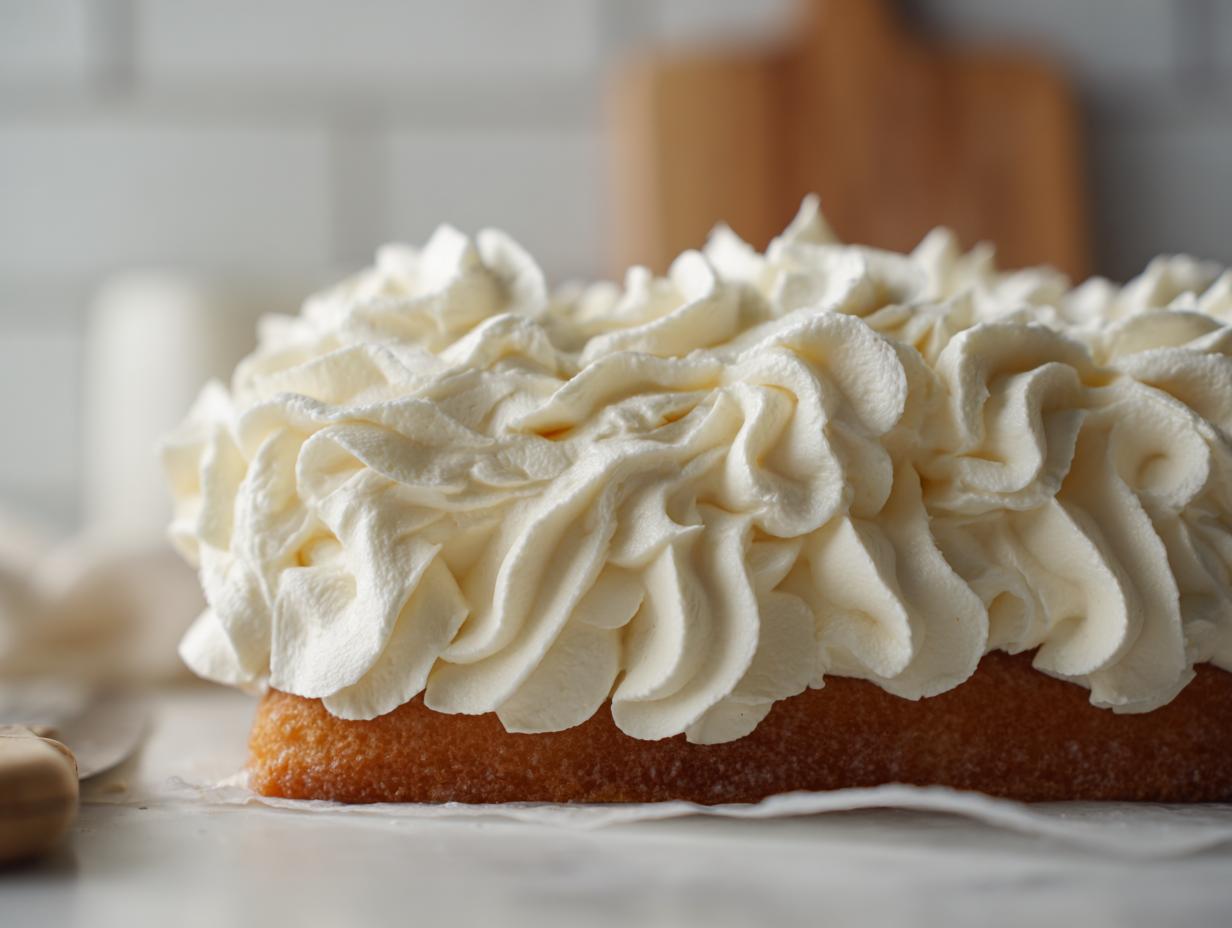
Listen, achieving that dreamy, impossibly smooth, bakery-style finish on your cupcakes used to feel like a total mystery, right? Well, I’m here to tell you the secret isn’t magic, it’s just a solid, no-fuss technique. You’ve found it! This is my absolute go-to, the ultimate fluffy and stable American vanilla buttercream recipe, and I swear we can whip this up in less than 15 minutes. Seriously! I’ve wasted so much time with wobbly, runny frosting over the years, but this one sets up beautifully for piping, tastes rich and perfectly sweet, and never lets me down when I need amazing buttercream for cakes. Trust me, once you see how easy this classic vanilla frosting is, you’ll never look back!
Why This is the Best Vanilla Buttercream Recipe for Cakes
When people ask me for the “best vanilla buttercream recipe,” I usually just hand them this note card, honestly. This isn’t some fussy swiss meringue business—this is real, honest-to-goodness American buttercream that tastes incredible and, even better, it actually *holds its shape*. You know how some homemade frostings melt if your kitchen gets a little warm? Not this one! It’s the secret weapon for that gorgeous, professional bakery style frosting look without needing to go to culinary school. It’s smooth, it pipes like a dream, and the vanilla flavor really sings. If you’re looking for a great recipe to compare it to later, definitely check out my cream cheese frosting notes!
If you’ve ever struggled with stiff, grainy frosting made for decorating, this is your answer. We’re focusing heavily on technique here, which is what turns simple kitchen staples into something truly special. This entire guide is about getting that stable, thick texture that makes piping easy for beginners but still holds up beautifully for fancy borders.
Achieving Fluffy Buttercream Tutorial Consistency
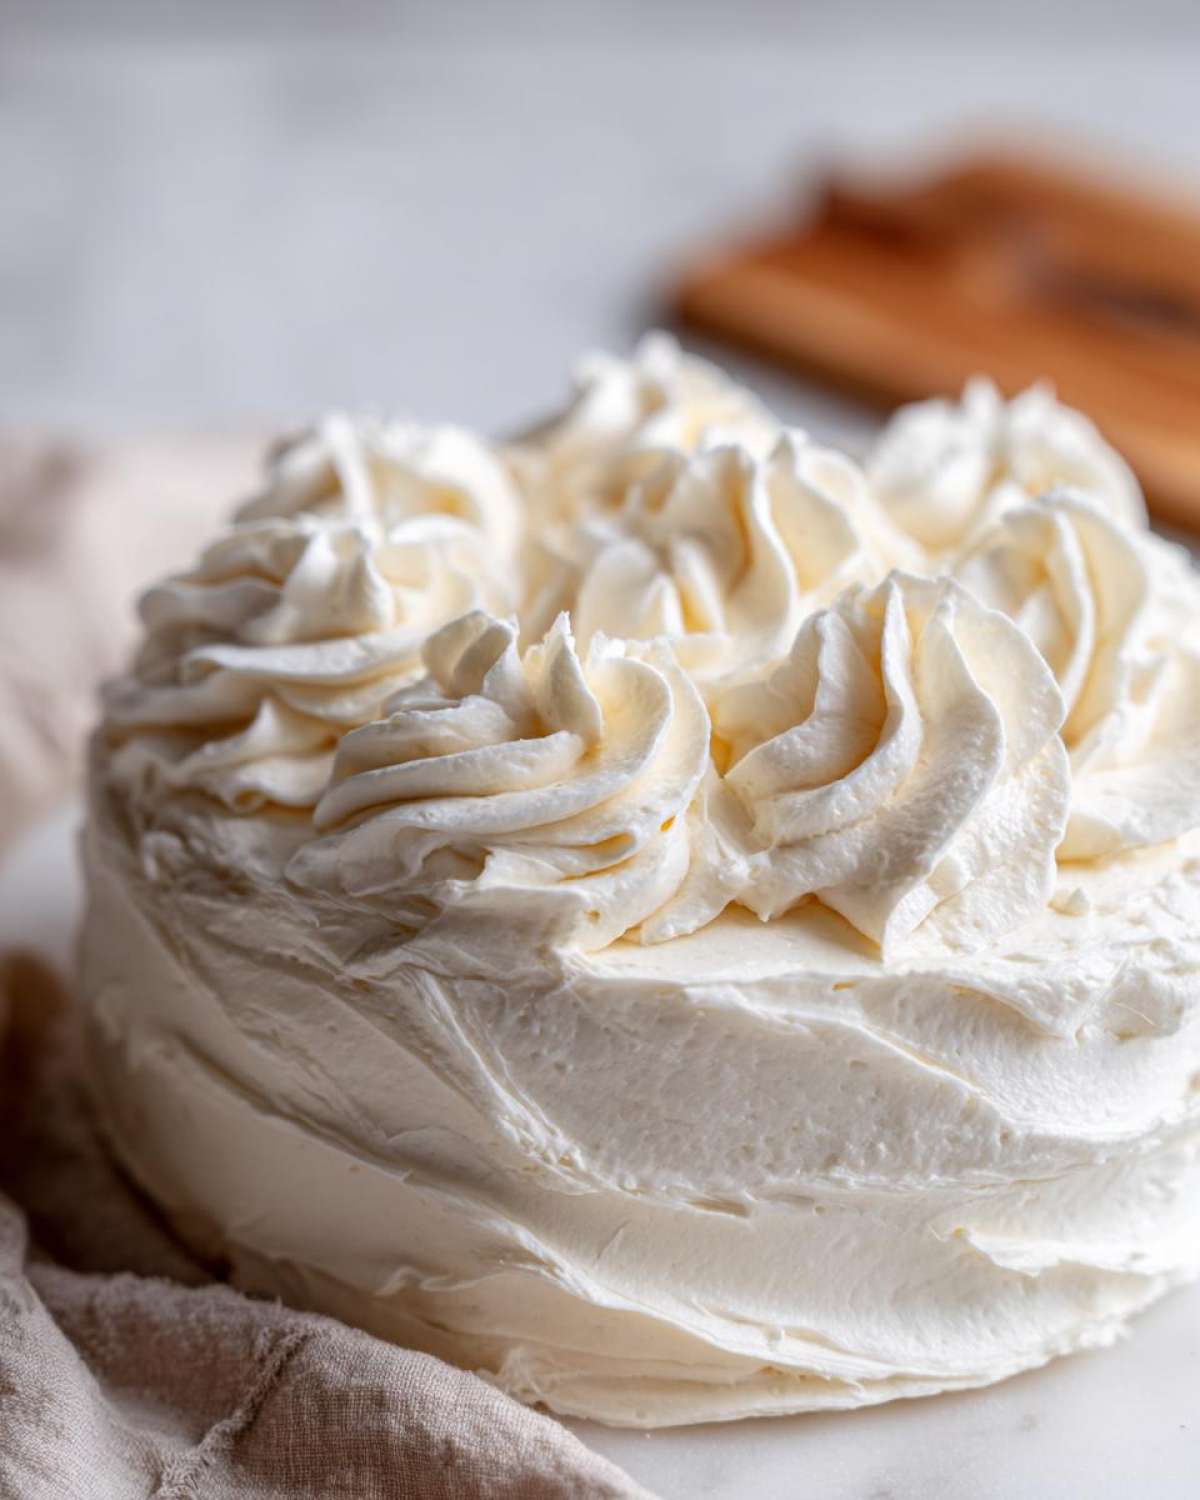
The absolute number-one step to getting that real fluffy buttercream tutorial feeling is beating your butter until it practically vanishes. Don’t just let it get soft; you need volume! Before a single speck of sugar goes in, that butter needs to be whipped on its own for a good minute or two. This initial aeration traps air, and that trapped air is what keeps your final product light and airy, not dense. It’s what ensures you get that wonderfully smooth vanilla buttercream every single time you make it.
Ingredients for Ultimate Fluffy & Stable Vanilla Buttercream
Okay, let’s talk about what goes into this incredible mixture. Honestly, the list is short, which is why the quality of each thing matters so much! When I say these ingredients are the spine of your creamy vanilla icing, I mean it. Don’t try to cheat on the butter; it ruins the whole vibe!
- 1 cup (2 sticks/226g) unsalted butter, softened to room temperature—and I mean truly soft, easy to press a finger into!
- 4 cups (480g) powdered sugar, sifted—please, please, please sift this or you’ll be fighting lumps later.
- 1 teaspoon pure vanilla extract—this gives you that warm, classic taste.
- 3 to 4 tablespoons heavy cream or milk—this is where we control the final texture.
- 1/4 teaspoon salt—don’t skip this! It cuts the sweetness perfectly.
That’s it! Four main players, plus salt. See? This is the definition of an easy homemade frosting that delivers bakery results.
Ingredient Notes and Substitutions for Your Vanilla Buttercream
I’ve tried cutting corners, and I regret it every time, so here are my non-negotiable tips for making sure this turns out perfectly smooth. First, that butter temperature is crucial—if it’s too cold, you get chunks; if it’s warm and melted, your frosting will be a runny mess. Room temperature means pliable, but still holding its shape slightly.
When it comes to vanilla, use *pure* vanilla extract for the real, rich flavor. If you are trying to make a stark white frosting for a specific decoration, you can swap the standard pure vanilla for **clear vanilla extract**. It tastes mostly the same but lacks the brown color, which helps if you are trying to dye the frosting a very light pastel shade.
Now, about the liquid: I usually start with heavy cream because the fat content helps stabilize the structure, giving you that fantastic, durable finish great for piping. If you only have regular milk, that works too, but you might need to use slightly less of it, or perhaps chill the bowl for 10 minutes before that final whip to ensure you still get that final airy lift for your **whipped buttercream**.
How to Make Vanilla Buttercream: Quick Dessert Topping Instructions
Seriously, watching this come together is better than daytime TV! Once your ingredients are ready, this is how you actually make the **buttercream**. We are making a superior **quick dessert topping** here, so pay attention to the mixer speeds; they are the key to success in this entire process.
- First things first, get that soft butter into your stand mixer fitted with the paddle attachment. Since we want this to be the ultimate **creamy vanilla icing**, beat that butter by itself on medium speed until it looks completely smooth and almost pale. That’s about two minutes, and you need to scrape down the sides halfway through to make sure everything incorporates evenly.
- Now for the sugar. Turn your mixer speed down *low*—this is important so you don’t end up covered in white powder! Add your sifted powdered sugar just one cup at a time. Wait until one cup is completely mixed into the butter before adding the next.
- Once all that sugar is in, crank the speed up to medium-high. You need to beat this mixture hard for a solid three minutes. This is where the *fluff* happens! Don’t rush this aeration stage.
- After that big fluffing session, toss in your vanilla and salt. Mix briefly just to blend those powerful flavors in.
- Finally, we add the liquid to reach perfection. Start with 3 tablespoons of heavy cream or milk. Whip it on medium-high for another 3 to 5 minutes for the fluffiest result possible.
Whipping for the Perfect Creamy Vanilla Icing
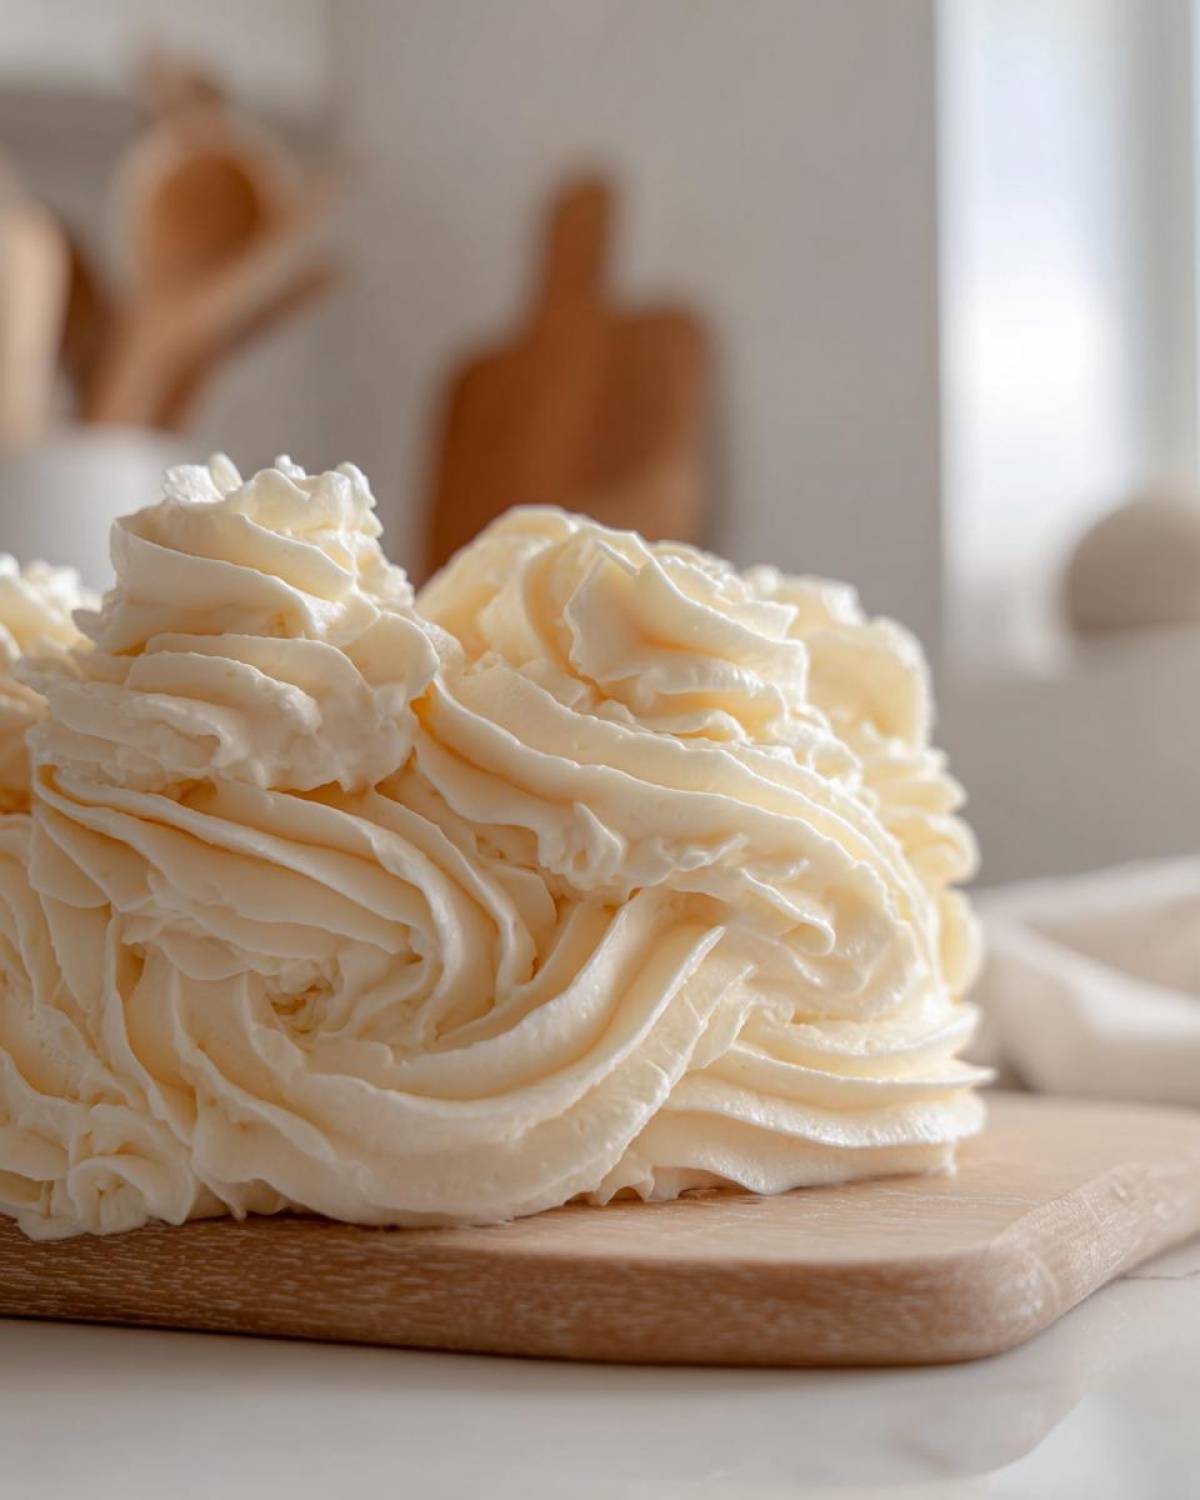
That transition from low speed to high speed is critical for developing volume. When you’re slowly introducing sugar on low, you are ensuring the sugar particles break down and combine without forcing air out of the fat structure we just created. But once that sugar is in? We are transforming it! That high-speed whipping phase is what turns dense, sweet paste into that gorgeous, cloud-like mixture you dream about. It gets visibly lighter in color the longer you let the machine run after you add the final tablespoon of liquid.
Adjusting Consistency for Piping Frosting Recipe Needs
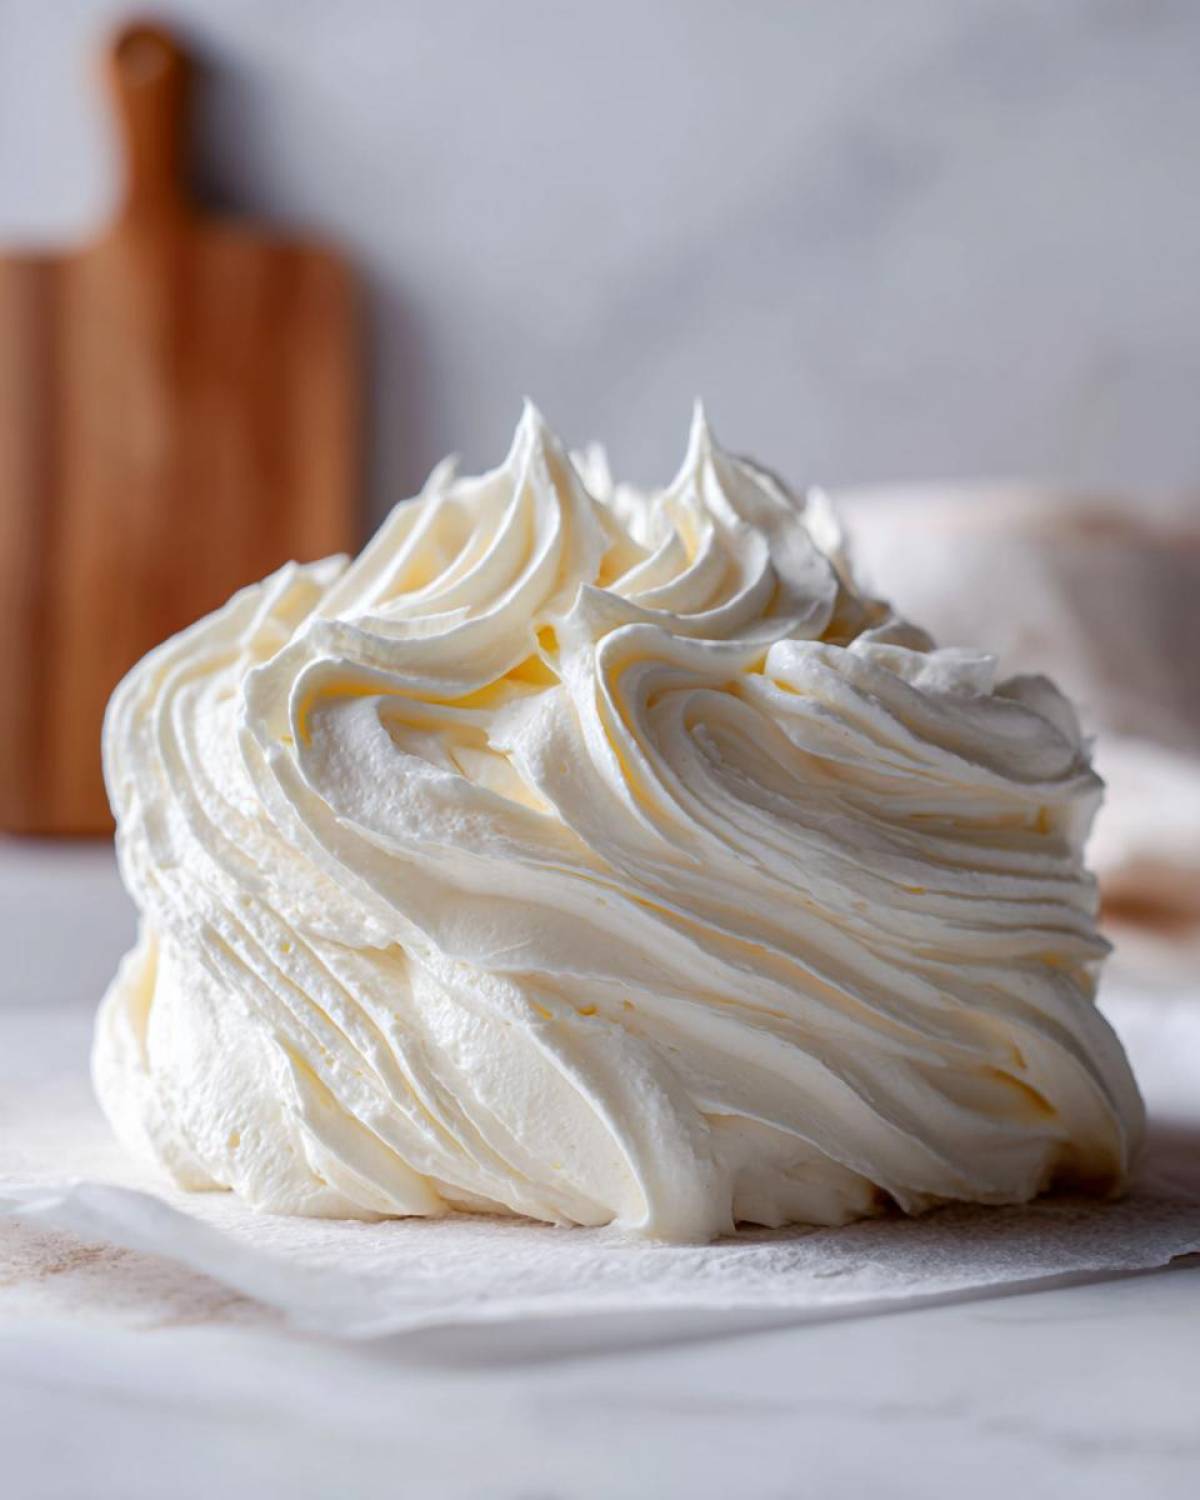
This is where you customize it for whatever job you have! If you’re just spreading this on a quick batch of brownies or cupcakes, you might stop right after step 4 or when the mixture first looks smooth after adding the 3rd tablespoon of cream. But if you need a stunning piping frosting recipe, lean toward that 4th tablespoon—or even a tiny bit more, one teaspoon at a time. Remember, too stiff, and it won’t come out of the piping tip smoothly; too thin, and your perfect little rosettes will droop right off your dessert. Watch the mixer; if the sides of the bowl look dry and the frosting is just spinning off the paddle, that is your cue to stop! That usually means you have a perfect, **stable frosting for decorating** texture.
Tips for Making Perfect Buttercream: Troubleshooting Common Issues
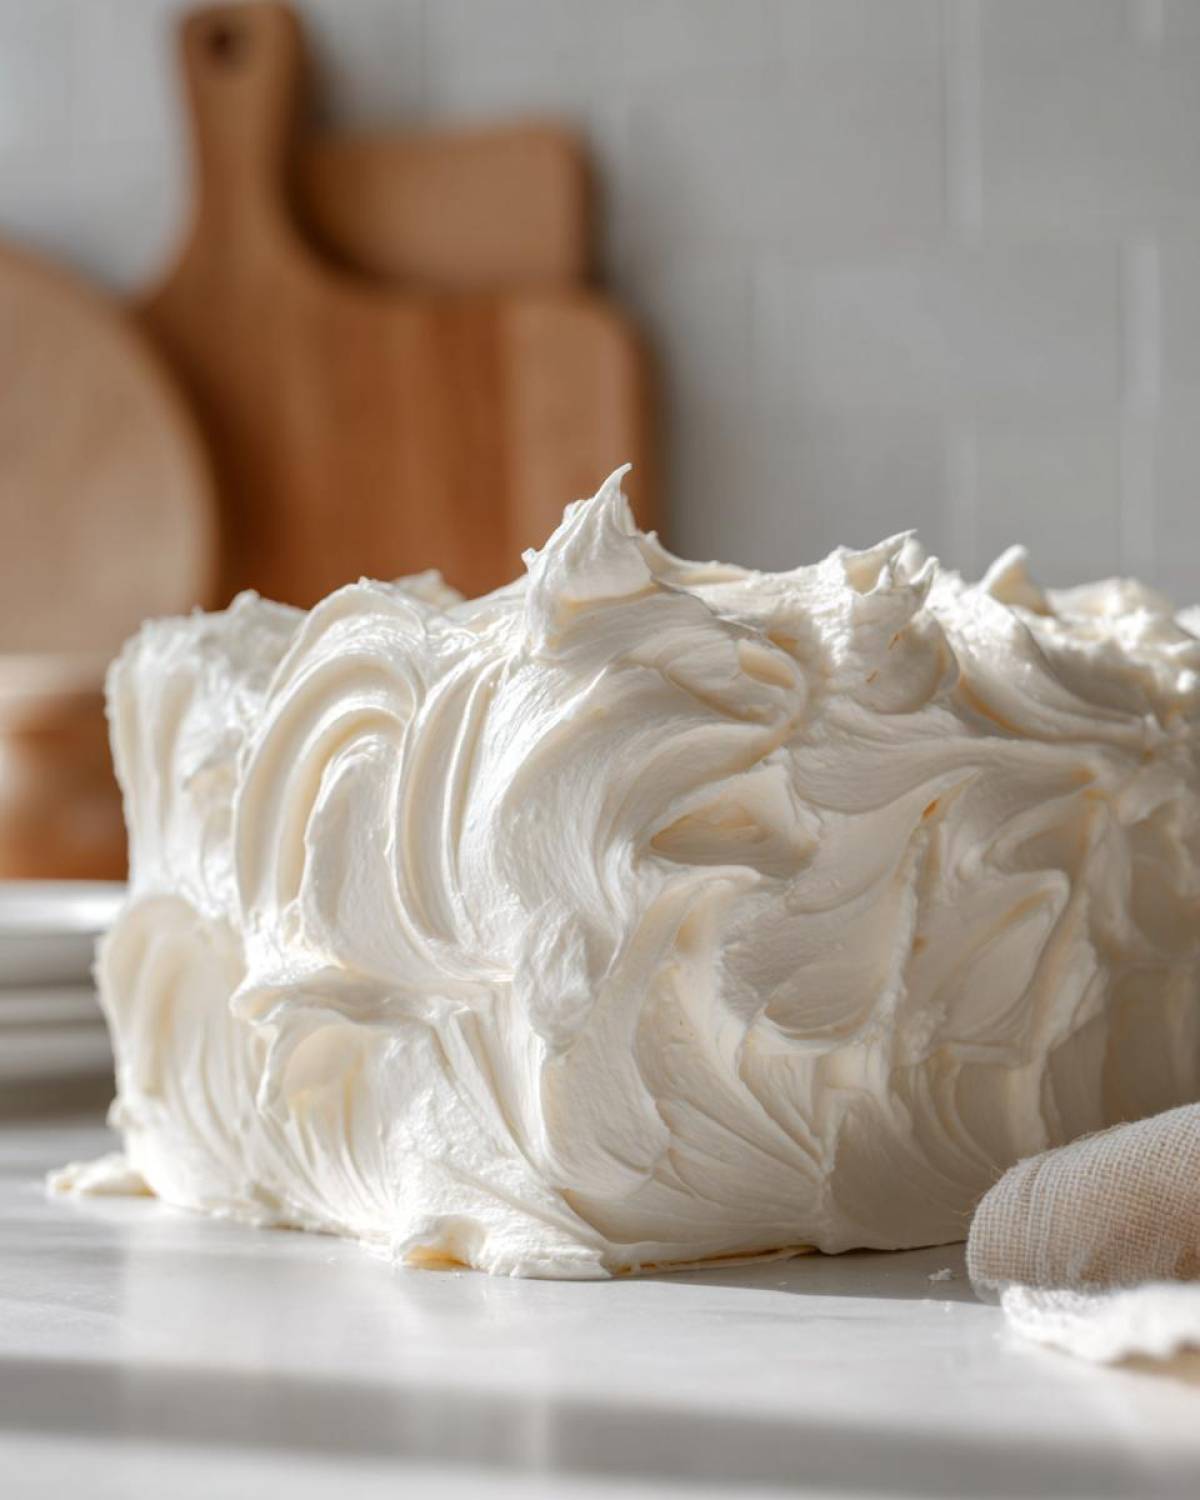
Look, even when you follow the best recipe in the world, sometimes kitchens fight back, right? Don’t panic if your **vanilla buttercream** doesn’t look exactly like the photo the second you finish whipping it. Troubleshooting is just part of being a good cook, and I’ve figured out all the fixes for the common gremlins that attack frosting. If you ever need a totally different, but still amazing, bake, remember my blueberry muffins are always a hit!
The number one issue I always hear about is graininess. If your frosting tastes sandy or like you’re chewing on sugar, it almost always means the powdered sugar wasn’t sifted well enough, or you didn’t whip it long enough after adding it. Remember what I said about the three-minute high-speed whip? That time is essential for breaking down those tiny crystals. If it’s a little grainy, just pop the mixer back on medium-high speed and let it run for another two minutes. Patience is your best friend here for that **smooth vanilla buttercream**!
What if your frosting seems too soft or greasy? This usually happens if your butter was too warm to begin with, or if you live somewhere really hot. If it’s just a little floppy, I promise you don’t need more sugar! Just scrape the bowl down, cover it with plastic wrap, and pop the entire mixing bowl (paddle attachment off, obviously!) into the freezer for about 10 to 15 minutes. You are aiming for it to firm up, not freeze hard. Once it’s cool, pull it out and re-whip it on medium speed for a minute. That sudden chill firms up that butter structure, making it firm enough again for spreading or piping thick decorations. It’s my favorite trick for rescuing a batch!
And if you find yourself needing a slightly lighter texture—maybe you want it airier for fluffy cupcakes—you can incorporate a tablespoon of heavy cream while running the mixer on high. It whips right up! This approach makes your frosting lighter and fluffier, which is why some people call this style **whipped buttercream**. See? Totally fixable problems!
Storage and Serving Suggestions for Your Classic Vanilla Frosting
Now that you’ve made this gorgeous, unbelievably good **vanilla buttercream**, you definitely want to know how to keep it perfect. I get asked all the time how long this **creamy vanilla icing** lasts, and where’s the best place to keep it, especially if you’ve made a huge batch for an upcoming party!
For short-term storage, like if you’re just decorating the next day, leaving your finished buttercream covered tightly at cool room temperature is totally fine. If your kitchen is warm—I mean, truly hot—the butter might start getting too soft, and you risk losing that structural stability we worked so hard for. If you’re not using it within 24 hours, I always whisk it straight into the fridge.
When it comes to the fridge, seal it up tight in an airtight container. This recipe is so well-balanced that it usually stays perfectly good for up to two weeks refrigerated. But make sure it’s covered well because buttercream acts like a sponge and will happily soak up the smells of whatever else is in your fridge—no one wants their cake tasting like last night’s garlic roasted broccoli!
The biggest mistake people make is trying to frost a cake with rock-hard, refrigerated frosting! If you pull it out of the fridge, you absolutely must let it come back to room temperature. This usually takes an hour or two, depending on how much you made. Once it’s warm enough, it will look a little greasy—don’t panic! Just scrape it down into your mixer and beat it again on medium speed for about 3 to 5 minutes. It reincorporates the air and becomes gorgeously smooth and pipeable again. It’s just as good as when you first made it, truly! It’s the perfect consistency for **buttercream for cakes** or just spreading thick on top of a batch of homemade carrot cake.
If you’ve made way too much (which, let’s be honest, happens!), this recipe freezes like a dream. Separate it into freezer-safe containers, wrap them really well, and pop them into the deep freeze. When you’re ready to use it, thaw it slowly in the fridge overnight, then bring it to room temperature and re-whip it just like I described above. It’s the best way to always have some ready-to-go **vanilla frosting recipe for cookies** on hand!
Frequently Asked Questions About American Buttercream Guide
I know that when you’re following any recipe for the first time, you’ve probably got a few nagging questions floating around—especially when it comes to frostings. This is my comprehensive **American buttercream guide**, designed to make sure you feel super confident making this **no fail buttercream** batch after batch. We’ve already covered a lot of ground on stability and fluff, but let’s hit a few common snags!
If you’re looking for another incredibly simple recipe, my honey bran muffins are another basement favorite that can’t be messed up!
Can I use salted butter in this vanilla buttercream?
Oh, that’s a great question, and the answer is yes, you totally can! But here’s the thing: you have to adjust the salt measurement we added in the recipe. Remember, we put in 1/4 teaspoon of salt that was meant to balance the pure sweetness of four cups of powdered sugar. Salted butter usually carries about 1/4 teaspoon of salt *per stick* (half a cup). Since we use two sticks, that means your salted butter already brings about 1/2 teaspoon of salt to the party!
If you use standard rates of salt, you might end up making your beautiful **vanilla buttercream** taste a little… metallic or just too savory. So, if you use salted butter, leave out the extra 1/4 teaspoon of salt we listed in the main recipe ingredients entirely. Taste it before you add any more! This keeps the flavor balanced but lets you use what you have on hand.
How long does this creamy vanilla icing last?
This is the best part about American buttercream—it’s pretty resilient! Stored properly, this **creamy vanilla icing** lasts quite a while. If you just made it and you’re keeping it covered tightly at a cool, consistent room temperature (say, 68-70°F), it should be perfectly fine for serving for about two days. It might get a tiny bit softer, but just give it a quick 30-second re-whip if needed.
For longer storage, you definitely want the fridge. Sealed airtight, it keeps beautifully cold for up to two weeks. Just remember the warming-up procedure I mentioned earlier—let it sit out for an hour or two, then rewhip it to get back that amazing, airy texture that makes this feel like that perfect **whipped buttercream**!
Estimated Nutritional Data for Classic Vanilla Frosting
Now, I know when you’re whipping up something this delicious, you probably aren’t thinking about macros, but sometimes people ask! I went ahead and pulled the estimates from the recipe calculator, just so you have the data on hand for your records. Remember, since we are dividing this up into roughly 1/4 cup servings (which is a generous dollop for a cupcake!), these numbers are based on that standard serving size.
I always tell people to take these numbers with a grain of salt—ha!—because the exact values really do depend on the specific brands of butter and sugar you use. But this gives you a very good baseline for your homemade classic vanilla frosting.
- Serving Size: 1/4 cup
- Calories: 380
- Fat: 20g (mostly Saturated Fat at 12g)
- Carbohydrates: 51g (and yes, most of that is sugar at 50g!)
- Protein: 1g
- Cholesterol: 60mg
See? It’s definitely a treat, but that’s what **buttercream for cakes** is supposed to be! It’s rich, it’s sweet, and it makes everything better. Enjoy it knowing exactly what’s in your perfect batch of dessert topping!
Share Your Ultimate Fluffy Vanilla Buttercream Creations
Whew! We made it! Hopefully, your kitchen smells like pure vanilla heaven right now, and you’ve got a bowl of the fluffiest, sturdiest **vanilla buttercream** you’ve ever dreamed up. Now that you’ve mastered this technique, I absolutely need to see what you made! This is the part where you show off all that hard work you put in beating that butter!
Did you use it on cupcakes? Did you pipe beautiful borders onto a batch of cookies? Did you manage to get that incredibly smooth finish without stressing out? Please, please leave a comment below and tell me how it went! I read every single one, and it genuinely makes my day to hear that this recipe worked perfectly for you.
Even more importantly, if you took pictures of your decorating adventures—especially if you were trying out a fancy border—tag me on social media! Seeing how this **stable frosting for decorating** behaved out in the real world is so helpful, not just for me but for other bakers reading through later. Use the hashtags for this recipe so I can find them all! If you’re looking for another family favorite you can whip up quickly after this frosting adventure, you absolutely have to check out my chicken fried rice recipe next time you need a savory dinner!
And hey, if you loved this recipe and feel like it deserves a spot on your “favorites” list, please take a quick second to give it a star rating at the top of the recipe card. It truly helps newer bakers trust this method. Happy decorating, sweet friends!
Print
Ultimate Fluffy and Stable American Vanilla Buttercream Frosting
- Total Time: 10 min
- Yield: About 3 cups
- Diet: Vegetarian
Description
This recipe provides instructions for making a creamy, fluffy, and stable American vanilla buttercream, perfect for frosting cakes, cupcakes, and decorating.
Ingredients
- 1 cup (2 sticks/226g) unsalted butter, softened to room temperature
- 4 cups (480g) powdered sugar, sifted
- 1 teaspoon pure vanilla extract
- 3 to 4 tablespoons heavy cream or milk
- 1/4 teaspoon salt
Instructions
- Place the softened butter in the bowl of a stand mixer fitted with the paddle attachment. Beat the butter on medium speed until it is completely smooth and creamy, about 2 minutes. Scrape down the sides of the bowl.
- Gradually add the sifted powdered sugar, one cup at a time, mixing on low speed until just combined after each addition.
- Once all the sugar is incorporated, increase the speed to medium-high and beat for 3 minutes until the mixture is light and fluffy.
- Add the vanilla extract and salt. Mix briefly to combine.
- Add 3 tablespoons of heavy cream or milk. Beat on medium-high speed for another 3 to 5 minutes until the buttercream is very light, fluffy, and smooth. If the frosting seems too stiff for spreading or piping, add the remaining tablespoon of cream, one teaspoon at a time, until you reach your desired consistency.
- Use immediately for frosting or piping.
Notes
- Ensure your butter is truly at room temperature, not melted, for the best texture.
- Sifting the powdered sugar prevents lumps in your finished frosting.
- For a whiter frosting, substitute clear vanilla extract for standard vanilla extract.
- If the frosting gets too soft while working, chill the bowl for 10 minutes and then re-whip.
- Prep Time: 10 min
- Cook Time: 0 min
- Category: Dessert Topping
- Method: Mixing
- Cuisine: American
Nutrition
- Serving Size: 1/4 cup
- Calories: 380
- Sugar: 50
- Sodium: 55
- Fat: 20
- Saturated Fat: 12
- Unsaturated Fat: 8
- Trans Fat: 0
- Carbohydrates: 51
- Fiber: 0
- Protein: 1
- Cholesterol: 60



Comments are closed.