
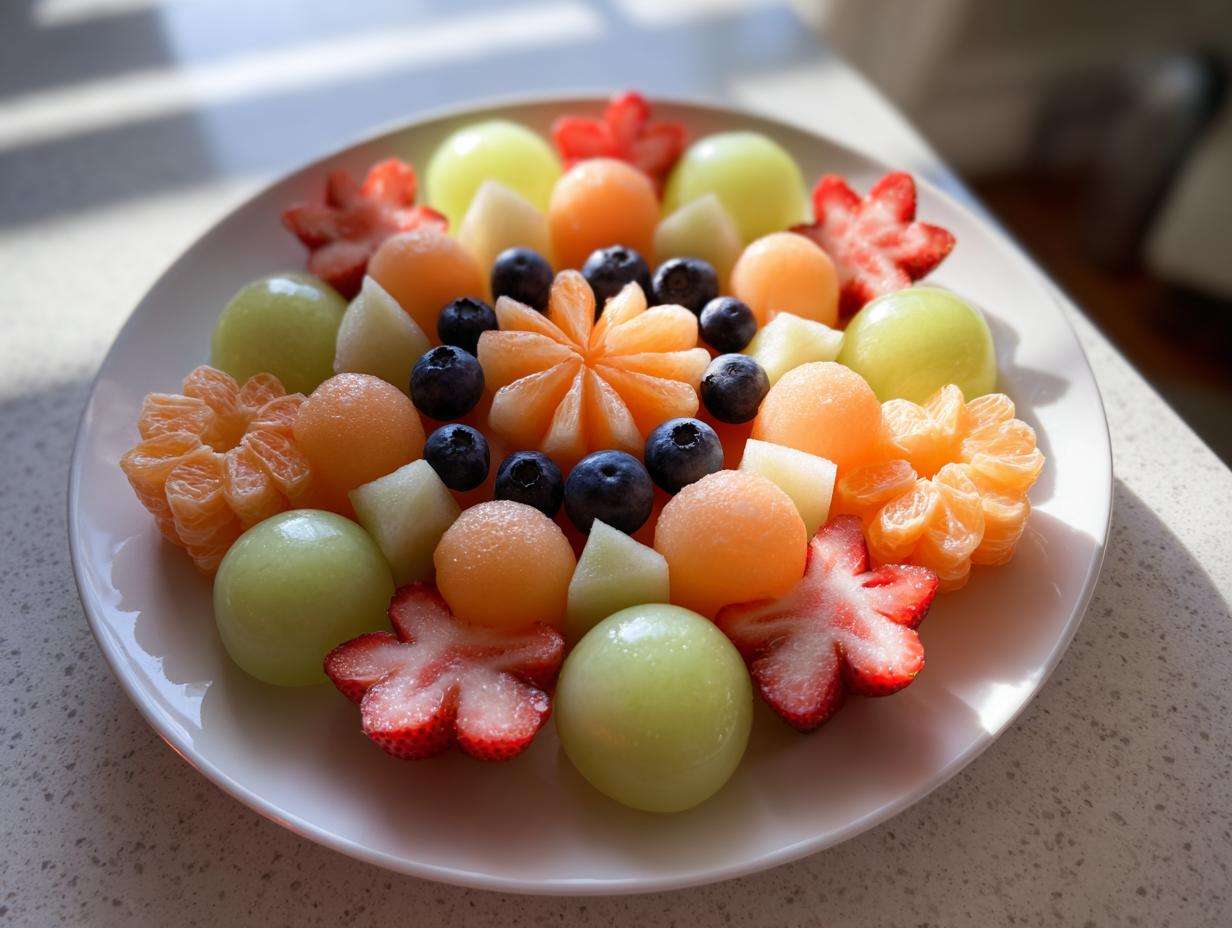
Listen, I know planning a shower or a first birthday party can feel overwhelming. You’ve got the cute decorations picked out, the guest list is set, but what about the food? People always remember the food that really *shows* they put thought into the event, and honestly, nothing says custom love like a gorgeous spread. That’s why I’m sharing my secrets today for assembling the most stunning **Baby Bloom Fruit Platter** you’ve ever made. Trust me, this isn’t just fruit thrown on a board; it’s edible artistry designed to be the stunning centerpiece your celebration deserves!
Why This Baby Bloom Fruit Platter is the Perfect Celebration Centerpiece
I’m telling you, a good fruit platter just elevates everything! When I designed this **Baby Bloom Fruit Platter**, I wasn’t just thinking about snacks; I was thinking about the ‘wow’ factor when your guests walk in. It looks incredibly complex, but honestly, it’s just smart arranging. This checks all the boxes for a beautiful yet healthy party spread. If you love pretty food, this is your moment—it honestly shines almost as bright as some of my favorite fruit pizza cookies!
- It’s a completely refreshing alternative to all those heavy, sugary sweets you see everywhere.
- The look itself provides an incredible focal point—it’s a truly themed fruit arrangement.
- It’s surprisingly fast to put together once you have your fruit cut, which means less stress on party morning!
Aesthetic Appeal: Creating a Blooming Fruit Centerpiece
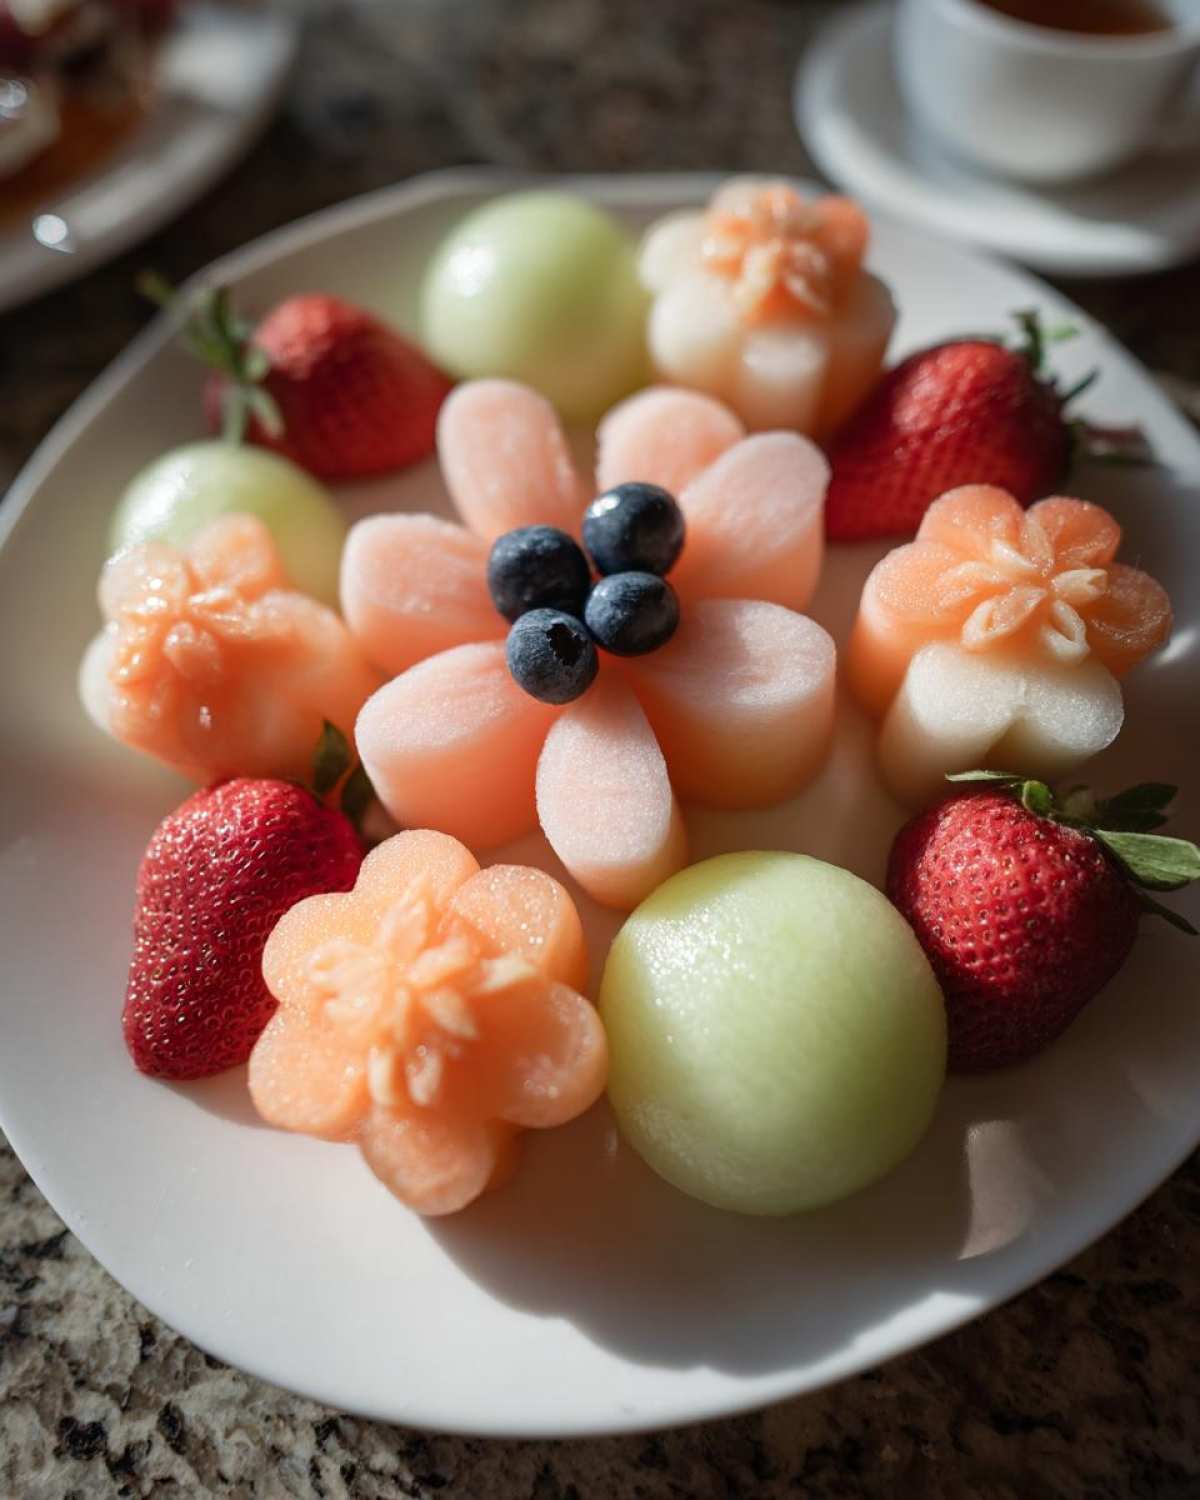
Seriously, the visual payoff is huge. We’re using cookie cutters to make tiny pineapple flowers and nestling halved strawberries around melon balls to mimic opening petals. If you want that soft, dreamy look, this naturally becomes a gorgeous pastel fruit platter for baby showers. The colors just pop against white serving ware!
Event Adaptability: From Gender Reveal to Baby’s First Birthday Fruit Platter
This design is so flexible! Need ideas for a gender reveal? You can easily swap out blueberries for pink raspberries on one side and maybe darker purple grapes on the other. Or, if it’s a first birthday, you can focus completely on bright, cheerful colors. It looks amazing on any large table setting, making it ideal for your Fruit platter ideas for gender reveal situations.
Gathering Supplies for Your Baby Bloom Fruit Platter
Okay, before we even *think* about washing fruit, we need our tools ready. This is what separates a haphazard fruit pile from a sensational **Baby Bloom Fruit Platter**! Honestly, having the right gadgets makes the shaping part fun instead of frustrating. You’ll want a good, sharp paring knife, obviously, but the real stars here are the shapers. Good prep means zero stress when the guests are almost here.
If you’re looking for easy recipes to share alongside the fruit, I highly recommend checking out these easy honey bran muffins—they are another crowd-pleaser!
Essential Equipment for Creative Fruit Shaping Techniques
My number one must-have is a small set of metal cookie cutters. Forget the massive ones; you need tiny shapes! I use a very small four-petal flower cutter specifically for the pineapple slices—it makes them look instantly professional. Secondly, a proper melon baller is essential for those perfect little spheres of honeydew and cantaloupe that form the heart of your ‘blooms’. Don’t try to use a spoon; you’ll just end up with messy chunks, and we want precision here!
Ingredients for the Elegant Baby Bloom Fruit Platter
Now we get to the fun part: choosing our colors! When assembling your **Baby Bloom Fruit Platter**, aim for a good mix of soft pastels and vibrant pops. You want about eight servings, so be generous with your portions. I always buy just a little extra of the melons because they look so fantastic molded.
Here is exactly what I pull out for this arrangement. If you need some great savory ideas to balance this snack, my easy egg bites are perfect alongside this!
For the body of the platter, you need one cup of strawberries, which should be halved beautifully. Next up are the stars of the show: one cup of pineapple, which you must cut into flower shapes using that small cutter we talked about. For the soft, round base of the ‘blooms,’ grab one cup of cantaloupe cut into small balls or cubes, and also one cup of honeydew melon, prepared the same way—balls or cubes work well.
To add contrast and fill in the gaps, grab one cup of green grapes. For the centers of those strawberry ‘flowers,’ we need one cup of blueberries and half a cup of raspberries for that nice dark pop. Finally, for the leafy accents, grab one small kiwi, thinly sliced for decoration, and if you’re feeling fancy, about a quarter cup of edible flowers to garnish the whole thing.
Step-by-Step Assembly: How to Make a Decorative Fruit Board
Alright, you have all your beautiful, pre-cut fruit. Now it’s time to transform it into the centerpiece everyone will be staring at! Creating this Baby Bloom Fruit Platter is all about strategic placement. You’re going to build these ‘flowers’ from the inside out. Before you even touch a grape, make sure your largest platter or board is clean and ready; presentation is everything here!
Preparing the Fruit Bases and Petals
First things first: wash everything meticulously. Then, confirm your shapes are done. Are those pineapple flowers perfectly cut out? Are your melon balls uniformly round? Good! Now, choose your largest round board. We start assembling immediately after prepping because we want everything looking as fresh as possible. If you have your chicken fried rice standing by, make sure this fruit board goes on the table last!
Arranging the Blooms and Centers
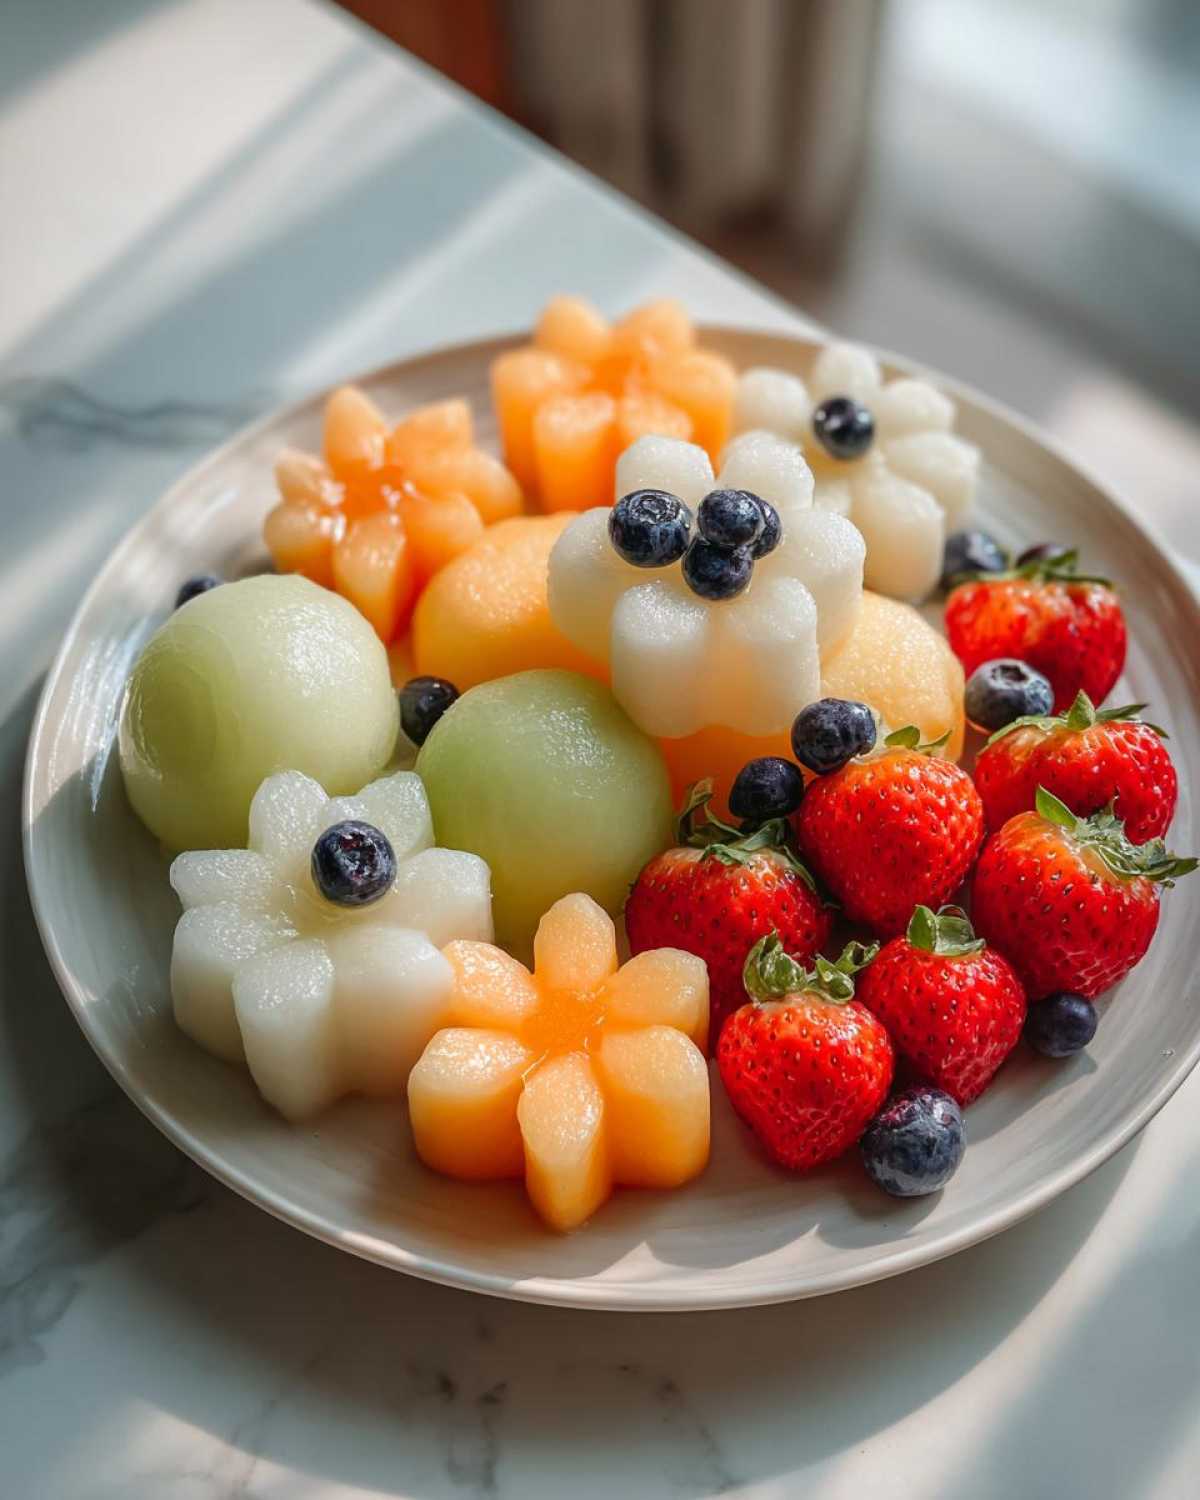
Take those cantaloupe and honeydew melon balls—these are the sturdy hearts of our little blossoms. Place them in small clusters scattered across your platter. Don’t overcrowd yet! Next, grab those halved strawberries. Arrange the cut side of the strawberry so it flares out around the melon cluster, mimicking petals opening up towards the sun. This detail really sells the ‘bloom’ look. Once the petals are set, gently drop a few of those darker blueberries or bright raspberries right into the direct center of the strawberry ring. Wow, look at that definition!
Adding Accents and Final Touches for a Pretty Fruit Presentation
Now we fill in the blanks and provide structure. Take those pineapple flowers we cut earlier and tuck them into the remaining open spaces, maybe creating a border or a secondary flower type. Your green grapes and kiwi slices are your leaves and stems—use them to connect your main flower clusters and add that necessary streak of green color. Now, here is the fun expert tip from the notes: If this is for a fruit platter ideas for gender reveal, this is where you use blue or pink grapes very distinctly around the edges of your main clusters. Finally, if you have those pretty edible flowers, sprinkle them lightly around the edges for that extra delicate, elegant finish!
Tips for Success with Your Themed Fruit Arrangement
Listen, the presentation might be the star, but we don’t want sad, soggy fruit an hour after the guests arrive! The biggest secret here is hydration control. If you’re using the melons, cut them up, put them in a container, and keep them tucked away in the fridge until about 45 minutes before the party starts.
Also, think about who is eating! If you have lots of little ones toddling around, remember the ‘cute fruit display for toddlers’ rule: no sharp edges, and nothing that poses a choking hazard. I always grab a small paring knife and slice any grapes in half or quarters even if they aren’t part of the flower design.
If you’re serving this alongside something richer, like those amazing crockpot steak bites, offer small dipping sauces on the side, like a little Greek yogurt mixed with honey. It adds another layer of flavor without ruining the beauty of the arrangement!
Storage and Serving Suggestions for Your Baby Bloom Fruit Platter
Figuring out when to build this beauty is key to keeping your **Baby Bloom Fruit Platter** looking perfect. Since we cut everything right before assembly, it looks its absolute freshest within two to three hours of setting it out. If you absolutely must get ahead, cut and store all the melon and pineapple separately in airtight containers—they handle chilling really well. Avoid cutting the berries or kiwi until the day of the party, though!
When it comes to serving, this platter is fantastic on its own. But if you want to fancy it up, offer small bowls of creamy pairings on the side. A light fruit dip is always a winner! I love making a simple Greek yogurt dip, or for dessert, you could serve slices of that gorgeous no-bake peanut butter pie nearby for guests who want something richer.
Frequently Asked Questions About Creating a Baby Shower Fruit Board
I get so many questions every time I take this platter to a party! People want to know how to keep everything looking perfect, especially when you’re managing a whole **baby shower fruit board** display. Don’t worry, even if you’re not an expert arranger, these tips will help you nail that professional look. And yes, if you’re making this for little ones, safety is key, so we always adapt for a cute fruit display for toddlers! It’s all about knowing the little tricks, kind of like how I figured out the perfect quick rise for my simple whole wheat bread.
Can I cut the fruit ahead of time for the Baby Bloom Fruit Platter?
Yes, but only partially! Melons (cantaloupe and honeydew) are your best friends because they hold their shape beautifully overnight when covered tightly and chilled. You can even cut your pineapple flowers a day ahead. However, the strawberries and kiwi should wait until the morning of the event. They just start weeping liquid and getting soft too fast, and we need those sharp petal edges!
What fruits work best for achieving a pastel fruit platter for baby events?
If you are aiming for that very soft look, focus on the lighter side of the color spectrum. Honeydew for soft green, white grapes for pale yellow/white, and sometimes very pale pink raspberries work instead of the bright red strawberries. Pairing these softer tones with the deep blue blueberries creates that dreamy contrast we all love for a **pastel fruit platter for baby** showers.
Estimated Nutritional Data for the Baby Bloom Fruit Platter
As much as this platter is a feast for the eyes, it’s also a lovely, lighter option for your guests. Since this **Baby Bloom Fruit Platter** is made entirely of fresh fruit, it’s low in everything you want to limit, which is great news for everyone filling up their plates!
I want you to keep in mind that these numbers are just estimates based on the serving size of 1/8 of the whole platter. Different fruits vary widely in sugar content depending on how ripe they are, so take this as a fun guideline, not a strict lab result! It’s honestly one of the healthiest things you can serve, especially compared to some of the richer treats out there, like my amazing double chocolate zucchini bread.
- The estimated serving contains about 110 Calories.
- It clocks in super low on the scale with only 0.5g of Fat, and zero Cholesterol, which is fantastic.
- You get a healthy dose of energy from the Carbohydrates, totaling about 28g, which includes 4g of Fiber to keep things moving along smoothly!
- Protein sits around 1.5g, which is totally standard for a fruit-only dish.
Because it’s mostly whole fruit, you’re getting natural sugars, lots of vitamins, and keeping the sodium incredibly low at only around 5mg. It’s basically nature’s perfect party food!
Share Your Blooming Creation!
I swear, seeing your finished work makes all the detailed cutting worthwhile! Now that you’ve mastered the technique for the perfect **Baby Bloom Fruit Platter**, I really want to see how you styled yours. Did you go with soft pastels? Did you integrate blue or pink for a reveal? Don’t be shy—food this pretty deserves to be shown off!
Please leave a comment below and tell me what event you made this for. It helps me know what kind of party recipes you guys are looking for next! Did you pair it with my sweet potato brownies, or did you stick to totally healthy options?
If you post a picture on Instagram or Pinterest, tag me! I love seeing how you make this recipe your own. Seriously, tag me so I can gush over your beautiful blooming centerpiece. Happy arranging, and enjoy the party!
Print
Elegant Baby Bloom Fruit Platter: A Centerpiece for Showers and Celebrations
- Total Time: 30 min
- Yield: 8 servings
- Diet: Vegetarian
Description
Create a beautiful, flower-themed fruit platter perfect for baby showers, gender reveals, or first birthdays using pastel and bright fruits arranged to look like blooming flowers.
Ingredients
- 1 cup strawberries, halved
- 1 cup pineapple, cut into flower shapes using a small cookie cutter
- 1 cup cantaloupe, cut into small balls or cubes
- 1 cup honeydew melon, cut into small balls or cubes
- 1 cup green grapes
- 1 cup blueberries
- 1/2 cup raspberries
- 1/4 cup edible flowers (optional, for garnish)
- 1 small kiwi, thinly sliced for accents
Instructions
- Wash and prepare all fruit according to the ingredient list. Use a small flower-shaped cutter on the pineapple slices.
- Select a large, round platter or board to serve as your base.
- Start by placing the largest fruit elements, like the cantaloupe and honeydew balls, in clusters around the center to form the base of your ‘blooms’.
- Arrange the halved strawberries around the melon clusters, positioning the cut side down to resemble petals opening outward.
- Fill the centers of the strawberry ‘blooms’ with blueberries or raspberries to create a contrasting center.
- Use the pineapple flowers to fill in gaps or create a border around the main clusters.
- Place the green grapes and kiwi slices strategically to represent leaves and stems, adding pops of green color.
- If using, gently place edible flowers among the fruit for added decoration.
- Serve the platter immediately or cover lightly and chill until ready to present.
Notes
- For a gender reveal, use pink or blue grapes, or arrange the platter with distinct sections of pink/red fruits and blue/purple fruits.
- If making this for older toddlers, ensure all fruit pieces are cut into bite-sized, safe shapes.
- To keep the platter fresh longer, place cut melon pieces in a sealed container in the refrigerator until just before assembly.
- Prep Time: 30 min
- Cook Time: 0 min
- Category: Appetizer
- Method: Assembly
- Cuisine: American
Nutrition
- Serving Size: 1/8 platter
- Calories: 110
- Sugar: 20
- Sodium: 5
- Fat: 0.5
- Saturated Fat: 0
- Unsaturated Fat: 0.2
- Trans Fat: 0
- Carbohydrates: 28
- Fiber: 4
- Protein: 1.5
- Cholesterol: 0



Comments are closed.