
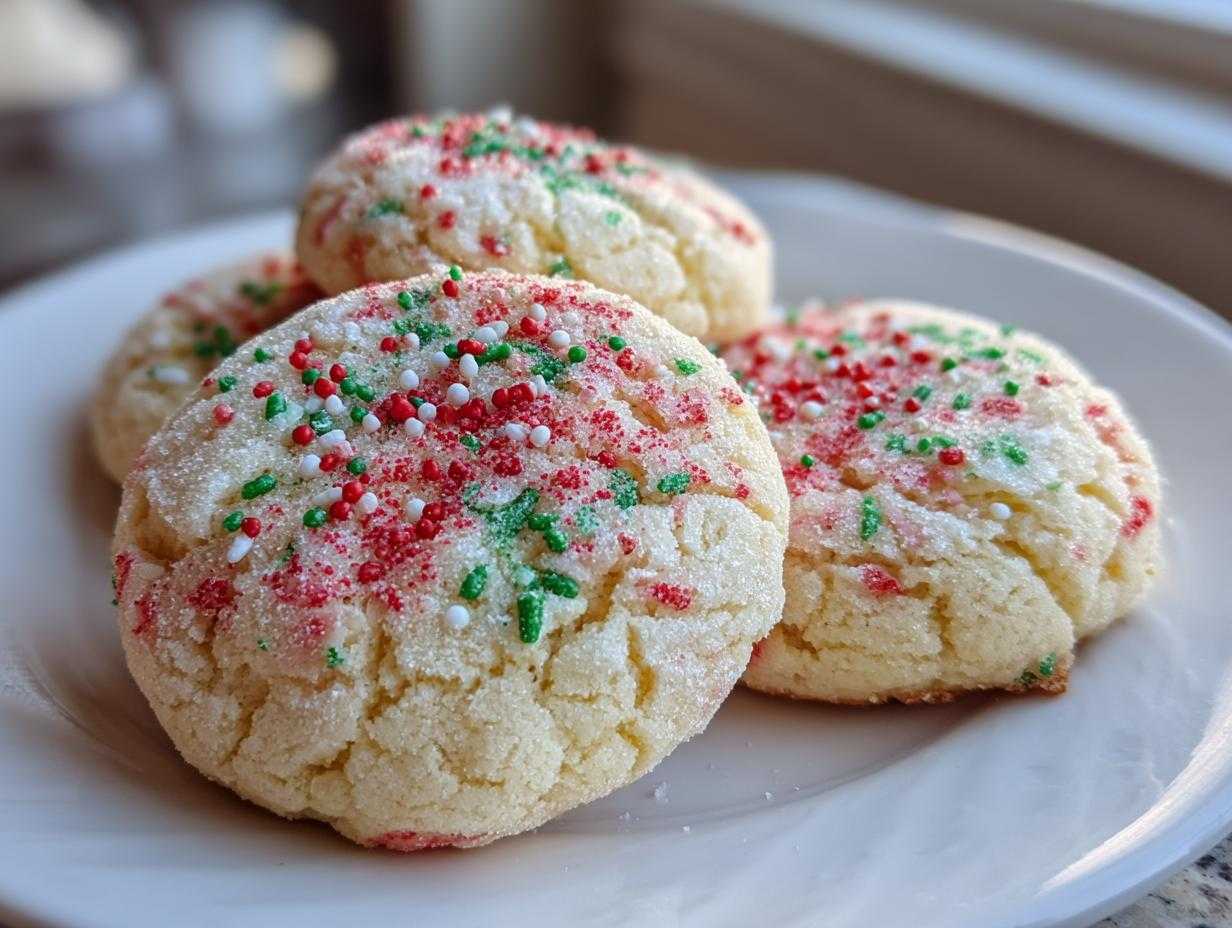
Oh my gosh, are you tired of the holiday baking rush already? Between hosting parties and trying to get gifts wrapped, the last thing anyone needs is a complicated cookie that ends up flat or dry! Listen to me: these Christmas Gooey Butter Cookies are your absolute secret weapon this year. They come together so fast because we’re cheating just a tiny bit with a cake mix base, but trust me, nobody will ever guess. The texture is spot-on—soft, chewy, and just perfectly melty. I’ve tested this specific recipe dozens of times over the years because it never, ever fails to deliver that melt-in-your-mouth center for my family’s cookie trays, and that’s why I’m sharing it with you today.
Why This Christmas Gooey Butter Cookies Recipe Works So Well
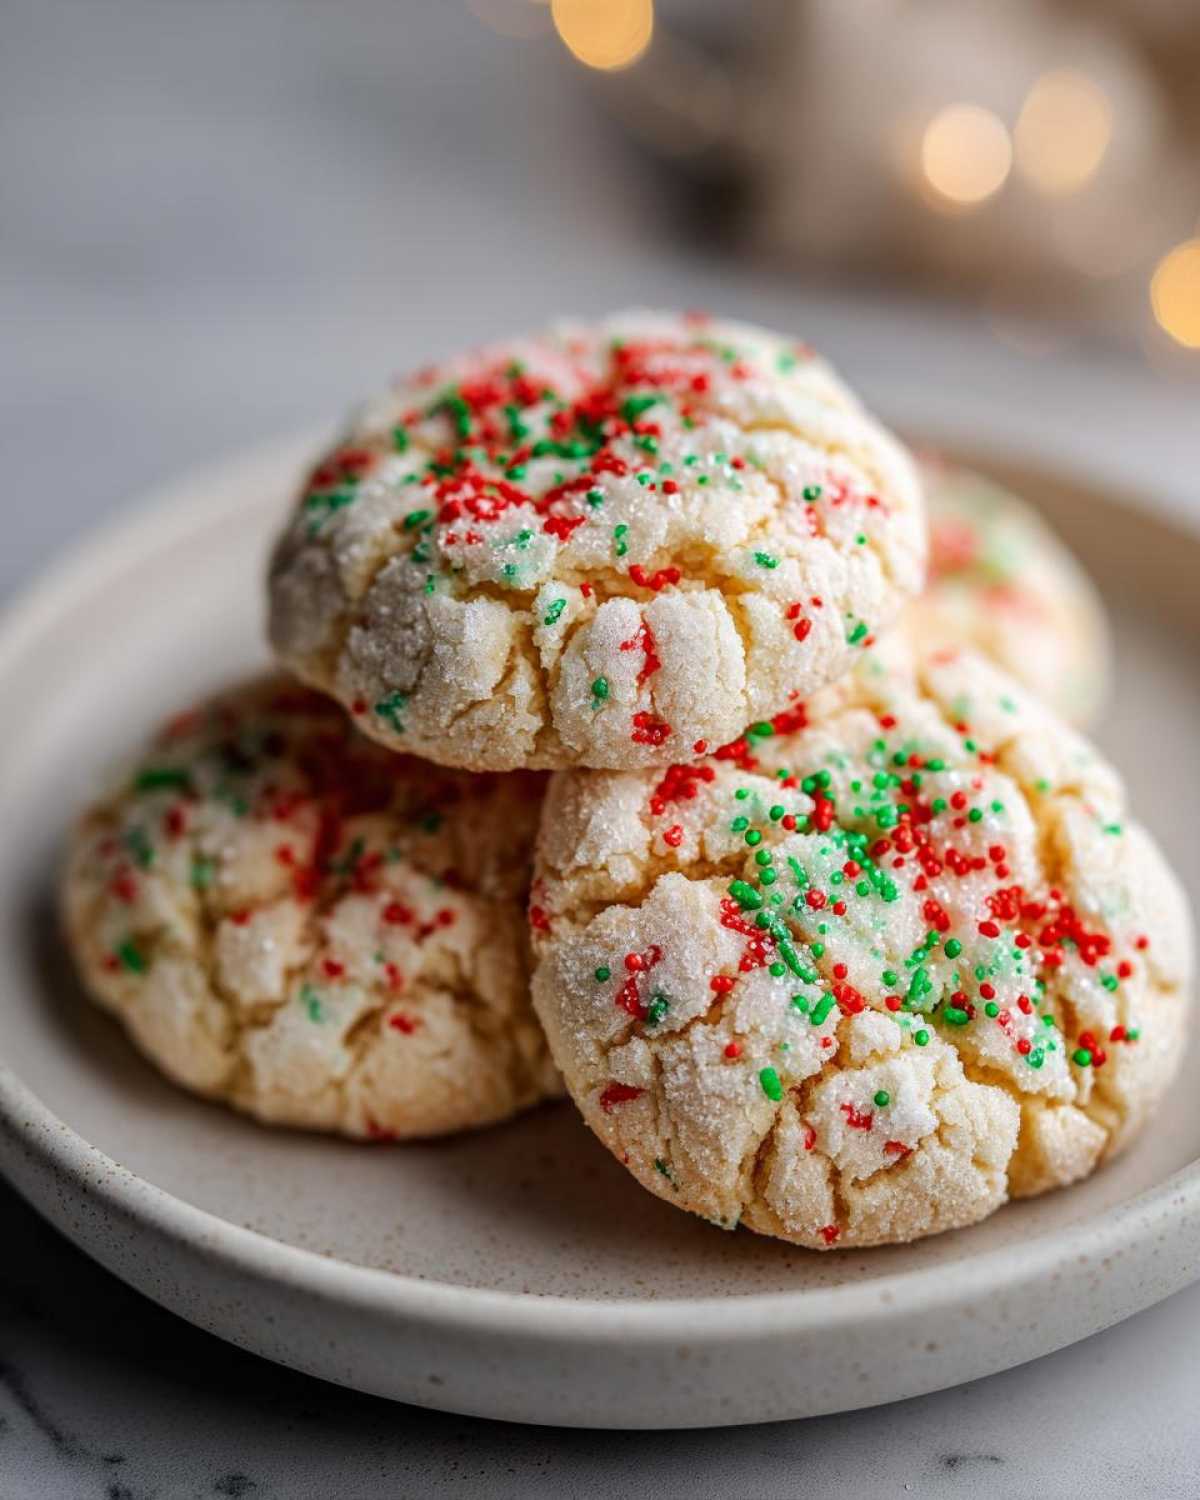
This recipe is an absolute winner because it gives you that rich, heavenly texture you dream about without spending hours mixing from scratch. The yellow cake mix is our little shortcut; it already has the right balance of flour and chemical leaveners built in, so we skip all the fussy measuring that often goes wrong. When you see recipes for Christmas Gooey Butter Cookies, you need one that guarantees that signature center, and this one nails it every time.
My confidence here comes from years of testing. I use exactly what the recipe calls for because the combination of the boxed base with the fresh cream cheese is what creates that magic contrast.
Achieving the Signature Gooey Texture in Your Christmas Gooey Butter Cookies
The key to that wonderful, melt-in-your-mouth center really comes down to two things. First, the cream cheese layer has to be smooth. If you want to see my favorite way to whip up a super-smooth cream cheese base for perfect results, check out my tips on using the best cream cheese frosting technique. Second, and this is crucial, you have to fight the urge to leave these in the oven too long! We want the edges to just barely set. If you wait until they look fully baked, you’ve already gone too far, and the gooiness escapes!
Simple Holiday Baking with Festive Appeal
Honestly, this is the poster child for Simple Holiday Baking. We get all the stunning visual impact required for beautiful Christmas Cookie Trays just by rolling them in red and green sprinkles. It’s pure holiday cheer with zero fuss. You can make a huge batch for a cookie swap faster than you can frost a dozen gingerbread men, and everyone still thinks you spent all day working magic in the kitchen. It truly is the best way to look like a baking superstar!
Essential Ingredients for Perfect Christmas Gooey Butter Cookies
Okay, let’s talk supplies! Since this is based on a cake mix, the ingredient list is thankfully short, which means less time shopping and more time snacking, right? But you have to be precise with the amounts, especially because we’re creating two separate layers here. Even though we’re cheating with the mix, the quality of the dairy and coatings matters for that signature texture.
Here is exactly what you need hanging around your kitchen—or what you should grab on your next quick grocery run:
- 1 box (15.25 oz) yellow cake mix – This is the foundation of our base dough.
- 1/2 cup unsalted butter, melted – Make sure it’s actually melted, not just soft!
- 1 large egg (for the dough base)
- 8 oz cream cheese, softened – This MUST be at room temperature so it beats up smoothly with no lumps.
- 1 large egg (for the cream cheese layer)
- 1 teaspoon vanilla extract – Don’t skimp on good vanilla here; it really brightens the flavor!
- 1 box (16 oz) powdered sugar, divided – We need this for two separate jobs, so read the steps carefully!
- 1/2 cup red and green sprinkles – Use the good, classic jimmies or sanding sugar for the prettiest look on your Christmas Cookie Trays.
That’s it! If you have these things ready, you are 80% of the way to having amazing Melt in Your Mouth Cookies ready for the cooling rack. Remember to line those baking sheets with parchment paper before you even start mixing; trust me, cleanup will thank you later!
Step-by-Step Instructions for Easy Christmas Cookies
Alright, buckle up, because this is where our easy recipe really shines. We’re going from ingredients to beautiful, colorful cookies in no time! Before we even touch the mixing bowls, let’s get the oven ready and the sheets prepped. Grab those baking sheets and line them with parchment paper; this stops any sticky surprises later on. Preheat your oven to 350°F (175°C). It’s so important that everything goes into a properly heated oven to get that perfect texture! If you need a refresher on timing things perfectly in the kitchen, I sometimes follow tips similar to what you’d use for quick breads, like those easy honey bran muffins.
These cookies involve two distinct parts—the base dough and the creamy coating—so we tackle them separately. This two-step assembly method is why we get those gorgeous cracks that look so professional on your Christmas Cookie Trays.
Preparing the Dough Base for Your Christmas Gooey Butter Cookies
First up is the base dough. In a medium bowl, we mix the main players together: the yellow cake mix, your half-cup of melted butter, and the very first egg. Just mix it until you see a soft, slightly thick dough forming. Don’t overmix it! Once it’s combined, take about a tablespoon-sized piece of that dough and roll it gently between your palms into a little ball, maybe an inch wide. Now, take about half a cup of your powdered sugar—just the first portion—and roll that dough ball completely in it until it’s coated. Set those coated little guys aside on a plate; they’re waiting for their fancy topping!
Creating the Cream Cheese Layer and Assembling the Christmas Gooey Butter Cookies
Now for the creamy part! Grab a separate bowl—please wash the first one out!—and beat your softened cream cheese until it’s wonderfully smooth. Then, beat in that second egg and the vanilla extract until it just comes together. Next, gently mix in the rest of your powdered sugar until that layer is smooth too. Take one of your powdered-sugar-coated dough balls and press it right into that cream cheese mixture until it’s totally swimming in it. Shake off the excess, and then give it a final roll in those festive red and green sprinkles. Pop it onto your prepared baking sheet, give it some space, and repeat until you’re out of dough!
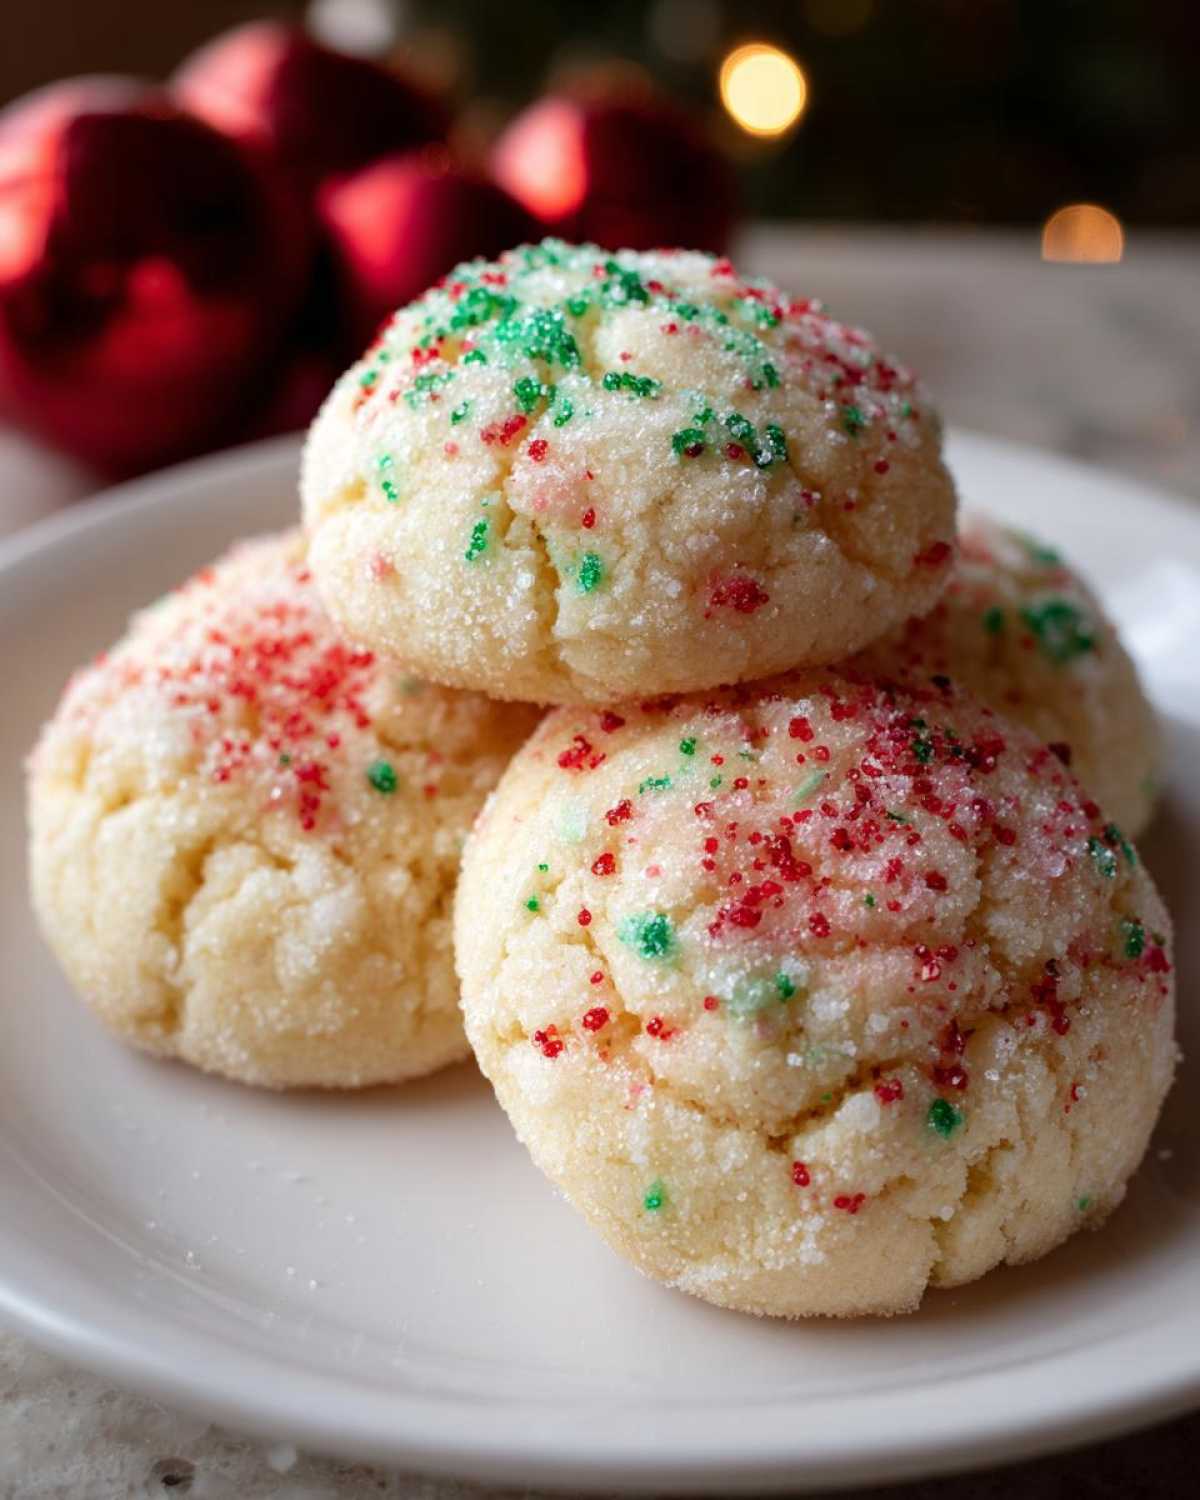
When they go into the oven, watch them like a hawk! You only bake these for 10 to 12 minutes—seriously, no longer—because we need that center to stay super soft for our desired Soft Chewy Holiday Treats.
Tips for Success When Making Christmas Gooey Butter Cookies
I cannot stress this enough: the difference between a good and a legendary batch of these Christmas Gooey Butter Cookies is purely in the baking time. If you want that signature gooey, *melt-in-your-mouth* factor, you must pull them out early! Seriously, aim for 10 or maybe 11 minutes max. The edges should look set, but the middle absolutely needs to look slightly underbaked; they firm up beautifully on the tray. That’s my main secret for these Soft Chewy Holiday Treats.
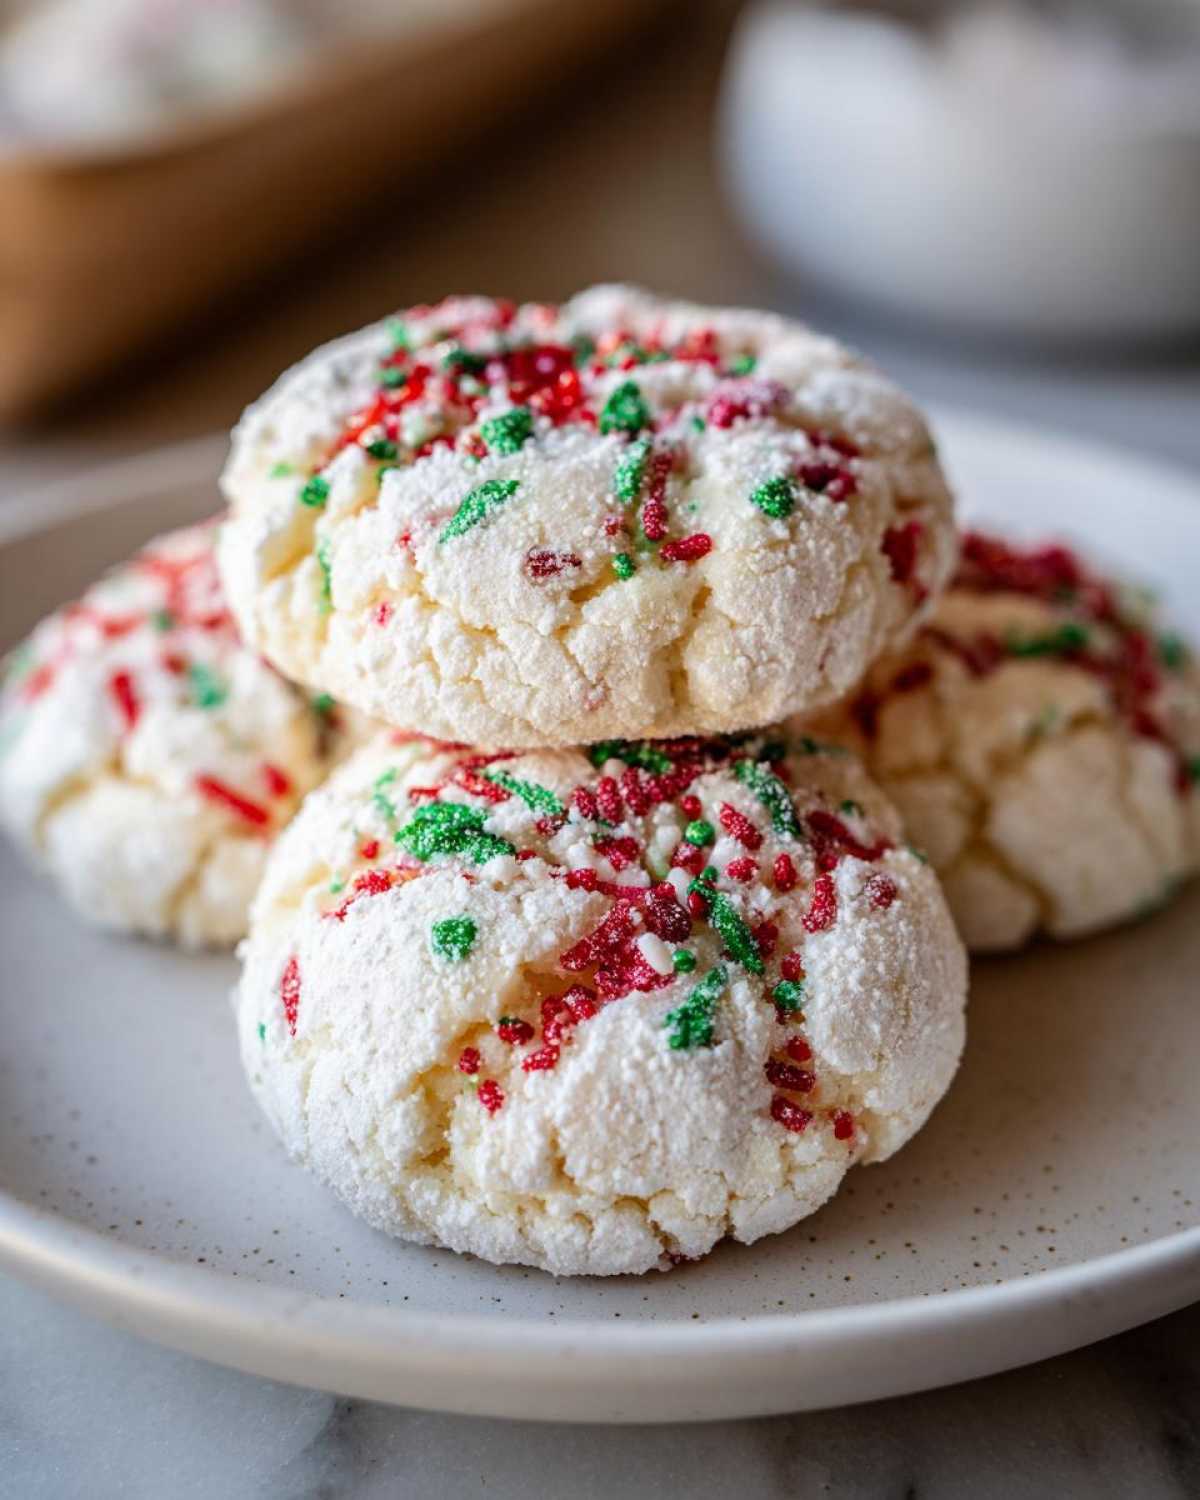
Also, remember that cream cheese tip I mentioned earlier? Make sure that block is truly soft—room temperature, not warm or melted. Lumpy cream cheese mixes into the base poorly and ruins the smooth texture. If you are curious about how dough temperature affects other cookies, like my famous one-bowl oatmeal cookies, you can read my notes on that here. Trust me on the timing and temperature!
Ingredient Notes and Substitutions for Your Gooey Butter Cookie Recipe
One of the great things about recipes that use a prepared mix as a base is how easy they are to tweak a little bit without wrecking the whole thing. This Gooey Butter Cookie Recipe is very forgiving, which is exactly what we need when we’re busy with all the other holiday craziness. You aren’t going to get in trouble making some small swaps here.
Because we need to keep that glorious gooey texture, we have to be smart about what we change. For example, the cake mix is the structure provider for our dough layer, so we’re pretty locked into that 15.25 oz box size.
But can you use white cake mix instead of yellow? Absolutely! If you use white cake mix instead of yellow, your base dough will be slightly lighter in color, which can sometimes make the red and green sprinkles pop even more dramatically against the pale background—both make fantastic Melt in Your Mouth Cookies. Just use the same amount!
Now, let’s talk sprinkles for a second. I love the standard red and green jimmies because they look so classic and holiday-ready. However, if you want a bit more crunch to contrast that smooth center, try using coarse sanding sugar in the same colors. The sanding sugar reflects the light beautifully, making these extra special for Christmas Cookie Trays. The texture will be slightly different—less chewy on the outside, more crisp—but still delicious!
Also, if you happen to not have vanilla extract on hand, a tiny splash of almond extract works wonderfully, especially mixed in with the cream cheese layer. It gives those Cream Cheese Holiday Cookies a slightly different, almost marzipan-like background note that is surprisingly festive!
Storage and Make-Ahead Tips for Your Festive Desserts for Parties
When you’re whipping up a huge batch of Christmas Gooey Butter Cookies for cookie swaps or setting out that massive Christmas Cookie Tray, knowing how to handle storage is half the battle. We want these to stay soft and chewy for days, right? If you over-store them, they dry out, and all that wonderful, gooey work is wasted!
The absolute best way to keep these cookies perfectly soft is to keep them away from any circulating air. Once they are completely cool—and I mean *completely* cool, otherwise you’ll create steam inside the container—stack them gently in an airtight container. You can use wax paper or parchment paper sheets between the layers if you’re stacking them high, just to make sure that powdered sugar top doesn’t stick to the cookie above it.
These are surprisingly sturdy, which makes them fantastic Festive Desserts for Parties because you don’t have to worry about them crumbling the second someone picks one up. They stay moist at room temperature for about three to four days. If you need them to last longer than that, pop the airtight container into the fridge, but be warned: they might firm up slightly when cold. If that happens, just let them sit on the counter for about 20 minutes before serving, and that lovely soft texture returns!
You can actually make the dough base (the first part, before the cream cheese coating) a couple of days ahead of time. Roll those little dough balls and keep them in an airtight container in the fridge. Then, when you’re ready to bake, whip up the cream cheese dip and coat them as usual. This breaks up the work perfectly! I sometimes use that method when I’m doing big batches, similar to how I prep ingredients for slow-cooked meals like these easy crockpot steak bites.
Just remember: these aren’t really a freezer cookie. The texture of the buttery dough base changes too much once thawed. Stick to airtight containers on the counter for the best experience!
Frequently Asked Questions About Christmas Gooey Butter Cookies
I swear, every time I post these stunning cookies online, I get the same amazing questions about keeping them perfect. It’s natural; everyone wants that perfect, cracked, gooey top! If you’ve got lingering doubts about perfecting your batch of Christmas Gooey Butter Cookies, I’ve gathered the most common ones right here. If you’re looking for more general holiday prep help, sometimes I use tricks I learned making things like easy chicken fried rice—it’s all about the prep work!
Can I skip the powdered sugar coating on the dough balls?
Oh, please don’t skip that first roll in powdered sugar! I know it feels like an extra step when you’re coating them again in sprinkles, but that initial coat does two very important jobs. First, it gives the cream cheese mixture something gentle to stick to so the sprinkles hold on tighter later. More importantly, when that first layer of sugar hits the heat, it melts slightly and then cracks as the cookie bakes underneath. That cracking is what gives you that beautiful, rustic, bakery-style look—it’s a signature feature of great Powdered Sugar Cookies! Skipping it leaves you with a smoother, slightly stickier surface, which ruins the classic appearance.
How do I ensure my Christmas Gooey Butter Cookies are truly ‘Melt in Your Mouth Cookies’?
This is the biggest concern for everyone wanting true Melt in Your Mouth Cookies, and it all comes down to the oven timer. I know that fully baked smells right, but these cookies are actually done when they look like they aren’t quite done! You are looking for the edges to be just barely set—they should look matte and firm enough that the cookie isn’t spreading anymore. If you see any browning on the edges, they are already on their way to being chewy instead of gooey. When you pull them out, the center should still look slightly soft and puffy. Trust the process, let them sit on that hot pan for five minutes, and that residual heat finishes the cooking while keeping the center divine!
Are these Cream Cheese Holiday Cookies good for gifting or cookie swaps?
Absolutely, yes! These are phenomenal for Christmas Cookie Trays and exchanging at parties. They hold their shape really well, provided you let them cool completely before stacking them. Because they are so rich with butter and cream cheese, they stay wonderfully soft for several days when kept in an airtight container at room temperature. They are dense enough that they don’t get crushed easily, which is a huge win for gifting. Honestly, these Cream Cheese Holiday Cookies always disappear first at every cookie swap I attend!
Estimated Nutritional Data for These Soft Chewy Holiday Treats
Now, listen, I am a baker, not a nutritionist! When I’m deep into making batches of Christmas Gooey Butter Cookies so big they need their own dedicated cooling rack, I’m focused on tasting the dough (just a tiny bit!) and making sure the sprinkles look perfectly festive. So, take this information with a grain of salt, or maybe a grain of sugar—you know what I mean!
This breakdown below is based on standard serving sizes and using the ingredients listed for these Soft Chewy Holiday Treats. Since we aren’t measuring out exact ounces of everything in the kitchen, this is just a general guide for you. It helps me know, for instance, that if I’m having just one of these rich cookies, I’m going to balance it out with a lighter lunch later!
Here’s the general idea for one cookie:
- Calories: About 180 a piece
- Total Fat: Around 9 grams
- Saturated Fat: About 5 grams
- Total Carbohydrates: About 24 grams
- Sugar Content: A solid 18 grams of that sweet holiday magic
- Protein: Roughly 3 grams
It’s a rich cookie because, well, it has butter AND cream cheese, which is exactly what makes it one of the best Cream Cheese Holiday Cookies out there. They are definitely a treat for your Christmas Cookie Trays, meant to be enjoyed alongside a cup of coffee or hot cocoa. Don’t sweat the numbers too much; just enjoy the absolute melted perfection!
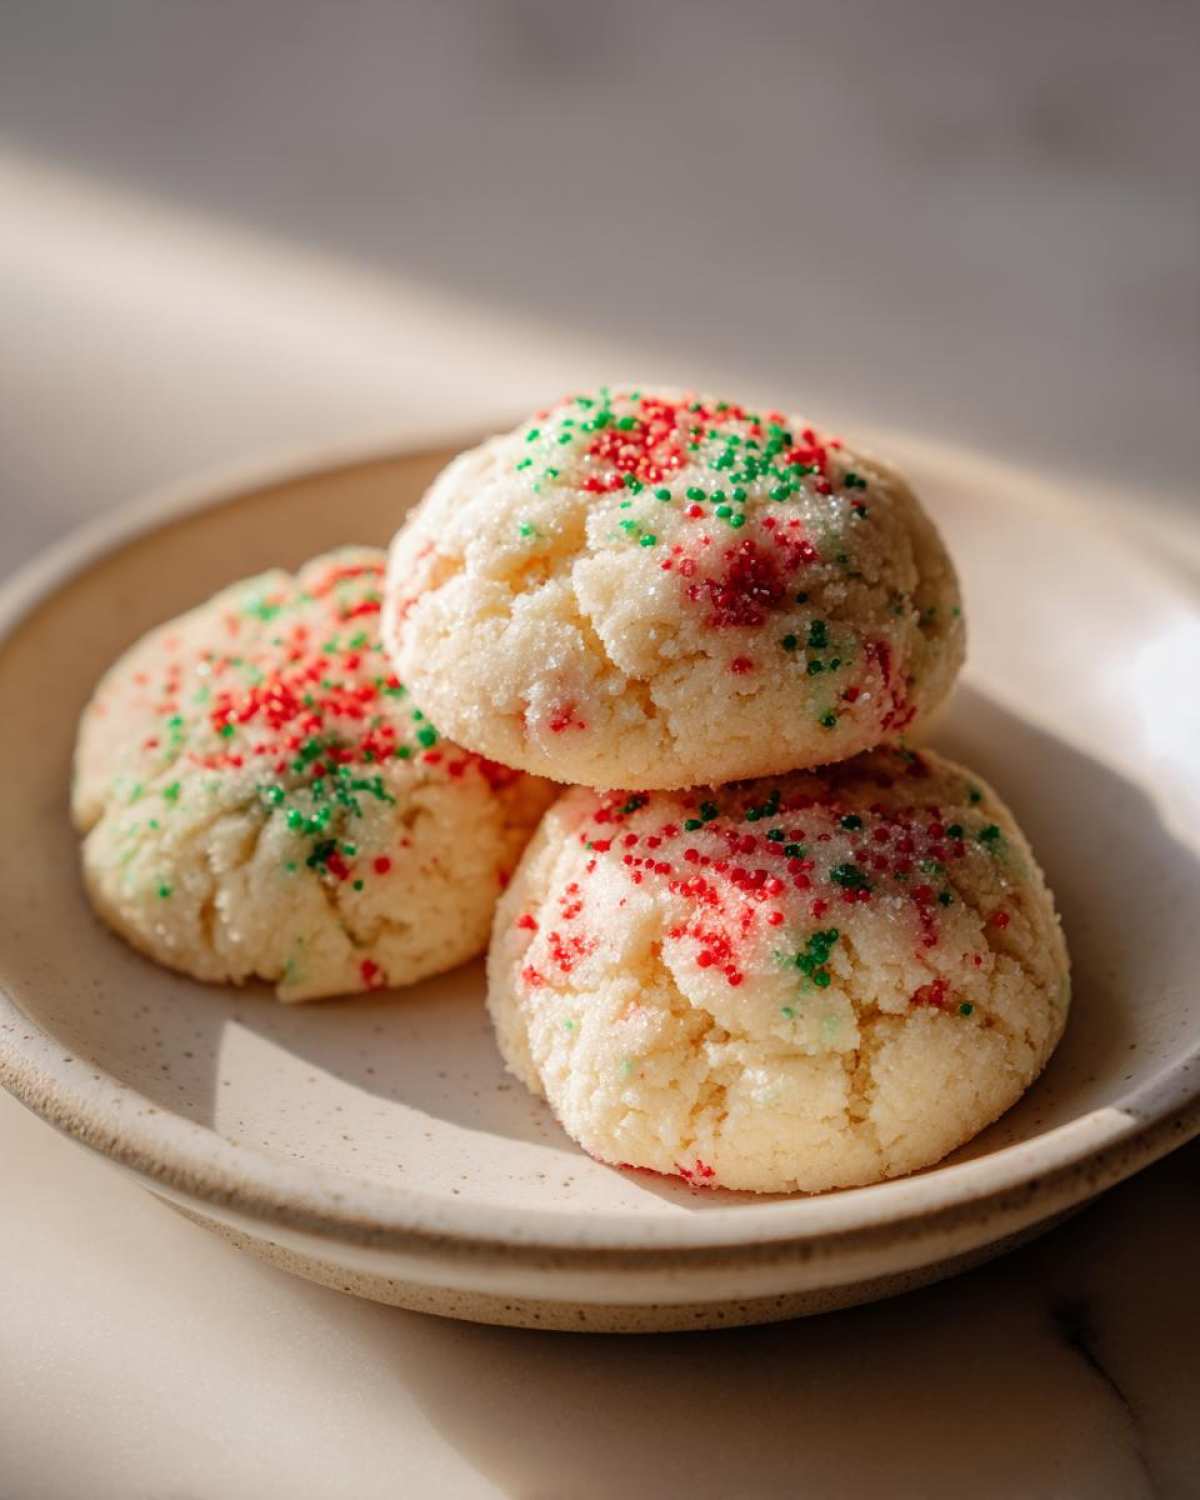
Share Your Festive Sprinkle Cookies Experience
Whew! Now that you have the secret to making the absolute chewiest, prettiest Christmas Gooey Butter Cookies on the block, I’m dying to know how they turned out for you! Seriously, there is nothing better than seeing your hard work come to life—especially when it involves gooey centers and festive red and green sprinkles.
If you followed these steps, you should have a huge plate of beautiful Festive Sprinkle Cookies ready for your holiday parties or gift bags. I really hope you love them as much as my family does. Don’t be shy; this is a community kitchen!
Did you try the sanding sugar substitution? How long did you leave them in the oven for that perfect melt? I want to hear everything! Please jump down to the comments section and leave a rating—five stars if they melted perfectly in your mouth! Knowing what works for you helps me keep refining these classic recipes, just like I keep learning new tricks for making things like easy chicken parmesan baked recipes.
If you snap a picture of these beautiful little holiday treats, tag me on social media! I love seeing them on your Christmas Cookie Trays. Happy baking, friends, and I can’t wait to read your feedback!
Print
Christmas Gooey Butter Cookies
- Total Time: 32 min
- Yield: 24 cookies
- Diet: Vegetarian
Description
Make soft, chewy Christmas Gooey Butter Cookies using a simple cake mix base and festive red and green sprinkles for a melt-in-your-mouth holiday treat.
Ingredients
- 1 box (15.25 oz) yellow cake mix
- 1/2 cup unsalted butter, melted
- 1 large egg
- 8 oz cream cheese, softened
- 1 large egg
- 1 teaspoon vanilla extract
- 1 box (16 oz) powdered sugar, divided
- 1/2 cup red and green sprinkles
Instructions
- Preheat your oven to 350°F (175°C). Line baking sheets with parchment paper.
- In a medium bowl, combine the cake mix, melted butter, and the first egg. Mix until a soft dough forms.
- Roll the dough into small balls, about 1 inch in diameter. Place these dough balls into a small bowl containing 1/2 cup of the powdered sugar and roll to coat completely. Set aside.
- In a separate bowl, beat the softened cream cheese until smooth. Add the second egg and vanilla extract, mixing until just combined.
- Gradually beat in the remaining powdered sugar until the mixture is smooth.
- Take each coated dough ball and press it gently into the cream cheese mixture, coating it thoroughly.
- Roll the coated dough ball in the red and green sprinkles until covered.
- Place the coated balls onto the prepared baking sheets, about 2 inches apart.
- Bake for 10 to 12 minutes. The edges will be set, but the center should still look soft. Do not overbake.
- Let the cookies cool on the baking sheet for 5 minutes before transferring them to a wire rack to cool completely.
Notes
- For the best gooey texture, remove the cookies from the oven when the centers still look slightly underdone.
- You can substitute the yellow cake mix with white cake mix if preferred.
- Store cooled cookies in an airtight container at room temperature for up to 4 days.
- Prep Time: 20 min
- Cook Time: 12 min
- Category: Dessert
- Method: Baking
- Cuisine: American
Nutrition
- Serving Size: 1 cookie
- Calories: 180
- Sugar: 18
- Sodium: 150
- Fat: 9
- Saturated Fat: 5
- Unsaturated Fat: 4
- Trans Fat: 0
- Carbohydrates: 24
- Fiber: 0
- Protein: 3
- Cholesterol: 30



Comments are closed.