
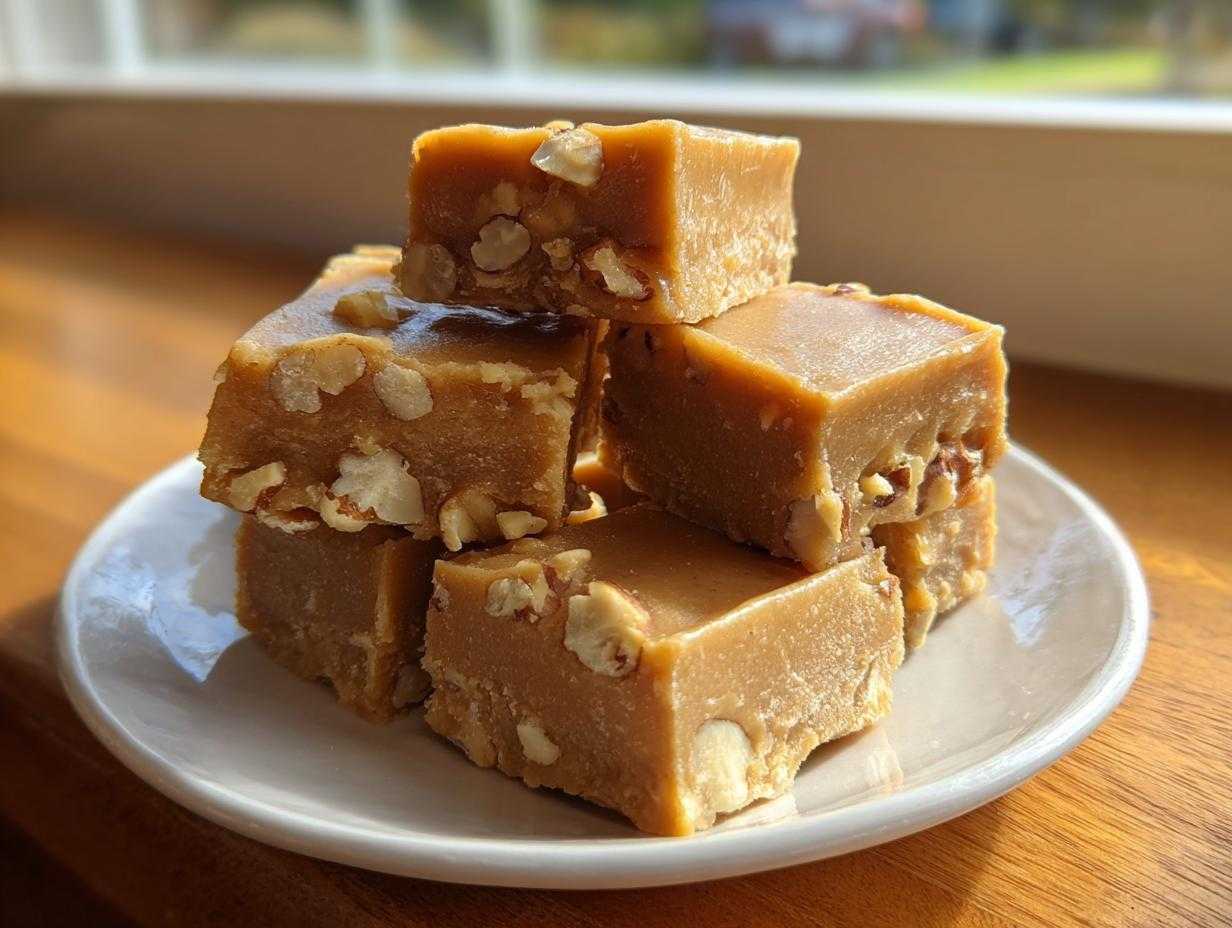
You know those moments when you just need a real, old-fashioned, comforting sweet treat? For me, especially when the air turns crisp in the fall or when I’m trying to finish up my holiday gift list, nothing beats homemade candy. Forget those complicated, finicky recipes you see online; I’ve locked down the secret to the silkiest, smoothest **maple fudge** that just melts in your mouth. I’m talking next-level creamy here. This recipe is shockingly easy—we’re talking under 40 minutes total time if you’re quick—and the flavor is just unbelievably rich.
Why is mine different? It all comes down to using real, pure maple syrup. Trust me, if you use the imitation stuff, you’re missing everything good about this decadent maple treat. That deep, woodsy sweetness is what makes this my go-to batch every single year. Get your heavy pot ready; we’re about to make some magic happen!
Why This Creamy Maple Fudge Recipe Works So Well
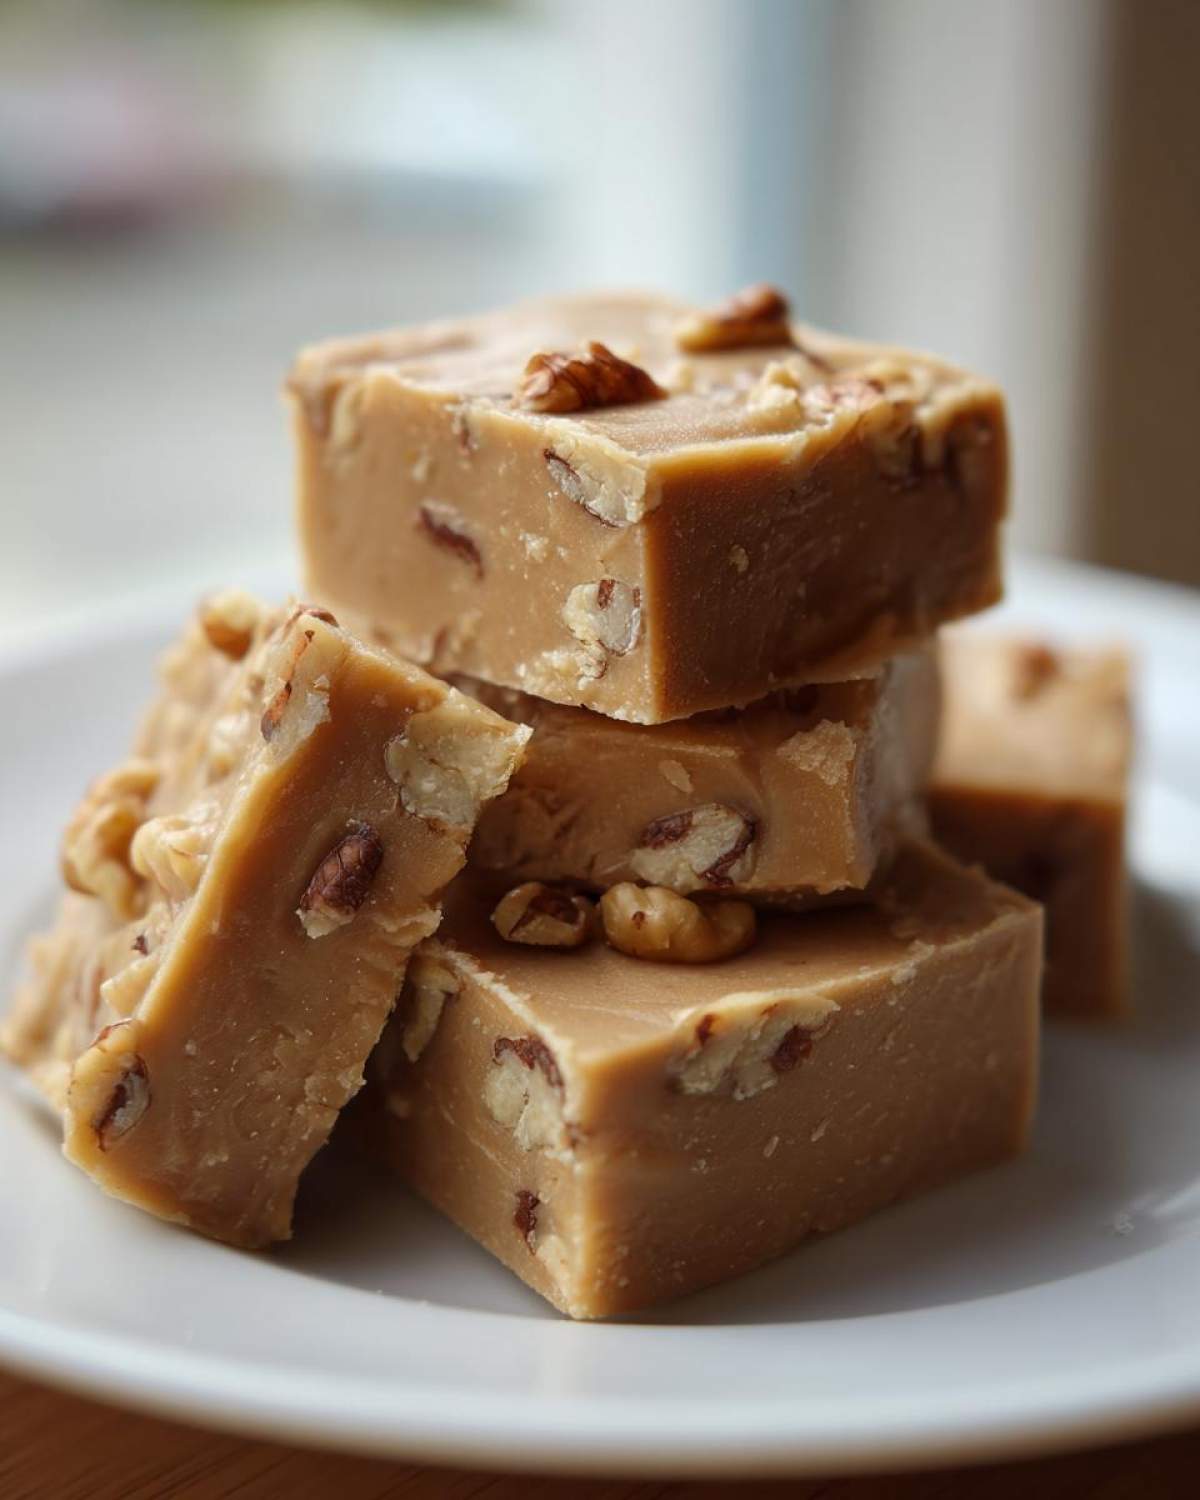
When you’re hunting for the absolute best maple fudge, you need reliability. This isn’t just another candy recipe; it’s built for texture. I love that we can whip this up entirely—from start to eating—in about 35 minutes tops, which is perfect for those evening cravings or last-minute kitchen projects. We get that rich, buttery flavor and incredible texture without spending hours hovering over the stove!
- The method ensures a perfect, velvety finish every time.
- The flavor comes through pure and bright, thanks to top-quality syrup.
- It’s fast! You won’t believe how quick this becomes a pantry staple.
Achieving Silky-Smooth Homemade Maple Fudge
The secret weapon here is temperature control. We absolutely must hit that 234-degree soft-ball stage, confirmed with a candy thermometer. After the boil, letting it cool undisturbed to 110 degrees is non-negotiable! This critical cooling period allows the sugar crystals to form perfectly. If you skip the cooling, you end up with grainy, crumbly candy instead of the creamy fudge recipe dreams are made of. Trust me on the thermometer part!
The Importance of Real Maple Syrup Fudge
Look, you can try substituting, but I won’t let you ruin this spectacular treat. Artificial pancake syrups are just sugar and flavorings, and they won’t give you that woodsy depth needed for amazing real maple syrup fudge. Only pure maple syrup will give you that authentic taste that screams ‘cozy winter candy making.’ You want that real, robust maple flavor shining through your sugar base, and only the real deal delivers that intensity!
If you love maple, you should check out my soft maple cookies!
Gathering Your Ingredients for Maple Fudge
Okay, this is my favorite part—just pulling everything out and seeing it all lined up. Since this is candy making, measurements have to be super precise, but honestly, you probably have most of this stuff already in your pantry. We need a good, solid base to hold all that gorgeous maple flavor. This straightforward list is all you need for about 36 squares of pure, nutty, sweet perfection when we’re done!
Here’s what you’ll need for your batch of homemade maple fudge:
- 2 cups granulated sugar
- 2/3 cup whole milk
- 2 tablespoons light corn syrup
- 1/2 cup pure maple syrup
- 1 tablespoon unsalted butter
- 1 teaspoon vanilla extract
- 1/4 teaspoon salt
- 1 cup chopped walnuts (if you love that maple walnut fudge texture!)
Ingredient Notes and Substitutions for Maple Fudge
Let’s talk about the stars here because they make or break this candy. First and foremost: PURE maple syrup only. If it says ‘pancake syrup’ on the bottle, put it back on the shelf! We need the real stuff for that complex, earthy flavor that makes this the best maple fudge around. The corn syrup might seem fussy, but it’s crucial; it slows down the crystallization process, which is how we stop the fudge from turning crunchy and keep it wonderfully smooth.
As for the walnuts, feel free to skip them if nuts aren’t your thing, or if you prefer a straight-up smooth candy recipe. If you want a swap, toasted pecans work beautifully alongside that maple essence, too. Every ingredient has a job to make sure this is a truly top-tier, velvety treat!

Step-by-Step Instructions for Easy Maple Fudge
Alright, time to roll up those sleeves! Making this candy is fun because it’s all about temperature management rather than a million fiddly steps. We’re using honest stovetop cooking to bring everything together. Seriously, once you master this, you’ll be making quick homemade sweets all the time. I always set up my pan first—that way, I’m ready the second the mixture hits the perfect temperature. Don’t rush, but be ready to move when the cooling stage is done!
First, grab that 8×8 inch pan. Line it with parchment paper, making sure you leave an overhang on the sides; this is your handle for lifting the whole thing out later! Give that paper a very light grease. Now, grab your heavy-bottomed saucepan—we don’t want this scorching! Combine the sugar, milk, corn syrup, and that glorious maple syrup right into the pot.
Set your burner to medium heat. You need to stir this constantly until you can barely feel any sugar grit on the bottom of the pan—that means the sugar has dissolved. Once it hits a steady boil, stop stirring! If you keep stirring once it boils, you mess up the smooth texture. Now, you’re officially waiting for the magic temperature to hit.
If you’re looking for another simple recipe, these honey bran muffins are fantastic too!
Preparing the Pan and Initial Cooking of the Maple Fudge
Prep job number one is getting that parchment paper into your 8×8 pan, making sure you have those little ‘handles’ sticking up over the edges. Lightly grease that paper so nothing sticks! Next, into the heavy saucepan go the sugar, milk, corn syrup, and the real maple syrup. Use medium heat and stir, stir, stir until that sugar dissolves completely. Once it starts boiling nicely, you have to stop stirring! We’re moving onto thermometer territory now, or the cold water test if you’re feeling brave.
Reaching Soft-Ball Stage for Smooth Candy Recipe
This is where patience pays off for a smooth candy recipe. Insert your candy thermometer and cook the mixture without touching it until it registers exactly 234 degrees Fahrenheit. That’s the soft-ball stage, the perfect setting point for this fudge! If you skip the thermometer—and honestly, I rarely do since this flavor is so delicate—you can do the cold water test. Carefully drop a tiny bit of the boiling mixture into a glass of ICE-COLD water. If it forms a soft ball that flattens slightly when you press it between your thumb and forefinger, you nailed it! If it’s hard, you cooked it too long.
Crucial Cooling and Beating for Perfect Maple Fudge
Pull that pan off the heat *immediately* at 234°F. Now, stir in the tablespoon of butter, the vanilla extract, and the salt until the butter melts away from the residual heat. Here’s the make-or-break moment for a creamy fudge recipe: Let it cool, completely undisturbed, until it cools down to 110 degrees F. Resist the urge to poke it! Once it hits 110°F, grab your wooden spoon (or your electric mixer on medium speed) and beat it like crazy! Keep going for about 5 to 8 minutes until the mixture loses that shiny gloss and starts looking thick and dull. If you’re adding those maple walnut fudge nuts, stir them in right at the very end of the beating process.
Setting and Cutting Your Homemade Maple Fudge
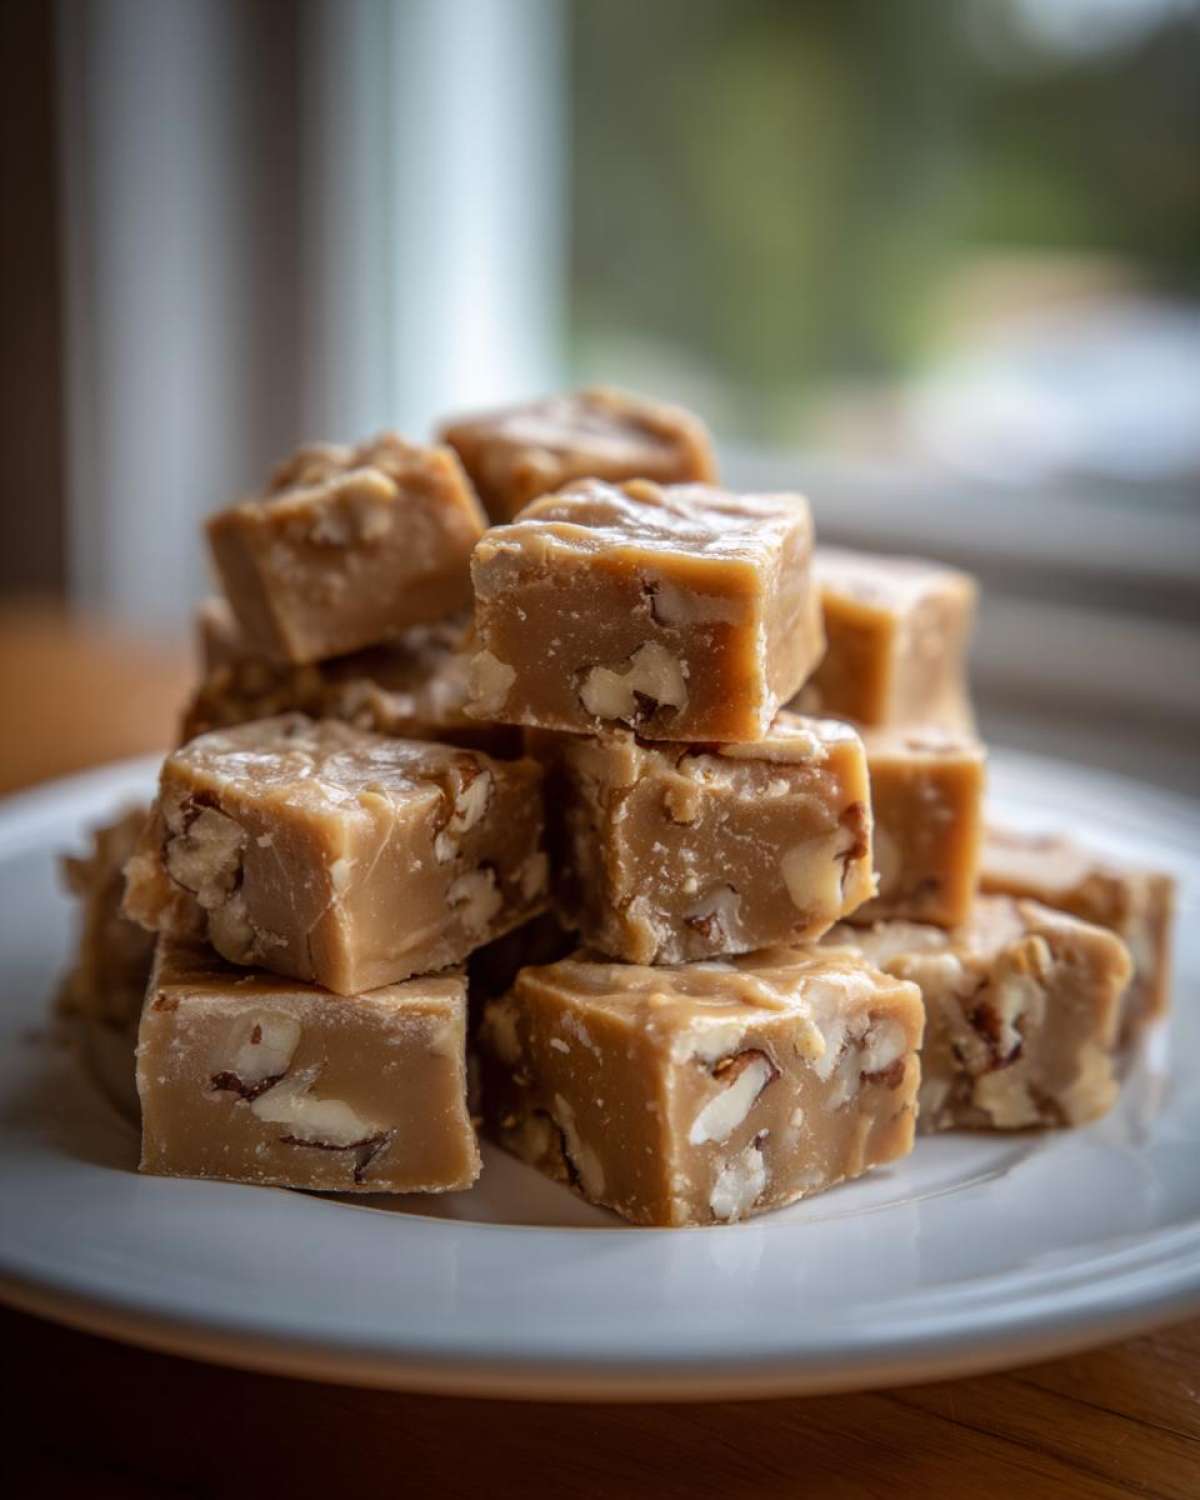
Don’t waste time once it starts thickening up! Hurry and pour that glorious mixture into your prepared pan. And here’s my big tip for the best maple fudge: Do not scrape the sides of the saucepan! Those little bits that stick up higher sometimes help set the rest of the batch. Just gently scrape the main volume into the pan. Let it sit, totally unbothered, at room temperature for several hours—or until it’s firm enough to handle. Then, grab a sharp knife and slice it into lovely little squares!
Tips for Success When Making Maple Fudge
We’ve got the steps down, but just like any good candy, there are a few little secrets to elevate this from ‘good’ to ‘OMG, what is this amazing stuff?’ I learned these the hard way after making a few crumbly batches when I was first starting out with fudge recipes for holidays. Pay attention to these pointers, and you’ll guarantee a perfectly smooth batch every time. This is how you ensure you nail that luxurious texture that makes this such a phenomenal fall dessert recipe!
If you’re looking for other smooth recipes, you have to see my cream cheese frosting; it has a similar focus on avoiding graininess!
Avoiding Graininess in Your Maple Fudge Recipe
The number one reason fudge turns grainy is kicking those sugar molecules around when they are supposed to be sleeping! Once that syrup mixture starts boiling, you must stop stirring completely until it hits the target temperature. If you keep stirring during the boil cycle, you encourage crystallization, and crystals are the enemies of a smooth candy texture. Just let the thermometer guide you; don’t interfere until it’s time to take it off the heat!
The Right Consistency for Maple Walnut Fudge
That vigorous beating stage after cooling to 110 degrees is pure intuition combined with science. You are trying to incorporate air, but only just enough. You’ll know you’re done when the mixture noticeably thickens, loses its high-gloss shine, and starts looking dull—almost like thick frosting. If you over-beat past that dull stage, you risk forcing the sugar structure to set too fast, and instead of that lovely, yielding, melt-in-your-mouth feel, you get something a bit too firm. Stop as soon as the gloss goes!
Serving Suggestions for This Decadent Maple Treat
This fudge is so rich, it’s the perfect addition to any holiday cookie platter or as a thoughtful, sweet gift. We usually make a double batch just for gifting during the winter months! Wrap the squares individually in small pieces of parchment paper or wax paper, then tuck them into little tins. It’s such a lovely, traditional centerpiece for any festive gathering. If you’re looking for another simple, no-bake treat to pair it with, check out my chocolate-dipped coconut bars; they go great right next to this maple walnut fudge!
Storage and Reheating Instructions for Maple Fudge
Because this is a cooked candy, storing it properly is really easy, which is fantastic news if you’re bagging it up as gifts for neighbors. The key to maintaining that incredible, silky-smooth texture is temperature and humidity control. I usually try not to put the fudge in the fridge if I can avoid it, because that sometimes shocks the sugar and can make it a little less dreamy to bite into.
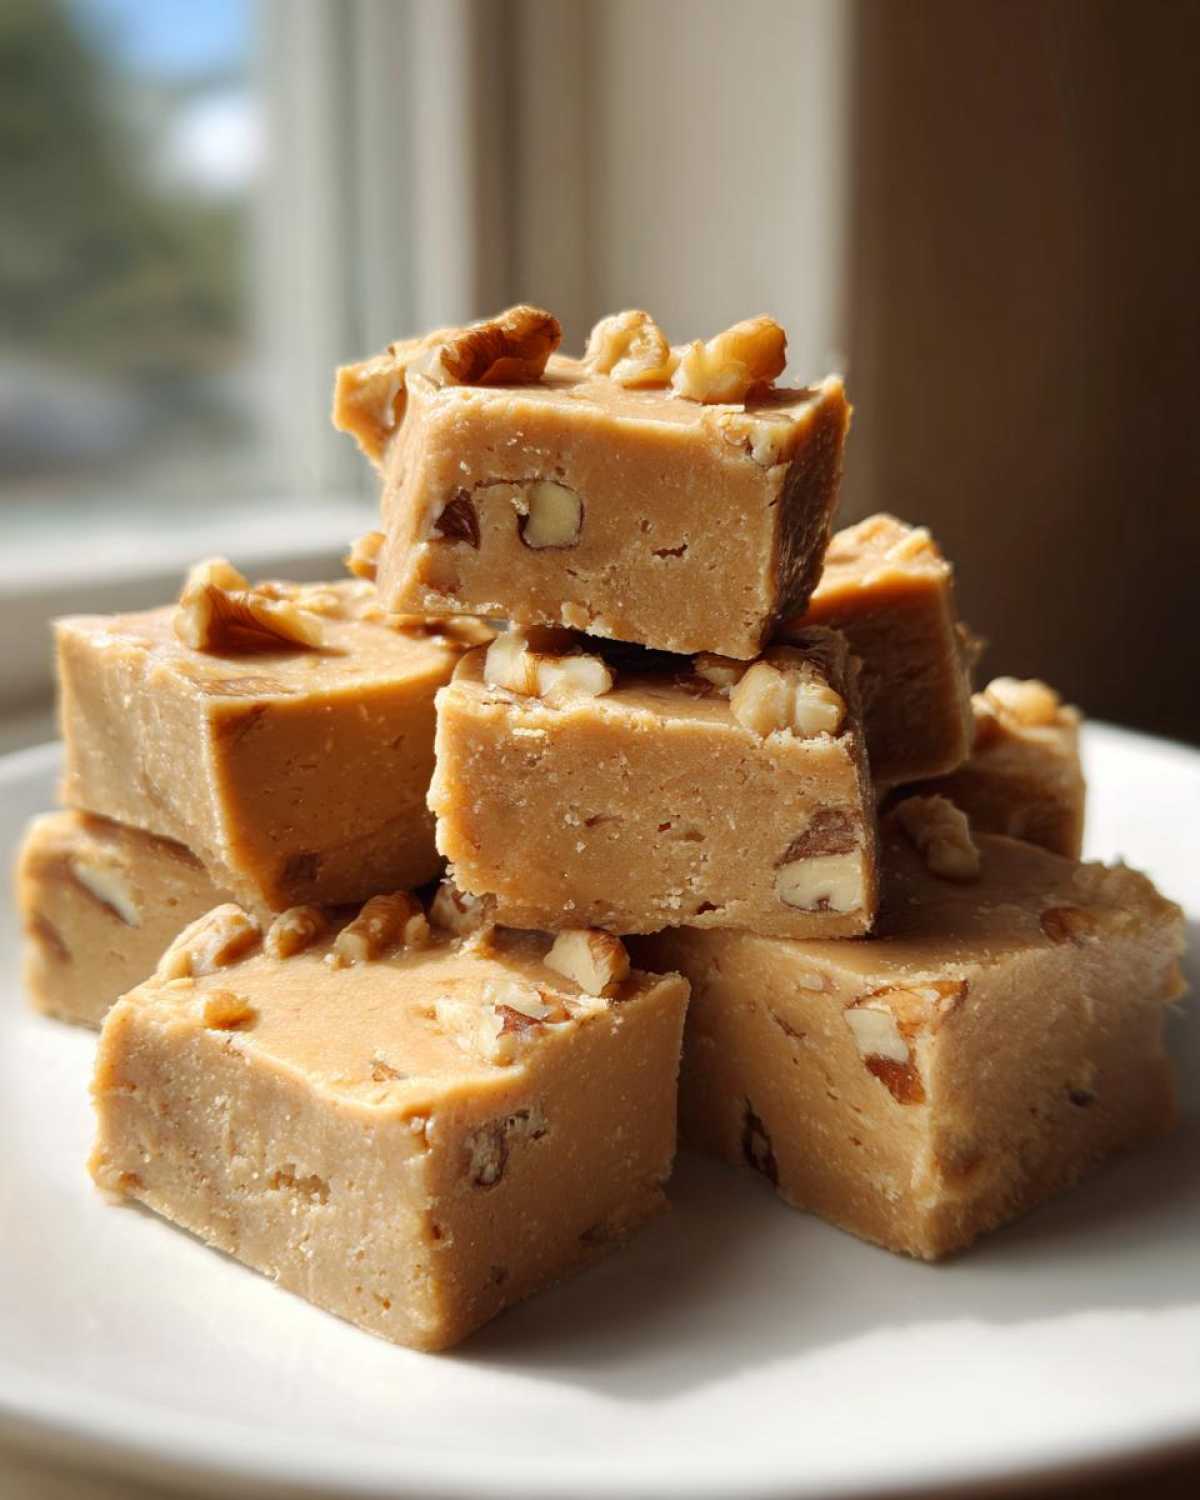
The absolute best way to store your homemade maple fudge is in an airtight container at cool room temperature. Think of a dark pantry or a cool cupboard—somewhere that stays consistent and isn’t right next to the oven! Lay wax paper or parchment paper between the layers of fudge squares before you put the lid on. This prevents them from sticking together, and honestly, it just feels professional!
If your kitchen is super humid—and trust me, humidity is the nemesis of candy making—then the fridge is your lesser evil. If you do have to chill it, make sure it is wrapped really tightly in plastic wrap first, maybe even put that tightly wrapped block into a zip-top bag. When you take it out of the fridge, let it come back up to room temperature *before* unwrapping it. This stops moisture from condensing all over the surface, which is what can get sticky or weep.
Now, reheating? You really don’t need to reheat fudge, as it’s meant to be eaten cool or at room temp. If, by some wild chance, your fudge seems to have gotten a little too firm after sitting in the fridge for a week, you can sometimes refresh it slightly by letting a small piece sit on the counter for twenty minutes to soften. But truly, this maple fudge recipe stays wonderful for a solid week sitting out protected in an airtight container!
Frequently Asked Questions About Making Maple Fudge
It’s natural to have questions when you’re working with cooked sugar! Candy making can feel intimidating, but I promise this recipe is forgiving if you just remember those key temperatures. I’ve gathered up the ones I get asked most often about whipping up a batch of this perfect, easy maple candy. Hopefully, these clear things up so you can get back to mixing!
If you’re looking for more easy stovetop recipes someday, check out my crockpot steak bites—still simple, totally different flavor profile!
Can I make this maple fudge recipe without a candy thermometer?
Yes, you absolutely can, but you have to be very, very careful. The thermometer is the easiest way to guarantee that melt-in-your-mouth texture for your creamy fudge recipe. If you don’t have one, use the cold water test I mentioned before! As soon as the boiling mixture drips into a cup of ice water and forms a soft ball that you can flatten when you press it gently, you are done cooking. If it’s hard right away, you cooked it too long, and you might end up with something too firm. Trust your senses if you can’t use the thermometer!
Is this considered a no bake maple dessert?
That’s a tricky one, honey! Technically, this isn’t a no bake maple dessert because it definitely involves cooking on the stovetop until the mixture hits 234°F. True ’no bake’ usually means everything is mixed cold or melted gently on low heat. Because we have to boil the sugars to that specific soft-ball stage for the chemical reaction to happen—that’s what makes it set firmly—you do need to use the stove. But hey, it’s done in under an hour and never sees the inside of an oven, so it certainly feels like a shortcut!
Estimated Nutritional Data for Maple Fudge
I always feel a little guilty looking at the nutrition panel for something this decadent, but here we are! If you’re calculating for holiday parties or just curious about your sweet tooth, here’s the breakdown for one small square of this amazing maple fudge. Knowing the numbers helps, right? Even with all that sugar, it really is quite rich, so one square is usually plenty, which keeps things reasonable!
Please remember, these numbers are just my best guess based on standard ingredient measurements. If you use extra butter or different brands of milk, the actual numbers will shift a tiny bit. This is just a guideline, not a certified medical document, so take it with a grain of sugar!
- Serving Size: 1 square
- Calories: 145
- Sugar: 25g
- Sodium: 15mg
- Fat: 3g
- Saturated Fat: 2g
- Unsaturated Fat: 1g
- Trans Fat: 0g
- Carbohydrates: 30g
- Fiber: 0g
- Protein: 1g
- Cholesterol: 5mg
See? Not too terrifying for such a rich treat! It’s worth every bite!
Share Your Homemade Maple Fudge Creations
Now that you’ve got your own batch of incredibly smooth, impossibly rich **maple fudge**, I truly want to hear about it! Did you manage to get that perfect soft-ball stage? Are you bragging about your crack-free edges? Seeing your homemade candy success stories is honestly the best part of doing this!
Don’t be shy! Please, please, please leave a star rating below letting me know how your texture turned out—was it silky-smooth or did you have a little trouble cooling it? I love reading your comments and answering any last-minute questions you might have about making this the very best batch of the season. Did you try them with pecans instead of walnuts? Spill the details!
And if you snapped a picture of your finished squares sitting on a platter looking perfect for the holidays, tag me on social media! I always love sharing reader photos of their perfect **creamy fudge recipe** results. If you ever try something fun with these leftovers—maybe crumbling them over ice cream!—let me know! My silly chicken fried rice is famous, but this fudge is my heart!
Print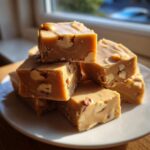
Creamy Maple Fudge
- Total Time: 35 min
- Yield: About 36 small squares
- Diet: Vegetarian
Description
Make this easy, smooth maple fudge using real maple syrup for a rich, melt-in-your-mouth candy perfect for holidays or gifts.
Ingredients
- 2 cups granulated sugar
- 2/3 cup whole milk
- 2 tablespoons light corn syrup
- 1/2 cup pure maple syrup
- 1 tablespoon unsalted butter
- 1 teaspoon vanilla extract
- 1/4 teaspoon salt
- 1 cup chopped walnuts (optional)
Instructions
- Line an 8×8 inch pan with parchment paper, leaving an overhang on the sides. Lightly grease the paper.
- Combine sugar, milk, corn syrup, and maple syrup in a heavy-bottomed saucepan.
- Cook over medium heat, stirring constantly until the sugar dissolves.
- Stop stirring once the mixture boils. Insert a candy thermometer.
- Cook without stirring until the mixture reaches 234 degrees F (soft-ball stage). This usually takes 10 to 15 minutes.
- Remove the pan from the heat immediately. Stir in the butter, vanilla extract, and salt until the butter melts.
- Let the mixture cool undisturbed until it reaches 110 degrees F. This cooling step is important for texture.
- Beat the mixture vigorously with a wooden spoon or an electric mixer on medium speed until the fudge loses its gloss and thickens, about 5 to 8 minutes. If using walnuts, stir them in now.
- Quickly pour the fudge into the prepared pan. Do not scrape the sides of the pan.
- Let the fudge set completely at room temperature for several hours or until firm.
- Cut into squares before serving.
Notes
- Use only pure maple syrup for the best flavor. Pancake syrup will not work.
- If you do not have a candy thermometer, drop a small amount of the mixture into cold water; it should form a soft ball that flattens when pressed.
- For a very smooth texture, avoid over-beating once the mixture starts to thicken.
- Prep Time: 15 min
- Cook Time: 20 min
- Category: Dessert
- Method: Stovetop Cooking
- Cuisine: American
Nutrition
- Serving Size: 1 square
- Calories: 145
- Sugar: 25g
- Sodium: 15mg
- Fat: 3g
- Saturated Fat: 2g
- Unsaturated Fat: 1g
- Trans Fat: 0g
- Carbohydrates: 30g
- Fiber: 0g
- Protein: 1g
- Cholesterol: 5mg


Comments are closed.