
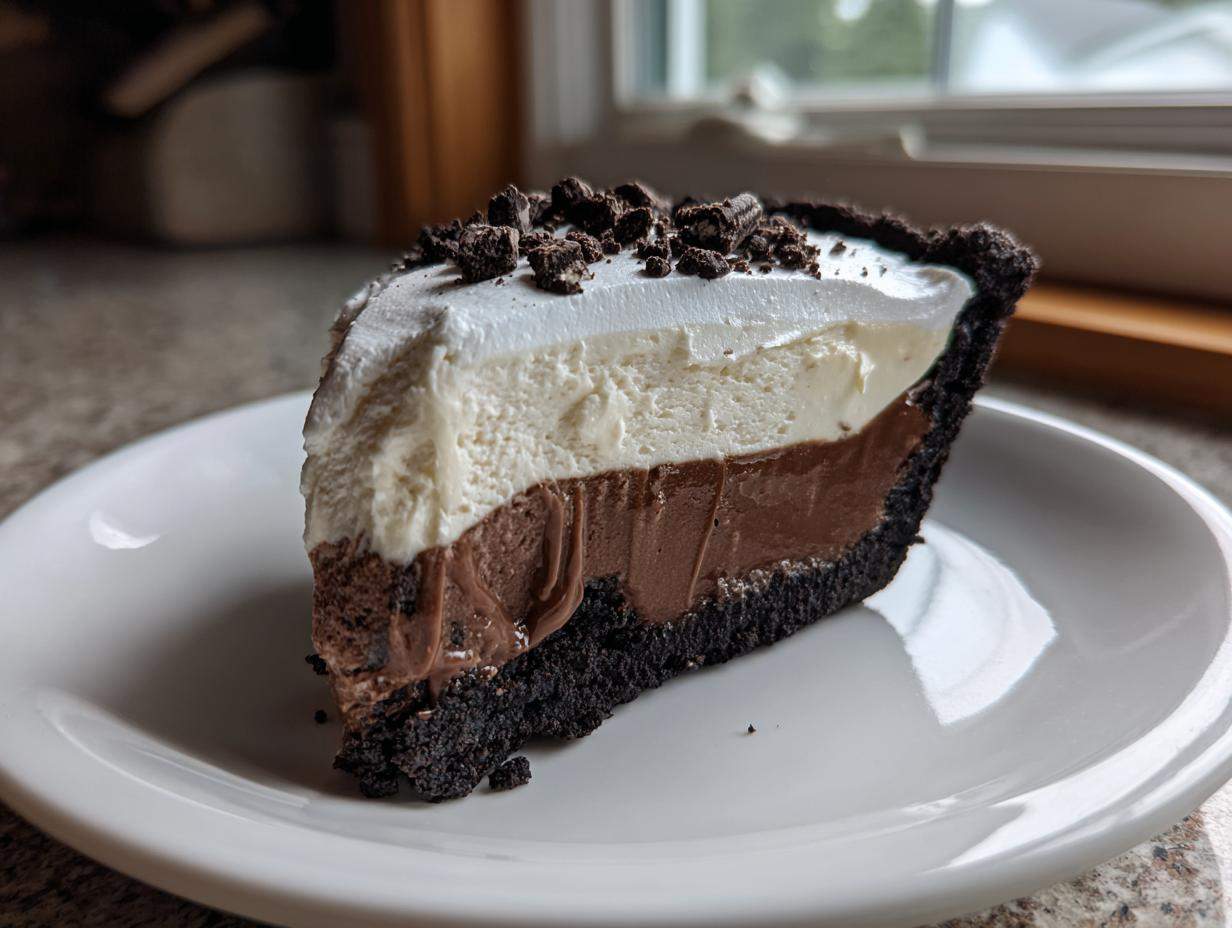
Oh my gosh, are you ever craving something intensely decadent but just *cannot* face the idea of turning the oven on? I totally get it. Especially when it’s hot outside, the last thing I want is that extra blast of heat in my kitchen! That’s why I live for good, solid **No Bake Oreo Pie** recipes. Forget those sad, grainy fillings you sometimes get; this recipe right here is my absolute gold standard. I perfected this version years ago when I had zero time before my niece’s birthday party, and honestly, it’s been my secret weapon ever since.
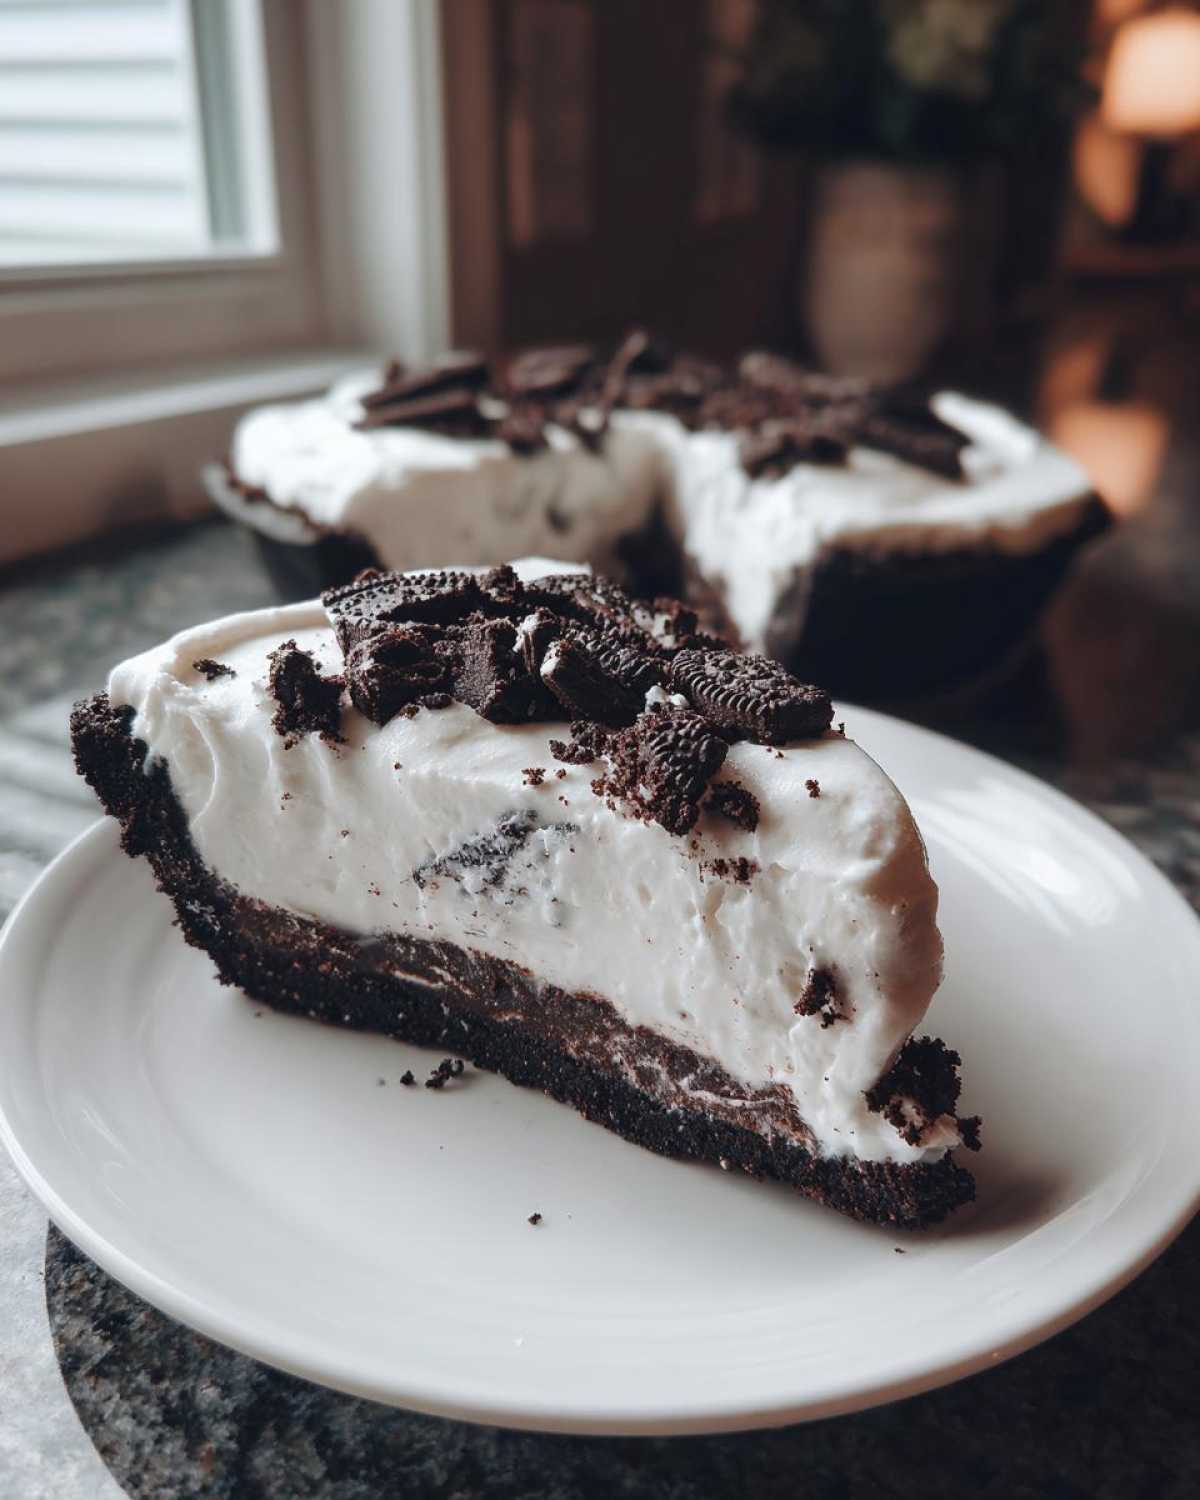
If you’re looking for the easiest, creamiest, most crowd-pleasing **oreo pie** you will ever make, stop scrolling. We use a few simple ingredients to create a light-as-air chocolate mousse filling resting in that perfect, buttery crumb crust. Seriously, this **oreo pie** sets up fast and tastes like pure happiness. It’s the ultimate cookies and cream dream!
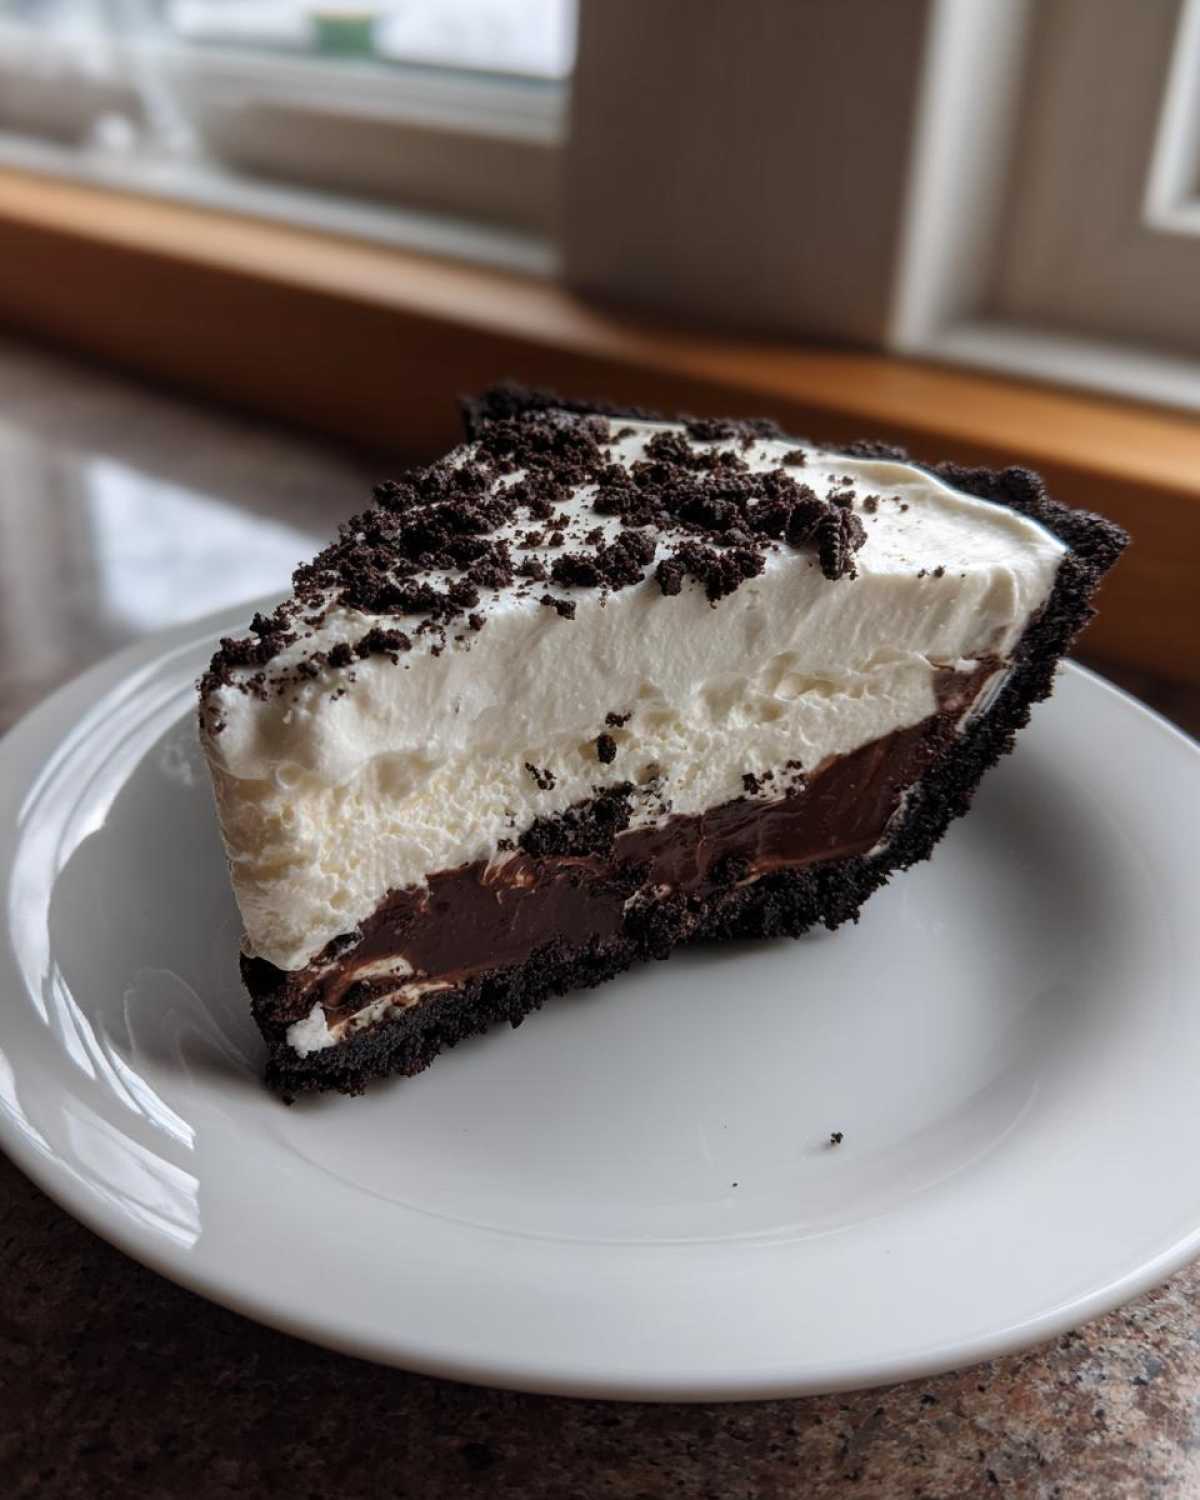
Why This No Bake Oreo Pie Recipe Is a Winner
Listen, I have tons of complicated recipes, but sometimes you just need a win, right? This **oreo pie** delivers every single time. It requires zero baking time, which is a huge win, and the texture is just unreal. You won’t believe how few steps are involved in making something this amazing.
- Perfect for Last-Minute Oreo Pie Cravings: Seriously, you just mix and chill! It falls right into my favorite no bake desserts category. Perfect for those Quick Dessert Recipes moments.
- Incredibly Creamy Oreo Pie Filling: That blend of cream cheese, pudding, and whipped cream creates the most luxurious, Creamy Oreo Pie filling you can imagine. It just melts in your mouth!
Gathering Ingredients for Your Oreo Pie
Okay, now for the fun part—getting our supplies gathered! The beauty of this **oreo pie** is how few things you actually need. Seriously, if you have a standard grocery haul, you probably have half of this already. Just make sure you pay attention to my notes on temperature, because that’s the secret to stopping your filling from turning into soup!
For the Chocolate Cookie Crust
This needs to be pressed in and chilling while we work, so let’s get this mix done first!
- 1 1/2 cups crushed Oreo cookies (go ahead and crush the whole cookie, cream and all—it melts right in!)
- 1/4 cup unsalted butter, melted
Crafting the Creamy Oreo Pie Filling
Here’s where we make the magic happen! Pay attention here: the cream cheese absolutely *has* to be softened up on the counter, and your heavy whipping cream needs to be ice-cold from the fridge. That’s the trick to that fluffy, dreamy texture in this oreo pie.
- 8 ounces cream cheese, softened
- 1 cup powdered sugar
- 1 teaspoon vanilla extract
- 1 1/2 cups cold heavy whipping cream
- 1 package (3.9 ounces) instant chocolate pudding mix
- 2 cups cold milk
For the Simple Topping
This just gives it that perfect, cloud-like finish when you serve up your gorgeous Creamy Oreo Pie.
- 1 cup thawed whipped topping
Step-by-Step Instructions for the Best Oreo Pie
Now we get down to the fun part, friends! Honestly, if you can stir and wait patiently (that’s the hard part!), you can nail this **oreo pie**. It’s less a baking recipe and more a delicious assembly project. I always put on some fun music when I do this part because it moves so quickly!
Preparing the Oreo Pie Crust Base
First things first, let’s deal with those Oreos. If you have a food processor, use it! It takes three seconds to get that perfect, sandy texture. If you’re doing it the old-fashioned way, stick ’em in a big freezer bag and get your rolling pin out—just try not to punch a hole in the bag! Mix those crumbs with the melted butter until everything looks like wet sand. Then, press that mixture firmly into your 9-inch pie plate. I press it down really aggressively on the bottom and then use my fingers to push it up the sides to build a nice little trough for the filling. Pop that crust into the freezer right away while we work on the filling; this helps it set up solid.
Mixing the Cream Cheese and Pudding Layers
Grab your big bowl for the cream cheese. Make sure that cream cheese is super soft, or you’ll end up with lumps—and nobody wants a lumpy **oreo pie**! Beat the cream cheese with the powdered sugar and vanilla extract until it is completely, totally smooth. You shouldn’t feel any graininess when you scrape the sides. While that’s resting, take a separate bowl and whisk your instant pudding mix with the cold milk. Whisk hard for about two minutes until it starts getting thick. Let it sit for just about five minutes so it sets up even more.
Whipping Cream and Final Assembly of the Oreo Pie
This step is crucial for the airy texture. Whip that cold heavy cream until you have stiff peaks. You know it’s ready when you lift the whisk and the peaks stand straight up without flopping over! Now, gently fold that thick pudding mixture into the cream cheese mixture until they are just combined. Then, and this is important, you need to gently fold in all that glorious whipped cream. We don’t want to knock the air out, so use big, slow folding motions! Pour that beautiful, fluffy filling right into your chilled crust and cover it loosely. It needs a minimum of four hours in the fridge to firm up, but honestly, overnight is even better for the best cookies and cream pie.
Expert Tips for a Perfect Homemade Oreo Pie
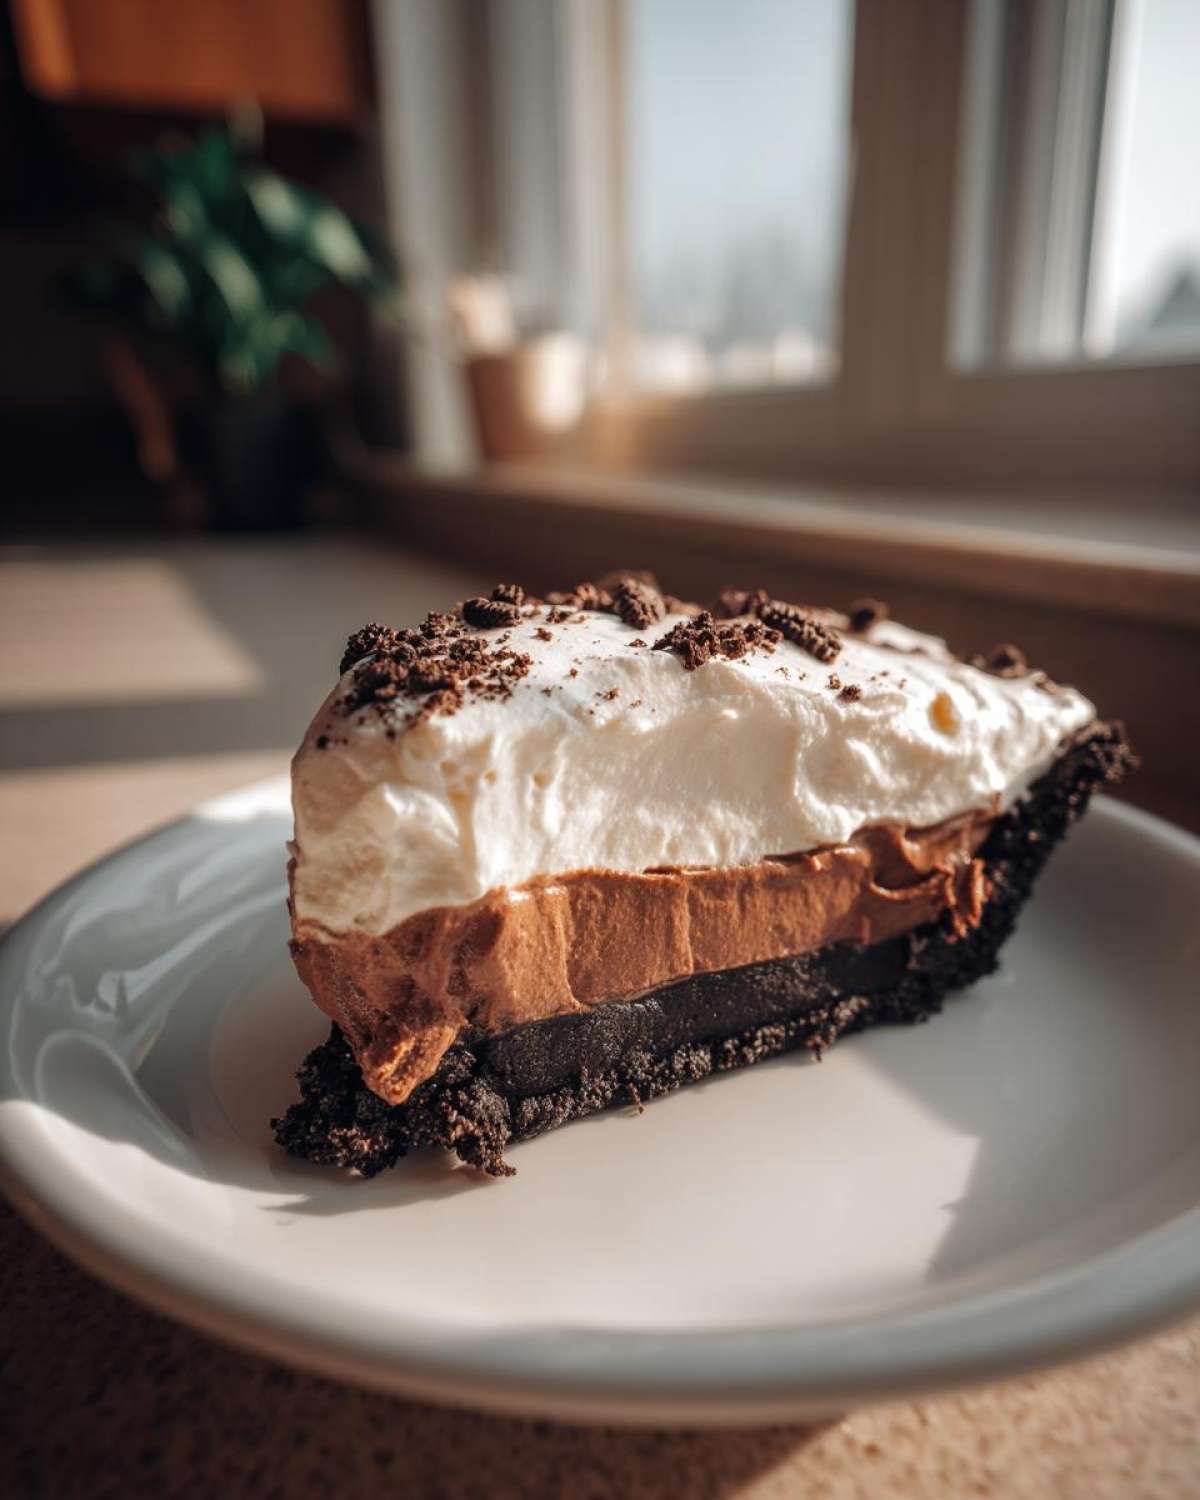
Okay, you’ve got the basic method down, but if you want to take your **Homemade Oreo Pie** from ‘great’ to ‘call-the-family-over-for-dessert’ amazing, I have a couple of insider secrets! These are the little things I learned after making dozens of these Simple Pie Recipes over the years. It’s all about respecting the texture of the filling! For more creamy tips, check out my ideas on the best cream cheese frosting recipe; the principles are the same!
Achieving the Ultimate Creamy Filling Pies Texture
When you fold in that whipped cream, stop folding the second you see the last white streak disappear. Seriously! If you keep mixing or stirring once the whipped cream is in, you’ll deflate all that air we just worked so hard to whip in. A deflated filling means a dense, not fluffy, final result for your **oreo pie**. Don’t overmix; be gentle!
Crust Consistency for Your Oreo Pie
When you mix the butter into the crumbs, you want that perfect, moist sand texture. If it seems too dry, don’t panic! Add just a teaspoon more of melted butter until you can squeeze a bit in your hand and it holds its shape. But be careful—too much butter and your crust won’t set up firmly in the freezer, leaving you with a soupy bottom on your beautiful **oreo pie**!
Oreo Dessert Ideas: Variations on This Oreo Pie
I know this **oreo pie** is perfect as is, but sometimes you just want to switch things up, right? That’s the fun of baking! This basic structure is so forgiving, which is why it’s one of my favorite Oreo Dessert Ideas to play with. You don’t need a whole new recipe; just a couple of simple additions can completely change the flavor profile. If you’re feeling experimental, try these additions—they work beautifully with the creamy base!
Peanut Butter Swirl Oreo Pie Variation
Oh, the classic combination! If you love peanut butter and chocolate (who doesn’t?), this is for you. Before you fold the whipped cream into the pudding/cream cheese mixture, quickly melt down about half a cup of your favorite creamy peanut butter. Drizzle that warm, goopy peanut butter right into the filling. Then, very gently swirl it—don’t mix it completely! You want those beautiful ribbons of peanut butter running through your cookies and cream pie. Remember, gentle folding is key!
Making a Cookies and Cream Pie with White Chocolate
For a brighter, sweeter flavor that handles the cookies really well, try adding white chocolate. Melt about one cup of good quality white chocolate chips slowly (don’t burn them!) and allow them to cool for just a minute so it isn’t hot when it hits the filling. Fold that in along with the whipped cream. It gives the pie a fantastic look, almost like a sophisticated cookies and cream bar you’d find in a high-end bakery. If you’re looking for more easy, no-bake chocolate goodness, you have to check out my chocolate dipped coconut bars!
Serving Suggestions for This Chocolate Cookie Pie
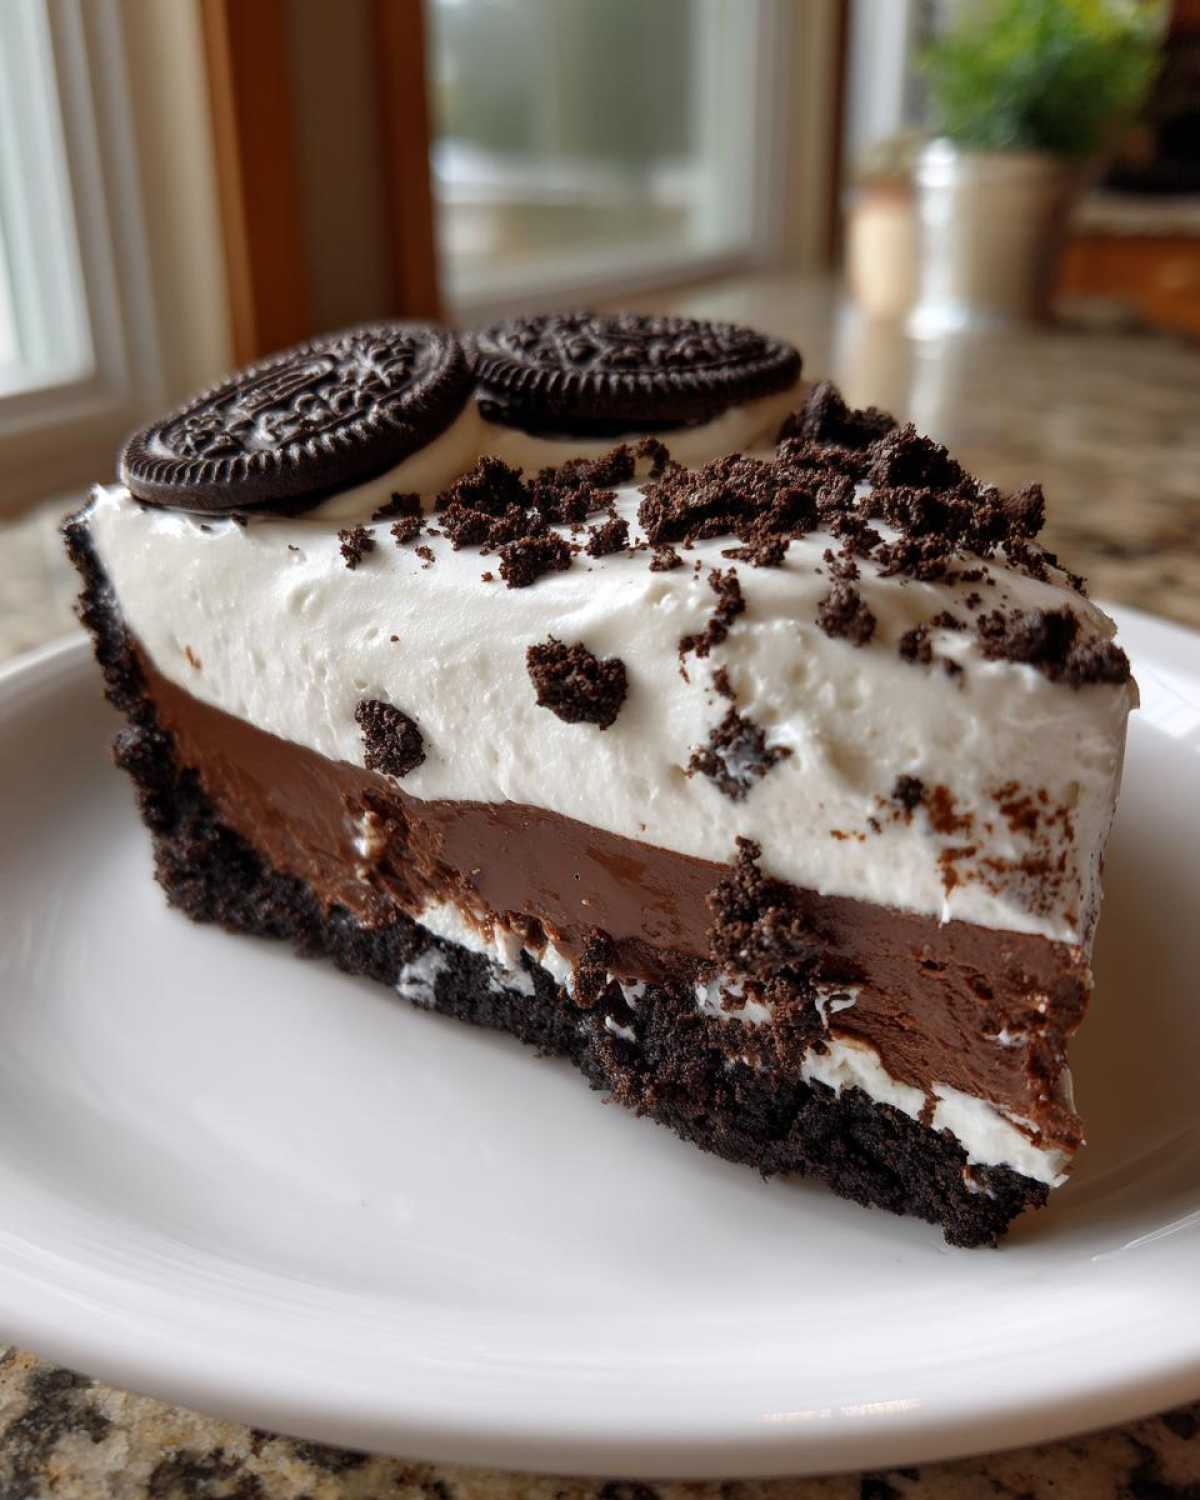
This rich **oreo pie** is already a showstopper, but how you serve it takes it to the next level! Since this is an amazing option for Party Desserts, I always dress it up a little. After you’ve chilled it completely and added your final dollop of whipped topping, you want garnishes that complement that deep chocolate flavor.
A quick sprinkle of extra crushed Oreos is mandatory, of course! But also, try adding a few fresh raspberries or a drizzle of salted caramel sauce right over the top just before serving. The little bit of tart fruit or salty caramel just cuts through the richness perfectly. If you want something simpler for a quick weeknight treat, you can never go wrong with a chocolate syrup swirl. If you need another quick chocolate fix later, try my quick chocolate mug cake recipe!
Storage and Reheating Instructions for Leftover Oreo Pie
This is the easy part, because you probably won’t have any leftovers, but let’s pretend you’re being responsible! Since this is a no-bake treat, you absolutely do not want to think about reheating this in the oven or microwave—it would turn into a soggy mess instantly. We are only talking cold storage here, folks!
The best way to store your incredible **oreo pie** is always in the refrigerator. It needs to stay chilled to keep that creamy filling firm! Cover the pie loosely with plastic wrap or, even better, put it inside a large cake carrier or container with a lid. Keeping it covered stops the pie from picking up any weird smells from the fridge, which is super important for maintaining that clean, beautiful cookies and cream flavor.
This glorious pie will stay fantastic in the fridge for about three to four days. Seriously, I’ve eaten leftovers on day four, and they were still perfect! If you plan on topping it with the whipped topping, I always suggest keeping the topping separate until you slice into the pie the first day. Whipped topping tends to weep or deflate a bit after a day or two in the fridge underneath plastic wrap. So, keep the main pie covered, and just whip up a small fresh batch of topping or pull some from a thawed tub right before you serve those fourth-day slices. Easy peasy!
Frequently Asked Questions About No Bake Desserts
I get so many questions about this recipe, and honestly, I love fielding them! It means you guys are excited to dive into the world of No Bake Desserts, and that makes me happy. Since this is one of the most popular Oreo Pie Recipes I share, here are the answers to the most common things people ask me before they get started.
Can I use a pre-made graham cracker crust instead of the Oreo Pie crust?
Oh, you totally can! If you’re really pressed for time, grabbing a pre-made crust is a great shortcut. It will definitely change the final flavor profile of your **oreo pie**, though. Graham crackers are lighter and sweeter, so you’ll lose some of that deep chocolate punch from the Oreo crust. If you use one, I suggest sprinkling a few extra Oreo crumbs right on top of the filling before the final topping goes on, just to bring the cookies and cream flavor back to the forefront!
What is the best way to slice this Creamy Oreo Pie cleanly?
This is the secret to getting those beautiful, perfect slices for your party guests! Because this filling sets up so soft and creamy, you need a clean blade. Get a tall glass of very hot water nearby. Dip a long, sharp knife into the hot water, wipe it completely dry with a paper towel, and then make your first downward slice. Wipe the knife clean and re-dip it in hot water *between every single slice*. It sounds fussy, but hot knife through cold creamy pie equals gorgeous presentation!
How long does this No Bake Oreo Pie last in the fridge?
Because we are using pudding mix and fresh whipped cream, this **No Bake Oreo Pie** is best eaten within the first 48 hours. After that, the whipped topping layer can start to compress a little bit. If you store the pie tightly covered (like I mentioned before) and serve it cold, you should be totally fine for up to three days. If you happen to try my easy crockpot steak bites recipe, you know I love easy meals, and this is an easy dessert that stays good for a few days!
Share Your Experience Making This Oreo Pie
I truly hope you had as much fun making this incredibly easy **oreo pie** as I do every time I whip one up! It’s one of those desserts that seems almost too easy for how amazing it tastes. That perfect creamy-to-crunch texture just hits the spot every time, whether it’s a busy Tuesday night or the centerpiece of a big holiday spread.
Now that you’ve tasted the best **No Bake Oreo Pie** around, I’d absolutely love to hear about it! Did it disappear instantly at your house? What occasion did you spoil everyone with this magnificent **cookies and cream pie** for? Go ahead and drop a comment below—tell me your rating and any little changes you might have made. Your feedback helps me know what delicious recipes to make next!
Print
Easy No Bake Oreo Cream Pie
- Total Time: 4 hr 20 min
- Yield: 8 servings
- Diet: Vegetarian
Description
Make this simple, creamy Oreo pie without turning on your oven. This dessert uses few ingredients and sets up quickly in the refrigerator.
Ingredients
- 1 1/2 cups crushed Oreo cookies (about 25 cookies)
- 1/4 cup unsalted butter, melted
- 8 ounces cream cheese, softened
- 1 cup powdered sugar
- 1 teaspoon vanilla extract
- 1 1/2 cups cold heavy whipping cream
- 1 package (3.9 ounces) instant chocolate pudding mix
- 2 cups cold milk
- 1 cup whipped topping, thawed (for topping)
Instructions
- Mix the crushed Oreo cookies and melted butter together in a medium bowl. Press this mixture firmly into the bottom and up the sides of a 9-inch pie plate. Place the crust in the freezer while you prepare the filling.
- In a large bowl, beat the softened cream cheese, powdered sugar, and vanilla extract until smooth. Set aside.
- In a separate bowl, whisk together the instant chocolate pudding mix and cold milk for two minutes until it begins to thicken. Let it sit for five minutes.
- Gently fold the pudding mixture into the cream cheese mixture until just combined.
- In another clean bowl, whip the heavy whipping cream until stiff peaks form. Gently fold the whipped cream into the cream cheese and pudding mixture until no streaks remain.
- Pour the creamy filling into the prepared Oreo crust.
- Cover the pie loosely with plastic wrap and refrigerate for at least 4 hours, or until the filling is firm.
- Before serving, spread the thawed whipped topping over the top of the pie. Garnish with extra crushed Oreos if desired.
Notes
- You can use a food processor to crush the cookies quickly.
- If you prefer a firmer filling, you can substitute the instant pudding with 1 cup of chilled, prepared chocolate mousse.
- This pie tastes best when served cold directly from the refrigerator.
- Prep Time: 20 min
- Cook Time: 0 min
- Category: Dessert
- Method: No Bake
- Cuisine: American
Nutrition
- Serving Size: 1 slice
- Calories: 410
- Sugar: 35
- Sodium: 310
- Fat: 25
- Saturated Fat: 14
- Unsaturated Fat: 11
- Trans Fat: 0
- Carbohydrates: 45
- Fiber: 1
- Protein: 4
- Cholesterol: 55


Comments are closed.