
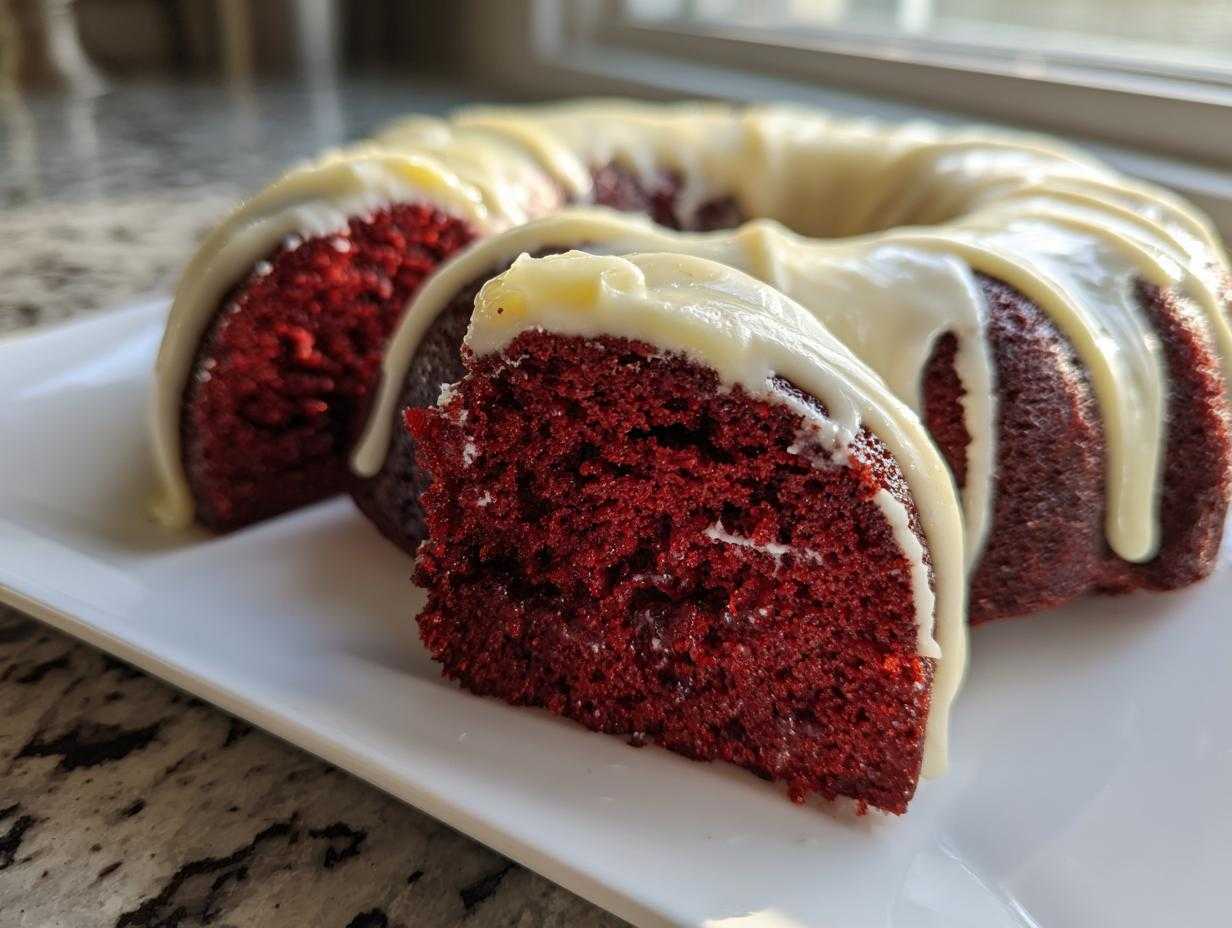
I don’t know about you, but when I see a perfectly formed Bundt cake, I just swoon! Those fluted sides make any dessert look instantly elegant, which is why I had to figure out how to translate that gorgeous shape into the best possible flavor. Forget those dry, overly dense versions you sometimes get stuck with. This right here is the ultimate recipe for a moist red velvet bundt cake that honestly tastes better than anything you’d grab from a fancy bakery case.
After years of tinkering with buttermilk ratios and oil blends—trust me, I’ve ruined plenty of pans experimenting!—I finally nailed the technique. This recipe guarantees a deeply flavorful, unbelievably tender crumb that melts in your mouth. It’s truly my go-to showstopper dessert when I need something festive and deeply satisfying. If you want to see another fantastic recipe I perfected, check out my guide to making the moist and easy red velvet cake from scratch. Get ready, because this Bundt version is going to become your family favorite!
Why This Red Velvet Bundt Cake Recipe Delivers Moisture and Flavor
Look, anyone can mix up a red cake and call it red velvet, but the *real* magic is in the texture and the subtle chocolate tang. That’s what separates an okay cake from one people beg you to bring to every gathering. This Red Velvet Bundt Cake Recipe is built on structure and moisture. I spent ages perfecting the balance so it comes out of that Bundt pan looking like a dream!
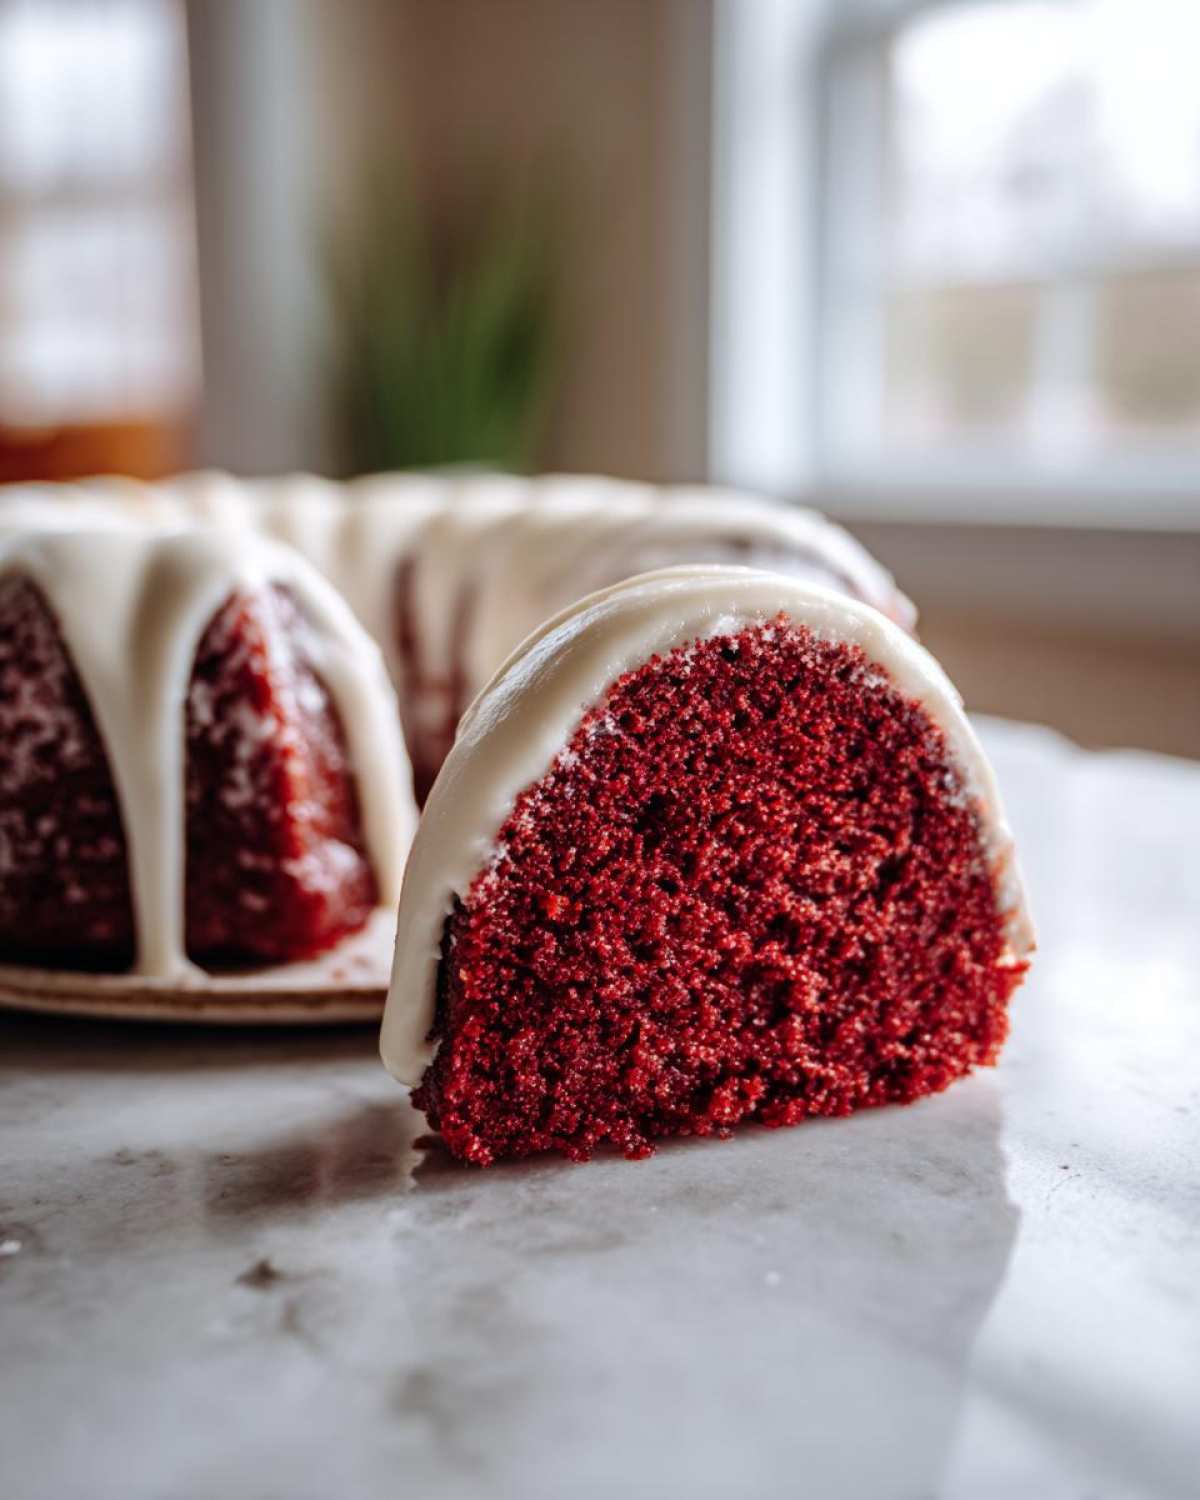
Honestly, if you follow these few principles, your result will be bakery-quality, guaranteed. Forget the recipes that rely on instant pudding—that’s not how we do things here. We are aiming for that classic, slightly tangy, melt-in-your-mouth velvet feel.
- It has that signature, subtle cocoa background that makes red velvet so addictive.
- The crumb is incredibly moist—it stays soft for days!
- It provides the perfect sturdy base for a thick, gorgeous glaze (which you can find the recipe for over here for the best cream cheese frosting).
- It bakes evenly, which is half the battle when dealing with deep Bundt pans.
Achieving the Perfect Tender Crumb Cake Texture
The moisture in this cake comes down to two non-negotiable items: oil and buttermilk. Oil keeps cakes impossibly tender, even after they’ve cooled completely, unlike butter which can solidify things a bit. We use a good amount here for that beautiful, open crumb structure. Also, make sure your buttermilk and eggs are at true room temperature!
When cold ingredients hit warm oil, they seize up slightly. Room temperature items emulsify beautifully, which means that lovely batter holds air better and bakes up lighter and more uniform. That’s the secret to a truly tender crumb cake!
The Secret to a Deep Chocolate Red Velvet Dessert Hue
You’ll notice we only use one teaspoon of cocoa powder. That little bit is crucial; it provides that classic, slightly acidic chocolate note that distinguishes it from plain vanilla cake. Too much cocoa, and your cake turns brown, not red!
The color comes almost entirely from the food coloring. Seriously, ditch the liquid drops! If you use standard liquid coloring, you’d have to pour in half a bottle just to get a pale pink. I insist on a high-quality gel coloring. It’s concentrated, so a little bit goes a long way to achieving that deep, gorgeous red color that makes this a true chocolate red velvet dessert.
Gathering Ingredients for Your Red Velvet Bundt Cake
Okay, ingredient gathering time! This is where we lay the groundwork for that incredible texture, so don’t freestyle here—we need precision for this one. I always pull my wet ingredients out first to let them warm up while I measure the dry stuff. Speaking of dry ingredients, this recipe is surprisingly straightforward, relying on flour, sugar, baking soda, a tiny bit of cocoa, and salt. It’s straightforward, but trust the process!
Once you see how perfectly this cake comes together, you might even try my famous carrot cake recipe next! But for now, focus on these exact measurements for the ultimate bake.
Cake Ingredients: Building the Moist Red Velvet Bundt Base
We start with our dry bases: 1 3/4 cups all-purpose flour, 1 1/2 cups granulated sugar, 1 teaspoon baking soda, 1 teaspoon unsweetened cocoa powder, and 1/2 teaspoon salt, whisked together well. Then for the wet components, you absolutely need 1 cup of buttermilk at room temperature, 1/2 cup of vegetable oil, 2 large eggs, 1 teaspoon white vinegar, and 1 teaspoon vanilla extract. Don’t forget the critical 1 tablespoon of red food coloring (gel only, remember!) blended into that wet mix!
The final ingredient before pouring is 1/2 cup of boiling water stirred in right at the end—it blooms the cocoa and loosens the batter into that signature thin consistency we love for a moist Red Velvet Bundt.
For the Rich Cream Cheese Glaze Bundt Cake Topping
You can’t have red velvet without that tangy, sweet crowning glory. For the glaze, you need 1/2 cup of cream cheese, softened, paired with 2 tablespoons of softened unsalted butter—make sure they are truly soft so you don’t end up with lumps! Then, you beat in 1 1/2 cups of powdered sugar until it’s smooth. A half teaspoon of vanilla extract gets added right before we thin it out. If the glaze seems too stiff to drizzle beautifully over your Cream Cheese Glaze Bundt Cake, just add a tiny splash of milk, a half teaspoon at a time!
Essential Equipment for How to Bake Red Velvet Bundt
You know, even the most delicious Red Velvet Bundt Cake Recipe can fail if you have the wrong tools! Baking in a Bundt pan is fun, but it requires respecting the pan itself. It’s not like a simple round cake where you can just punch the sides if things get sticky. Preparation is everything here, so taking the time to gather these essentials saves you a massive headache later on!
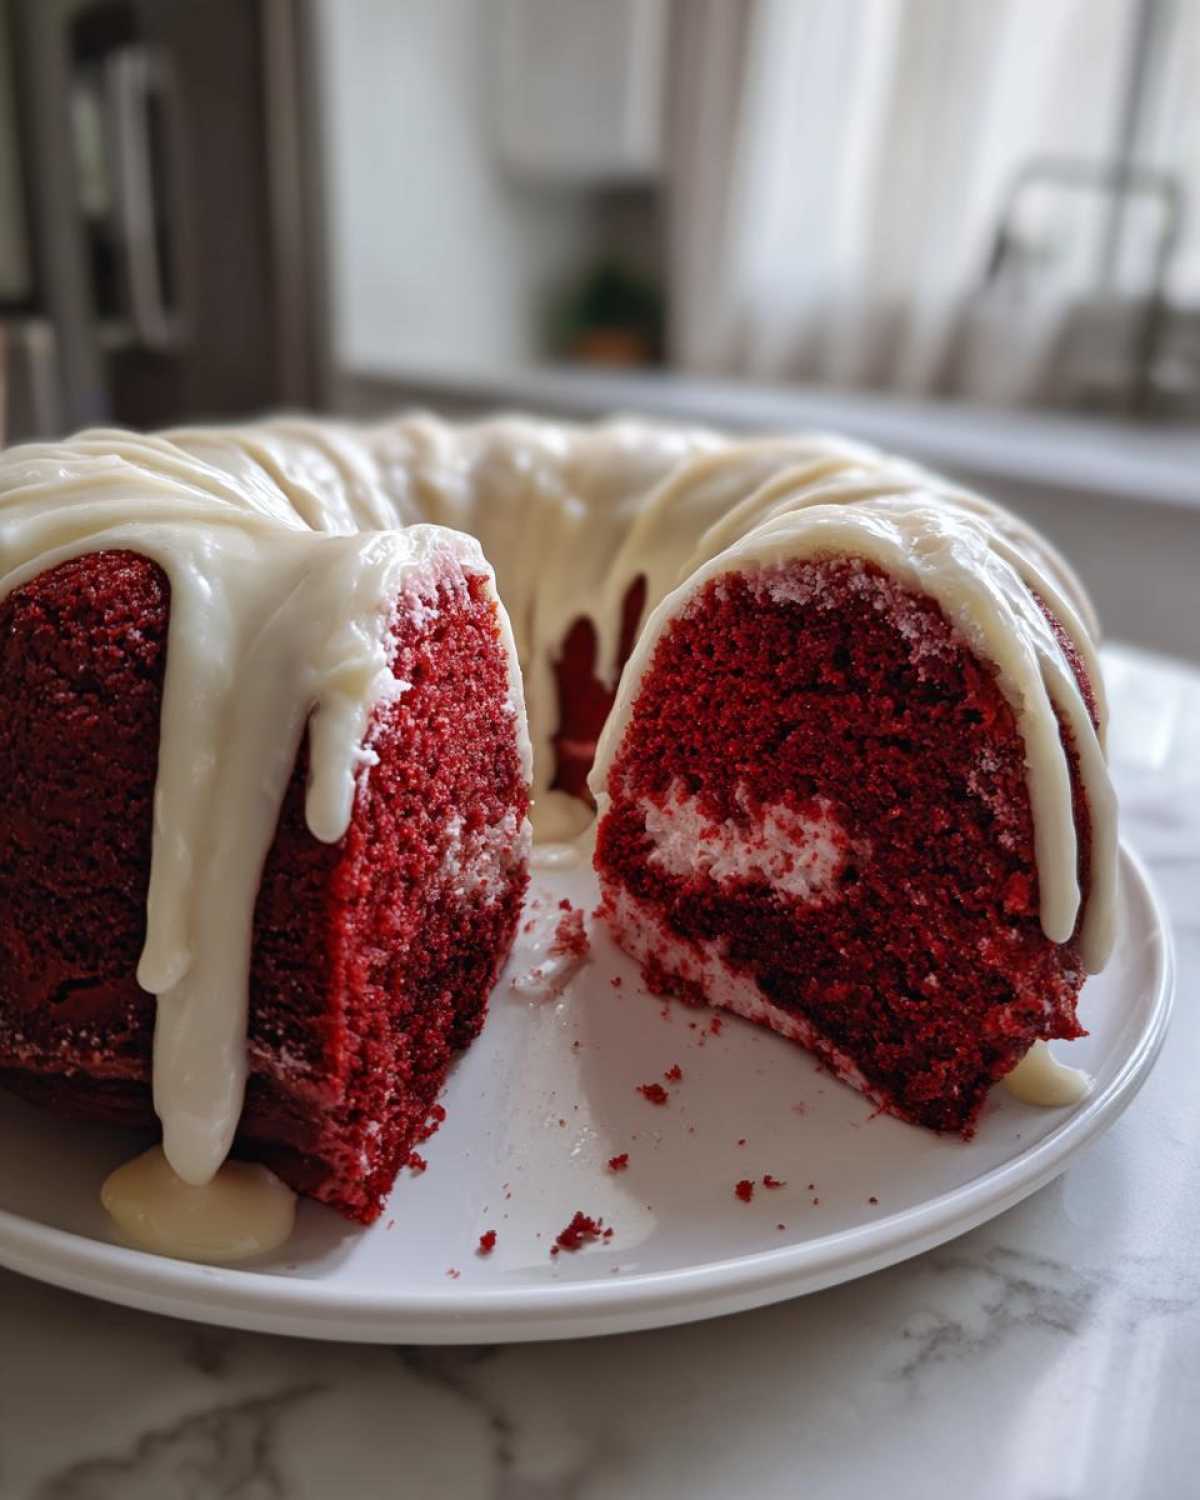
I always make sure my tools are clean and ready before I even start thinking about preheating the oven. It saves time and makes the actual mixing process so much smoother. You don’t need a commercial kitchen, but a few key items really help achieve that perfect, sturdy, yet tender bake.
Here’s the gear I swear by when I’m making this beautiful cake:
- A quality 10-cup Bundt pan. Seriously, don’t use your old, tiny nine-cup one; the batter needs room to breathe without overflowing!
- A handheld electric mixer or a stand mixer. While you *can* whisk by hand, beating the butter and cream cheese for the glaze takes muscle, and consistency matters for that smooth finish.
- Two large mixing bowls. One for the dry flour bombs, and one for the wet buttermilk mixture. Keeping them separate until the very last second prevents premature gluten development.
- A fine-mesh sieve or a whisk for combining your dry ingredients super well.
- A sturdy rubber spatula. This is crucial for scraping down the sides of the bowl to make sure everything gets incorporated perfectly, right before adding that last bit of hot water.
- A cooling rack. You need good airflow underneath that Bundt pan, or the bottom stays gummy and unset.
Getting your equipment ready is step zero. Once you have these basics sorted, moving onto the official steps feels like a breeze!
Step-by-Step Instructions for Your Red Velvet Bundt Cake
Alright, let’s get baking! I know looking at a complicated list of steps can seem intimidating, but if you follow my lead, this process flows really smoothly. The absolute first thing you have to do is treat that gorgeous Bundt pan right. Preheat your oven to 350°F (175°C). Then, grab a paper towel and really work softened butter or even some non-stick baking spray into every single crevice of that pan. Flour it well, knocking out the excess. A sticky red velvet cake is nobody’s friend!
Once the pan’s ready, we move onto the mixing bowl. Remember what Grandma always said? Keep the wet and dry separate until the last minute. This cake is going to be such a fantastic, vibrant creation when we’re done with it. Before you even think about turning your mixer on, you can check out how I make my sour cream coffee cake—the same rules about careful mixing apply there!
Mixing the Batter: Avoiding Overmixing for a Velvety Cake Recipe
In your big bowl, whisk the flour, sugar, baking soda, cocoa, and salt together. This is easy! Now, in the separate bowl, mix everything else—buttermilk, oil, eggs, vinegar, vanilla, and that stunning red food coloring. When you combine them, mix on low speed—and I mean low—just until the streaks disappear. Seriously, stop mixing! Overmixing develops gluten, and we don’t want rubber bands in our cake; we want a silky, velvety cake recipe.
Here’s the part everyone skips: that 1/2 cup of boiling water. Gently stir it in right at the very end. Yes, it’s going to look watery—that’s exactly what we want! Pour that thin batter right into your buttered pan and smooth the top gently.
Baking Times and Cooling Protocol for the Showstopper Dessert
Into the oven it goes for about 45 to 55 minutes. How do you know it’s done? The classic toothpick test works, but also, the cake should start to pull just slightly away from the sides of the pan. That’s your visual cue!
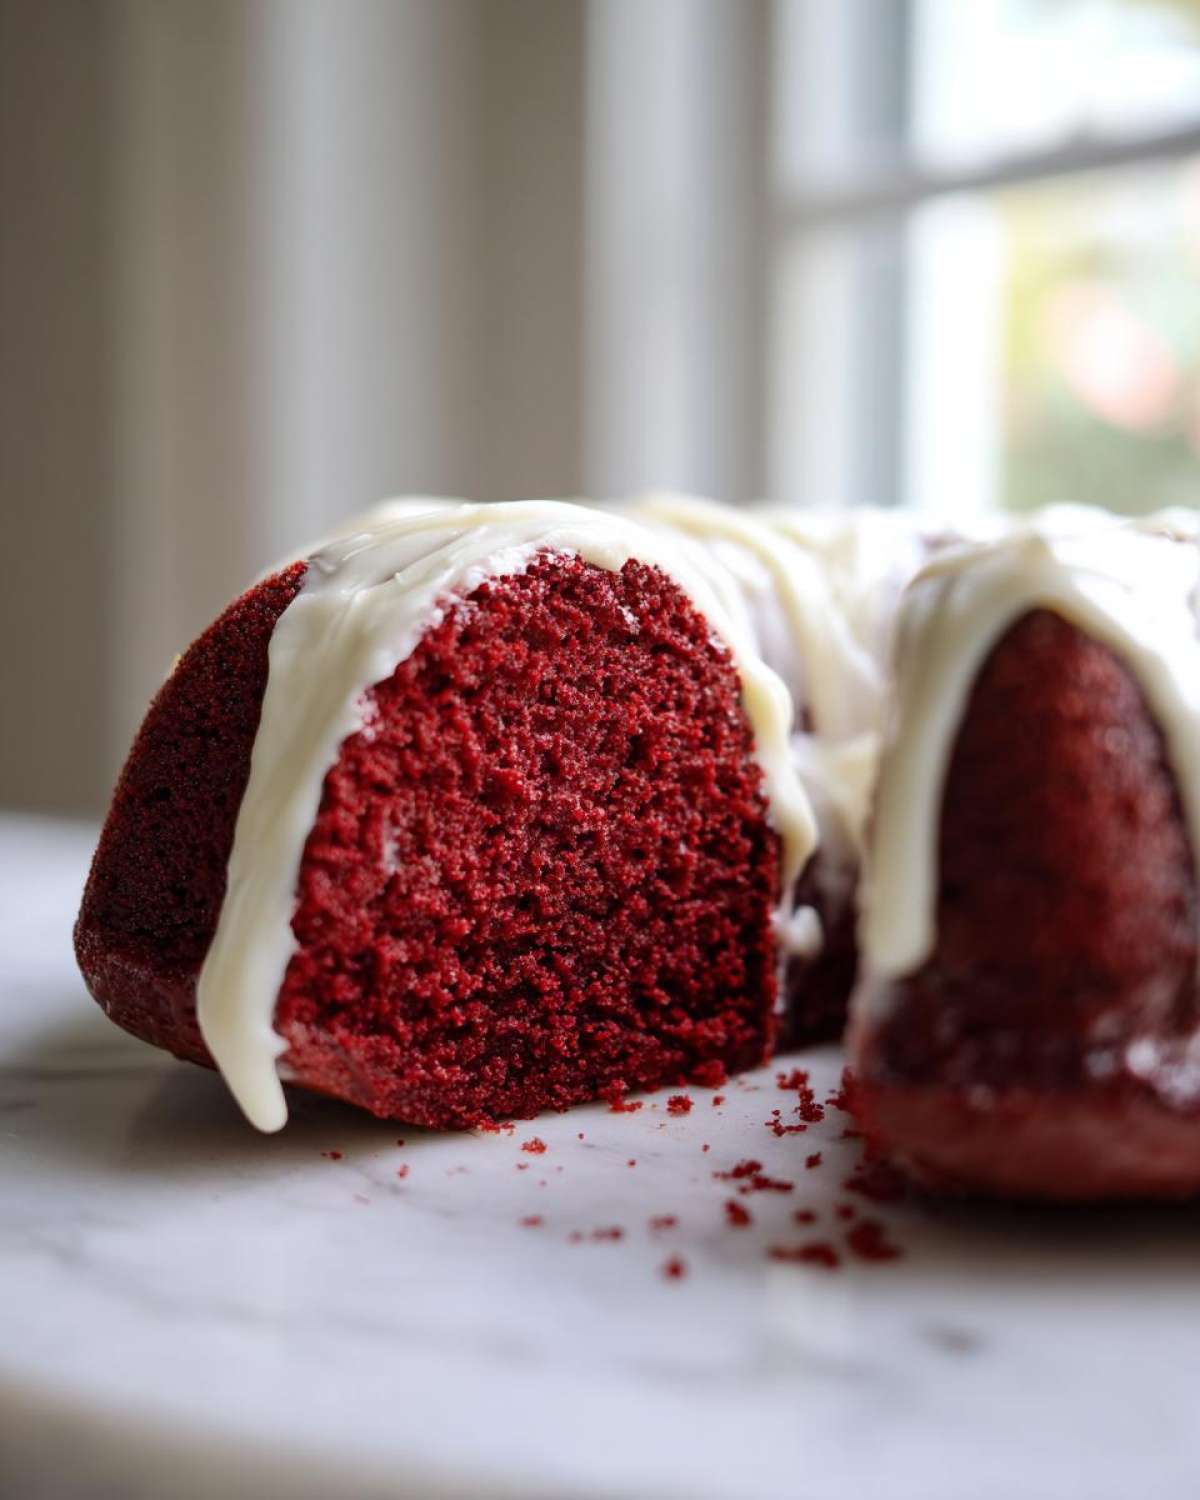
Now, this is critical for a showstopper dessert that won’t break when you try to release it: Do NOT take it out immediately. Let it cool completely in the pan, sitting on a wire rack, for a solid 15 minutes. This gives the structure time to set up. After 15 minutes? Flip that baby out onto the rack to cool all the way. A warm cake melting the glaze is a disaster, so be patient!
Crafting the Smooth Cream Cheese Glaze Bundt Cake Topping
The cake cooling down is my favorite time because it means the glaze is next! You cannot serve a stunning red velvet without that perfect tanginess to cut through the sweetness. Since we baked this cake from scratch, we absolutely must make the glaze from scratch too. Forget store-bought stuff; this takes five minutes and tastes a million times better. It’s decadent without being too heavy, which is why it works so perfectly drizzled over a Bundt instead of slathered like a heavy frosting.
For this glaze, we need that cream cheese and butter to be very soft—remember, we are aiming for smooth, not chunky! So, make sure you set those out early, just like you did for the cake batter. If you ever struggle with frosting, I have a great guide on vanilla buttercream that uses similar creaming techniques if you get stuck.
Start by beating the 1/2 cup of softened cream cheese and 2 tablespoons of softened butter together until they look pale and creamy. This should take a minute or two with the mixer. If you’re not scraping down the sides frequently, you’ll get clumps, so keep using that trusty spatula!
Next, gradually add in your 1 1/2 cups of powdered sugar. Once that’s integrated, stir in the 1/2 teaspoon of vanilla extract. When the glaze is mixed, it should be thick, almost like soft peanut butter. That’s too thick for drizzling, though! We need to loosen it up slightly so it runs down those channels of the Bundt cake beautifully. If it’s holding its shape too much, add milk, just a teaspoon at a time, mixing well after each addition, until you hit that sweet spot where it flows slowly but easily off the spoon.
Once your cake is completely cool—and I mean totally cool, or the glaze will just melt right off—place it on your cooling rack over a piece of parchment paper (that catches the drips!). Then, just use a spoon or a whisk to drizzle it generously back and forth over the top. That contrast of white against the deep red velvet is what makes this such a true Cream Cheese Glaze Bundt Cake!
Tips for a Bakery Style Bundt Cake Every Time
Trying to get that perfect, flawless release from a Bundt pan can feel like high-stakes baking drama sometimes. But honestly, once you know a few insider tricks, you reduce your failure rate to almost zero. These aren’t just suggestions; these are the exact things I do when I’m trying to achieve that pristine, bakery style Bundt cake look that I know you want!
If you’re looking for another simple recipe that is nearly impossible to mess up, you have to try my easy honey bran muffins next time you’re in the mood for quick baking. But back to the red velvet—here are the non-negotiable steps for success:
Never Skip the Room Temperature Rule
I keep saying it because it’s important! If you’re rushing and grab cold eggs or cold buttermilk, your batter consistency will be off from the start. Cold ingredients don’t integrate properly with the oil, leading to a denser cake that might not rise evenly in those detailed Bundt grooves. Let everything sit out on the counter for at least 30 minutes to an hour before you start mixing. You’ll feel the difference in how smooth your wet ingredients look.
Use Gel Coloring, Not Liquid Drops
This is purely for appearance, but it makes a huge difference in a vibrant cake like red velvet. If you use standard liquid food coloring, you often need 2–3 tablespoons just to get a noticeable pink, which adds too much extra liquid to a precise batter. Gel coloring is concentrated; you use a toothpick or small spoon to add tiny amounts until you reach that deep, dramatic hue without altering the chemical balance of the cake. It’s a small investment that pays off visually!
The Buttermilk Substitute Magic
Life happens, and sometimes you run out of buttermilk right when you are ready to bake! Don’t panic and run to the store. My favorite trick is making your own fresh buttermilk substitute using whole milk and vinegar. Just take 1 cup of whole milk, stir in 1 tablespoon of white vinegar or lemon juice, and let it sit on the counter for about five minutes. It will start to curdle slightly, and bam—you have perfect, tangy buttermilk ready to go! This works perfectly in this Moist Red Velvet Bundt recipe.
Don’t Stop the Oven Too Early
Because Bundt pans have so much batter deep in the center, they often bake slower than shallow layer cakes. Don’t test for doneness too early. Wait until the 45-minute mark minimum. Look for that slight pulling away from the edges, and then test the center. If you pull it out when it still looks slightly wet in the middle, it will collapse when you try to invert it—and nobody wants a beautiful cake sinking into itself!
Red Velvet Bundt Cake Variations and Swirls
So, you nailed the base recipe, and now you’re feeling brave? That’s my kind of baker! While this classic red velvet bundt cake with the drizzle is simply stunning, sometimes you want to take things up a notch, especially if you’re making it for a huge holiday crowd. I love having a few ways up my sleeve to change things up without messing with the core structure that makes this cake so moist.
If you want to see how I make the layer cake version—which is equally fantastic, by the way—you can check out the full layer cake recipe. But for the Bundt, here are my favorite ways to customize it without sacrificing that signature velvet texture we worked so hard for!
The key, remember, is that the batter itself needs to stay structurally sound because it’s heavy. We can add things *into* the batter, but we can’t thin it out too much, or it won’t bake right in this shape.
Cheesecake Swirl Dreams
This is my favorite weekend project! Imagine that tangy red velvet contrasted with a creamy, baked cheesecake center—yes, please! To pull this off, you need to prepare your cream cheese filling first, just like you would for a traditional cheesecake swirl, only you make a smaller batch since we aren’t using a full 9-inch layer cake pan.
Beat 4 ounces of cream cheese with 1/4 cup of sugar, one egg yolk, and a splash of vanilla until smooth. After you pour your red velvet batter into the prepared Bundt pan, just dollop spoonfuls of that cheesecake mixture evenly over the batter. Then, take a butter knife or a skewer and gently swirl it around a couple of times. Don’t overdo the swirling! We just want ribbons of creamy flavor running through the cake, not a muddy mess. It bakes up beautifully and looks so impressive when sliced.

Glaze vs. Frosting: Which Topping Wins?
I wrote this recipe emphasizing the glaze because it’s less heavy and lets those Bundt contours really show off. It’s elegant and simple. But sometimes, you just need that thick, decadent layer of classic cream cheese frosting, especially if you’re making this cake for Christmas or Valentine’s Day!
If you prefer a thicker frosting over the drizzle, you’ll need to make a slightly stiffer batch. You’ll want to increase the powdered sugar by about half a cup and reduce the added milk. Beat it until it’s thick enough to hold soft peaks. Let your cake cool completely—and I mean *completely*—before carefully spreading it over the top, making sure it drips artistically down the sides. A stiff frosting takes longer to pour than a thin glaze, but the flavor payoff is worth the extra effort!
Adding Texture Inside: Nuts and Chocolate Chips
For those who like a little chew or crunch in their life, you can absolutely fold in extra ingredients with the batter once the boiling water is mixed in. My go-to addition is 1/2 cup of finely chopped pecans or walnuts. They toast up beautifully in the oven and add a great nutty dimension against the cocoa and vanilla.
If nuts aren’t your thing, try folding in 1/2 cup of mini chocolate chips. Just be careful—mini chips tend to sink if you don’t coat them lightly in a spoonful of flour before adding them in. It adds little pockets of melted chocolate throughout the red velvet, making it feel extra rich and decadent!
Storage and Reheating Instructions for Leftover Red Velvet Bundt Cake
Listen, I hope this cake lasts longer than 24 hours because when it’s fresh, you should be eating it! But life happens, and sometimes you have leftover slices of this gorgeous Red Velvet Bundt Cake. Since we focused so much on making it incredibly moist, keeping it fresh is actually pretty easy, provided you follow a couple of rules about sealing it up tight.
The biggest enemy here is air exposure, which dries out those beautiful cake fibers we worked so hard to keep tender. Don’t just wrap it loosely in foil; we need a multi-step approach to seal in all that moisture, especially since we have that delicious, tangy glaze on top.
Keeping it Fresh at Room Temperature
If you plan on eating the rest within two days, room temperature is absolutely fine. The high sugar content in the cake and the glaze acts as a preservative, so it won’t spoil quickly. Once the cake is completely cooled and the glaze has set firmly—this is important!—wrap individual slices tightly in plastic wrap first. I mean really snug wrap, like they’re being shipped across the country.
After the plastic wrap layer, you can place those wrapped slices into an airtight container or a large zip-top bag. Storing it like this keeps handling damage away and seals in the humidity. Keep it on the counter, away from direct sunlight or heat. It will stay wonderfully moist this way, tasting almost as good as day one!
Can I Freeze My Red Velvet Bundt Cake?
Oh yes, you absolutely can freeze this! Freezing is the best option if you think it’ll be more than two or three days before you finish it. The fat content ensures it freezes really well without getting freezer-burned, provided you wrap it correctly. If you made the whole cake, let the glaze fully set, then wrap the entire thing tightly in plastic wrap first.
I recommend a second layer of defense, too—wrap it again in aluminum foil or place the whole wrapped cake into a large, heavy-duty freezer bag, squeezing out as much air as possible. I’ve kept pieces fresh this way for up to three months, no problem!
The Thaw and Reheat Process
When you’re ready to enjoy a frozen slice (or the whole cake!), the thawing process is just as important as the freezing process. Never, ever thaw it on the counter uncovered; that invites dryness!
- Move the frozen cake or slices from the freezer directly into the refrigerator—still wrapped tightly in all that plastic and foil—and let it thaw slowly overnight. This slow transition helps redistribute any internal moisture.
- Once it’s fully thawed in the fridge (usually about 6–8 hours), you can carefully unwrap it and let it sit on the counter for about an hour to come back to that perfect room temperature serving state.
I never reheat slices of this cake because the moisture is already perfect when thawed correctly. If you *must* have it warm, heat a slice for just 10–15 seconds in the microwave, but be super careful. Over-microwaving red velvet is the fastest route to a tough, chewy mess, and we certainly don’t want that after all this work!
Frequently Asked Questions About This Red Velvet Bundt Cake Recipe
What makes this recipe the best Red Velvet Recipe?
What makes this one the best, hands down, is the balance of moisture ingredients—the oil and the buttermilk—paired with that final addition of boiling water stirred in at the very end. It creates a batter that is thin enough to flow into all those corners of the Bundt pan, guaranteeing a gorgeous final shape, but it bakes up light, tender, and velvety soft. Plus, we use quality gel coloring for that deep, rich color that other recipes just miss!
Can I make this cake ahead of time?
Absolutely! I often find that the flavor of this Red Velvet Bundt Cake deepens overnight, just like a good spice cake does. If you bake it one day and glaze it the next, it’s even better! Just make sure it’s stored tightly wrapped at room temperature, as explained in the storage section. If you plan way ahead, freezing after it’s baked (before glazing) works perfectly too!
I don’t have buttermilk. Can I use regular milk?
Please don’t use plain milk straight from the fridge! The acidity in the buttermilk is essential because it reacts chemically with the baking soda, which gives the cake its lift and contributes to that signature slight tang. If you don’t have buttermilk, use my trick: take 1 cup of whole milk and stir in 1 tablespoon of white vinegar. Let it sit for five minutes until it looks slightly curdled. That fresh substitute works perfectly for this Buttermilk Red Velvet Cake!
How do I prevent the cream cheese glaze from being too runny?
Consistency is everything with that glaze! If you find yours is too thin to even drizzle, you added too much milk, which happens! The fix is simple: just add powdered sugar, one tablespoon at a time, beating it thoroughly after each addition. Don’t rush this; add a little sugar, mix, check the consistency, and add more if needed until it’s thick enough to hang nicely on the back of a spoon but still pourable over your Holiday Bundt Cakes.
Is this recipe similar to a Nothing Bundt Cake copycat?
It definitely shares that soft, rich, incredibly moist texture that everyone loves about the famous bakery style! While this is strictly a from-scratch recipe using quality ingredients—not a reverse-engineered copycat using shortcuts—the end result hits that same high bar of tenderness and decadent frosting/glaze coverage. If you want more cake ideas for the holidays, I have a great guide for chicken fried rice, which is totally different but equally satisfying!
Print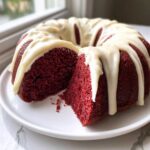
Moist Red Velvet Bundt Cake with Cream Cheese Glaze
- Total Time: 70 min
- Yield: 12 servings
- Diet: Vegetarian
Description
Bake a tender, deep red velvet bundt cake from scratch, topped with a rich cream cheese glaze. This recipe focuses on moisture for a bakery-style result.
Ingredients
- 1 3/4 cups all-purpose flour
- 1 1/2 cups granulated sugar
- 1 teaspoon baking soda
- 1 teaspoon unsweetened cocoa powder
- 1/2 teaspoon salt
- 1 cup buttermilk, room temperature
- 1/2 cup vegetable oil
- 2 large eggs
- 1 teaspoon white vinegar
- 1 teaspoon vanilla extract
- 1 tablespoon red food coloring (gel preferred)
- 1/2 cup boiling water
- 1/2 cup (4 ounces) cream cheese, softened
- 2 tablespoons unsalted butter, softened
- 1 1/2 cups powdered sugar
- 1/2 teaspoon vanilla extract
Instructions
- Preheat your oven to 350°F (175°C). Grease and flour a 10-cup bundt pan thoroughly.
- In a large bowl, whisk together the flour, sugar, baking soda, cocoa powder, and salt.
- In a separate medium bowl, whisk together the buttermilk, oil, eggs, vinegar, vanilla extract, and red food coloring until combined.
- Pour the wet ingredients into the dry ingredients. Mix on low speed until just combined. Do not overmix.
- Carefully stir in the boiling water until the batter is smooth. The batter will be thin.
- Pour the batter evenly into the prepared bundt pan.
- Bake for 45 to 55 minutes, or until a wooden skewer inserted into the center comes out clean.
- Let the cake cool in the pan on a wire rack for 15 minutes.
- Invert the cake onto the wire rack and allow it to cool completely before glazing.
- To make the glaze, beat the softened cream cheese and butter together until smooth.
- Gradually beat in the powdered sugar until fully incorporated. Add the vanilla extract and beat until the glaze is creamy. Add a teaspoon of milk if the glaze is too thick to drizzle.
- Drizzle the cream cheese glaze over the cooled cake. Allow the glaze to set before slicing and serving.
Notes
- Use room temperature buttermilk and eggs for a more tender crumb structure.
- For a deeper red color, use a high-quality gel food coloring instead of liquid drops.
- If you do not have buttermilk, mix 1 cup of whole milk with 1 tablespoon of white vinegar or lemon juice and let it sit for 5 minutes before using.
- Prep Time: 20 min
- Cook Time: 50 min
- Category: Dessert
- Method: Baking
- Cuisine: American
Nutrition
- Serving Size: 1 slice
- Calories: 410
- Sugar: 45
- Sodium: 280
- Fat: 22
- Saturated Fat: 7
- Unsaturated Fat: 15
- Trans Fat: 0
- Carbohydrates: 53
- Fiber: 1
- Protein: 4
- Cholesterol: 65


Comments are closed.