
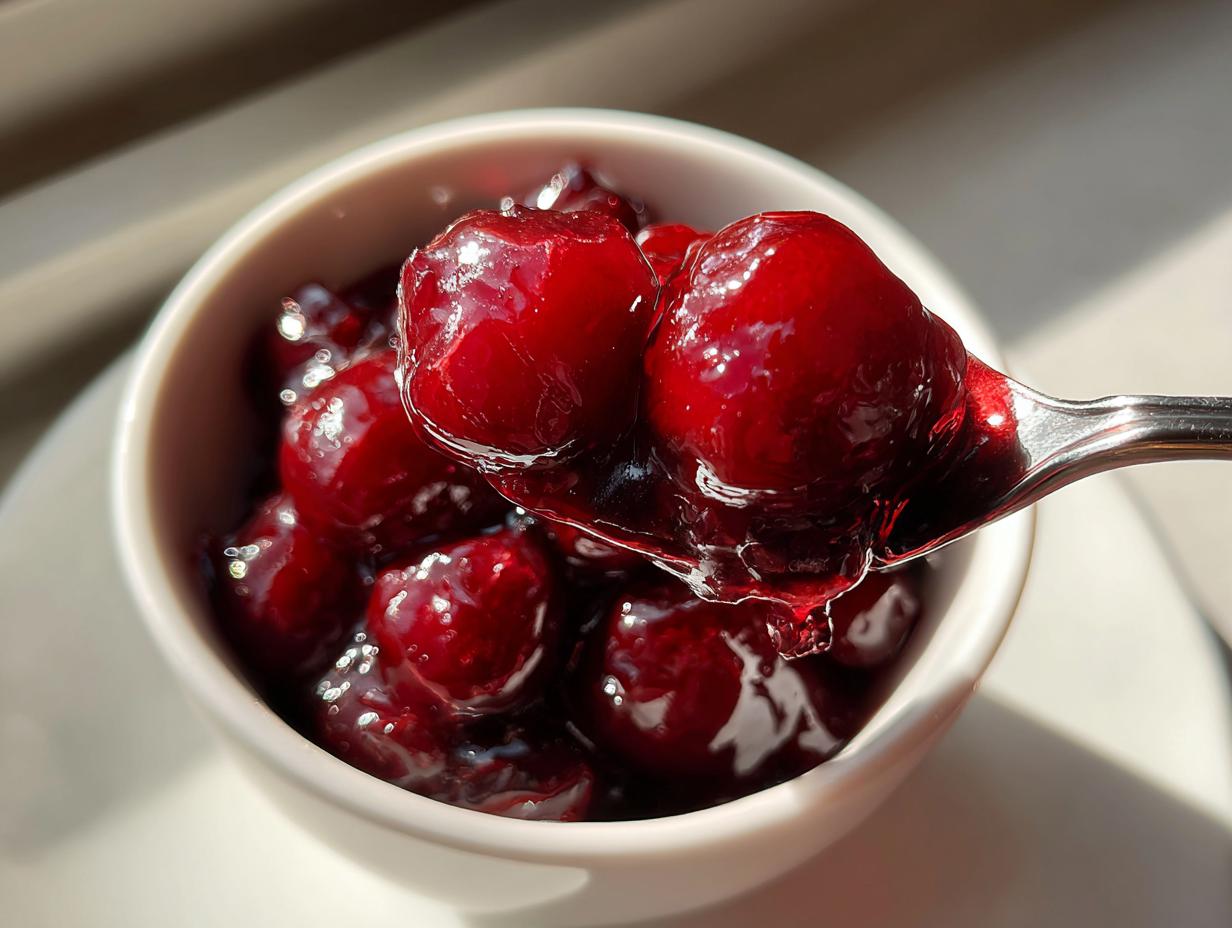
Oh, don’t even get me started on runny pie filling! There is nothing sadder than slicing into what should be a beautiful, structural dessert only to have the edges collapse into a watery mess. Trust me, I have been there more times than I care to admit when I was first learning how to make a proper flaky crust cherry pie. But listen, I fixed it! This recipe for **homemade cherry pie filling from scratch** is my absolute champion—it’s thick, impossibly juicy, and balances that sweet-tart flavor profile perfectly. I spent weeks tweaking the ratio of fruit to thickener just so you don’t have to. Seriously, this is the best cherry pie filling you’ll ever whip up on your stovetop!
Why This Homemade Cherry Pie Filling Recipe is the Best
Listen, when you make your own, you skip all those weird preservatives and fake colors chunky grocery store jars hide in there. This isn’t just some topping; this is the real deal! I promise you, once you try this, you won’t look back. It’s designed specifically to give you that perfect chew and burst of flavor every single time.
- The texture is spot on—it holds its shape beautifully when warm!
- It hits that magic spot between being super sweet and having a great tart bite.
- You can use whatever cherries you have on hand, which is a lifesaver near pie season.
Achieving Perfectly Thick Cherry Pie Filling
The difference between a good filling and a runny disaster is that critical cornstarch step. Store-bought stuff often uses weird gelatin mixes, but we use simple cornstarch mixed into a slurry. This is how we guarantee a stable, thick cherry pie filling that doesn’t ooze all over the plate when you slice it. It sets up just right when it cools, too!
Sweet Tart Cherry Filling Using Fresh or Frozen Cherries
Don’t panic if you can’t find perfect fresh cherries! I usually rely on frozen ones, especially if I’m making a big batch of my sweet tart cherry filling in the winter. Here’s the pro tip: toss those frozen cherries right into the pot. No need to thaw them out first! They release their juices naturally as they heat up, integrating perfectly into your **cherry pie filling** without watering it down.
Gathering Ingredients for Juicy Cherry Filling From Scratch
Okay, now for the fun part—getting the ingredients laid out! When we talk about making **cherry pie filling** completely from scratch, we want simple, tasty things. I always make sure I have my pie crust ready to go, maybe even using that amazing flaky crust recipe I shared a while back! You want four cups of sweet cherries and one cup of tart—pitted, of course. Don’t forget the sugar for sweetness, the lemon juice because tartness needs a boost, and the cornstarch, which is our secret weapon for thickness. Grab everything before you turn the heat on!
- 4 cups sweet cherries, pitted (fresh or frozen is fine)
- 1 cup tart cherries, pitted (if you use only sweet, add 1/4 cup lemon juice)
- 1 cup granulated sugar
- 1/2 cup water
- 2 tablespoons lemon juice
- 1/4 cup cornstarch
- 1/4 teaspoon almond extract (this is optional, but trust me on this one!)
How To Make Cherry Pie Filling: Step-by-Step Instructions
Alright, let’s get this show on the road! This part moves quickly once you get going, so have your whisk ready. We are aiming for flavor development and that perfect texture, and we’re keeping it moving so nothing burns on the bottom. If you’re thinking about that no-bake peanut butter pie you want to make later, this filling is amazing on top of that too!
Simmering the Cherries and Sugar
First things first, everything goes into the saucepan but the cornstarch—that means the cherries, sugar, water, and lemon juice. Set the heat to medium and just let it simmer gently. You need to stir it every now and then until you can visibly see that the sugar has completely dissolved. This usually takes about five minutes, and you’ll notice the mixture start to look a little glossy as the cherries kick out their juice.
Creating the Thickening Slurry for Perfect Cherry Pie Filling
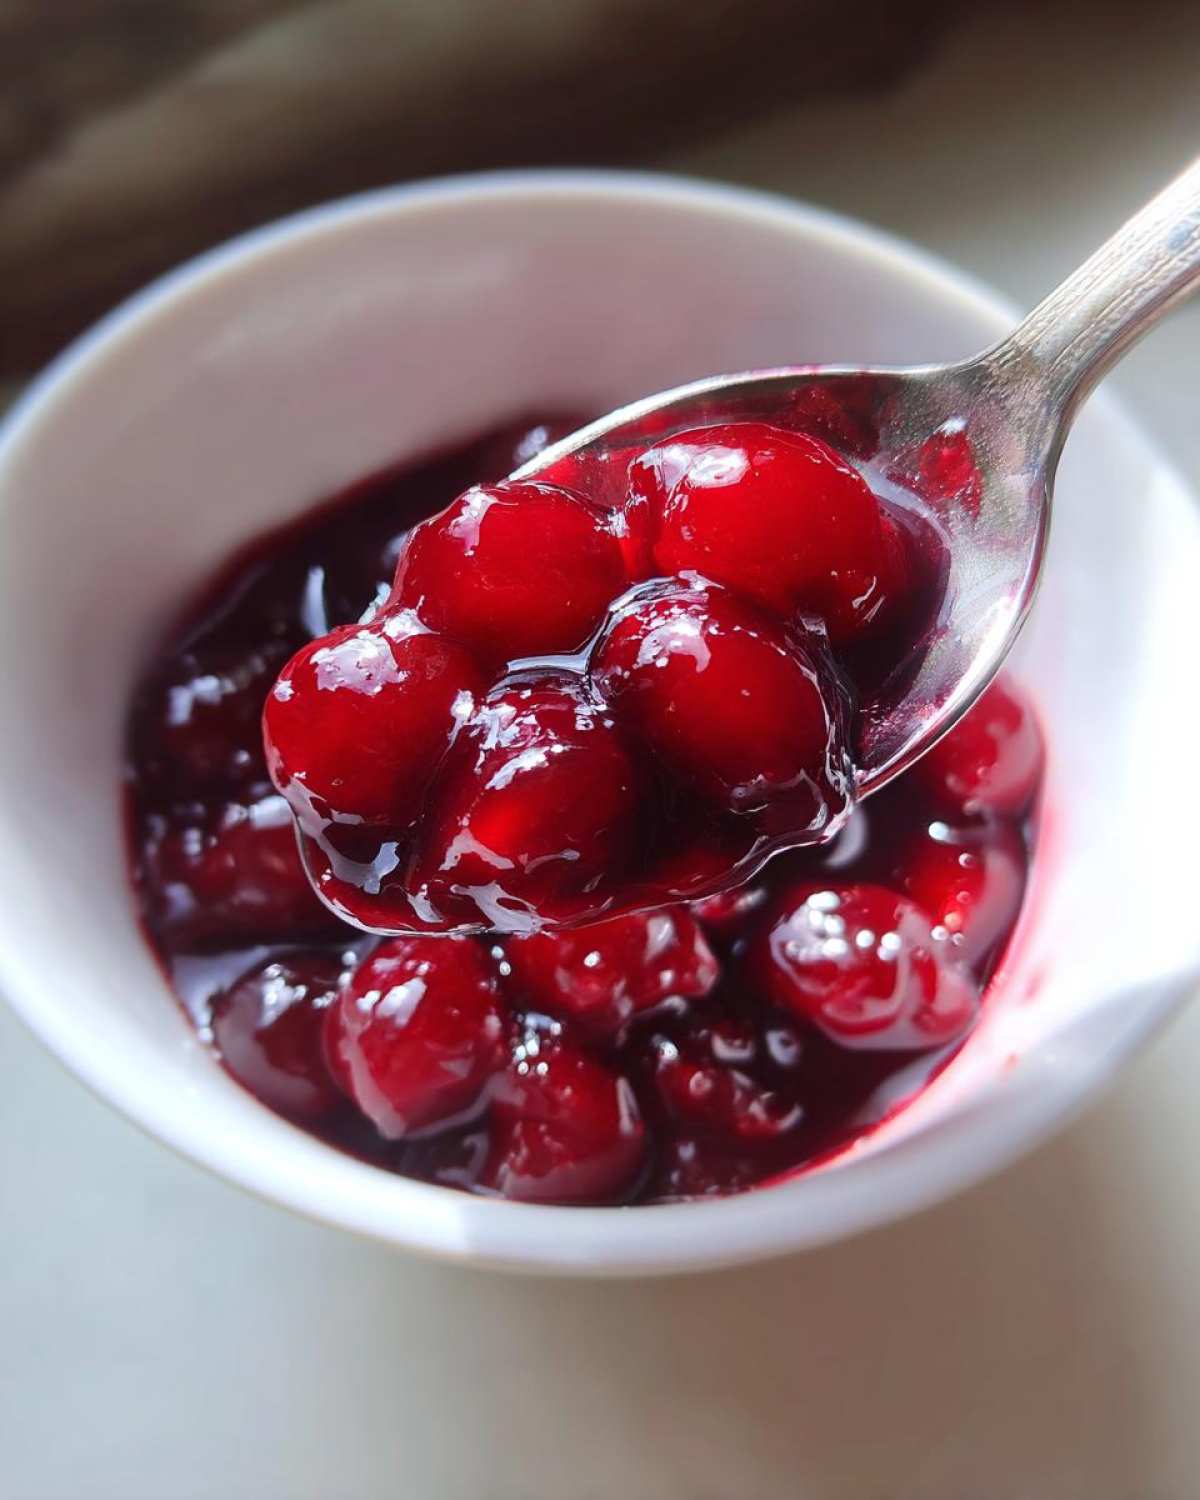
Now, this is critical! Before you move on, take a tiny bowl and whisk your cornstarch into just a little bit of *cold* water until it’s totally smooth—that’s your slurry. Once your fruit is simmering nicely, you need to pour that slurry in super slowly while you stir the cherry mixture constantly. Do not stop stirring! Keep cooking and stirring until it starts to bubble slowly and coats the back of your spoon. When it looks glossy and thick, you’ve nailed that **cherry pie filling** texture we love!
Cooling the Thick Cherry Pie Filling
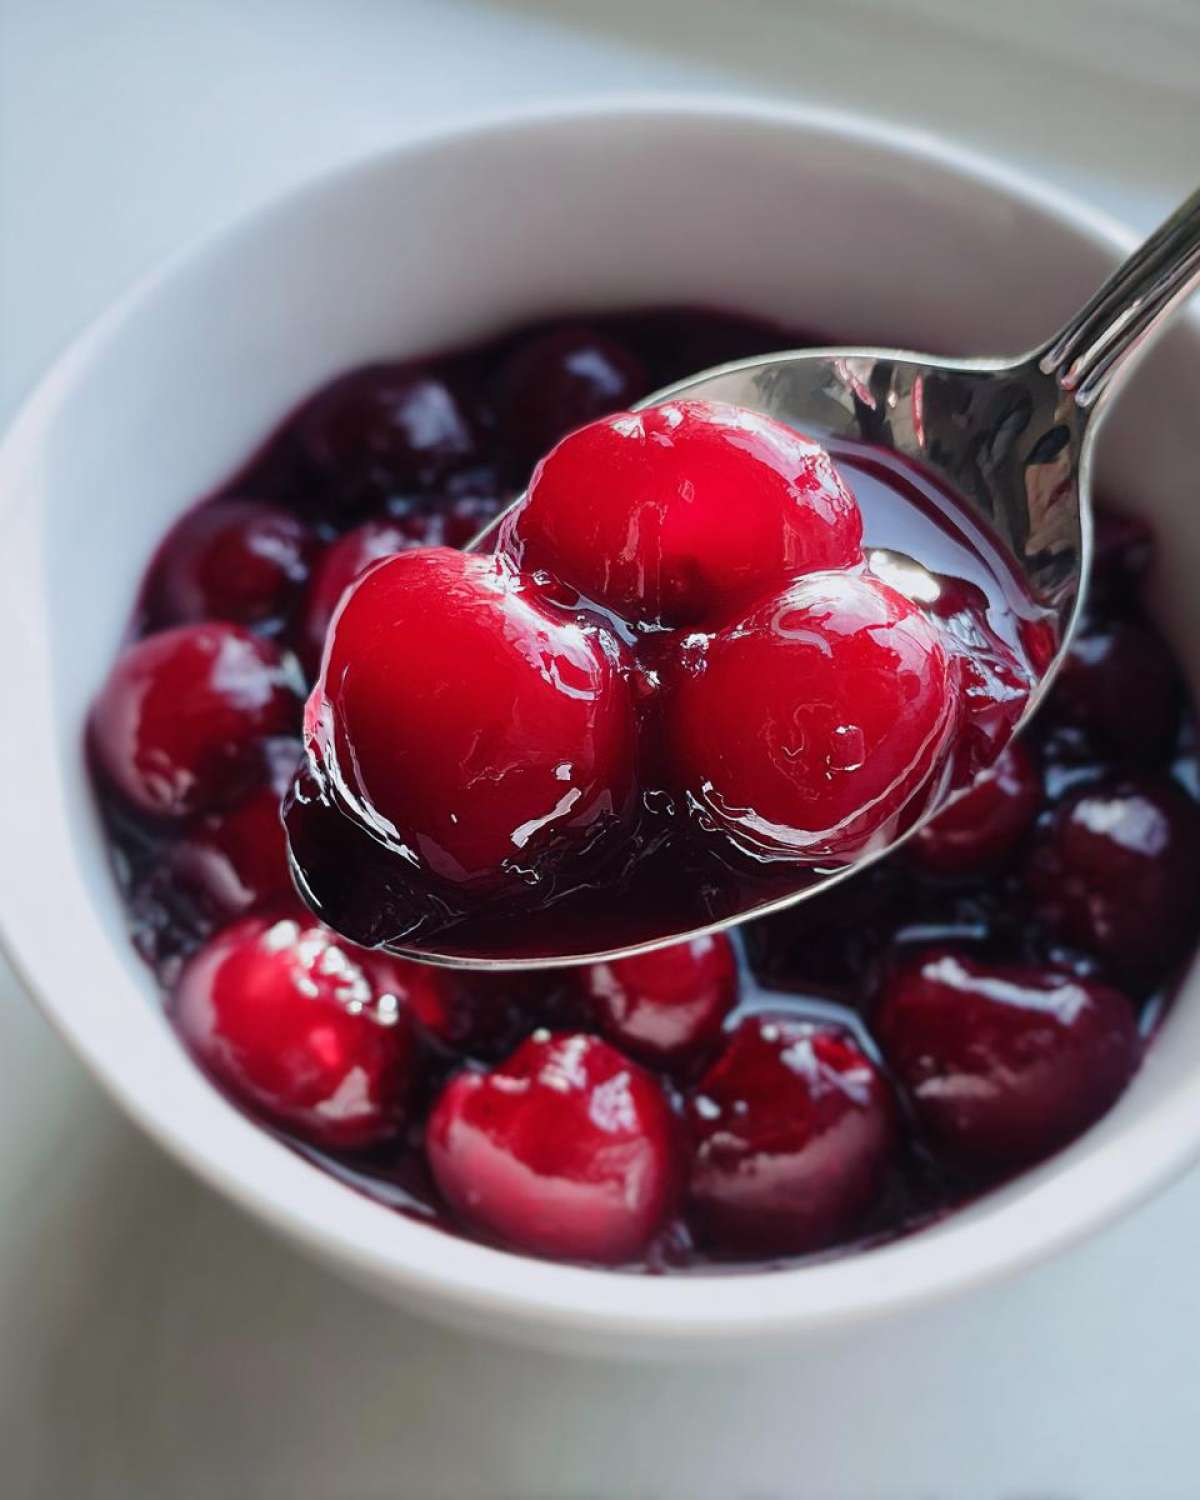
Once it’s thick enough to coat a spoon, pull it right off the heat and stir in that splash of almond extract if you’re using it. Then, the hardest part: you have to let it cool completely. I know, I know, you want to fill that pie right now! But cooling is key because that’s when the filling firms up to its final thick consistency. Be patient; it’ll be worth it in the pie!
Tips for the Best Cherry Filling From Scratch
I learned so much from trial and error over the years, and these little adjustments can take your **cherry pie filling** from homemade good to absolute bakery perfection. If you’re aiming for that super vibrant, almost jelly-like texture you see in professional settings, I have two must-follow tips based on what I discovered making batches for everything from pies to spreading on top of my famous cream cheese frosted desserts.
Adjusting Thickness: Bakery Style Cherry Pie Filling
If your final pie filling seems just a touch too soft after cooling, don’t worry! You don’t have to start over. For that really firm, bakery-style cherry pie filling consistency, I recommend increasing the cornstarch slightly—up to 5 tablespoons total. Just make a small, separate slurry with the extra cornstarch and mix it into the hot filling right before you take it off the heat. It firms up beautifully as it chills.
Flavor Boost: Using Almond Extract in Cherry Pie Filling
I know almond extract sounds a little strange next to cherries, but honestly, it’s transformative! A tiny splash—just 1/4 teaspoon—added right at the very end when the filling is off the heat really elevates the cherry flavor. It brings out the sweetness and adds a hint of complexity that people can never quite place. It just makes everything taste richer, like it was simmered for hours instead of just 15 minutes.
Versatile Uses for Your Homemade Cherry Pie Filling
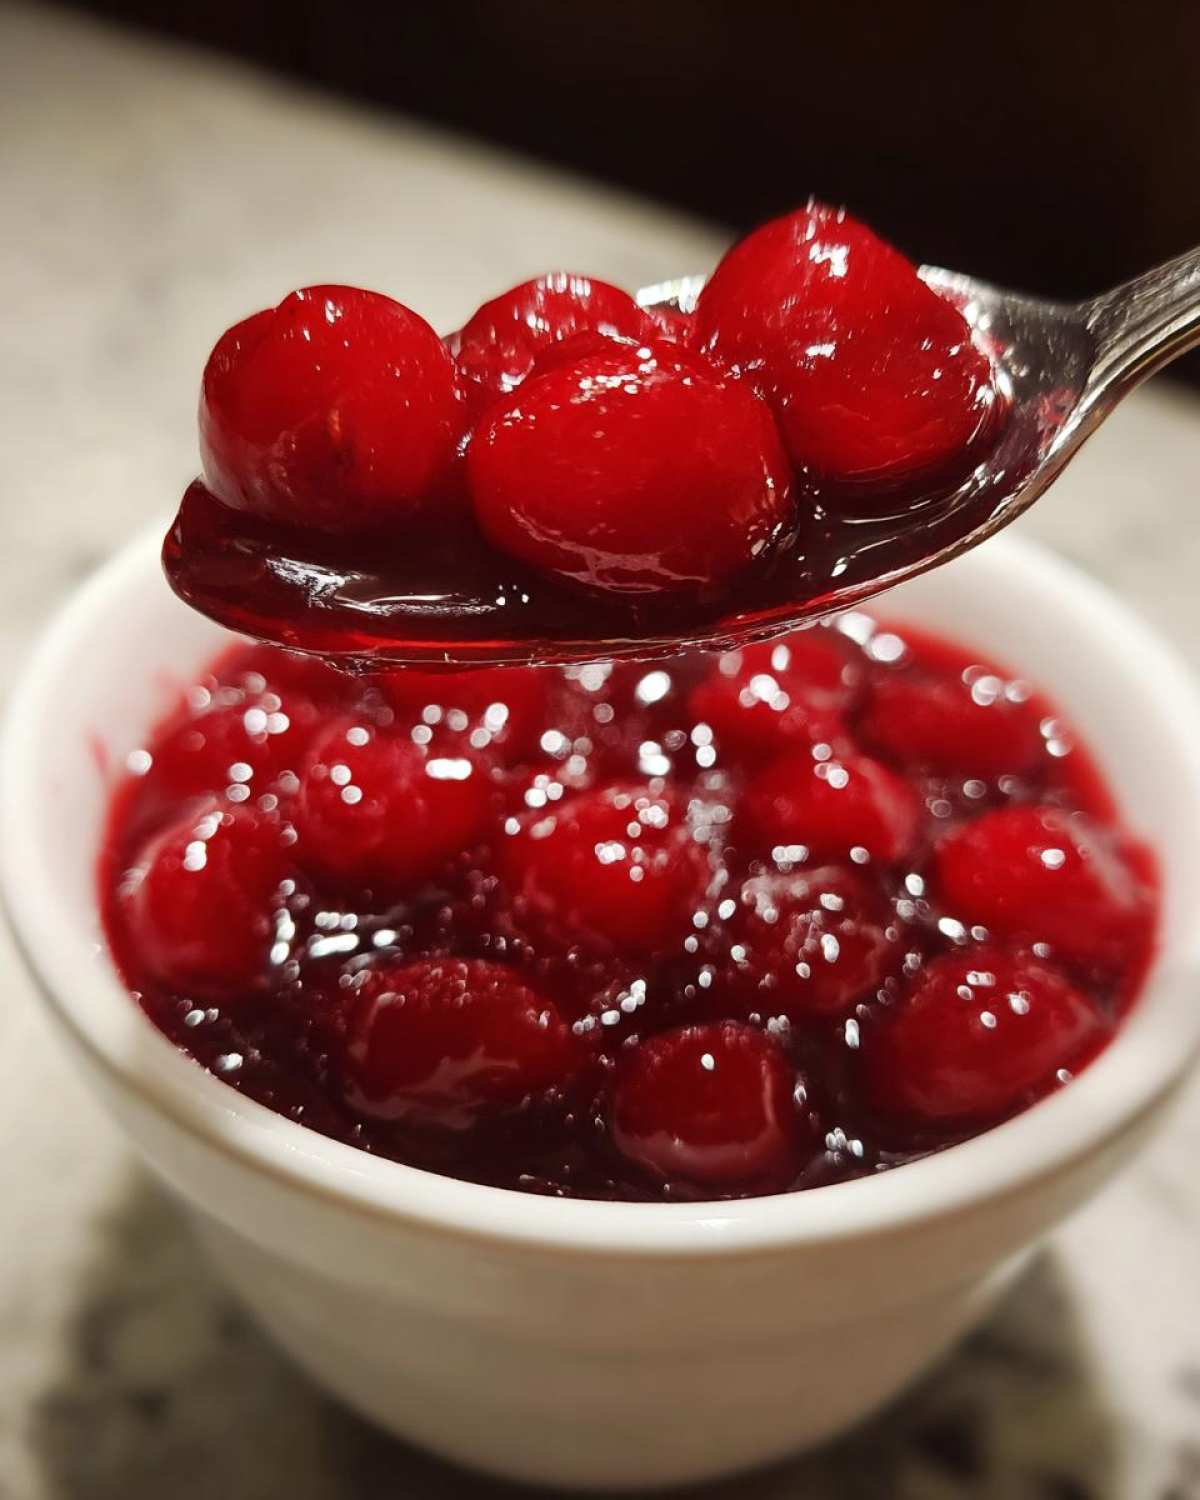
Now that you’ve got this incredible, thick, and juicy filling, don’t just stick it in one pie! That would be a huge waste of that sweet-tart flavor we worked so hard to balance. Seriously, this stuff is incredible drizzled over almost anything. I’ve used leftover filling sometimes just to top my morning oatmeal—don’t judge! It’s way better than that jarred stuff you get at the store, I promise you.
This fantastic **cherry filling for pies** shines in so many different applications. You can pour it straight into a pre-baked tart shell for an amazing rustic dessert. It’s absolutely heavenly dolloped warm over a slice of plain cheesecake—it gives it that restaurant-quality feel without all the effort. And honestly, forget syrup; warm this **homemade dessert topping** up just slightly and use it over pancakes or waffles next weekend!
If you have some extra on hand, try folding a cup into the batter of a simple vanilla cake mix before you bake it, kind of like making a quick cherry swirl coffee cake. The possibilities are endless once you have that perfect **from scratch pie filling** base!
Storage and Canning Cherry Filling for Later
So you made a huge batch of this amazing **cherry pie filling**—that’s the spirit! Since we’re not using any weird chemical stabilizers like the canned stuff, we need to treat this lovely filling right for storage. The most important rule is that it must be completely cool before you even think about putting it anywhere, even the fridge. If you still have leftovers after filling your first pie, just pop the rest into an airtight container.
It keeps beautifully in the refrigerator for about a week, tasting fresh every day. But if you really want to bank some sunshine for winter holidays, you can go the canning route! Since this recipe is a stovetop-cooked fruit filling, you can use a standard boiling water bath process for safe, long-term storage. Just ensure your jars are sterilized properly for that shelf stability. It’s so rewarding pulling up a jar of homemade **cherry pie filling** months later!
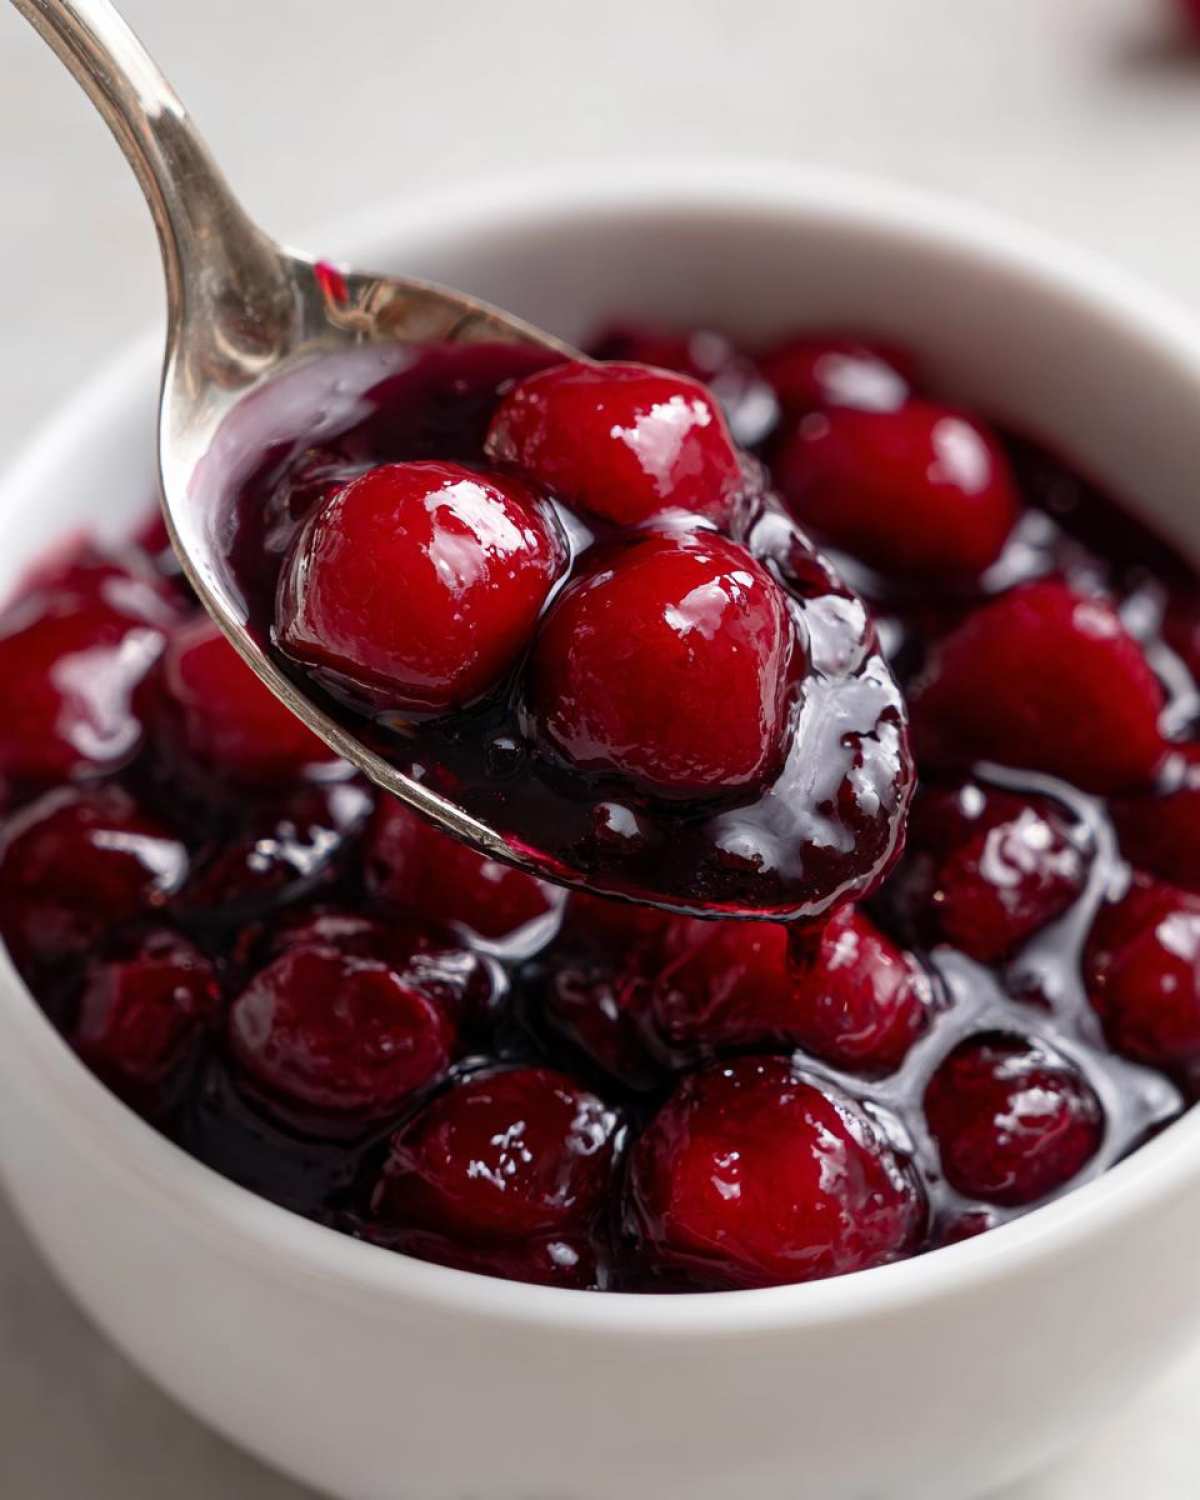
If you’re not ready to can yet, these leftovers are fantastic on my bran muffins in the morning for a sweet treat. Trust me, having this ready made is a game-changer!
Frequently Asked Questions About Making Fruit Fillings
I know everyone has questions when they first try making something sweet and tart from scratch. It’s way different than scooping out a can! I’ve pulled together the stuff folks ask me most often about this **cherry pie filling** recipe. Hopefully, this clears everything up so you can get back to baking! If you ever get stuck on the main recipe, you can check out my thoughts on cooking rice dishes while the filling chills.
What if my Homemade Cherry Pie Filling is too thin?
Oh, this happens sometimes, especially if your cherries were extra juicy! Don’t panic and don’t throw it out. You just need to wake up that cornstarch again. Take about two tablespoons of *cold* water and mix in one tablespoon of cornstarch until it’s totally smooth. Whisk that slurry into your filling right on low heat and stir continuously until it comes back to a gentle bubble and thickens up again for you. It usually only takes a minute or two to rescue your **juicy cherry filling from scratch**!
Can I use canned cherries instead of fresh for this recipe?
Yes, you absolutely can, especially if you’re looking for a super quick **quick cherry filling**! However, canned cherries are usually packed in syrup, which means they are already super sweet. If I use canned, I usually cut the granulated sugar in the main recipe down to about 3/4 cup. I also skip adding extra water, since the can juices will provide plenty of liquid for your **cherry pie filling** to simmer in.
Do I have to use both sweet and tart cherries?
That’s a great question! Ideally, yes, the mix is what gives you that amazing sweet-tart balance. But if you can only find sweet cherries, you can use all sweet ones, just make sure you add that full 1/4 cup of lemon juice, or even a splash more, to cut through the sweetness. That acidity is what stops the dessert from tasting flat. My kitchen is always stocked with the supplies needed for a perfect **sweet tart cherry filling**!
Is this the Best Cherry Pie Filling for Cheesecakes?
In my humble opinion? Yes! Because this recipe creates such a stable **thick cherry pie filling**, it doesn’t bleed juice into your creamy cheesecake the way thinner toppings do. Just pull it right out of the fridge after it has cooled and spoon it right over the top. It sits perfectly on top of the cream cheese!
Estimated Nutritional Data for Homemade Cherry Pie Filling
Now, let’s talk numbers, because even though this is pure homemade goodness, some folks want to track what they’re eating. I always want to be totally upfront about what’s in what I make here in my kitchen. Keep in mind these figures are just estimates, okay? They change depending on how tart your actual cherries are or exactly how much sugar you spoon out!
This data is based on a serving size of about 1/2 cup of the finished, cooled filling. I think it’s pretty darn good for something so delicious, especially since we’re trading out all the weird stuff found in store-bought jars for just fruit, sugar, and cornstarch.
- Serving Size: 1/2 cup
- Calories: Around 210
- Sugar: 35 grams (Yep, it’s fruit pie filling!)
- Fat: About 0.2 grams (Practically none, which is great!)
- Carbohydrates: 54 grams
- Protein: 1 gram
- Cholesterol: 0 mg
See? Not bad for a luxurious dessert topping! This is proof that you can have something incredibly flavorful without loading up on sodium or fat. It’s all about those beautiful, natural cherries doing the heavy lifting in this **cherry pie filling** recipe.
Share Your Perfect Cherry Pie Filling Results
Okay, that’s it! You now have the blueprint for the thickest, juiciest **cherry pie filling** on the block. I always feel such a thrill when I finish a big batch of this stuff, knowing that perfect pie is now a reality! I really, truly hope you love this recipe as much as my family does. I’ve already used mine yesterday to make a big cheesecake topping, and it was heavenly!
Now I need to know what you did with all that glorious fruit! Did you go traditional with a double-crust pie? Did you dress up some pancakes with your **homemade cherry pie filling**? Maybe you tried it baked into some cute little hand pies? Don’t keep all that deliciousness to yourself!
Head down to the comments below and give this recipe a star rating! Tell me if you added a little extra almond extract or how you managed to let your filling cool before you sneak-tasted it! I love seeing your results and hearing how you are using your **fruit dessert fillings**. If you want another super quick treat to bake up next weekend, check out my guide for easy egg bites—they are way different than pie, but totally satisfying!
Print
Thick and Juicy Homemade Cherry Pie Filling
- Total Time: 25 min
- Yield: About 6 cups of filling
- Diet: Vegetarian
Description
Make a thick, sweet, and tart cherry pie filling from scratch using fresh or frozen cherries. This recipe yields a perfect texture for pies, cheesecakes, or toppings.
Ingredients
- 4 cups sweet cherries, pitted (fresh or frozen)
- 1 cup tart cherries, pitted (fresh or frozen, if using only sweet cherries, add 1/4 cup lemon juice)
- 1 cup granulated sugar
- 1/2 cup water
- 2 tablespoons lemon juice
- 1/4 cup cornstarch
- 1/4 teaspoon almond extract (optional)
Instructions
- Combine the pitted cherries, sugar, water, and lemon juice in a medium saucepan.
- Bring the mixture to a simmer over medium heat, stirring occasionally until the sugar dissolves and the cherries release some juice, about 5 minutes.
- In a small bowl, whisk the cornstarch with 1/4 cup of cold water until smooth to create a slurry.
- Slowly pour the cornstarch slurry into the simmering cherry mixture while stirring constantly.
- Continue to cook, stirring constantly, until the filling thickens significantly, about 2 to 4 minutes. It should bubble slowly and coat the back of a spoon.
- Remove the saucepan from the heat. Stir in the almond extract, if using.
- Allow the filling to cool completely before using it in your pie crust or dessert. Cooling helps the filling set to its final thick consistency.
Notes
- If you use frozen cherries, do not thaw them before cooking; add them directly to the saucepan.
- For a bakery-style glaze, increase the cornstarch to 5 tablespoons.
- This filling can be canned using standard water bath canning procedures for long-term storage.
- Prep Time: 10 min
- Cook Time: 15 min
- Category: Dessert Filling
- Method: Stovetop Cooking
- Cuisine: American
Nutrition
- Serving Size: 1/2 cup
- Calories: 210
- Sugar: 35
- Sodium: 2
- Fat: 0.2
- Saturated Fat: 0
- Unsaturated Fat: 0.1
- Trans Fat: 0
- Carbohydrates: 54
- Fiber: 2
- Protein: 1
- Cholesterol: 0



Comments are closed.