
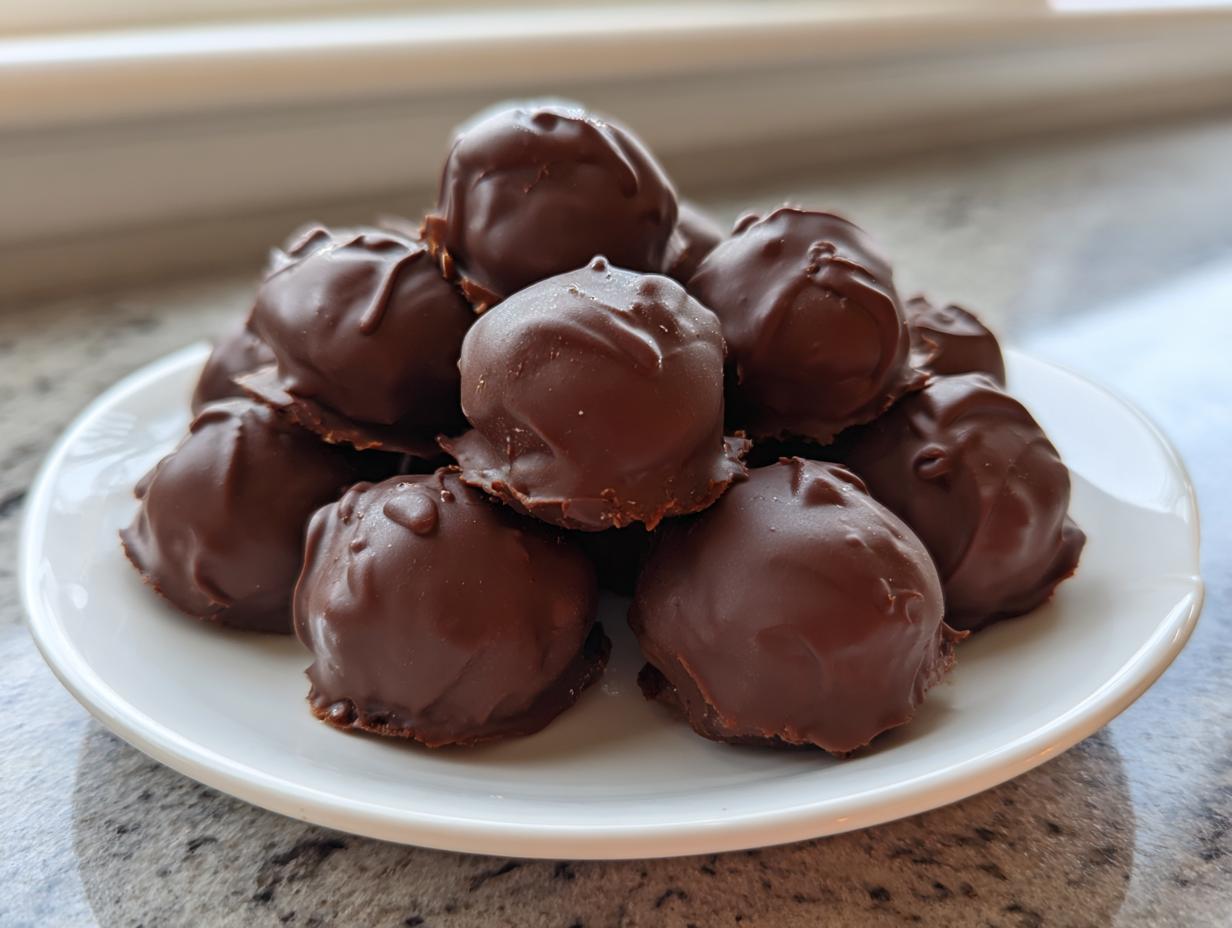
When the craving hits for something sinfully sweet but you just *cannot* turn on the oven, I have your answer! Forget complicated baking projects; we are diving headfirst into the world of Oreo Balls. Seriously, these things are my go-to secret weapon for everything—last-minute ditch-ins, holiday cookie swaps, or just when I need a ‘Quick Dessert Fix’ after a long Tuesday.
This recipe is the classic, pure deal. It’s incredibly easy because it requires only three core ingredients to create the most decadent, creamy, bite-sized sweets imaginable. I’ve made these dozens of times, and they disappear faster than anything else on the dessert table. Trust me, once you try this straightforward, no-bake method, you’ll never look back. They are truly the ultimate crowd-pleasing sweet!
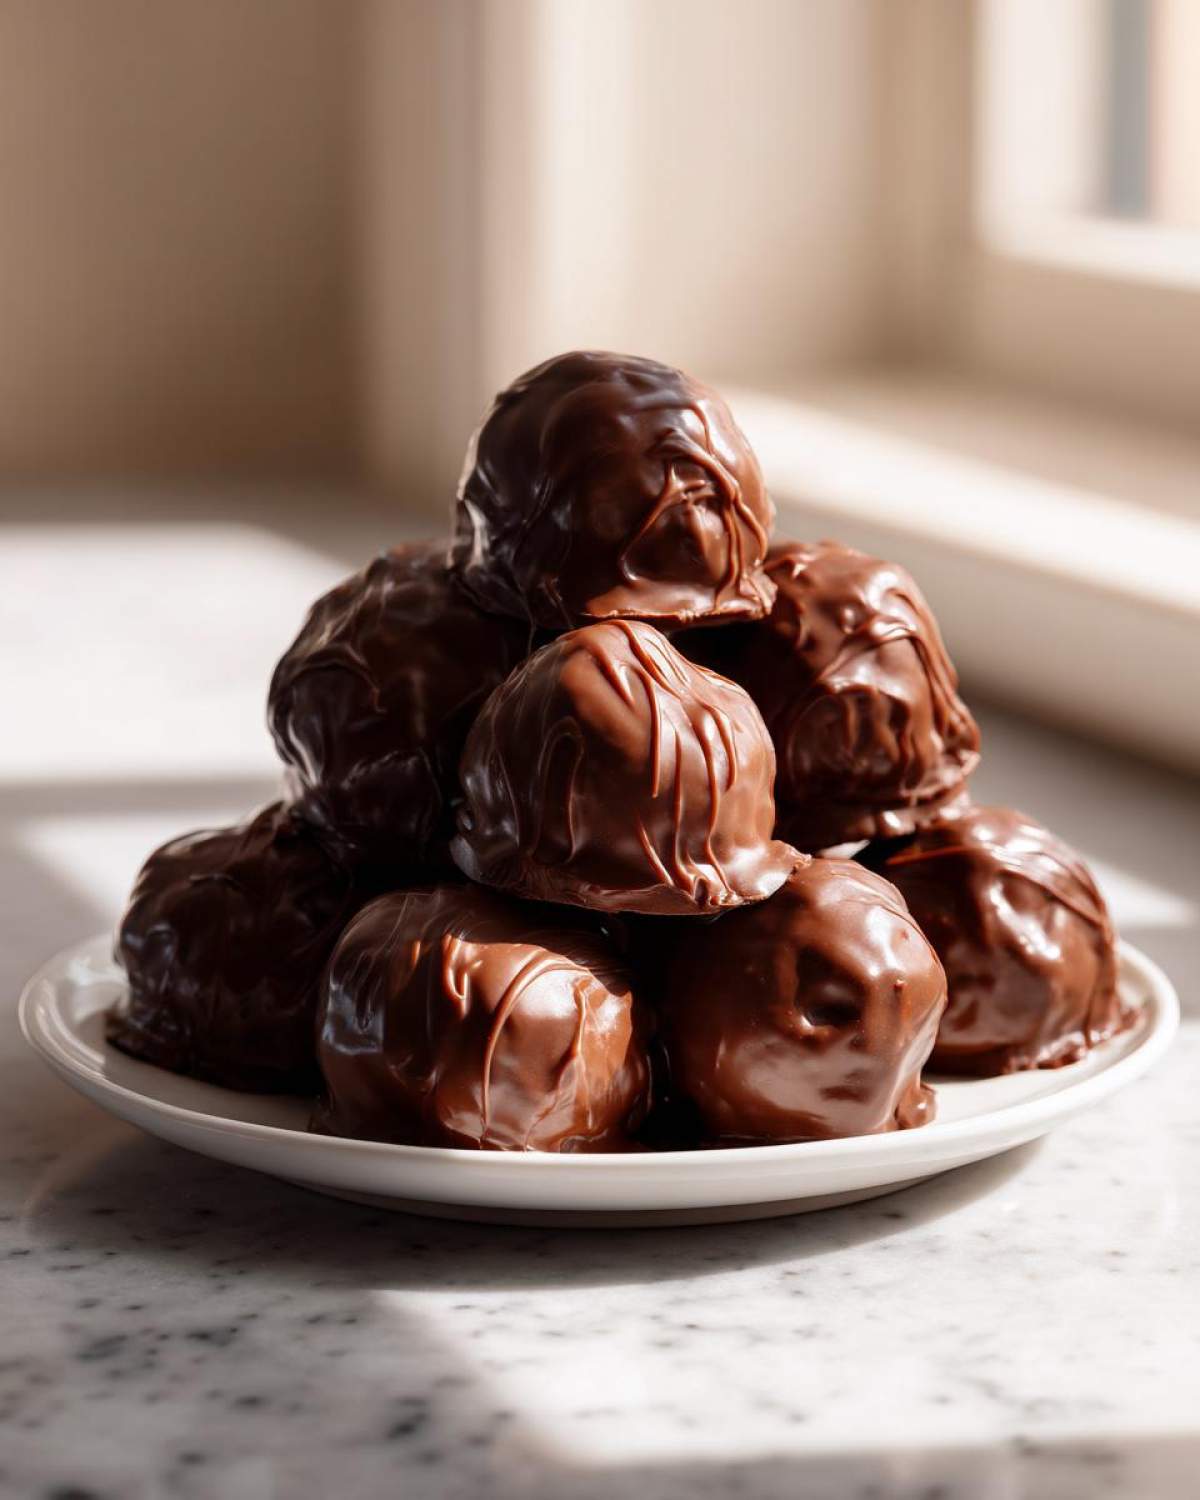
Why This Classic Oreo Balls Recipe Works So Well (Easy Party Food)
I’m telling you, if you need a showstopper that requires zero actual baking time, these become your new best friend. These are the definition of No Bake Desserts done right. They sit perfectly on any platter, and the best part? They taste like they took hours, but they really just take elbow grease and patience for chilling!
Why do I always default to these Oreo Balls when company shows up? Well, they hit all the right notes for being Easy Party Food and they become legendary among your friends. Plus, they are incredibly versatile if you want to add flair later, but even plain, they are perfect for gifting.
- They are lightning fast to pull together when you realize you forgot a dessert.
- They are sturdy little Bite Sized Sweets that travel well without getting messy.
- They manage to be rich and decadent while still feeling light because they’re small!
You absolutely have to check out my creamy peanut butter pie recipe if you love no-bake treats, but these truffles are a total different level of simple.
The Magic of a 3 Ingredient Recipe
Seriously, three ingredients! That’s the beauty here. You have the crushed Oreos giving you that dark, crunchy base, that tangy, glorious cream cheese that binds everything into this perfect dough, and the chocolate coating that makes everything feel fancy. That combination creates the dense, melt-in-your-mouth texture that makes these little wonders qualify as amazing Chocolate Truffles.
Because we aren’t messing with flour or rising agents, we skip the fussy oven time. It keeps the prep time minimal, meaning you can roll these out while dinner is finishing up!
Gathering Ingredients for Your Oreo Balls
Okay, so stocking up for these Oreo Balls is dangerously easy. You don’t need a huge grocery list, which is why they are fantastic for last-minute sweet treats! We are sticking to the absolute core for this classic version, so get your hands on the good stuff.
You’ll need one full package of your favorite Oreo cookies—and yes, filling and all—8 ounces of cream cheese, and about a pound of chocolate melting wafers. Make sure that cream cheese is ready to go!
Ingredient Notes and Substitutions
Listen carefully: when I say use the whole cookie, I mean it! Do not scrape out the filling; that sweet white paste is what helps us achieve that perfect density without needing any extra sugar. If you try to use chocolate chips instead of melting wafers, just know they can sometimes seize up or become a bit grainy when melted. Wafers or high-quality candy melts always give you that smooth, shiny finish that screams professional candy maker.
But the absolute most important thing? That cream cheese needs to be completely softened. If it’s cold, even slightly, you will end up with chunky bits in your dough, and you’ll struggle just trying to roll those little guys out. Leave it on the counter for at least an hour before you start mixing!
Step-by-Step Instructions to Make Perfect Oreo Balls
Alright, this is where the magic happens! Even though this is a No Bake Dessert, the steps are fussy in a good way—they ensure you get those gorgeous, perfectly smooth Chocolate Covered Oreos finish instead of lumpy messes. Just follow my lead here, and you’ll be rolling these beauties in no time. We are using the provided instructions exactly because they work!
First things first, we have to crush those cookies down completely. They need to basically disappear before we add the binder. And listen, if you don’t have a food processor? Don’t panic! I’ve made literal hundreds of these using just a sturdy Ziploc bag and a rolling pin. Just smash those Oreos until they look like dark brown sand. No big chunks allowed!
Crushing and Mixing the Oreo Balls Base
- Take your Oreos (filling and all!) and drop them into your food processor, or put them in that Ziploc bag if you’re feeling rustic. Pulse or crush until you have fine crumbs that look uniform.
- Dump those crumbs into a bowl. Now, add your softened cream cheese. You really need to mix this thoroughly—I use my hand mixer on low speed, but you can use a wooden spoon if you have strong arms! Keep going until everything looks like a thick, dark dough that holds its shape when you squeeze it.
- Scoop out about a tablespoon of the mix at a time and roll it between your palms to form little one-inch balls. Try to keep them all roughly the same size so they coat evenly later. Pop these onto a sheet of parchment paper.
Chilling and Coating the Chocolate Truffles
This next part is the secret weapon for smooth dipping: Chilling! You absolutely must put those dairy-laced balls into the fridge for at least 30 minutes. If you try dipping them warm, they will just melt right off the fork and ruin your perfectly smooth chocolate coating. We want them firm!

- While they chill, melt your chocolate wafers. Microwave them in short 30-second bursts, stirring well in between each blast. I mean it, use short intervals! If you overheat the chocolate, it gets grainy and sad, and we don’t want sad, seizing chocolate here. Stir until it’s liquid silk.
- Take your chilled balls out. Using a fork, dip each ball completely into the melted chocolate. Lift it out, let the excess drip back into the bowl, and scrape the fork gently against the bowl’s rim to knock off those extra drips.
- Place the coated Chocolate Truffles back onto that parchment-lined tray. Let them set up completely at room temperature, or pop them in the fridge for 10 minutes if you’re impatient like me! Good thing these chocolate dipped bars also use the chilling method—it’s a baker’s best friend!
Tips for Success When Making Your Oreo Balls
Even though these are No Oven Desserts, there are always little quirks to master so your Oreo Balls look amazing! The biggest concern I hear is always about that chocolate coating—nobody wants a bumpy, cracked shell, right? If your chocolate seems too thick after melting, thin it out with just a few drops of vegetable oil or shortening. It helps keep it liquid longer, which means a smoother dip.
If your mixture felt a little loose before chilling, don’t worry! That just means your cream cheese needed a bit more time to firm up in the fridge. You can always pop the whole bowl back in for an extra 15 minutes if you’re struggling to get tight little spheres. Remember, firm balls equal flawless coating, which is what makes these fantastic Quick Holiday Treats!
Decorating Your Festive Dessert Bites
This is where you can really let loose and make these adorable Cookie Truffle Recipe bites match whatever party you’re heading to. While they look great plain, if you want flair, you have to act fast! As soon as you pull the dipped ball off the fork, hit it with your decoration before the chocolate sets.
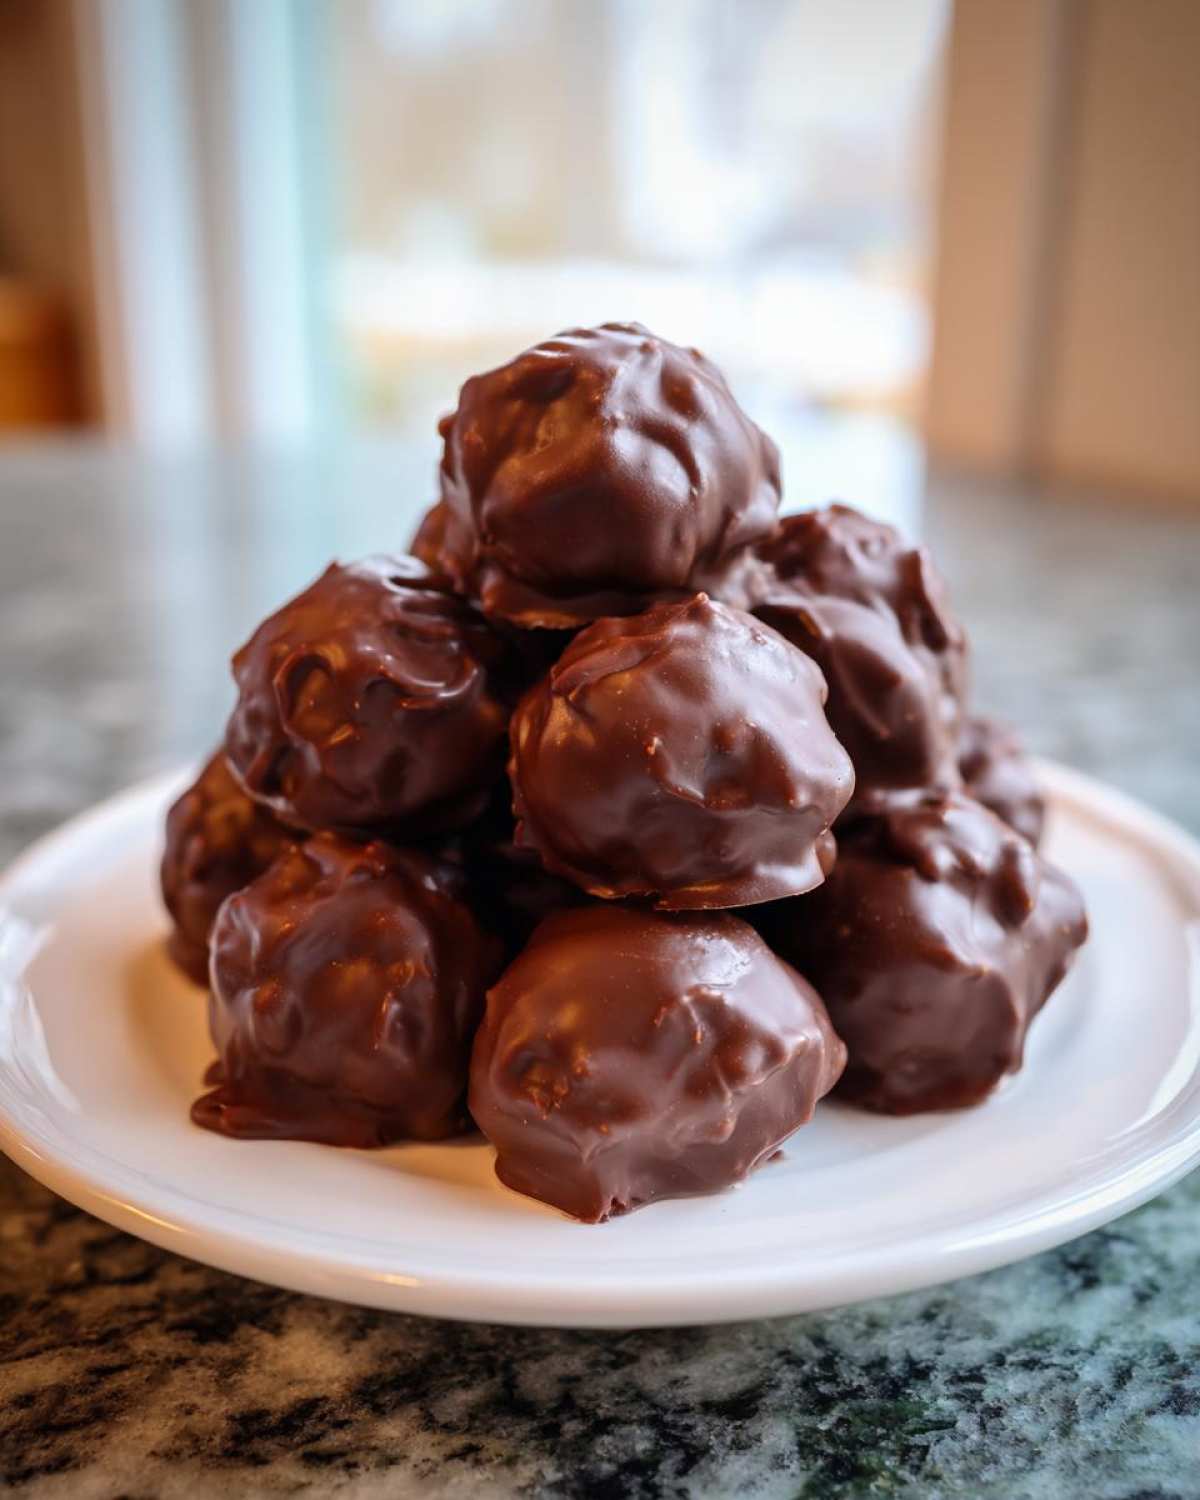
For Christmas, I love using white chocolate as the base coating and then drizzling it with dark chocolate and sprinkling on crushed peppermint. For a birthday party, just using different colored candy melts instead of semi-sweet is a huge win. You can even fold finely crushed salted peanuts into the base dough for a little crunch—it adds a wonderful texture to these Cream Cheese Desserts!
If you love the tang of cream cheese, you should definitely try the frosting recipe I use for my cakes; sometimes I thin a little bit of that out for a beautiful, tart drizzle over the chocolate. It’s heavenly!
Storage and Serving Suggestions for Your Oreo Dessert Ideas
Now that you’ve poured your heart into making these beautiful Oreo Balls, the last thing you want is for them to go stale or fall apart! Luckily, because they are so rich and dense, they store like little champions. Since we used cream cheese, the refrigerator is their best friend.
You should definitely keep these Bite Sized Sweets in an airtight container in the fridge. They’ll last a really long time—easily ten days, maybe even two weeks! The only downside is that the chocolate coating might get a little dull or the centers might get rock hard if they sit too long, but honestly, I’ve never had a batch last that long.
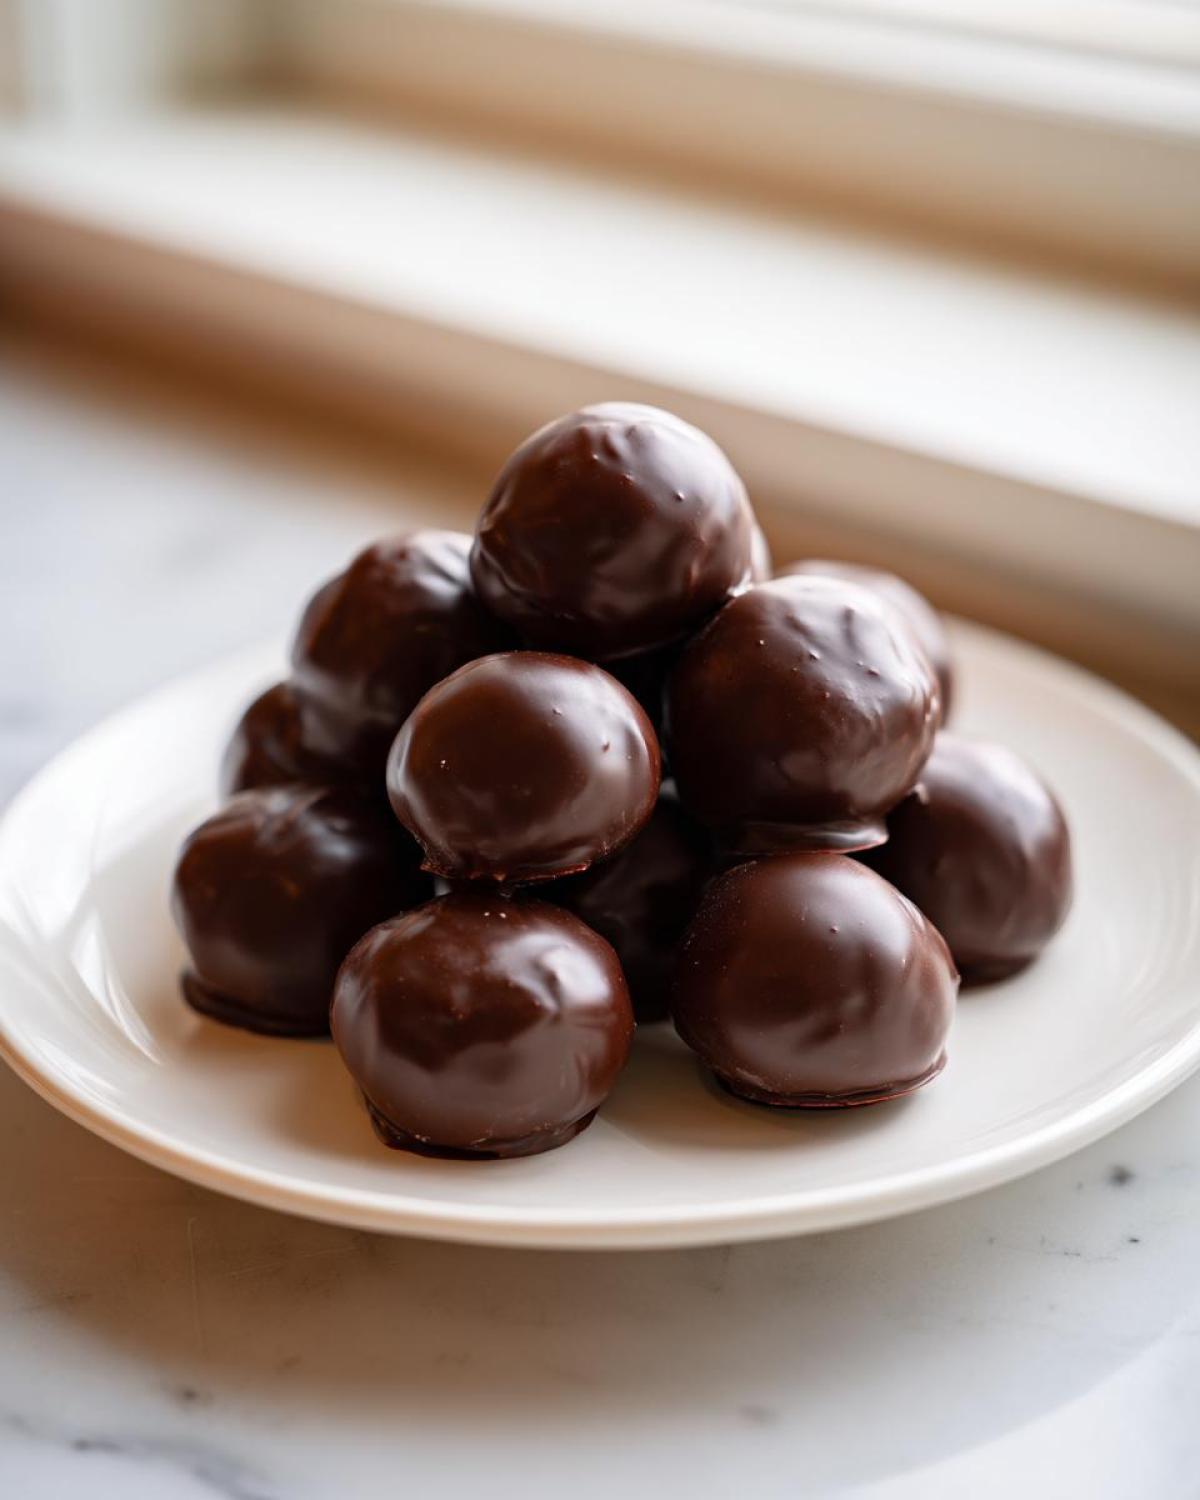
If you are taking them to a gathering, I suggest pulling them out about 20 minutes before serving. They’ll soften up just enough in that time to get that *perfect* melt-in-your-mouth texture we worked so hard for. Don’t leave them out all day, though; especially if it’s warm!
They don’t really need a fancy pairing, but I always find these rich Oreo Dessert Ideas go perfectly with something simple. A hot cup of coffee cuts right through the richness beautifully. They are also amazing with a cold glass of milk, taking you right back to childhood!
If you’re looking for other easy crowd-pleasing mains, you might want to check out my recipe for easy crockpot steak bites—you know, for when you need something savory before dessert!
Variations on Classic Oreo Balls
The beauty of sticking to such a simple base is that you can keep making these Oreo Balls again and again without ever being bored! Once you master the basic three ingredients, you’ve unlocked a whole world of Cookie Truffle Recipe possibilities. It’s all about those small, fun tweaks!
My favorite way to mix things up is by changing the cookie itself. Have you ever tried making these with Golden Oreos instead of the classic chocolate ones? Wow! They turn into a totally different treat. It makes the center a light, buttery blonde color, which is fantastic if you’re dipping them in dark chocolate. It creates a beautiful contrast, and the resulting treat is a bit milder, perfect if you want something less intense.
And then there’s the chocolate coating, which offers endless fun, especially around the holidays. You can switch out the semi-sweet for pure, rich dark chocolate if you like a decadent, slightly bitter counterpoint to the sweet filling. Or, go for white chocolate and really lean into the sweetness!
For quick seasonal spins, adding extracts right into the cream cheese and Oreo mix is genius. A drop or two of peppermint extract before chilling? Instant Christmas magic! Or maybe even a tiny splash of almond extract can give them a totally sophisticated flavor profile. They remain incredibly easy No Bake Desserts, but they taste custom-made!
Frequently Asked Questions About Oreo Balls
I know when you’re reading through a recipe, questions always pop up, especially when you’re trying to make something perfect for a party or a gift! Don’t sweat it—I’ve got the answers to the most common things folks ask me about these easy Oreo Balls. Let’s clear up any confusion so you can get back to making your Homemade Candy Recipes!
Can I make Oreo Balls without cream cheese?
Oh, honey, that’s the one thing you really can’t substitute in this recipe. The cream cheese isn’t just for flavor; it’s the binder! Without it, you just have dry cookie crumbs and melted chocolate, and that won’t hold a shape. Cream cheese gives these little guys the creamy interior that makes them similar to wonderful little Simple Fudge Balls. You need that tang and that binding power!
How long do Oreo Balls need to chill before dipping?
At least 30 minutes is my absolute minimum, and I usually aim for 45 if I’m not rushing. This step is NON-NEGOTIABLE, I’m serious! If you try to dip those soft little mounds into the warm chocolate coating, they will immediately start softening, melting, and falling apart right on your fork. Chilling them solidifies the mixture so they can handle the heat of the chocolate. It saves you so much heartache, trust me!
Are Oreo Balls considered Chocolate Truffles?
They totally are! People often use the terms interchangeably, and I think that’s totally fair. Because you’re making a dense, rich filling, rolling it into a bite-sized ball, and then coating it in chocolate, it absolutely fits the definition of a Chocolate Truffles recipe. They are often called an Oreo Cake Balls Alternative because they achieve that same effect without needing to bake or assemble cake crumbs. It’s the best way to get that decadent flavor profile!
If you’re still looking for more quick ideas, you might love this recipe for easy honey bran muffins—great for a slightly less sweet mid-day treat!
Estimated Nutritional Information for Classic Oreo Balls
Okay, let’s be real for a second. These gorgeous Oreo Balls are pure, wonderful indulgence, and we aren’t making them for their health benefits! But I know some of you are curious about what you’re popping into your mouth when you grab one of these amazing Cookie Truffle Recipe bites, so here is the breakdown.
Keep in mind that because these are Homemade Candy Recipes using rich chocolate and cookies, these numbers are just estimates based on the standard portions I detailed earlier. If you use dark chocolate or add extra peanut butter, things might shift a little bit! But for the classic version—using milk or semi-sweet wafers—this is what you can generally expect per single roll.
- Serving Size: 1 ball
- Calories: About 150
- Fat: 9g (with about 5g of that being Saturated Fat—yum!)
- Carbohydrates: 16g
- Sugar: 15g (Yep, they’re sweet!)
- Protein: 2g
- Cholesterol: Around 10mg
See? Totally worth every single bite! These fit perfectly into any holiday menu where you want maximum “Wow Factor” for minimal effort. If you want to check out a recipe that balances sweetness with nutrition a bit more, you should look at my classic carrot cake recipe—it has actual vegetables, which is nice!
Share Your Homemade Oreo Balls Creations
Whew! We made it through the best, easiest, no-bake recipe on the planet. Now that you have all the secrets to the most perfect, creamy, delicious Oreo Balls, I truly hope you give them a shot, especially if you’re trying to find some quick edible gifts or something easy to make with the kids!
Honestly, seeing what amazing things you all do with this simple base recipe is my favorite part of running this little blog. If you followed my tips, you should have a platter overflowing with beautiful Chocolate Truffles that took virtually no time at all. I want to see how they turned out!
Please, please, please drop a comment below letting me know! Did you stick to the classic semi-sweet coating, or did you get fancy with holiday sprinkles or a different chocolate flavor? Give this recipe a full five stars if you loved how easy and delicious these turned out—it really helps other people find this quick recipe, and I always read every single rating!
Also, if you tried one of the fun variations we talked about—like using Golden Oreos or adding a bit of peppermint extract—share your adaptation! I’m always looking for new ideas for my next batch, which, knowing me, will probably be next week.
And if you’re looking for another amazing bakery-style treat that’s just as simple to pull off, you absolutely have to try my bakery-style blueberry scones recipe next! Happy baking—or, well, happy *no-baking*!
Print
Easy 3-Ingredient No-Bake Oreo Balls
- Total Time: 25 min
- Yield: About 30 balls
- Diet: Vegetarian
Description
Make classic Oreo truffles using only three ingredients. These no-bake balls are quick to prepare and perfect for parties or gifting.
Ingredients
- 1 package (14.3 oz) Oreo cookies
- 8 oz cream cheese, softened
- 16 oz semi-sweet chocolate melting wafers or chips
Instructions
- Place all Oreo cookies, filling included, into a food processor. Pulse until fine crumbs form.
- Transfer the crumbs to a medium bowl. Add the softened cream cheese. Mix with a hand mixer or sturdy spoon until fully combined and a dough forms.
- Roll the mixture into 1-inch balls. Place the balls on a baking sheet lined with parchment paper.
- Chill the balls in the refrigerator for at least 30 minutes to firm up.
- Melt the chocolate wafers according to package directions, usually in a microwave-safe bowl in 30-second intervals, stirring between each interval until smooth.
- Dip each chilled Oreo ball into the melted chocolate, ensuring it is fully coated. Use a fork to lift the ball out, allowing excess chocolate to drip off.
- Return the coated balls to the parchment-lined baking sheet.
- Allow the chocolate to set completely at room temperature, or chill briefly to speed up the process.
Notes
- If you do not have a food processor, place cookies in a large zip-top bag and crush them thoroughly with a rolling pin.
- For a decorative finish, sprinkle the wet chocolate coating with crushed peppermint or festive sprinkles before it sets.
- If the cream cheese is too cold, the mixture will be crumbly and hard to roll. Let it soften completely.
- Prep Time: 20 min
- Cook Time: 5 min
- Category: Dessert
- Method: No-Bake
- Cuisine: American
Nutrition
- Serving Size: 1 ball
- Calories: 150
- Sugar: 15
- Sodium: 75
- Fat: 9
- Saturated Fat: 5
- Unsaturated Fat: 4
- Trans Fat: 0
- Carbohydrates: 16
- Fiber: 0
- Protein: 2
- Cholesterol: 10



Comments are closed.