
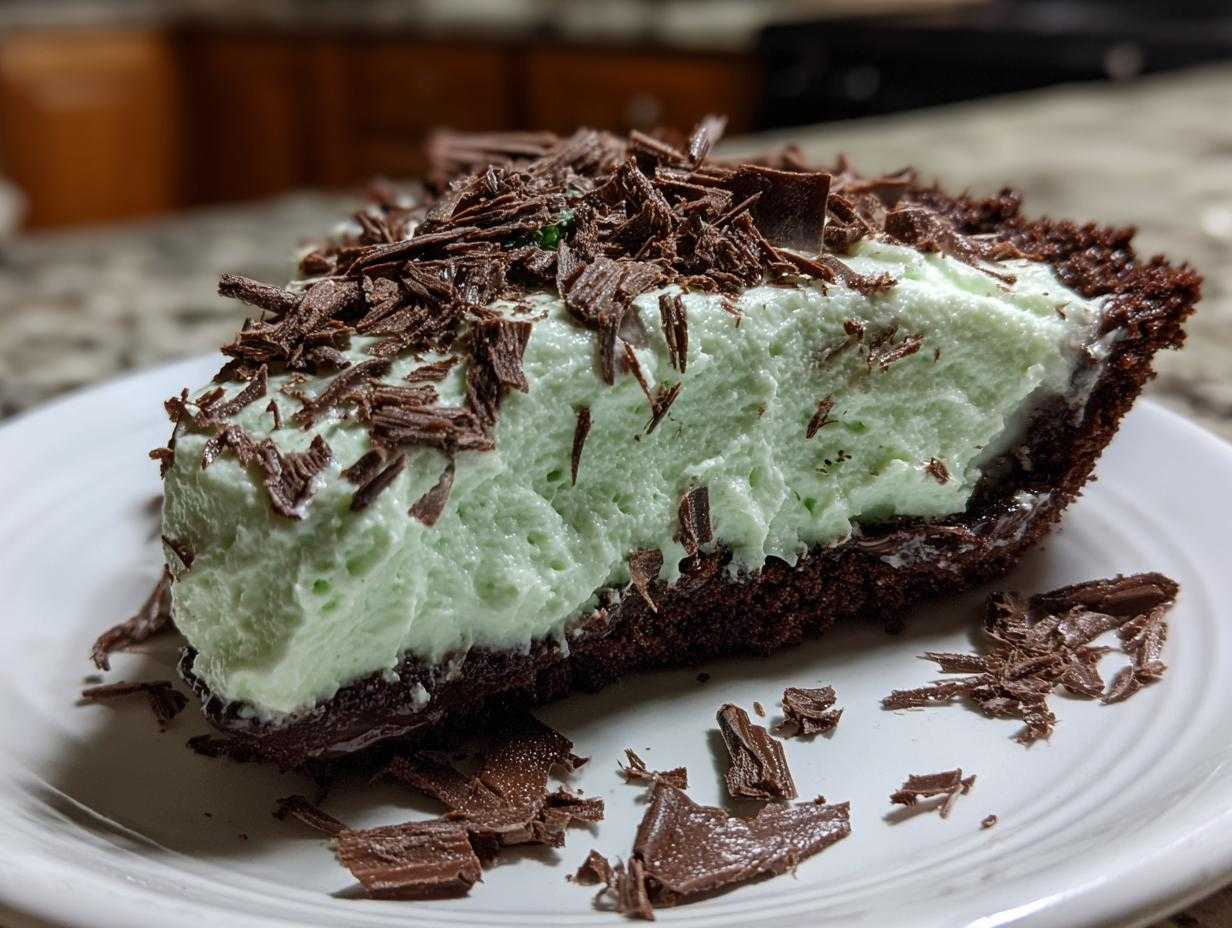
Oh my goodness, if you’re looking for the very best retro dessert that tastes like a cool, creamy mint dream, you have landed in the right spot! Forget baking; summer heat is no match for this absolute winner. I’m sharing my tried-and-true **grasshopper pie** recipe—it’s so ridiculously simple, and the texture is just unbelievable—think fluffy clouds meeting thick chocolate crust. I worked on this for ages to make sure it had that perfect mint punch without needing any alcohol, which makes it fantastic for potlucks or just keeping the kids happy. Seriously, this easy, no-bake recipe sets up perfectly in the fridge, giving you the ultimate Cool and Creamy Pie that everyone asks for!
Why This No-Bake grasshopper pie Recipe Works So Well
Honestly, what’s not to love about a dessert that requires zero oven time? That’s huge, especially when the temperatures start creeping up outside! This is the definition of a low-stress treat that always impresses.
- You get that fantastic, airy, creamy grasshopper filling without any complicated steps.
- It’s completely family-friendly because we skip the heavy liqueur, relying on pure peppermint goodness.
- The whole thing sets up beautifully just by chilling. You just press the crust and let the fridge do the magic!
- If you need a fantastic make-ahead dessert for a party, this is it!
Essential Ingredients for the Best grasshopper pie
Okay, getting the filling this perfectly light and minty requires respecting just a couple of little rules with your ingredients. Don’t rush this part, because preparation is everything when you aren’t using the oven to set things up! The texture hinges on the temperature of two key players: your cream cheese has to be wonderfully soft so it mixes like silk, and your heavy whipping cream needs to be ice cold straight from the fridge for whipping up nicely.
Once you gather these simple items, you are halfway to that gorgeous, **refreshing summer pie**!
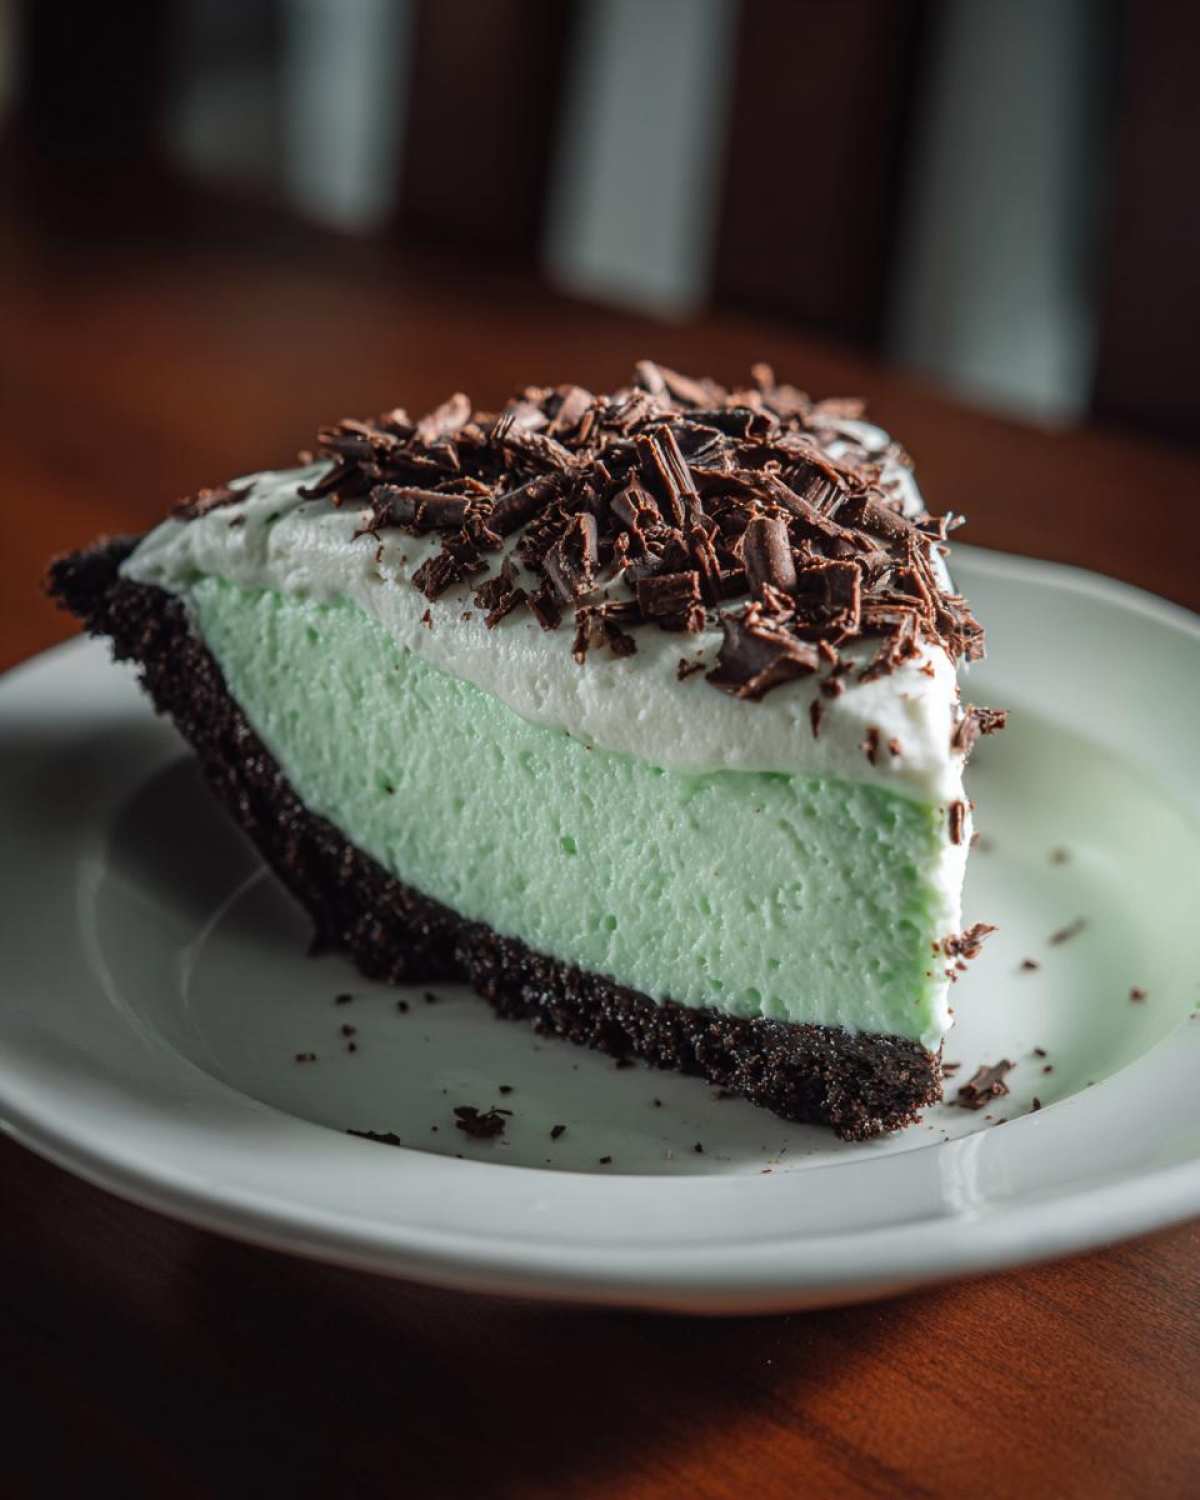
For the Chocolate Cookie Crust: Oreo Crust Pie
We absolutely need that dark, crumbly base, and using nearly thirty Oreos is the only way to go for that classic flavor. Don’t skip melting the butter first; it acts like the glue holding everything together until it chills.
- 1 1/2 cups chocolate cookie crumbs (you’ll need about 30 cookies, crushed fine!)
- 6 tablespoons unsalted butter, melted
For the Creamy grasshopper Filling
Here’s where the magic happens, balancing the tanginess of the cream cheese with that sharp, cool mint. I always use peppermint extract because it has a cleaner, sharper flavor than plain mint—it makes all the difference in this **Best Mint Pie**!
- 1 package (8 ounces) cream cheese, softened properly!
- 1 cup powdered sugar
- 1 teaspoon vanilla extract
- 1 teaspoon peppermint extract (this is crucial!)
- 1/4 teaspoon green food coloring (optional, but it makes it look so fun!)
- 1 1/2 cups heavy whipping cream, cold—I mean seriously cold!
- 1/2 cup mini chocolate chips
- 2 tablespoons chocolate shavings, just for that pretty topping at the end
Step-by-Step Instructions for Your No Bake Mint Pie
This is where we pull it all together! Since we aren’t cooking anything, our success depends entirely on mixing correctly and having patience while the pie sets. Trust me, if you rush the chilling time, you’ll end up with Mint Chocolate Soup instead of that gorgeous **creamy grasshopper filling** you need.
We need to work fast once we start the filling, but the initial crust prep is straightforward. If you’re looking for other super quick treats, check out my guide on no-bake things!
Preparing and Chilling the Oreo Crust Pie Base
First things first, we need a solid foundation for our **Oreo crust pie**. Grab those crumbs you crushed up and dump them into a bowl with the melted butter. Mix it really well until every last crumb looks damp—it should clump together when you squeeze a bit in your hand.
Press that buttery mixture firmly into your 9-inch pie plate. Really pat it down on the bottom and push it up the sides to form a nice rim. Pop that plate into the freezer right away for about 15 minutes. That quick chill helps it firm up before we pile the heavy, delicious filling on top.
Creating the Fluffy Creamy grasshopper Filling
Now for the aeration! In one bowl, beat that softened cream cheese until it’s totally smooth—no lumps allowed, please! Then, slowly beat in your powdered sugar, vanilla, peppermint extract, and the optional green color until everything looks uniform. It’ll be thick.
In a separate, super clean bowl, whip that cold heavy cream until you get stiff peaks. This is the air that makes it fluffy! Now, fold about a third of that whipped cream into your cream cheese mix just to lighten it up. Then, very gently, fold in the rest of the whipped cream. You need to be patient here; treat it like you’re folding clouds together so you don’t knock all that air out!
Finally, stir in those mini chocolate chips so they are evenly dotted throughout the minty fluff.
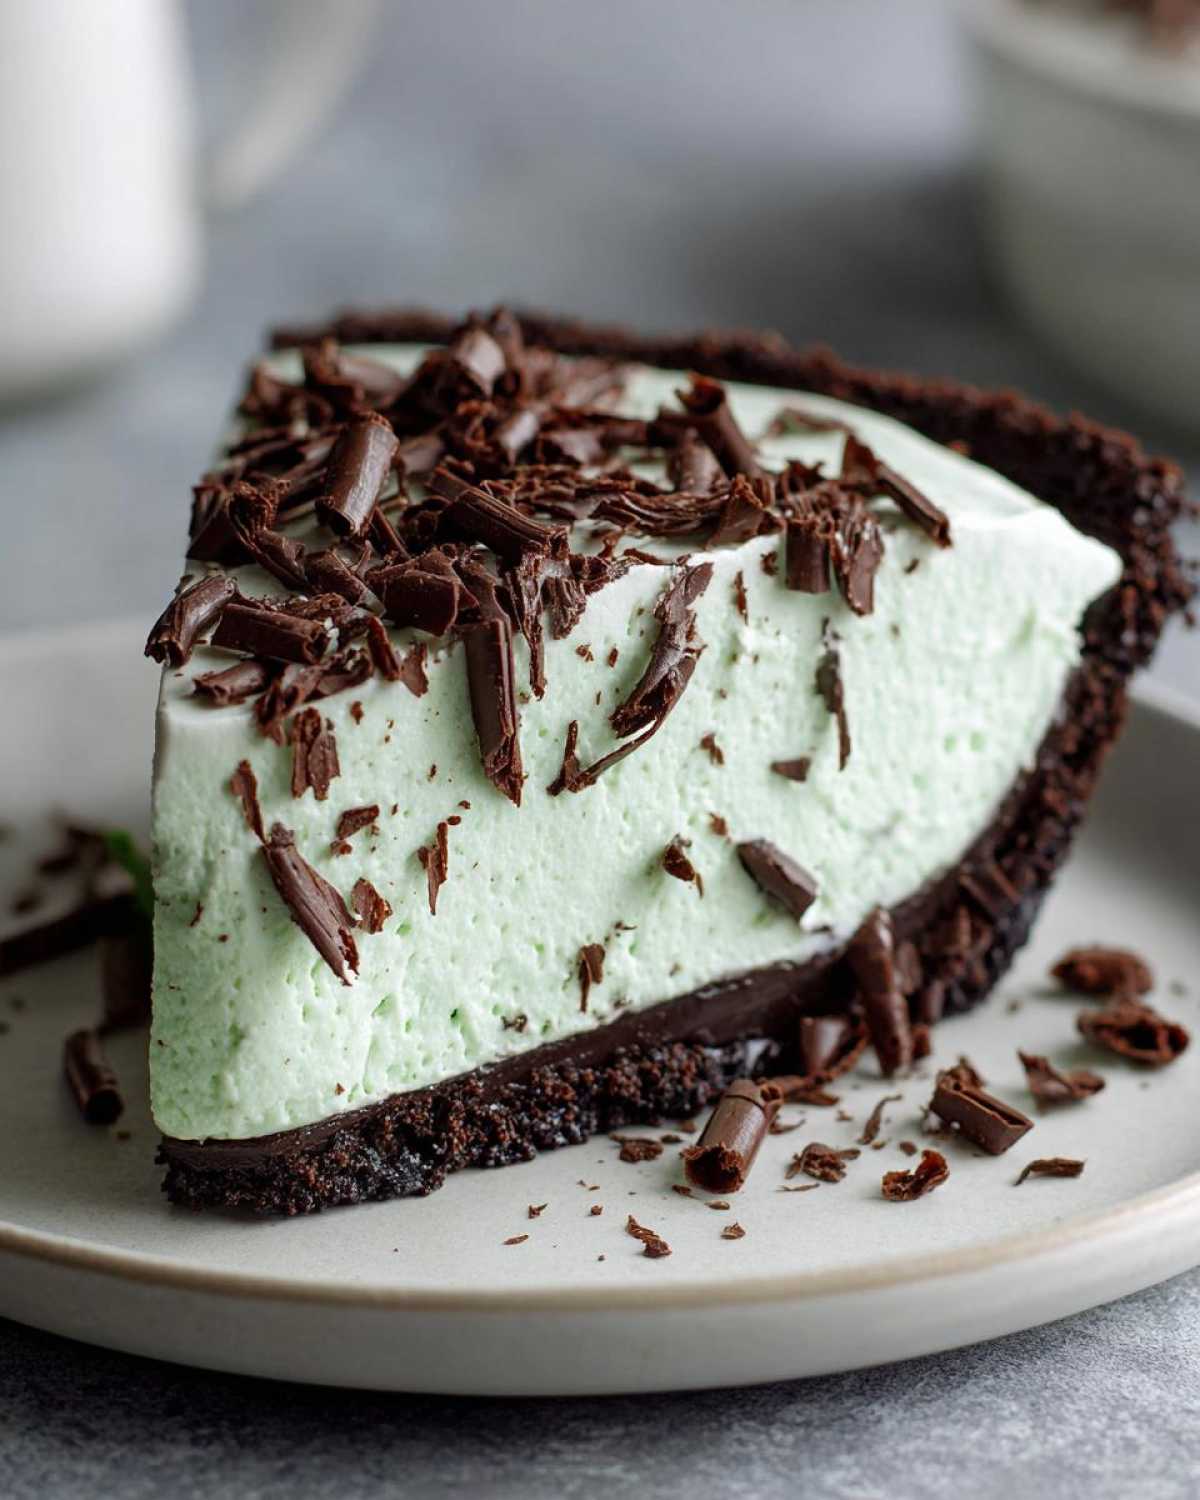
Assembling and Setting Your Refreshing Summer Pie
It’s time to move the filling into your now-chilled crust. Spoon it all in and use a spatula to gently smooth out the top. This is where you can make it look fancy for serving!
This next step is non-negotiable for a great **refreshing summer pie**: cover it loosely and stick it in the refrigerator. You absolutely need a minimum of 6 hours for it to set up properly, but honestly, overnight is best. It turns fantastic when it has time to chill and becomes the perfect **simple make ahead dessert**.
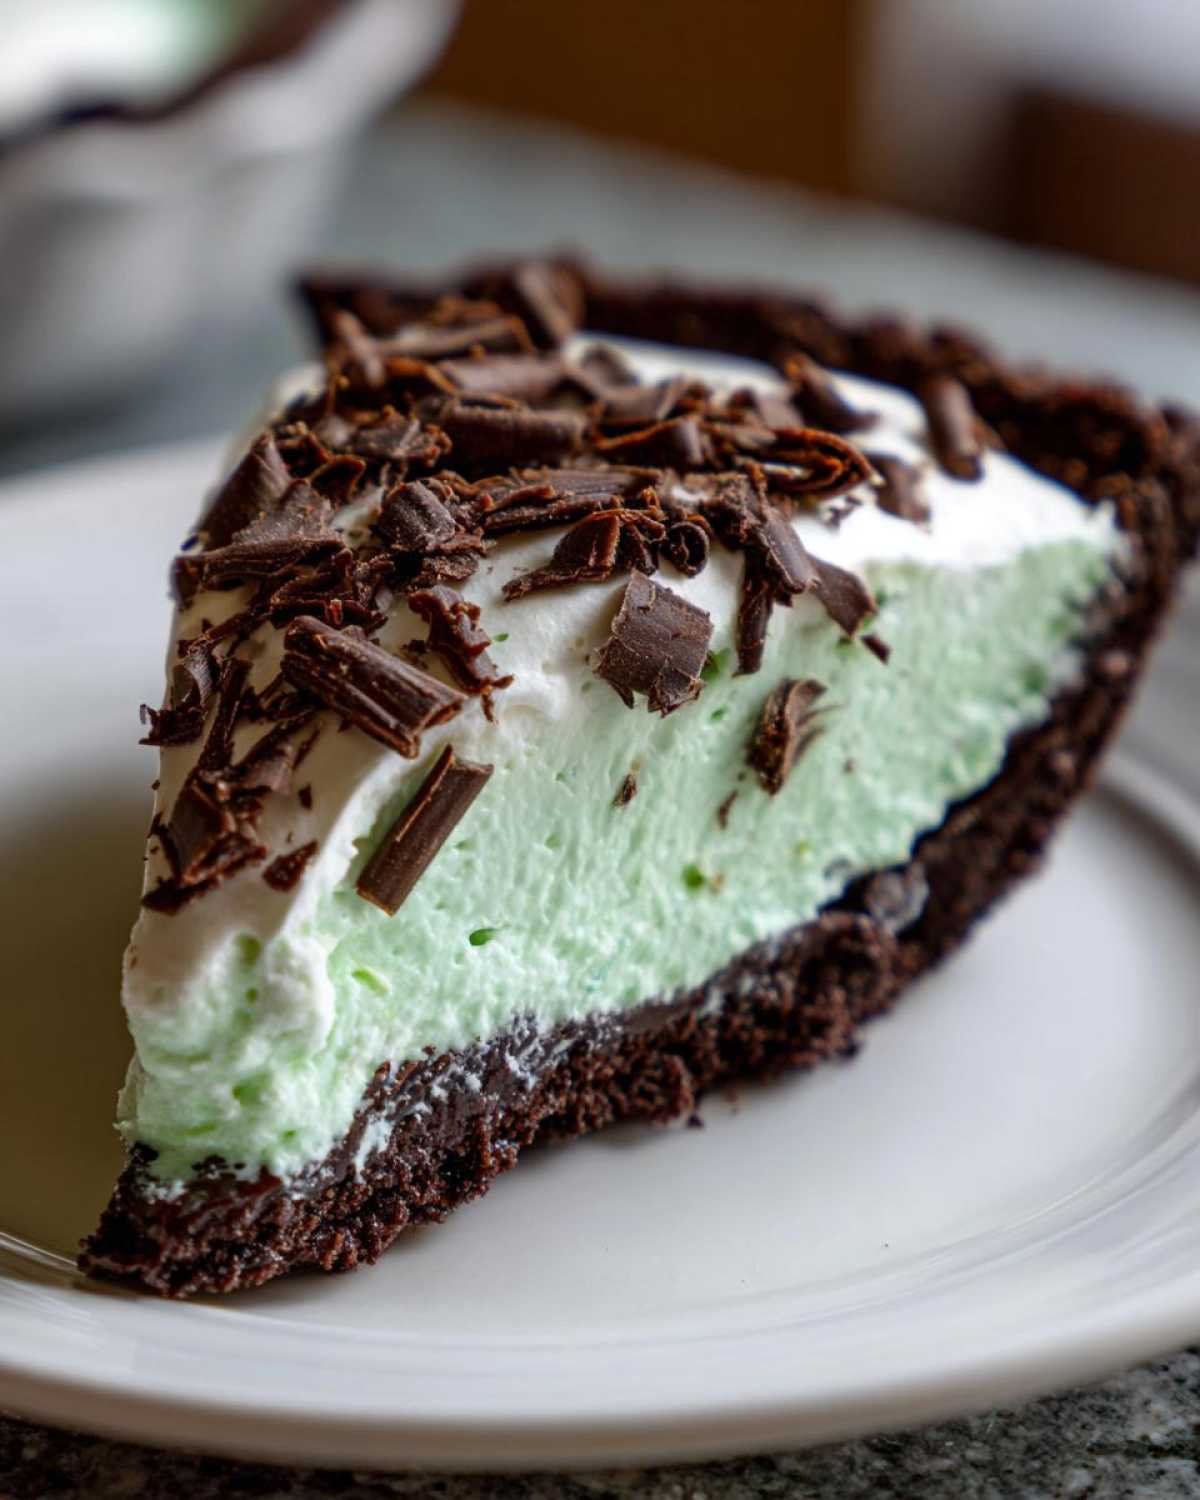
Tips for the Perfect grasshopper pie Success
Even though this is a no-bake recipe, technique still matters a *ton* for getting that perfect, scoopable texture. I learned this the hard way when I first tried making one of these retro beauties! If your filling seems a little too soft after chilling, it is usually because the heavy cream wasn’t whipped stiff enough or perhaps you didn’t let it chill long enough. Remember, patience is your secret weapon here, even when you’re not turning on the oven!
If you ever want to try a slightly different texture for your **cool and creamy pie**, you can try adding gelatin as mentioned in the notes—it makes the filling extra sturdy, almost like a no-bake cheesecake! You can also find my tips on making reliably smooth cream cheese bases over at my cream cheese frosting guide; that same smooth base works wonders here.
Ingredient Notes and Substitutions
Let’s talk swaps! If you are having a rough day and don’t want to crush a whole sleeve of Oreos, please save yourself and grab those pre-made chocolate wafer crumbs. It’s totally fine! For an extra deep chocolate flavor right in the crust—which I love doing for this **easy chocolate mint dessert**—I sometimes mix in an extra tablespoon of unsweetened cocoa powder before adding the melted butter.
Also, about that color: if you skip the green food coloring, you’ll end up with a beautiful, sort of pale off-white **minty cream cheese pie**. It tastes exactly the same, so if green isn’t your thing, just leave it out!
Storage and Reheating Instructions for Your Cool and Creamy Pie
Because this is a beautiful, no-bake creation, storage is super simple, which makes it such a perfect fit for when you need a reliable showstopper that can wait! The great news is that this **grasshopper pie** tastes even better the next day once all those minty, chocolatey flavors have really had time to mingle.
You must keep it covered, of course. I usually fit a piece of plastic wrap gently over the top of the pie plate, making sure the plastic doesn’t actually touch the filling—you don’t want to smear your lovely chocolate shavings everywhere!
In the refrigerator, this pie stays wonderfully firm and fresh for about four days. Trust me, it rarely lasts that long in my house, but it holds up really well!
Now, if you’re smart and make this ahead for a big event, you can absolutely freeze it! Wrap the whole pie tightly in a layer of plastic wrap, followed by a layer of aluminum foil to protect it from freezer burn. It freezes beautifully for up to a month.
When you want to serve it straight from the freezer, just give it about 20 to 30 minutes sitting out on the counter first. This gives it just enough time to soften slightly so it pulls away from the crust cleanly while still remaining icy cold inside. It’s one of the best ways to keep a dessert ready for unexpected company!
Serving Suggestions for This Retro Mint Dessert
Once your **grasshopper pie** has achieved peak firmness, you’ll want to think about what to serve alongside this beauty. Since it’s so rich and intensely flavored with chocolate and mint, you don’t need much! Really, a simple dollop of extra fresh whipped cream on the side is perfection. It just enhances that light, fluffy texture of the filling.
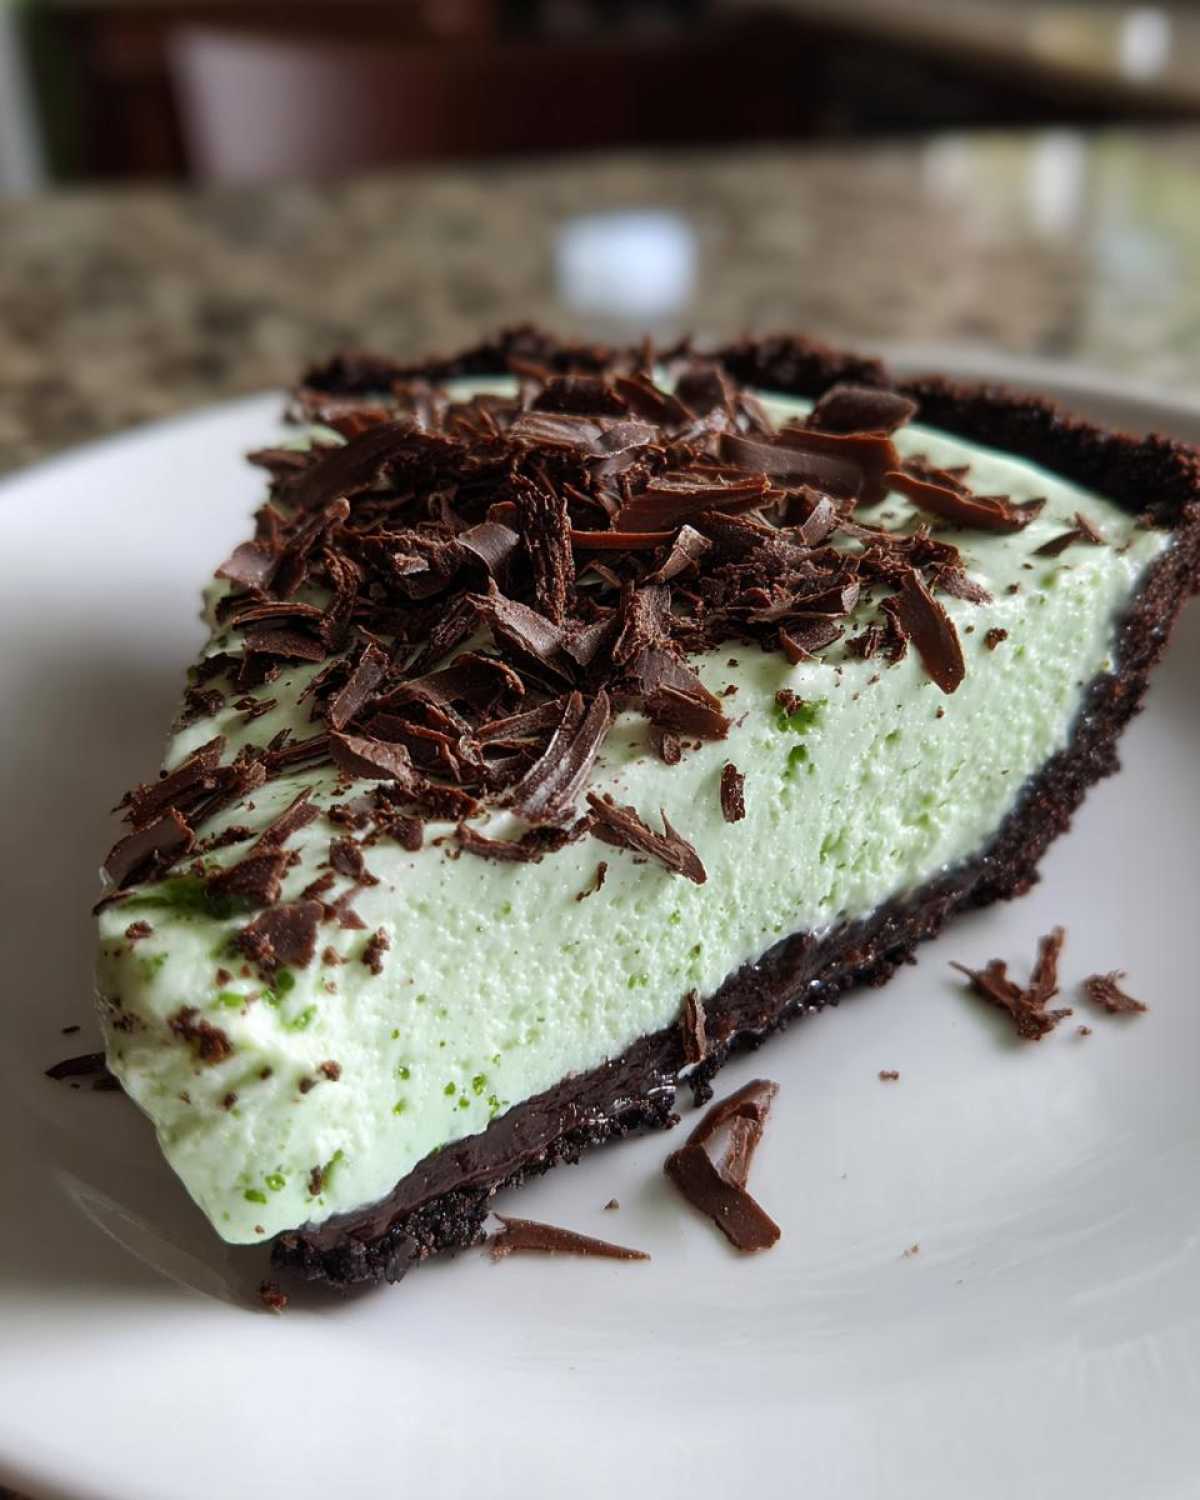
For a fun pairing, especially if you’re serving it after dinner, try a cup of rich, dark coffee. The bitterness plays so nicely against the sweet mint. And hey, if you happen to be looking for a great warm treat for the next cold day, I have a silly but simple recipe for hot cocoa mix that you might love!
Frequently Asked Questions About grasshopper pie Recipe
I get questions about this **grasshopper pie recipe** all the time! It’s such a beloved classic, but sometimes people worry about making sure that **creamy grasshopper filling** sets right or if they can tweak the flavor. Don’t stress; these easy fixes should help you nail it every time!
Can I make this grasshopper pie without using food coloring?
You absolutely can! If you skip the green dye, your pie will look more like a lovely vanilla or pale chocolate dessert, but the amazing peppermint flavor stays exactly the same. The color is just for fun, signaling that minty goodness!
Is this the Non Alcoholic Grasshopper Pie version?
Yes, darling, this is definitely the **Non Alcoholic Grasshopper Pie** way! I use peppermint extract instead of that bottle of crème de menthe. It keeps the flavor bright and minty while making sure everyone in the family can enjoy a slice of this **easy chocolate mint dessert**.
How do I prevent my Creamy Grasshopper Filling from deflating?
This is key to keeping that **fluffy marshmallow pie** texture! Once you have your whipped cream beaten to stiff peaks, you need to treat it gently. Add it to the cream cheese mix in about three stages, folding softly after each addition. Stop folding as soon as you don’t see white streaks anymore; overmixing is what pushes all the air right out!
Nutritional Estimates for Your Mint Chocolate Dessert
Now, I try not to worry too much about the numbers when I’m enjoying a slice of something this fun and nostalgic, but I know some of you like to plan ahead! Here are the general estimates per slice for this incredible **Mint Chocolate Dessert** based on the ingredients used in the recipe above.
Just remember, these figures are approximations. If you swap out the cookies or use different kinds of cream, the actual counts will shift a bit. Also, let’s be real—no one is eating just one tiny slice of this!
- Serving Size: 1 slice
- Calories: 380
- Sugar: 30g
- Sodium: 250mg
- Fat: 26g
- Saturated Fat: 15g
- Carbohydrates: 34g
- Protein: 4g
Share Your Thoughts on This Easy Chocolate Mint Dessert
Whew! Now that you’ve had a chance to whip up this amazing, cool, and creamy **grasshopper pie**, I desperately want to hear how it went in your kitchen! Did you love that bright hit of peppermint? Did your crust chill up perfectly in the freezer?
Please take a second and leave a rating or a comment down below. It truly helps me know which easy chocolate mint desserts you want to see more of!
And if you made it look amazing—maybe you did those fancy chocolate shavings just right—please snap a picture and tag me on social media! Seeing your results is truly the best part of sharing these family recipes!
Print
No-Bake Creamy Grasshopper Pie
- Total Time: 6 hr 20 min
- Yield: 8 servings
- Diet: Vegetarian
Description
Make this easy, no-bake grasshopper pie featuring a creamy mint filling and a chocolate cookie crust. This version uses mint extract for a family-friendly flavor.
Ingredients
- 1 1/2 cups chocolate cookie crumbs (about 30 cookies)
- 6 tablespoons unsalted butter, melted
- 1 package (8 ounces) cream cheese, softened
- 1 cup powdered sugar
- 1 teaspoon vanilla extract
- 1 teaspoon peppermint extract
- 1/4 teaspoon green food coloring (optional)
- 1 1/2 cups heavy whipping cream, cold
- 1/2 cup mini chocolate chips
- 2 tablespoons chocolate shavings, for topping
Instructions
- Prepare the crust: Mix the chocolate cookie crumbs and melted butter in a bowl until evenly moistened. Press the mixture firmly into the bottom and up the sides of a 9-inch pie plate. Chill the crust in the freezer for 15 minutes.
- Make the filling base: In a large bowl, beat the softened cream cheese with an electric mixer until smooth. Gradually beat in the powdered sugar until combined.
- Add flavorings: Mix in the vanilla extract, peppermint extract, and green food coloring, if using, until the color is uniform.
- Whip the cream: In a separate, clean bowl, beat the cold heavy whipping cream until stiff peaks form.
- Combine filling: Gently fold about one-third of the whipped cream into the cream cheese mixture to lighten it. Then, fold in the remaining whipped cream until just combined. Do not overmix.
- Fold in chips: Gently fold in the mini chocolate chips.
- Assemble the pie: Spoon the filling evenly into the chilled crust. Smooth the top with a spatula.
- Chill: Cover the pie loosely with plastic wrap and refrigerate for at least 6 hours, or preferably overnight, until the filling is firm.
- Serve: Before serving, sprinkle the top with chocolate shavings. Slice and serve cold.
Notes
- If you prefer a slightly firmer filling, you can substitute 1/4 cup of the heavy cream with 1/4 cup of cold milk mixed with 1/2 teaspoon of unflavored gelatin, dissolved according to package directions before whipping.
- For a richer chocolate flavor in the crust, add 1 tablespoon of cocoa powder to the crumbs before adding the butter.
- You can use store-bought chocolate wafer crumbs to save time.
- Prep Time: 20 min
- Cook Time: 0 min
- Category: Dessert
- Method: No-Bake/Chilling
- Cuisine: American
Nutrition
- Serving Size: 1 slice
- Calories: 380
- Sugar: 30
- Sodium: 250
- Fat: 26
- Saturated Fat: 15
- Unsaturated Fat: 11
- Trans Fat: 0.5
- Carbohydrates: 34
- Fiber: 1
- Protein: 4
- Cholesterol: 75



Comments are closed.