
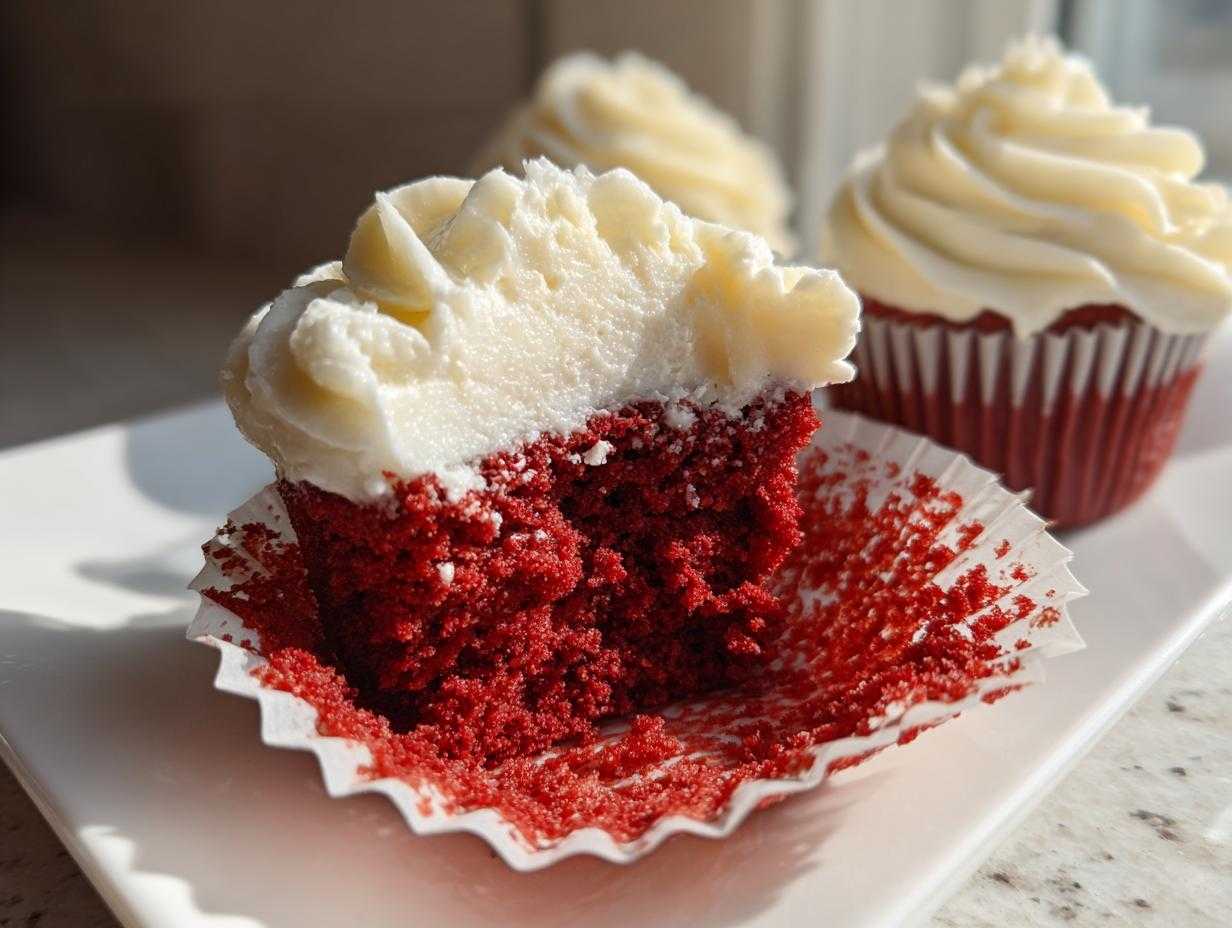
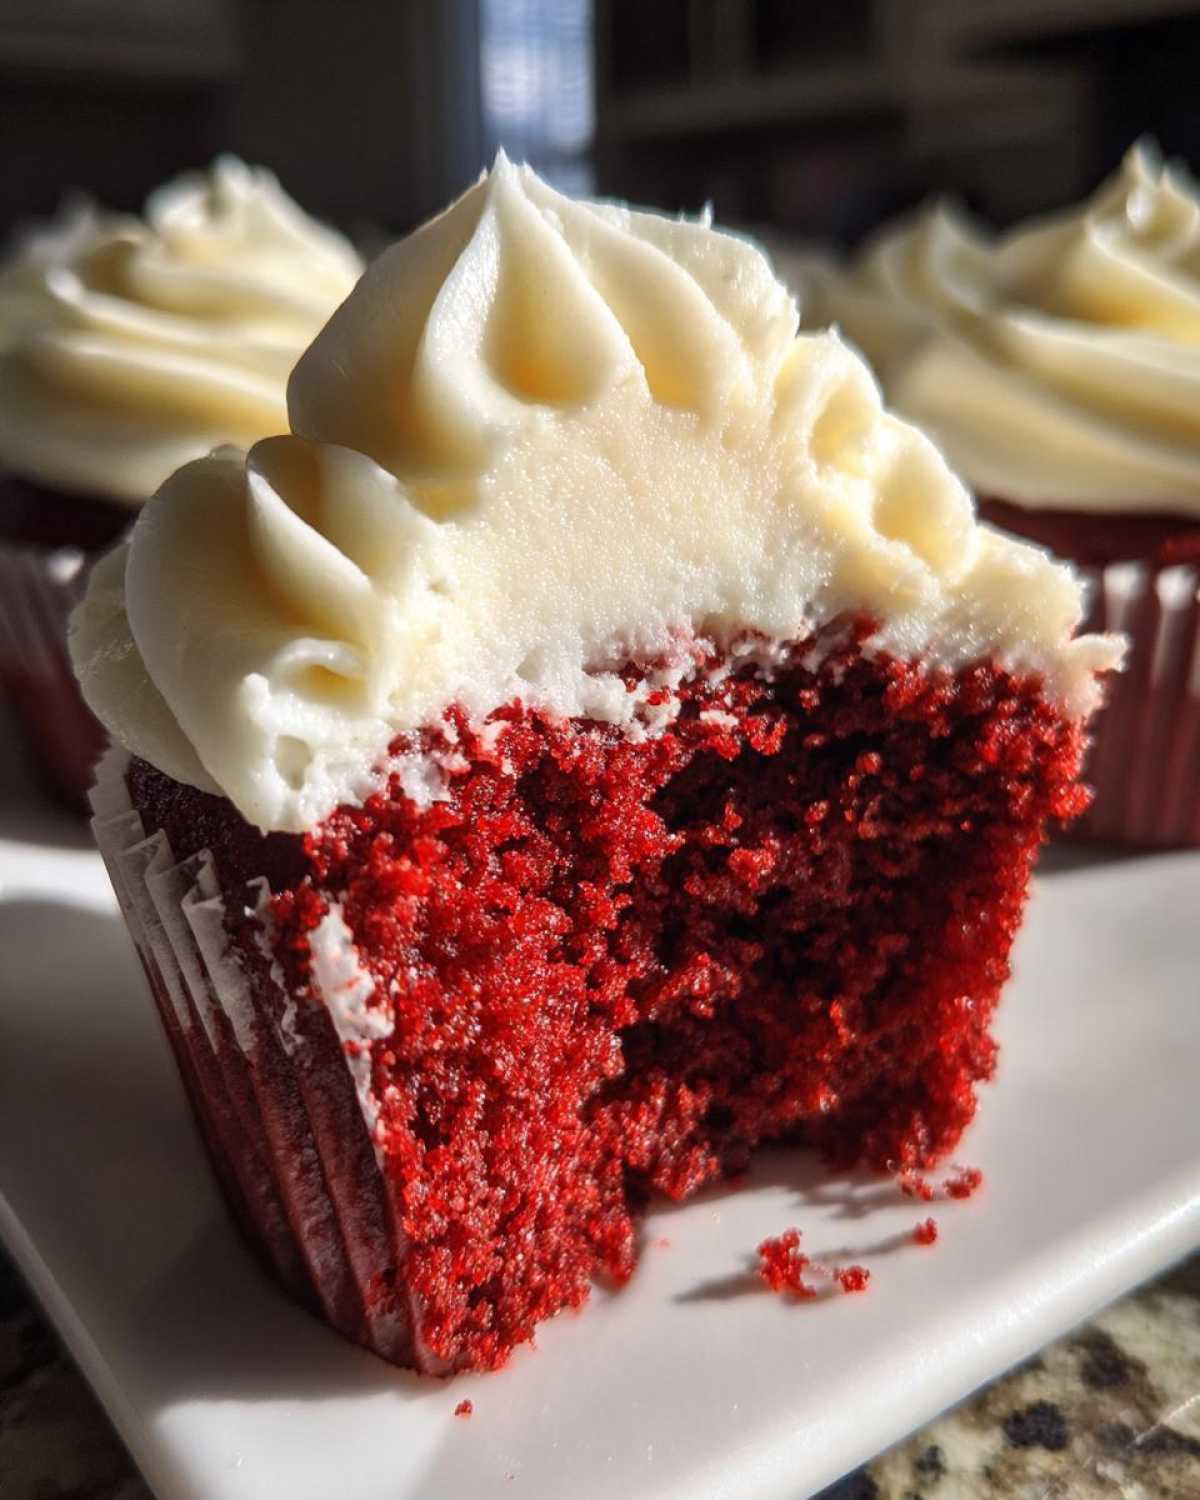
Okay, forget everything you think you know about those dry, crumbly red velvet cupcakes you’ve tried before. Seriously, toss that memory out! I’m not kidding around when I tell you that I finally cracked the code on achieving that famous, soft, melt-in-your-mouth texture right here in my own kitchen. This isn’t just another recipe; this is truly the Best Ever Moist red velvet cupcakes with Classic Cream Cheese Frosting. I must have tinkered with the buttermilk ratios and the cocoa amount for months, but when I finally nailed the balance, the result was pure magic. When I bring these decadent sweet treats to a party, they vanish first, every single time. Trust me, once you taste these scratch made cupcakes, you’ll never go back to the box mix again!
If you want to see the full, detailed breakdown of the frosting technique, I’ve got a whole guide on getting that silky finish right here: Get the Ultimate Cream Cheese Frosting.
Why These red velvet cupcakes Are the Best Ever
So, what makes these red velvet cupcakes better than the rest? It all comes down to three things: texture, color, and that glorious topping. I’ve seen so many recipes that promise the world but deliver a dry cake. Not these! We’re aiming for classic Southern style cupcakes that are deeply chocolatey but melt in your mouth.
Want my secret to a frosting that stays impossibly fluffy and tangy? Check out my guide here for all the tricks: Making Fluffy Cream Cheese Frosting.
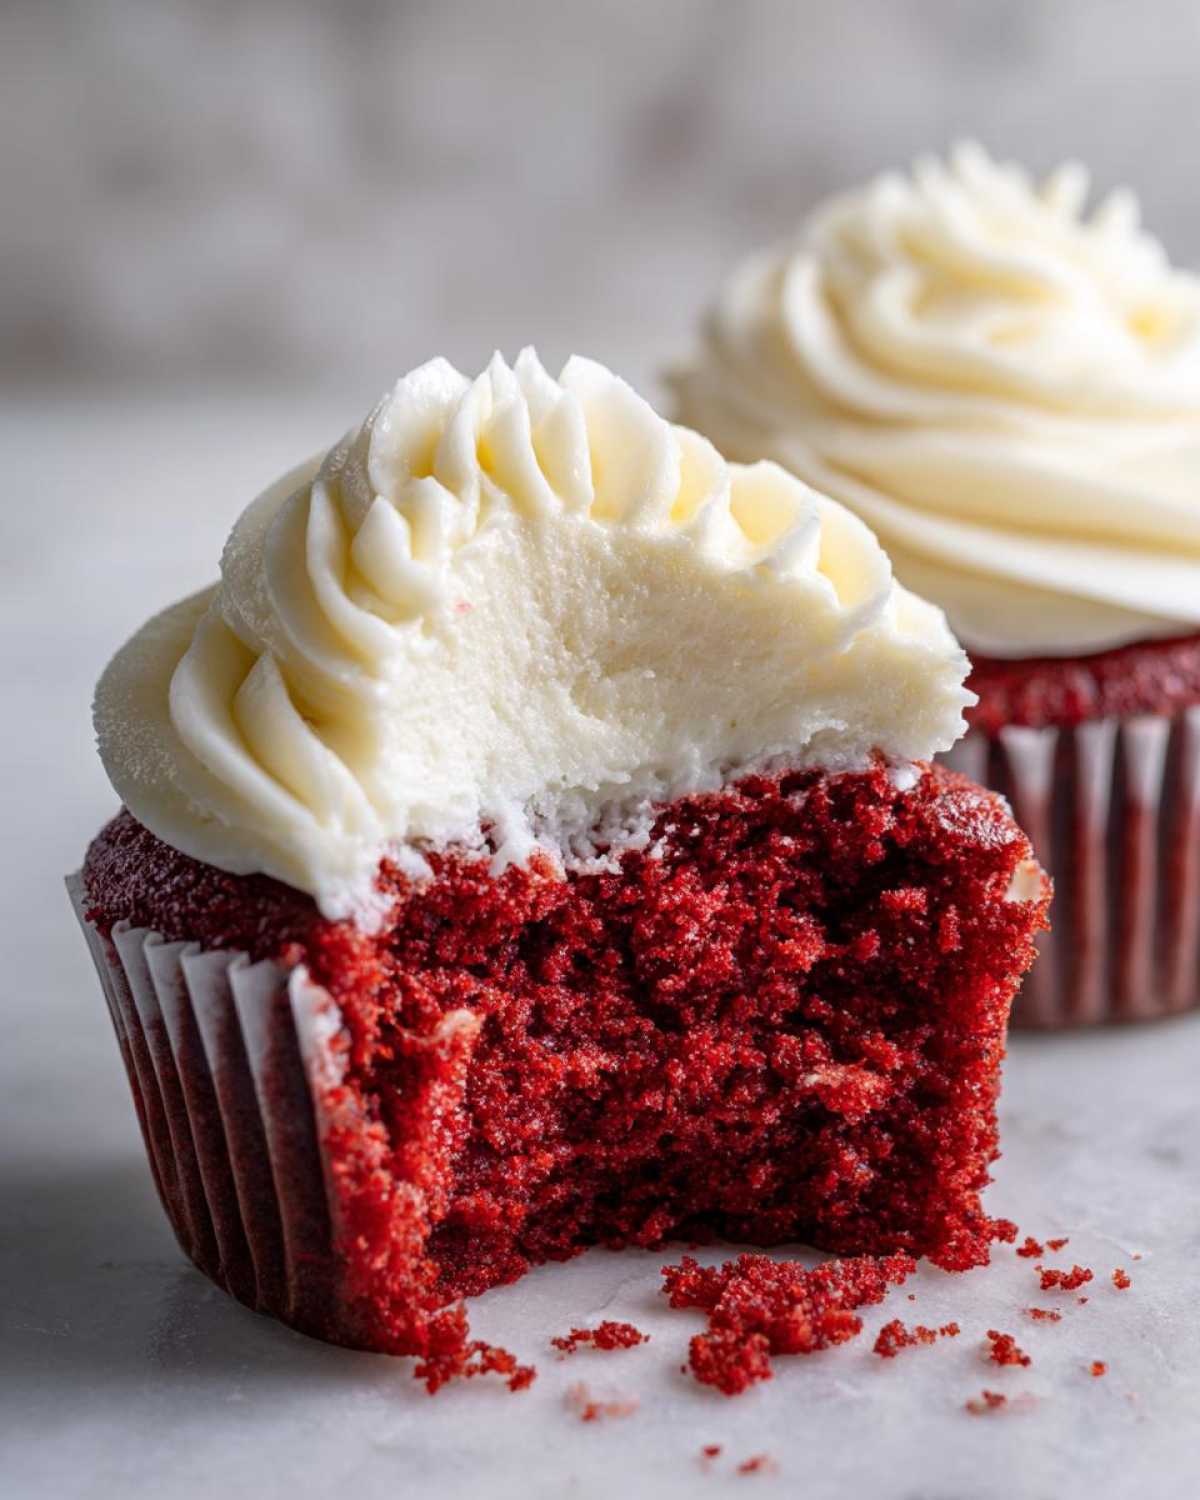
Achieving the Perfect Velvet Crumb
It’s the chemistry! The combination of buttermilk and just a touch of vinegar creates the most tender crumb you’ll ever see in a cupcake. That slight acidity tenderizes the flour just enough, ensuring you get those amazingly moist red velvet cupcakes every single time. Don’t cut the buttermilk out, ever!
The Secret to Vibrant red velvet cupcakes Color
We want that iconic red without tasting like a science experiment. The cocoa powder we use is very light, which helps keep that bright hue noticeable. Remember that little note I added? If you want that deep, bakery style cupcakes look, ditch the liquid food coloring for gel versions; they give you way more color impact without adding extra unnecessary liquid to your batter.
Ingredients for Moist red velvet cupcakes
Okay, this is where we get serious. Half the battle with any baking classic like red velvet cupcakes is making sure you have everything ready to go exactly as it should be. Nothing ruins my rhythm faster than realizing the butter isn’t soft enough! For these scratch made cupcakes, we need to be precise, especially with consistency. We’ll separate it out so you can get organized before you even turn the oven on.
For the Cupcakes
- 1 1/2 cups all-purpose flour
- 1 teaspoon baking soda
- 1 teaspoon unsweetened cocoa powder
- 1/2 teaspoon salt
- 1 cup granulated sugar
- 1/2 cup unsalted butter, softened
- 2 large eggs
- 1 teaspoon vanilla extract
- 1 cup buttermilk
- 1 tablespoon white vinegar
- 1 teaspoon red food coloring (or more for deeper color)
For the Fluffy red velvet frosting
This is the payoff, right? This frosting needs to be silky, tangy, and perfectly spreadable for those bakery style cupcake looks. Make sure your cream cheese and extra butter are fully softened—seriously, room temperature is key for that smooth finish!
- 1/2 cup cream cheese, softened
- 1/4 cup unsalted butter, softened
- 2 cups powdered sugar, sifted
- 1/2 teaspoon vanilla extract
Step-by-Step Instructions for red velvet cupcakes
Alright, let’s stop admiring those gorgeous ingredients and get baking! Baking classic desserts like this should feel exciting, not stressful. I always put on some fun music while I whip these up. Since we are making our own, this scratch made cupcakes process takes a tiny bit longer than the box mix, but oh, the flavor difference is worth every second. We’re going to walk through this methodically to make sure every single one of your homemade red velvet cake results in perfection.
Preparing the Cupcake Batter
First things first, get that oven preheated to 350°F (175°C) and line your muffin tin—don’t skip that step! While that’s heating, grab a bowl and whisk together your dry goods: the flour, baking soda, cocoa powder, and salt. Set that aside. In your big bowl, you’ll cream the softened butter and sugar until it looks light and fluffy—this creates a lot of the lift, so take your time here, maybe two minutes. Beat in your eggs one at a time, followed by the vanilla. Now, pour your colorful buttermilk mixture and your dry flour mix into the wet ingredients, alternating between them. Start and end with the dry stuff! This alternating trick keeps everything smooth. Most importantly, mix until it’s *just* combined. Stop the mixer right when you stop seeing flour streaks. Overmixing is the enemy of that velvet crumb dessert!
Baking and Cooling the red velvet cupcakes
Once the batter is mixed—and please, don’t overdo it—divide it evenly between your lined cups; about two-thirds full is perfect. Pop them in the oven for about 18 to 20 minutes. You’ll know they’re done when that toothpick you stick in the center comes out clean, just a few moist crumbs attached is what we want. Let them hang out in the hot pan for about five minutes—this helps them set up—then carefully move them to a wire rack. They have to be completely cool before we even *think* about frosting. If you rush this part, that beautiful cream cheese frosting will just melt right off, and that would be a tragedy!
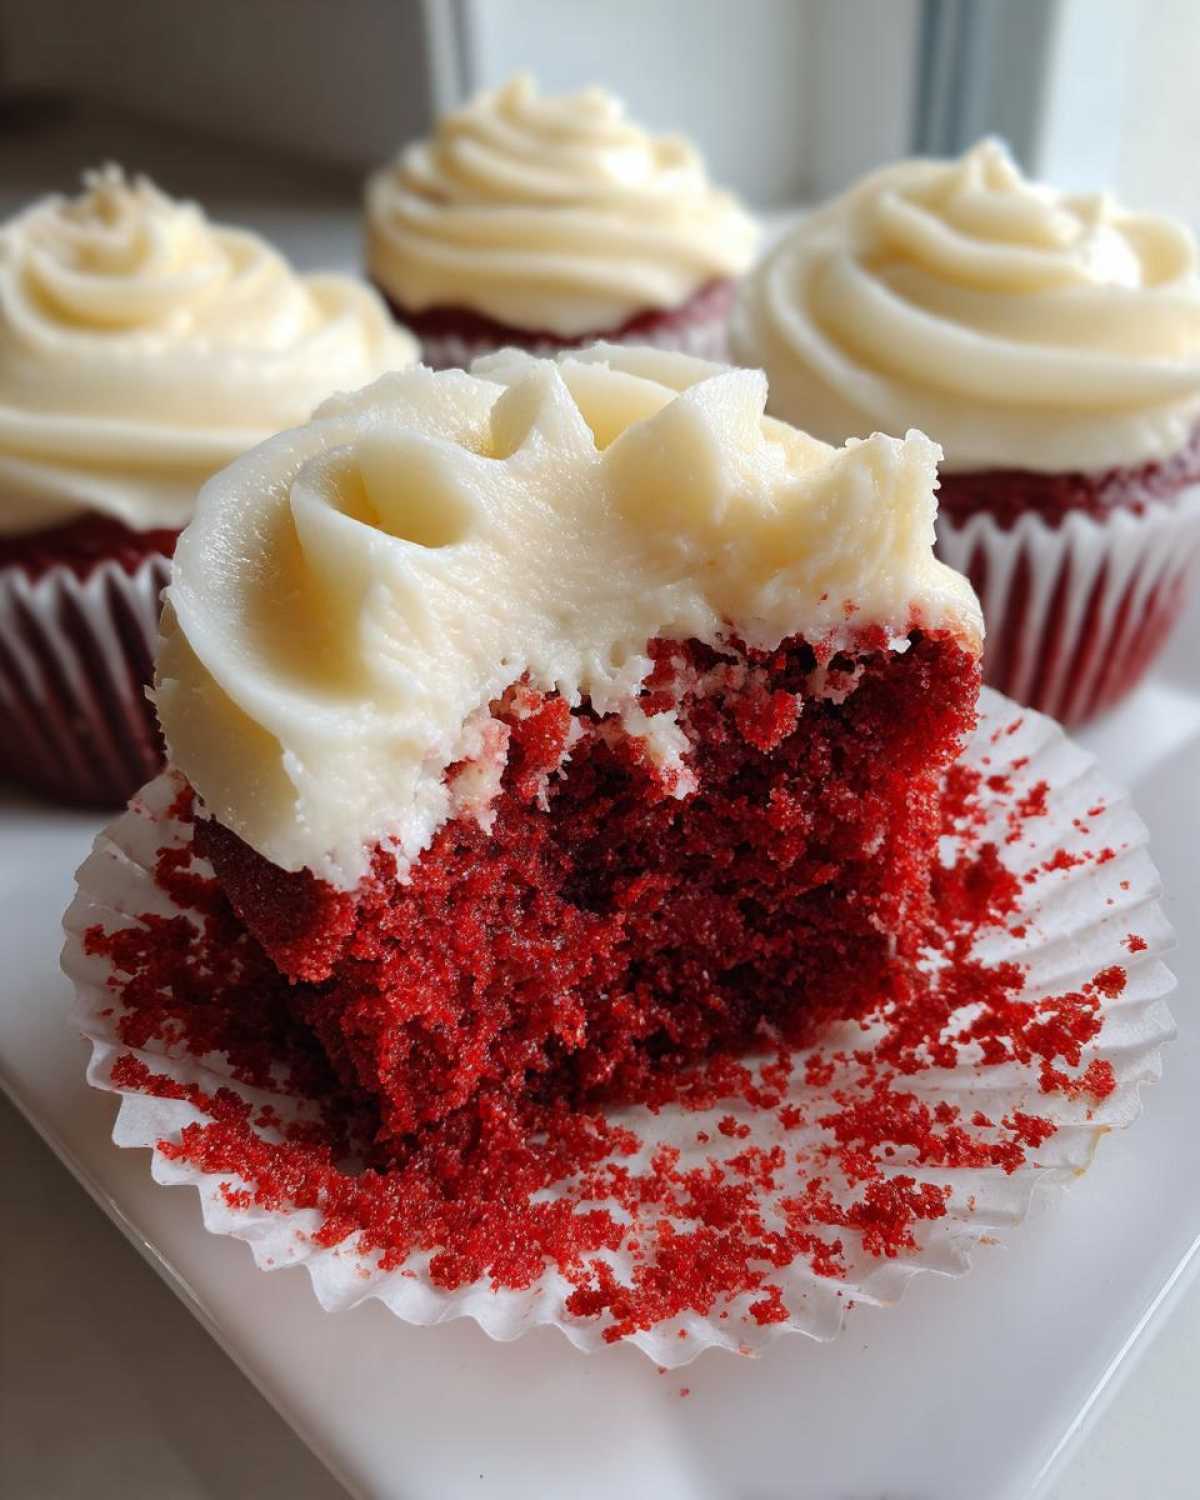
Need a fantastic guide on the perfect buttermilk substitute just in case? You might find some helpful pointers over here: Making Moist Red Velvet Cake from Scratch.
Making the Classic Cream Cheese Frosting
This part is simple, but technique matters! You need that cream cheese and the second portion of butter to be perfectly softened, not melted, just wonderfully pliable. Beat those two together in a clean bowl until they are silky smooth—no lumps allowed if we want those bakery style cupcakes! Then, slowly add the sifted powdered sugar until everything is incorporated. Finish with that vanilla extract and beat it on high for a minute until it looks light and fluffy. Seriously, if you skip softening your fats, you’ll end up with stiff, bumpy frosting instead of the luxurious coating these red velvet cupcakes deserve.
Expert Tips for the Best red velvet cupcakes Results
You’ve got the recipe down, but I want to share a few insider secrets that take these red velvet cupcakes from great to absolutely show-stopping. These are the little things I learned after making too many batches that weren’t quite right!
First up, let’s talk color again. I mentioned using gel food coloring, and I really mean it for this recipe. If you use the standard grocery store drops, you often have to add so much that you end up diluting the batter, which messes up the delicate balance we established with the buttermilk. Gel coloring is super concentrated, so just a few drops go a long way toward achieving that vibrant red velvet look without affecting the texture.
Speaking of buttermilk—promise me you won’t cheat on this one. That reaction between the acid in the buttermilk and the baking soda is what activates the cocoa powder and gives you that signature tenderness. I once tried substituting milk mixed with a tiny bit of lemon juice when I ran out after a massive shopping trip! Oops! The crumb was fine, but it just didn’t have that deep, rich flavor I’m used to. It’s worth running to the store for the real deal if you don’t have it on hand. If you’re ever in a bind for buttermilk later, sometimes I use this trick I learned for my cornbread, but for velvet cake, the actual stuff is just better.
And finally, frosting temperature! This is huge, especially for achieving that bakery style cupcakes finish. When you’re ready to frost, your cupcakes must be stone cold. If they are even slightly warm, that beautiful, fluffy cream cheese frosting will turn into a melted puddle sliding right down the sides. I put mine in the freezer for about ten minutes if I’m in a rush just to make sure they are totally cooled down before I pipe them high. Learning that lesson saved my Valentine’s Day batch one year when I got overeager!
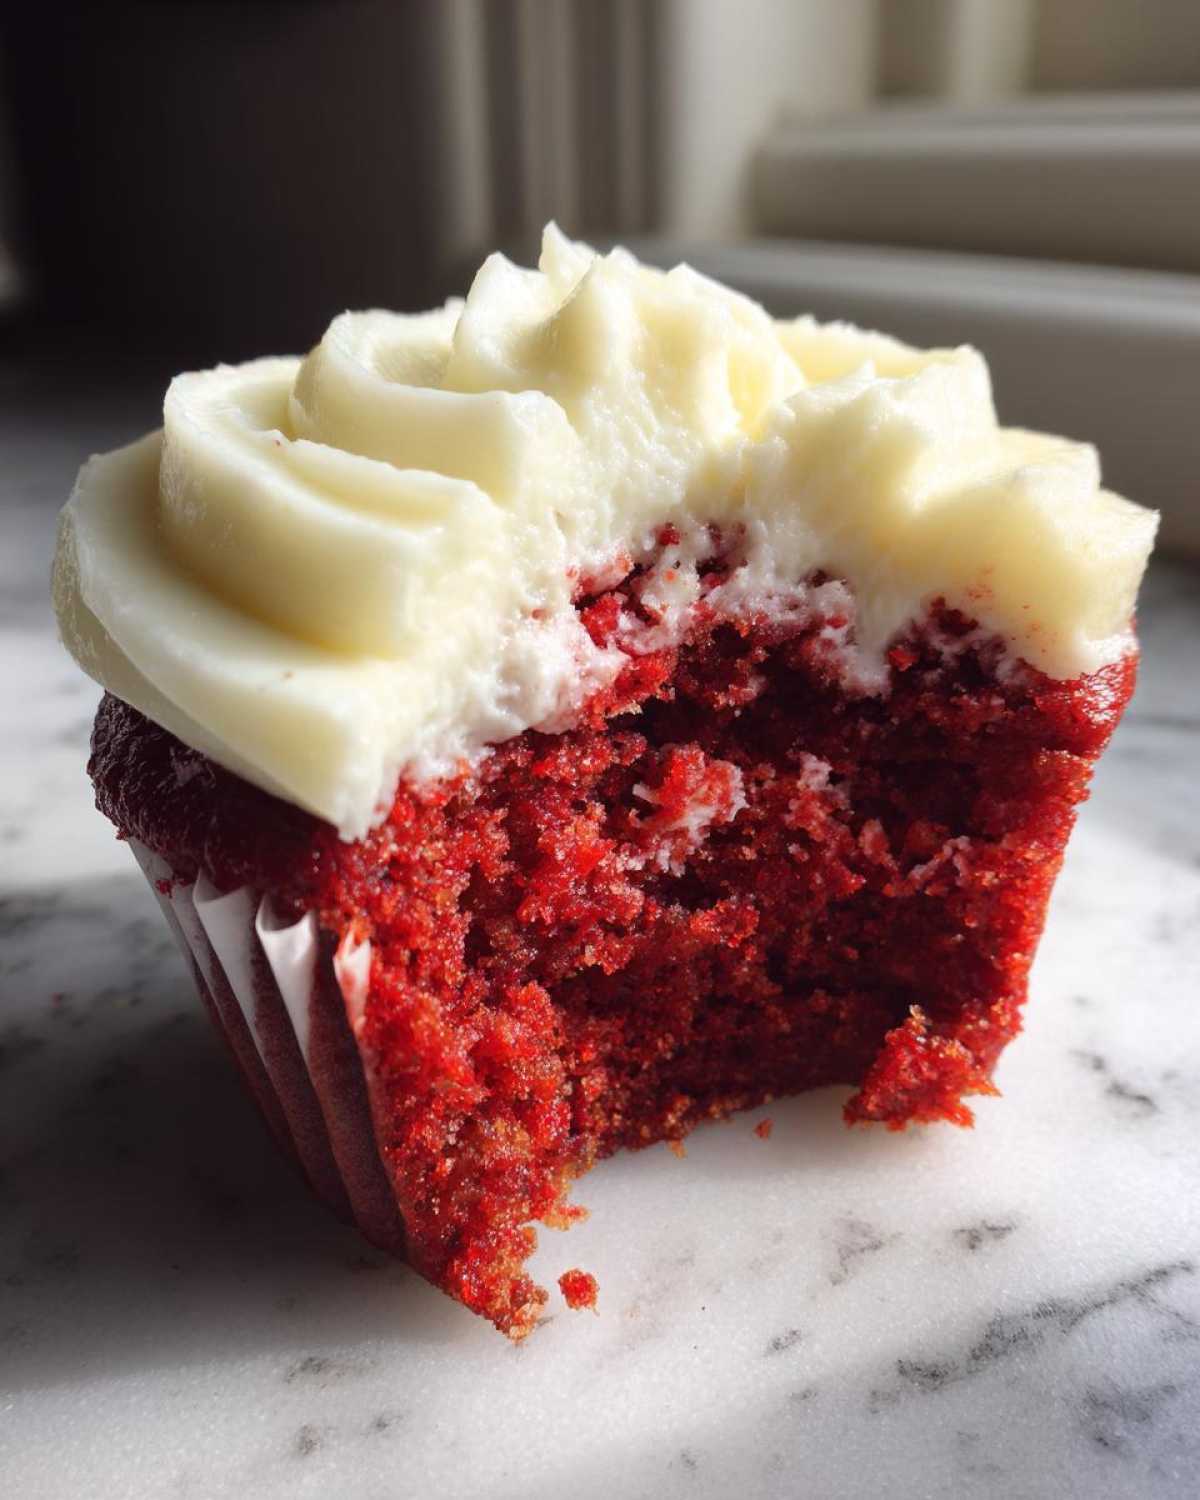
For more tips on using buttermilk in other signature Southern recipes, you can check out my guide on Moist Buttermilk Cornbread.
Variations on red velvet cupcakes
Now, even though I think this classic red velvet cupcakes recipe is perfection—and honestly, it’s all you’ll ever need for a birthday party dessert—I know sometimes you want to shake things up a little, right? You see bakers doing wild things online, and it makes you wonder. Don’t stress too much; we keep these swaps simple so we don’t ruin that beautiful velvet crumb.
My absolute favorite way to jazz these up, especially when I’m feeling extra decadent, is to add a little surprise baked right inside. Have you ever thought about a cheesecake swirl? It’s easier than you think! Just mix up a small amount of plain cheesecake batter—you know, cream cheese, one egg yolk, a touch of sugar—and dollop a teaspoon right on top of the batter in the cupcake liner before baking. When it bakes up, you get this beautiful, tangy surprise layer in the middle. It turns a standard treat into something truly special.
If the cream cheese tang just isn’t your thing one day, or maybe you need a frosting that holds up better outside in the summer heat, you can definitely swap it out. I have a fantastic recipe for super fluffy vanilla buttercream that looks gorgeous piped high on these vibrant red cupcakes. It’s sweeter, of course, but it pipes like a dream. You still get that incredible cake base underneath, but the topping changes the whole mood!
For those who love color variations (maybe not for Valentine’s Day, but thinking ahead to Christmas!), you can actually make a near-black velvet cupcake by using black cocoa powder and a much deeper red dye. It’s visually stunning! But stick to the small amount of cocoa we use here when you want that authentic, slightly subtle cocoa flavor that complements the buttermilk so perfectly.
Storage and Make-Ahead for red velvet cupcakes
Listen, sometimes you just can’t eat twelve amazing red velvet cupcakes in one sitting—though I’ve certainly tried! Knowing how to store these beauties is critical if you want to keep that velvet crumb soft and that cream cheese frosting stable, especially if you’re planning ahead for a big holiday or party.
If you haven’t frosted them yet, that’s the easiest part. Store your cooled, unfrosted red velvet cupcakes in a single layer in an airtight container at cool room temperature for up to two days. Don’t put them in the fridge! The cold air pulls moisture right out, and you end up with dry little hockey pucks. If you just must refrigerate them because your kitchen is super hot, make absolutely sure they are sealed tightly to prevent drying out, and let them come back to room temperature for at least an hour before serving.
Freezing Your Perfect Cupcakes
This is my favorite trick for holiday cupcake recipes—bake ahead! You can freeze both the cake and the frosting, but you must do them separately for the best results. If you freeze the cupcakes already frosted, the cream cheese topping—because of that high water/dairy content—can get weep-y or grainy when it thaws. It’s just not worth the risk!
For the unfrosted cakes: Cool them completely, then wrap each one tightly in plastic wrap (like a little present!) and place them in a freezer-safe zip-top bag. They keep beautifully like this for up to three months. When you’re ready to serve them, just let them thaw overnight on the counter in their wrapping. Once thawed, they are ready for your fluffy red velvet frosting.
Storing the Frosting Separately
The classic cream cheese frosting needs special attention. You can whip up a huge batch and store it in the fridge for about a week. Again, keep it sealed tightly so it doesn’t absorb any fridge smells! When you pull it out to frost your thawed, room-temperature cupcakes, it will be firm. Don’t try to frost with it like that! Just let it sit on the counter for about 30 minutes, then beat it again on medium speed for a minute or two until it’s smooth and pipeable. If you beat it too long, it can thin out, so scrape down the sides of the bowl often as you mix!
These simple steps ensure that even if you made these decadent sweet treats a week before your big event, they will still taste like they just came out of the oven!
Serving Suggestions for Your red velvet cupcakes
Now that you have achieved the absolute best red velvet cupcakes—moist, richly colored, and perfectly topped with that tangy frosting—the final, and most important, step is deciding when and how to serve them! These aren’t just any simple cupcake; they demand a moment to shine, especially if they are intended as birthday party desserts.
For a casual afternoon treat, there is genuinely nothing better than pairing one of these vibrant red cupcakes with a tall glass of cold milk. That classic creaminess cuts right through the subtle cocoa and balances the sugar perfectly. If you’re serving them slightly later in the day, they are spectacular alongside a strong cup of black coffee, which really brings out the chocolate notes in the cake.
If you’re planning for a holiday, these are a no-brainer. They look stunning next to white chocolate bark for Christmas, or as the main feature on a Valentine’s Day dessert table. Seriously, the color just screams celebration!
Presentation wise, I love putting them on a simple white pedestal stand—letting that bright red color do all the talking. If you’re serving them alongside savory items at a party, maybe some of those amazing garlic butter steak bites I made last week, they look wonderful lined up on simple white parchment squares. They look fancy, but we know how easy they actually were to make!
Check out how I used parchment paper for my steak bites; it’s the same idea for keeping clean presentation on a dessert platter: Easy Crockpot Steak Bites.
Frequently Asked Questions About red velvet cupcakes
I get so many questions about these red velvet cupcakes because everyone wants that perfect Southern style cupcake experience at home! It’s natural to wonder about ingredient swaps or fixing small issues. Don’t worry, I’ve been there, stressed over the color, and worried about the texture. Here are some of the most common things folks ask me about making the best batch of decadent sweet treats.
If you’re curious about achieving supreme moisture in something else, like muffins, I’ve broken down the foolproof method here: Moist Blueberry Muffins.
Can I skip the buttermilk in this classic red velvet recipe?
Oh, I wish you could, but please don’t! This is where the magic for that velvety crumb dessert happens. The buttermilk is acidic, and that acid needs to react with the baking soda to create the lift and the incredibly tender structure we love. If you use regular milk, you skip that chemical reaction, and your final result will be denser and won’t have that signature soft quality. You really need that buttermilk!
How do I get my cream cheese frosting cupcakes to look bakery style?
This is all about temperature, darling! First, the cupcakes absolutely must be stone cold—I mean kitchen-counter cold, not just ‘not hot’ cold. If they are warm, the frosting melts, and you get a messy puddle. Second, get yourself a piping bag and a large star tip! Don’t use a knife or a spoon to just spread it on. Fill that bag, hold it straight up over the center of the cooled cupcake, and then squeeze steadily while moving the tip in a slow, even circle outwards, then build up the swirl. It’s all about practice, but using a proper tip makes it look professional instantly.
Why are my red velvet cupcakes not very red?
This always happens when people rely too heavily on the standard red food coloring drops. Remember, we are adding cocoa powder, even if it’s just a teaspoon, which naturally mutes the red color and gives us that slight chocolate undertone we want. To get that true, deep red velvet color, you have to use a concentrated gel food coloring. A little dab of gel coloring goes ten times further than the liquid kind, giving you a vibrant red without adding excess liquid that messes up the batter consistency.
Nutritional Estimates for red velvet cupcakes
Now, I know what you’re thinking. A classic red velvet cupcake this good might taste like it’s packed with a million guilty calories, right? Well, while these are definitely a decadent sweet treat, I like to give you a rough idea of what you’re working with when you whip up a batch of these moist red velvet cupcakes.
Remember that the nutrition facts I’m sharing here are just estimates based on the exact ingredients listed in my recipe, assuming you use standard, unsalted butter and regular sugar. If you swap in alternative flours or use a different type of sweetener in your fluffy red velvet frosting, those numbers will definitely change. This is just a general guide so you know what to expect when indulging in these amazing holiday cupcake recipes!
Here’s a quick look at the figures per serving (which is one perfect red velvet cupcake):
- Calories: 350
- Sugar: 40g
- Fat: 18g
- Carbohydrates: 45g
- Protein: 4g
- Cholesterol: 60mg
See? Not bad at all for a scratch made dessert that tastes like it came straight from a famous bakery! Because we use real butter and cream cheese, the fat content is there, but that’s what gives you the incredible richness and texture. Enjoy every single bite!
Print
Best Ever Moist Red Velvet Cupcakes with Classic Cream Cheese Frosting
- Total Time: 40 min
- Yield: 12 servings
- Diet: Vegetarian
Description
Make bakery-style red velvet cupcakes from scratch. This recipe yields moist, velvety crumb cupcakes with a distinct cocoa flavor, topped with a silky, tangy cream cheese frosting.
Ingredients
- 1 1/2 cups all-purpose flour
- 1 teaspoon baking soda
- 1 teaspoon unsweetened cocoa powder
- 1/2 teaspoon salt
- 1 cup granulated sugar
- 1/2 cup unsalted butter, softened
- 2 large eggs
- 1 teaspoon vanilla extract
- 1 cup buttermilk
- 1 tablespoon white vinegar
- 1 teaspoon red food coloring (or more for deeper color)
- 1/2 cup cream cheese, softened
- 1/4 cup unsalted butter, softened
- 2 cups powdered sugar, sifted
- 1/2 teaspoon vanilla extract
Instructions
- Preheat your oven to 350°F (175°C). Line a 12-cup muffin tin with paper liners.
- In a medium bowl, whisk together the flour, baking soda, cocoa powder, and salt. Set aside.
- In a large bowl, cream together the 1 cup sugar and 1/2 cup butter until light and fluffy. Beat in the eggs one at a time, then mix in 1 teaspoon vanilla extract.
- In a small bowl, mix the buttermilk, vinegar, and red food coloring until combined.
- Alternate adding the dry ingredients and the buttermilk mixture to the wet ingredients, beginning and ending with the dry ingredients. Mix until just combined; do not overmix.
- Divide the batter evenly among the prepared muffin cups, filling each about two-thirds full.
- Bake for 18 to 20 minutes, or until a toothpick inserted into the center comes out clean. Let the cupcakes cool in the pan for 5 minutes before transferring them to a wire rack to cool completely.
- To make the frosting, beat the cream cheese and 1/4 cup butter until smooth. Gradually add the powdered sugar, mixing until combined. Add 1/2 teaspoon vanilla and beat until light and fluffy.
- Frost the cooled cupcakes.
Notes
- For a deeper red color, use gel food coloring instead of liquid.
- Buttermilk reacts with the vinegar and baking soda to create a tender crumb. Do not substitute.
- To achieve a silky frosting, ensure both the cream cheese and butter are fully softened to room temperature.
- Prep Time: 20 min
- Cook Time: 20 min
- Category: Dessert
- Method: Baking
- Cuisine: American
Nutrition
- Serving Size: 1 cupcake
- Calories: 350
- Sugar: 40
- Sodium: 250
- Fat: 18
- Saturated Fat: 10
- Unsaturated Fat: 8
- Trans Fat: 0.5
- Carbohydrates: 45
- Fiber: 1
- Protein: 4
- Cholesterol: 60



Comments are closed.